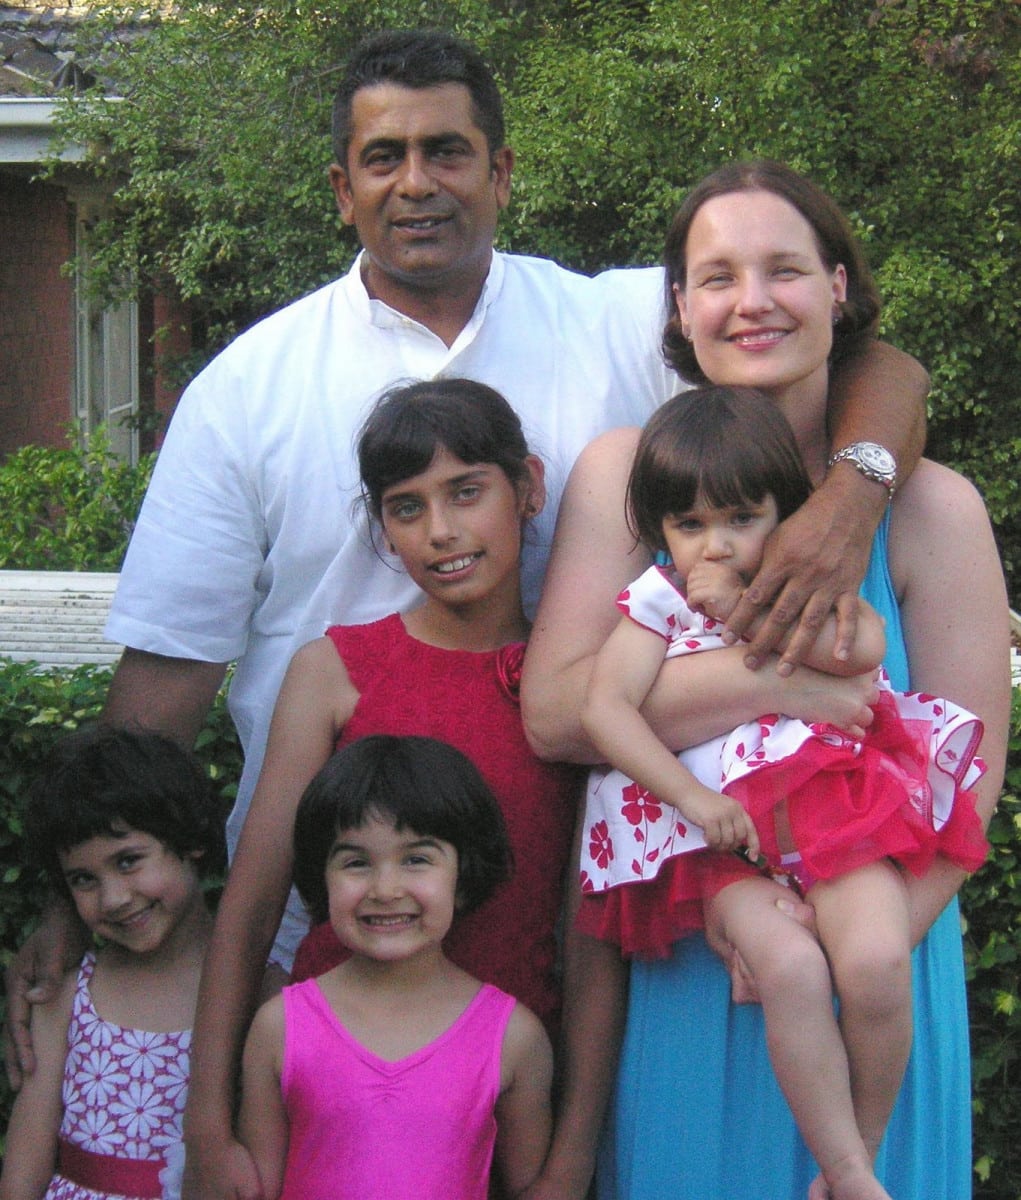
G’day, Leoni here from Just call me Martha. I live in Melbourne – Australia with my lovely husband and 4 gorgeous children. Today I wanted to share a cute bird house treat box tutorial with you that I created to keep my girls amused during the Christmas holidays while styling my niece Jasmine’s birthday party just before Christmas.
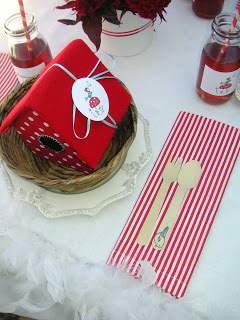
I used the birdhouse treat boxes as party favours as they were filled with lollies for the guests to take home, after the party we used the empty birdhouses as Christmas decorations for our fireplace mantle. Here is the tutorial link.
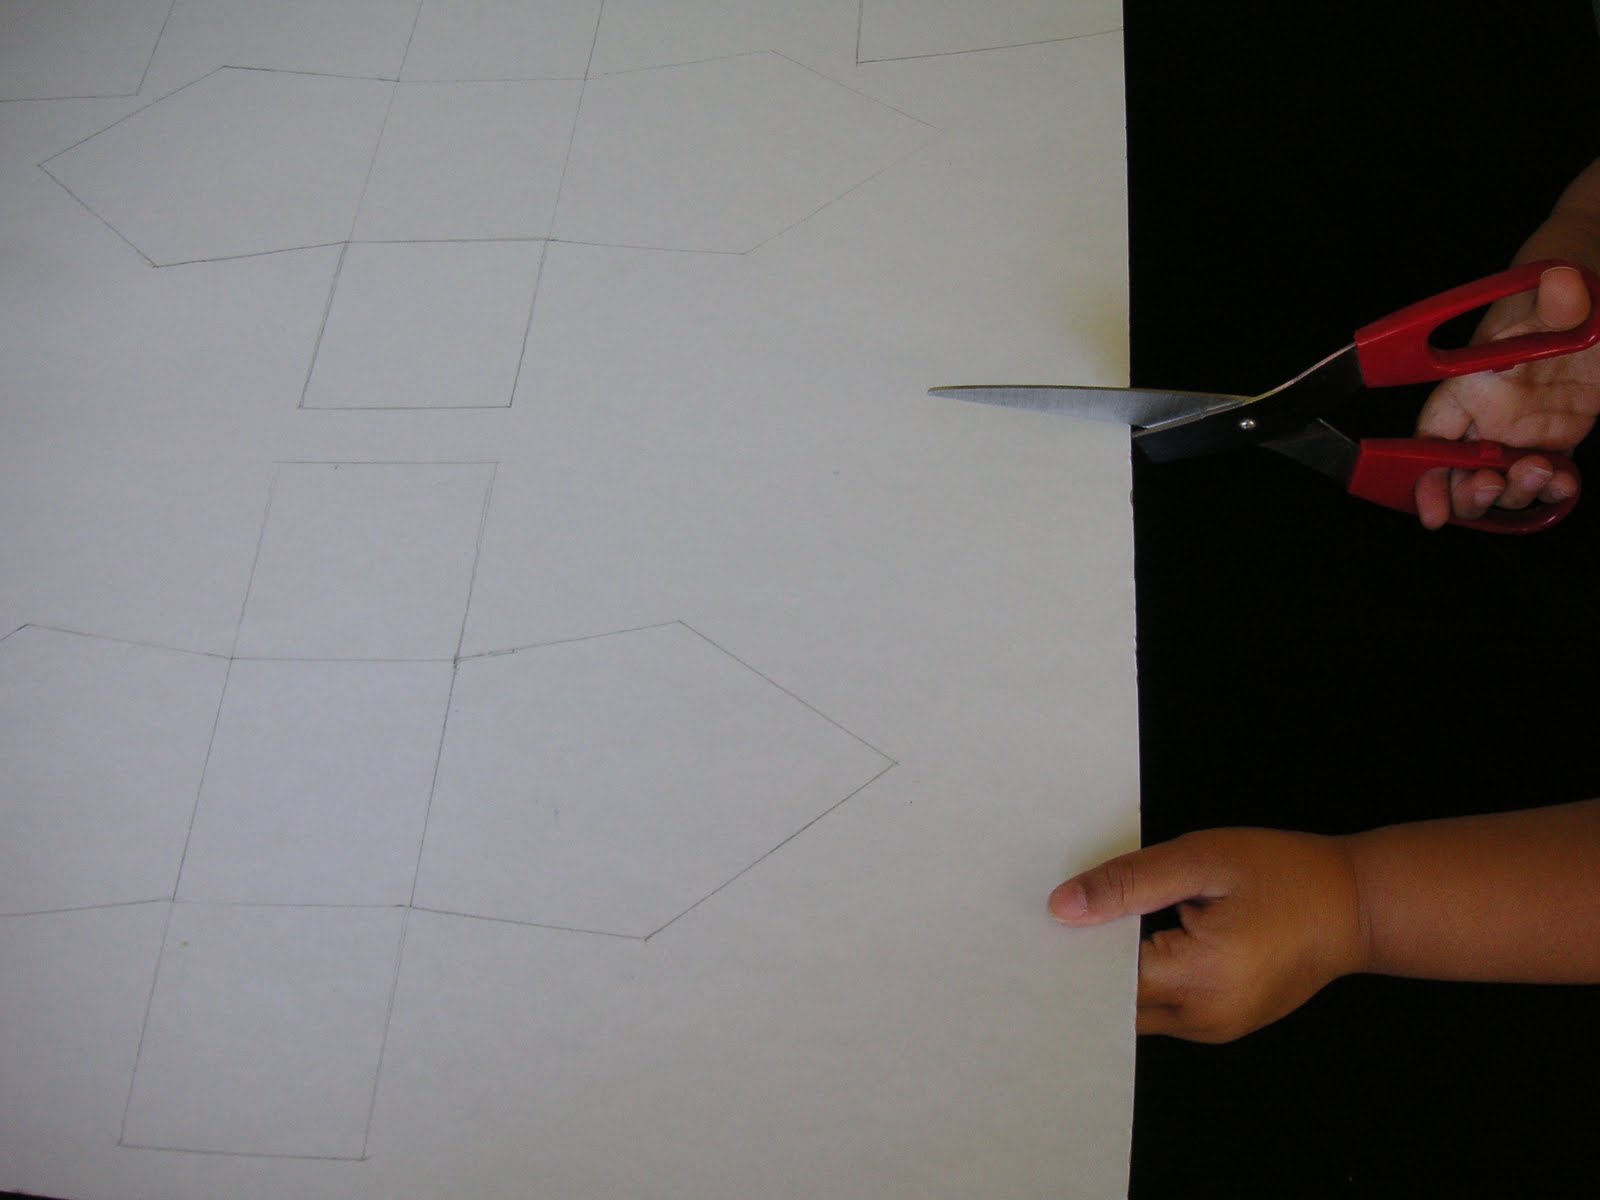
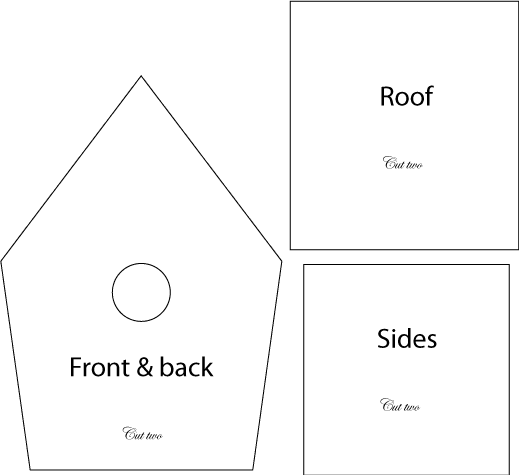
So, for the bird party I was after some super cute yet unique treat boxes, I didn’t want to spend a lot of money and wanted something I could do with my children so I came up with this cute idea. I downloaded a bird house template from Torie Jayne’s blog (thanks Torie), made a carboard template and traced 6 box shapes (since I needed 6 treat boxes) (see above photo)
and drew 6 separate rooves.
Then I cut out all the boxes and rooves
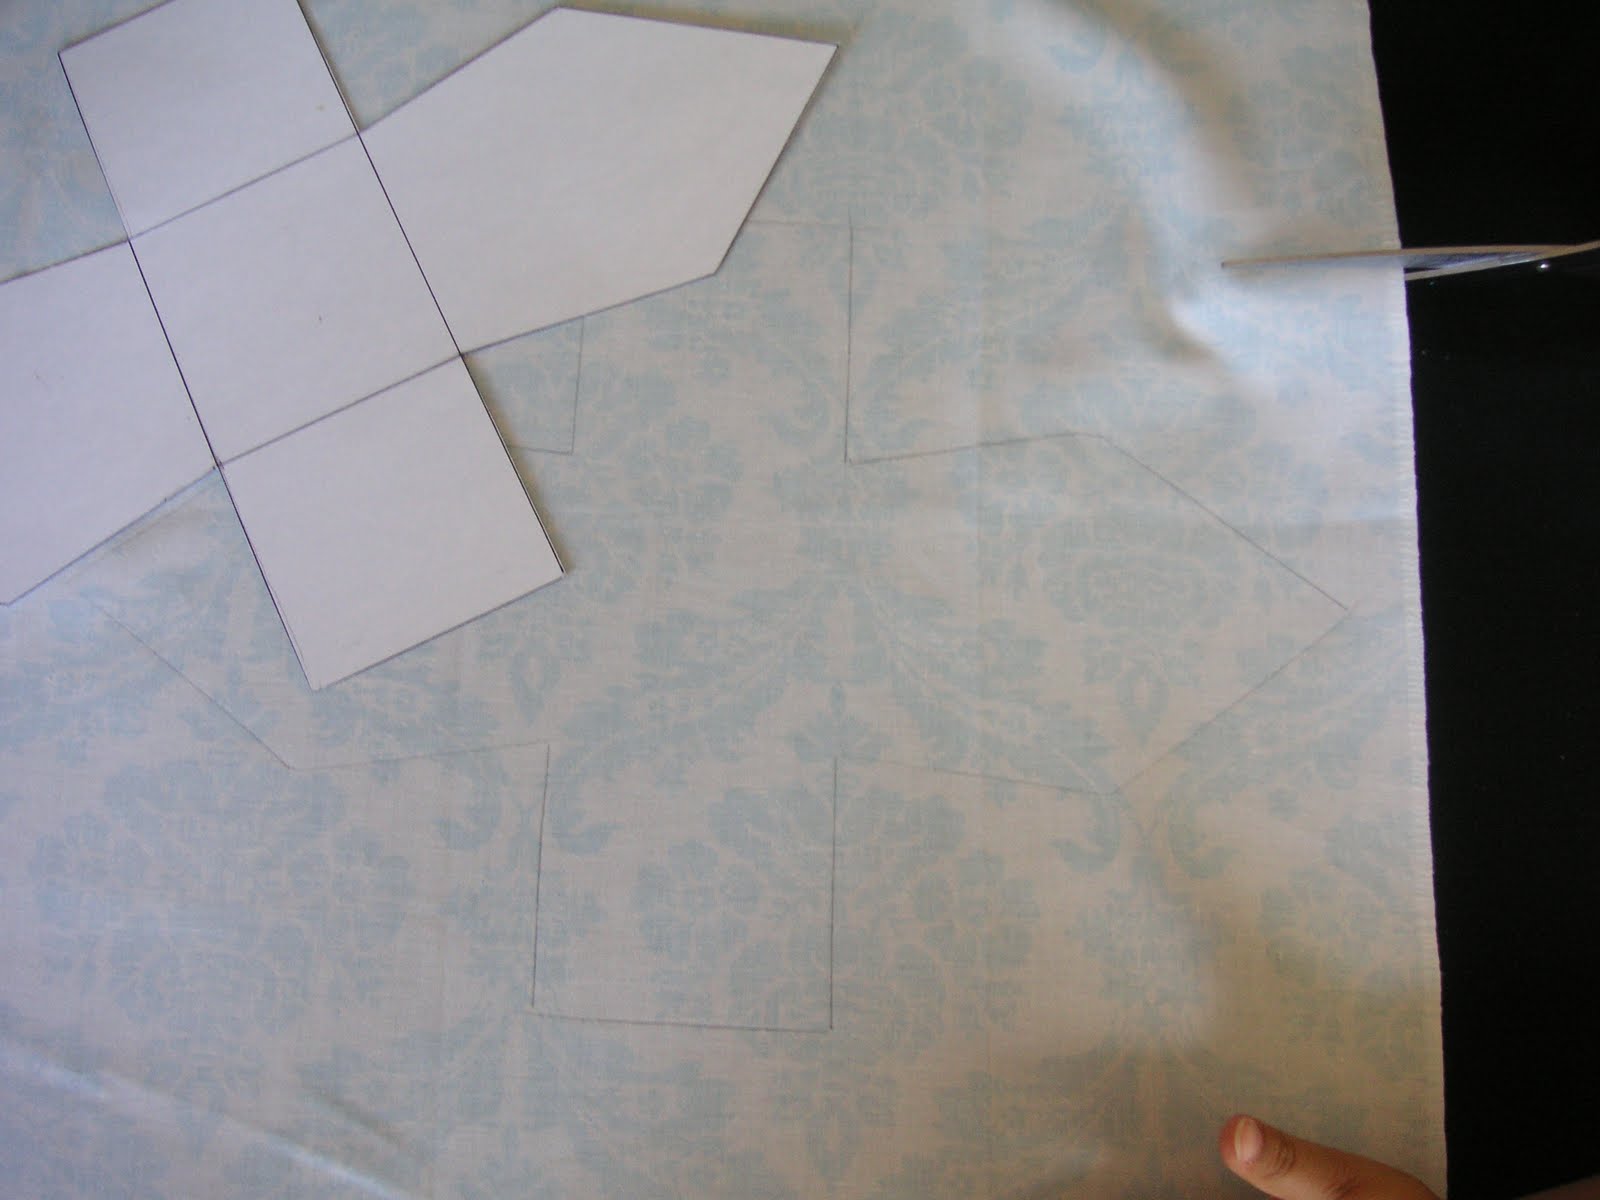
and traced the same pattern on some scrap fabric to cover my walls and rooves.
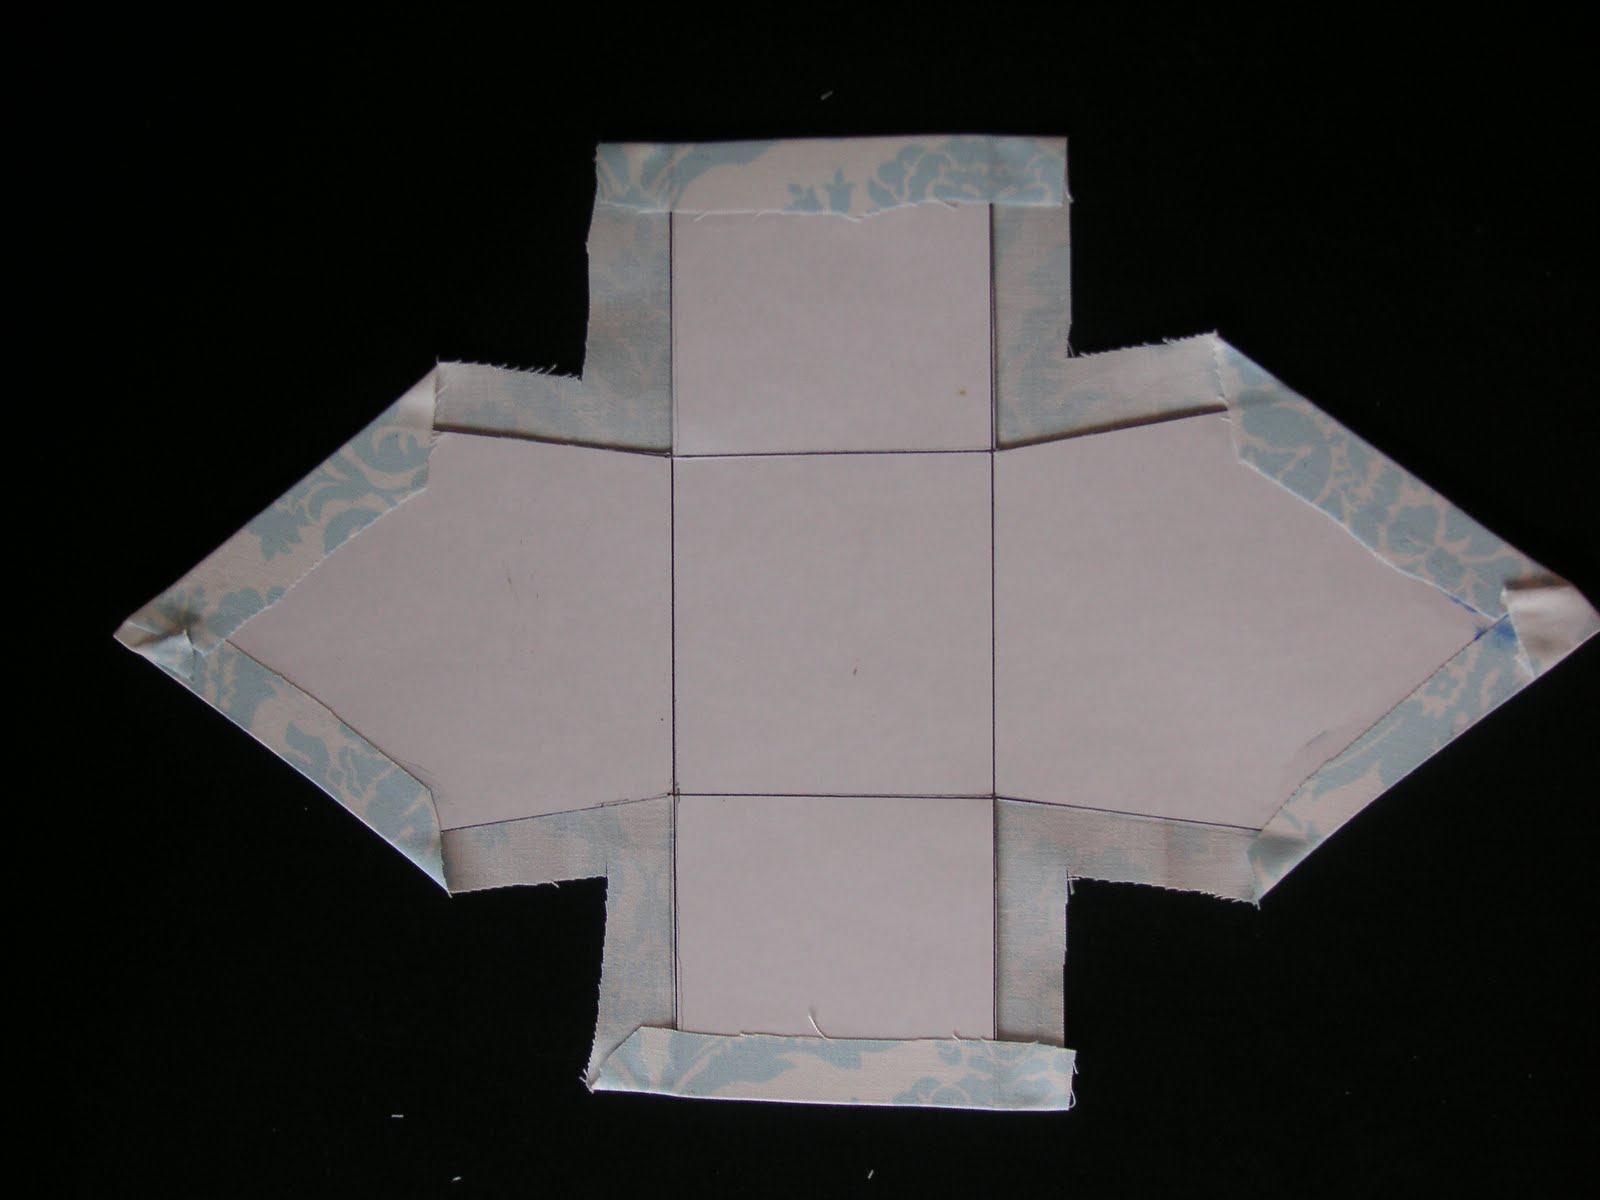
laying the cardboard cutout flat against the fabric I glued down the top of the eaves and the walls, I left the sides open since I would be sewing them together anyway. I scored the floor (square you can see in the middle of my cardboard cutout above) lightly with some scissors so they would bend along the fold more easily.
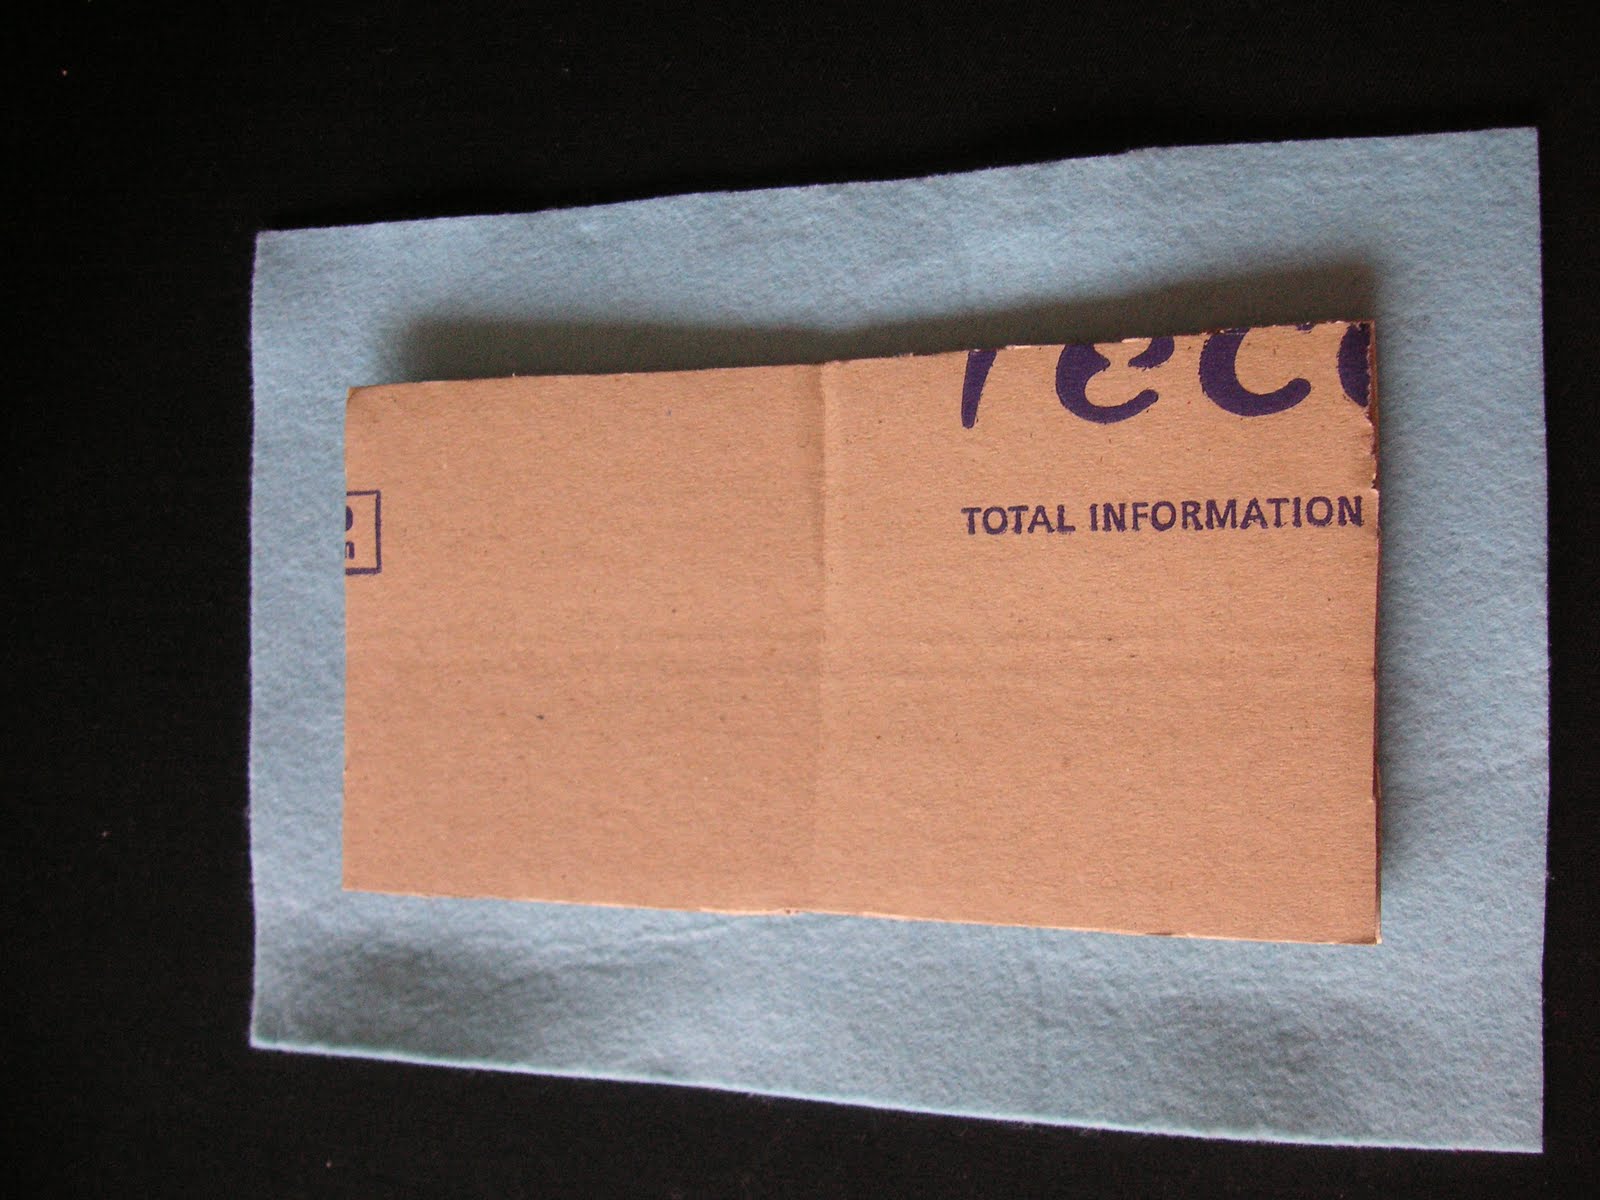
I then glued some felt to each of my rooves.
Now fold the walls up so they meet and using blanket stitch sew them together (the raw fabric edges are folded in as you can see above)
Your house will now look like this, you can trim the fabric back on the inside but I left it for tutorial purposes, you won’t see it anyway once the roof is in place.
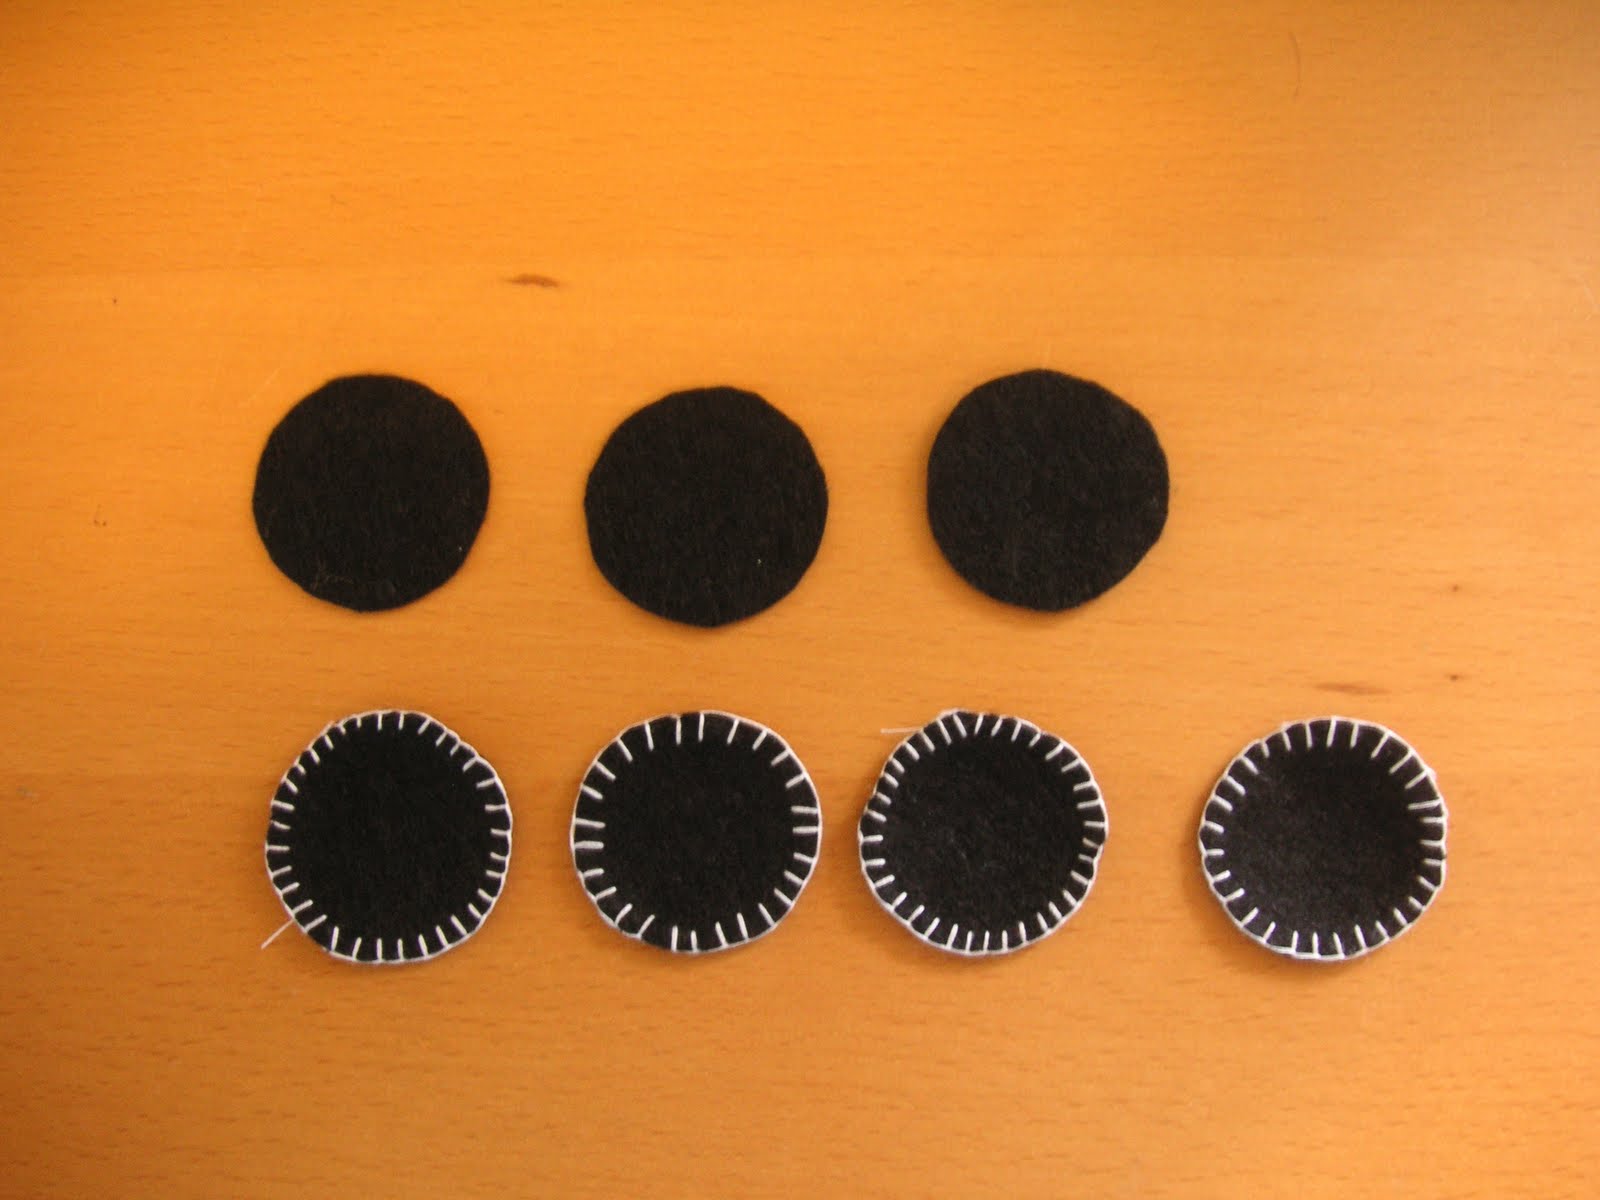
Now cut out some black felt circles to stick on the front of your birdy house (as the hole) I blanket stitched around mine to make them neater.
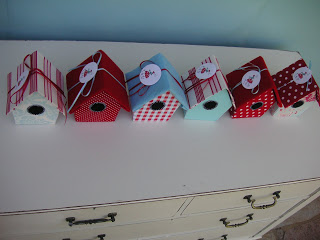
Glue the circle on the front of the birdy house and glue one side of the roof down leaving the other end open. Once you’ve filled your house with treats you can close the roof by tying a ribbon around the house and roof (see my Bird Party blog post to see what I mean).
~ Leoni
For gift ideas for everyone on your list, check out the Gift Ideas tab and be sure to pin Gift Idea Central, to keep the whole collection in one place.
