

Hey there. I’m Pam. I’ve had my own PR/Marketing/Advertising firm (Speakeasy) for 17 years. I live on the Seacoast of New Hampshire (yup, we have a coastline……all 19 miles of it) with my Irish husband of almost 24 years, Garrett and our hound dog Lucan (‘Luke-In’). I met my Dublin born husband while attending college in the Bronx (holla for Mount Saint Vincent!) and we still visit NYC as often as we can. We also visit Dublin as often as we can, though we’re still hoping to hit the lottery so we can up that to ‘whenever we want’.

When I’m not creating I like to spend my time doing things that make me smile including (and in no particular order) watching our unbelievable sunsets, swimming in our pool (not now because it’s currently doubling as a skating rink), beachcombing, playing Yatzhee or dominoes with the G-Man and doing the ‘I Beat You’ Dance, laughing-laughing-laughing-and more laughing, walking the dog in the field, enjoying a frozen Margarita (with salt please) or Cosmo, taking photographs, watching the Bruins (and just about any other sport that’s on), hanging by the campfire out back, singing and dancing to YouTube, dreaming of visiting Rome again, cooking up a storm, and spending as much time as possible with family and friends. Oh yeah, and blogging on Mercantile Muse, which is my little corner of the world where I dish about design, food, antiques and vintage, creativity, home, art, crafts, interior design, the wealth of talent on etsy, and all the things that make my life grand. Stop by, we love company.
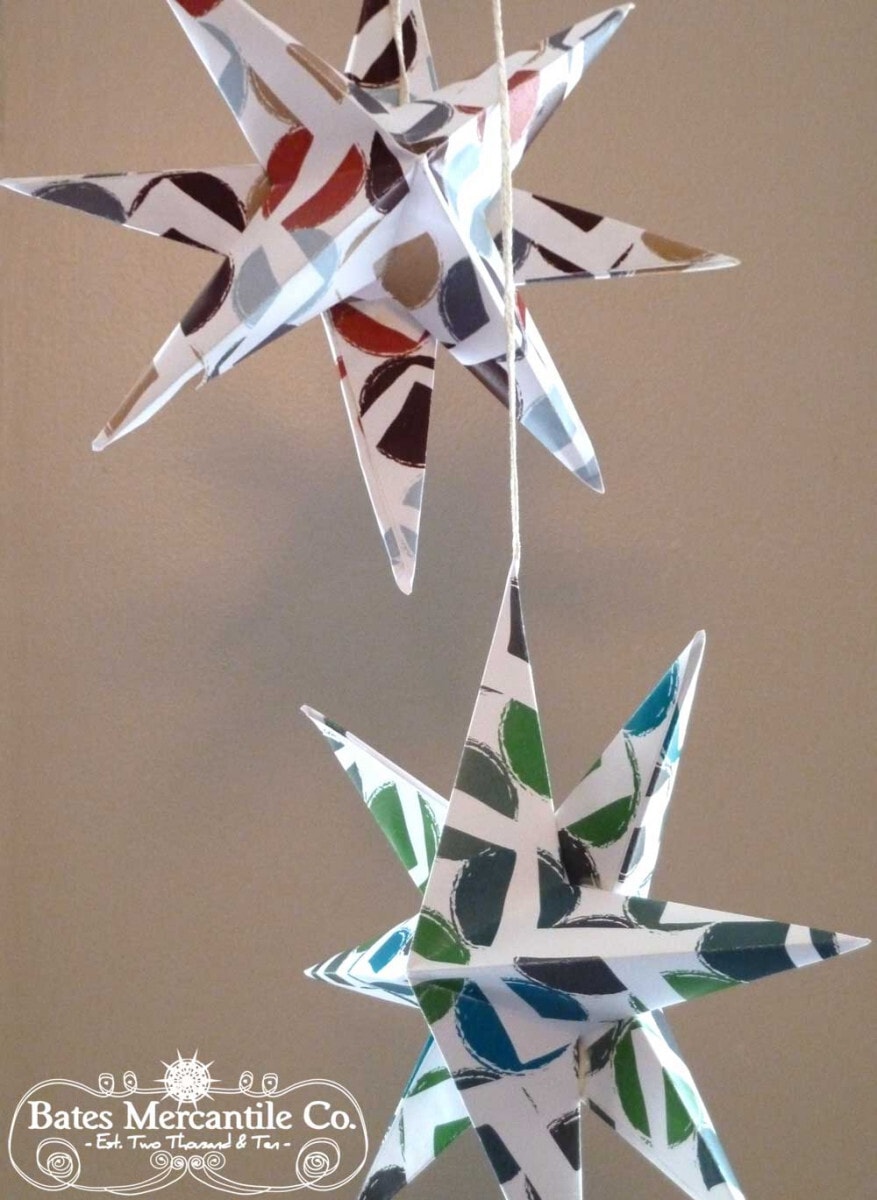
Be A Star, or For That Matter…….Make One
You’ll need:
two pieces of square paper- you could use origami paper (I used a 32 lb. printer paper)
scissors
glue
ruler
string, ribbon or twine
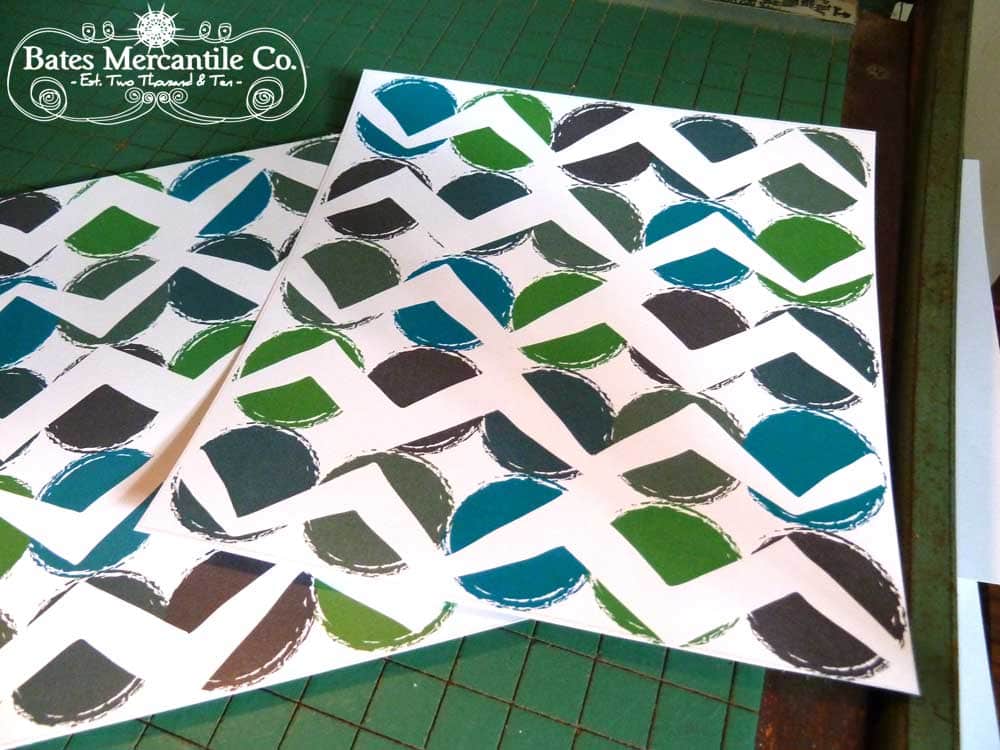
I printed off one of my illustration designs to use for my paper.
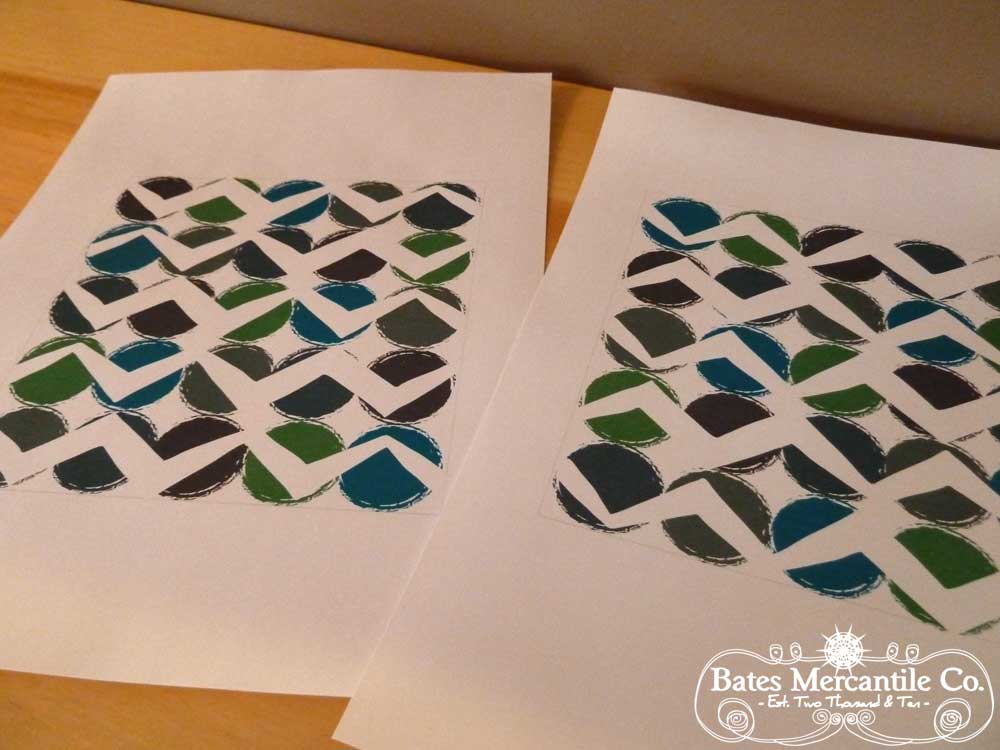
Then I trimmed it to 6 x 6, but you could use any square size.
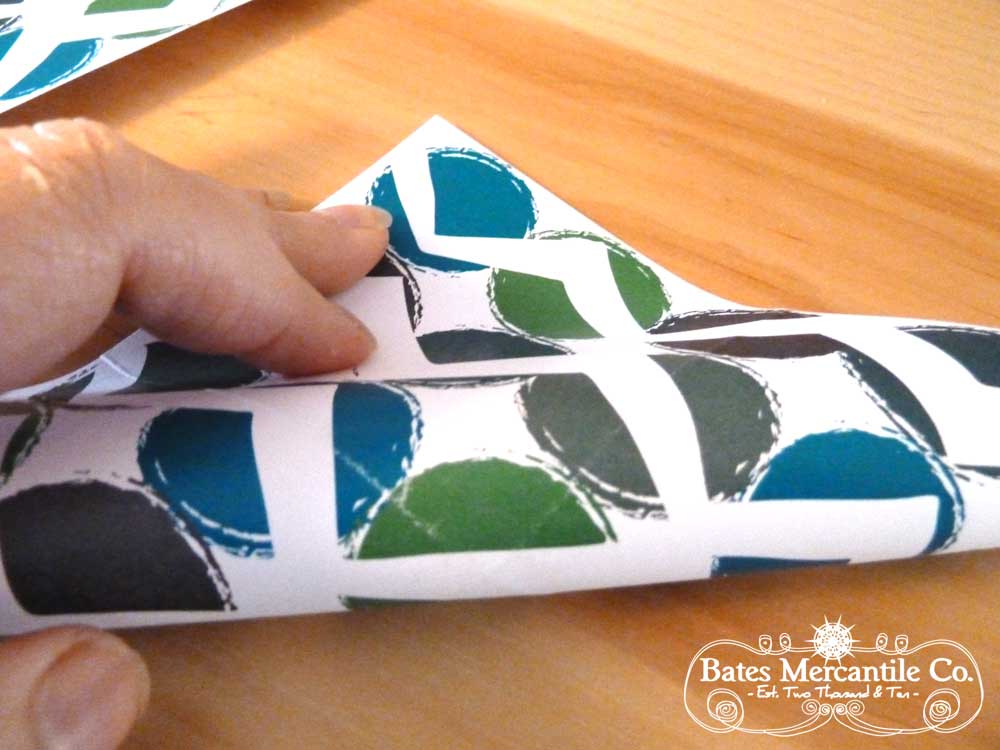
Fold your paper in half.
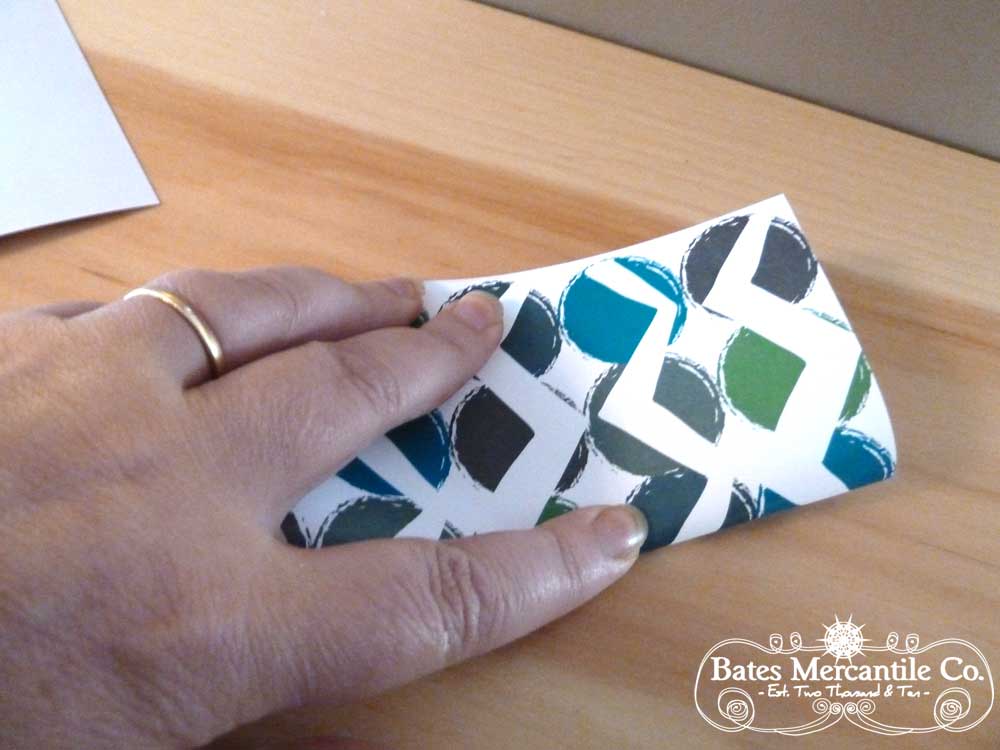
Then fold in half the other way, so you now have folds on your paper like this.

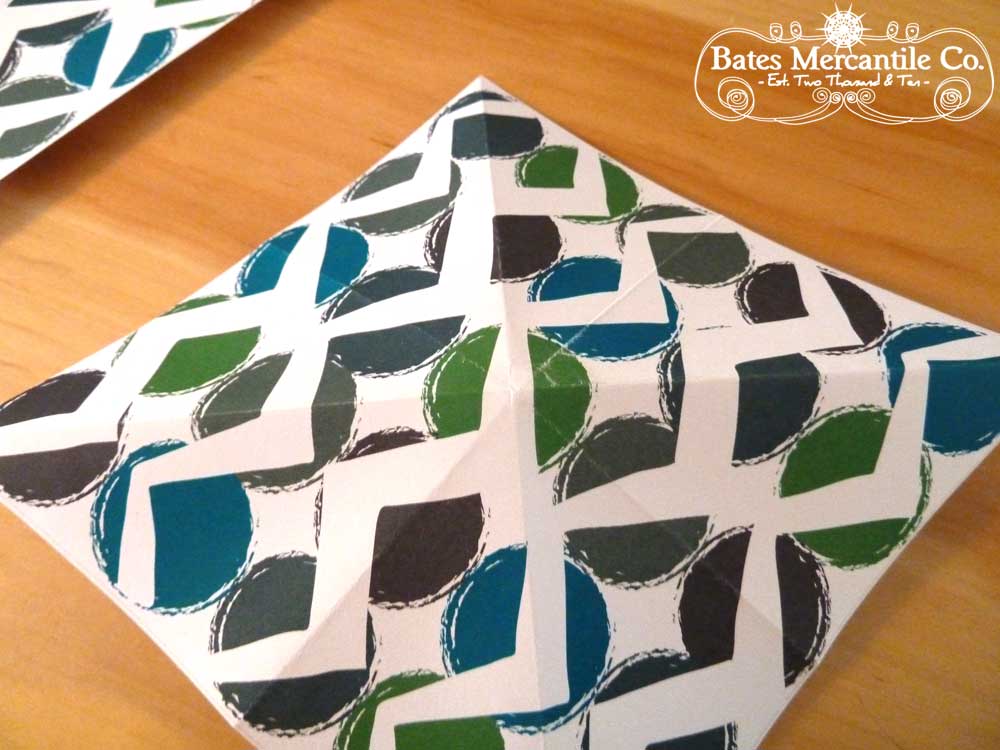
Next step is to fold corner to corner.
Again, now fold from other corner to corner so you fold lines now look like this.
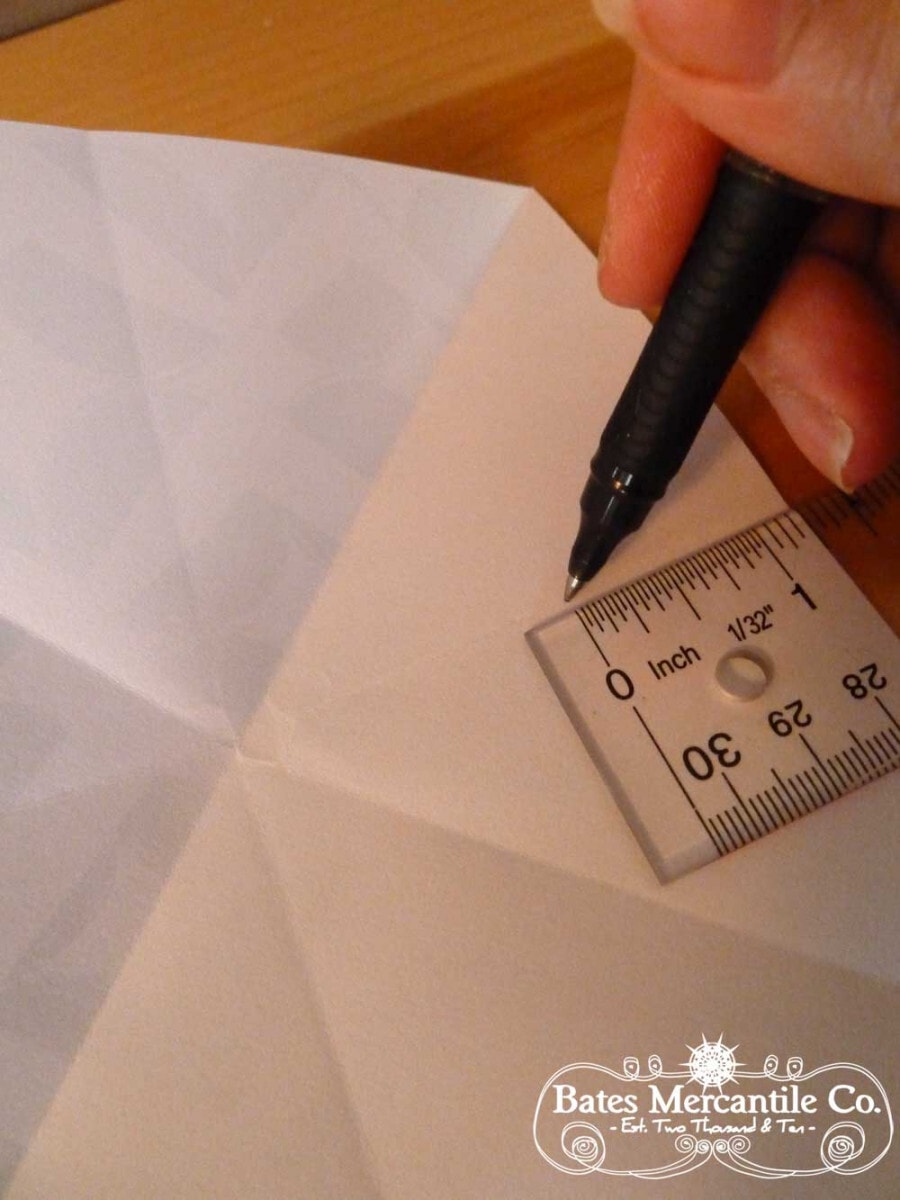
On lines coming from sides (not corners), make a just shy of halfway. On my 6 x 6 square, I marked at 1.25.
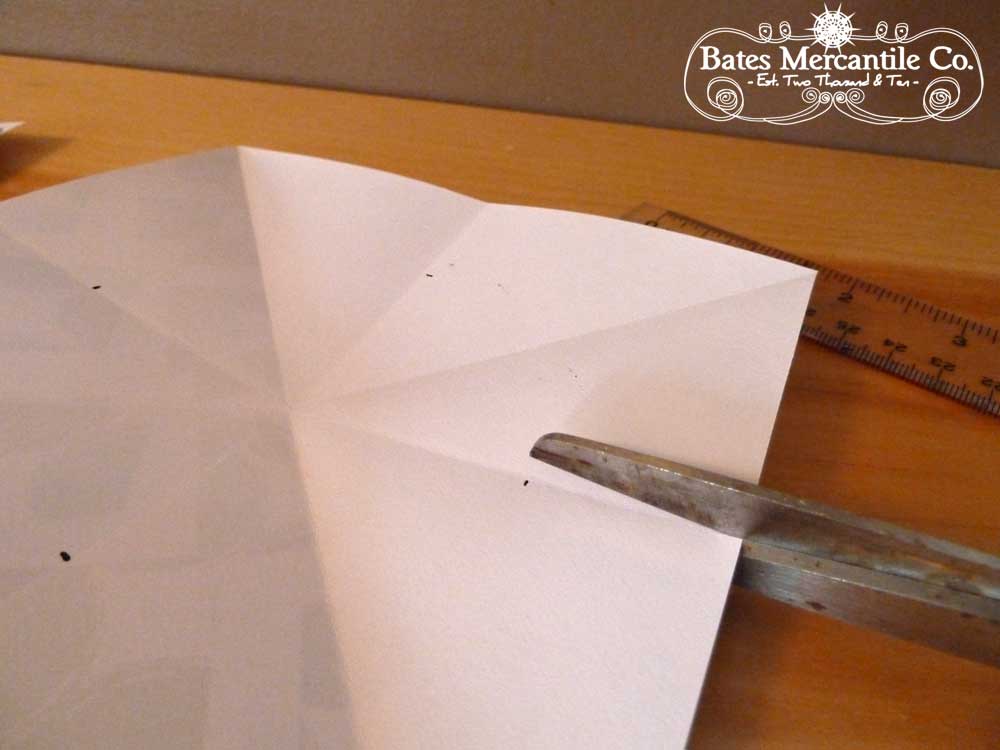
Continue until each side is marked, like this.

Cut along line to each mark.
Once lines are cut, fold over to line coming from corner.
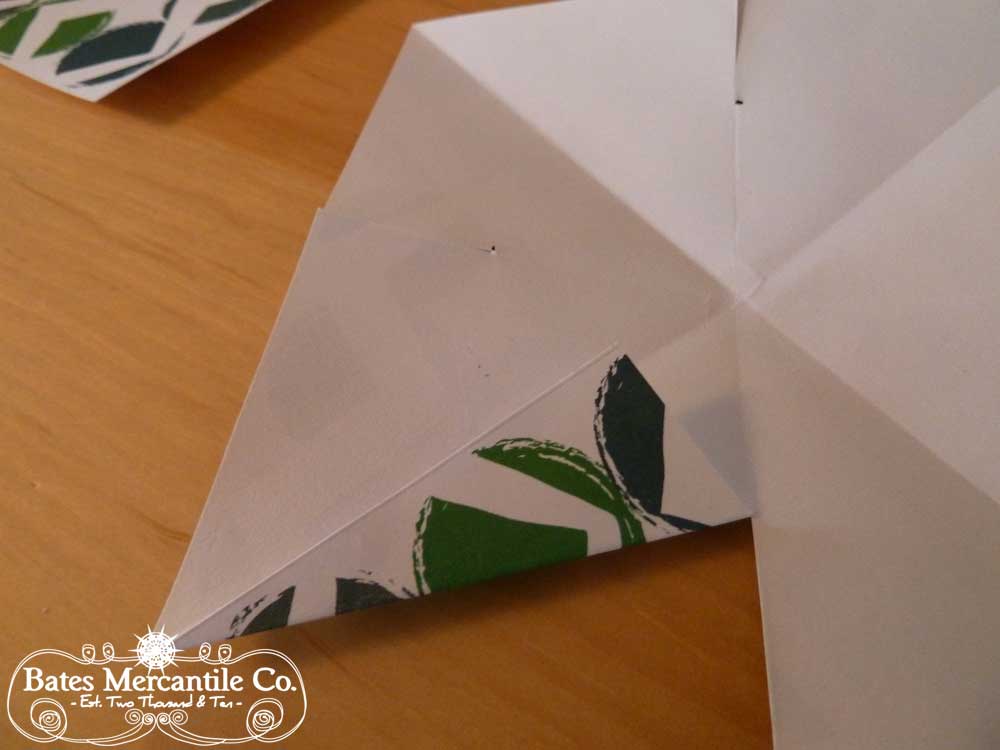
Do this all the way around until your paper looks like this.
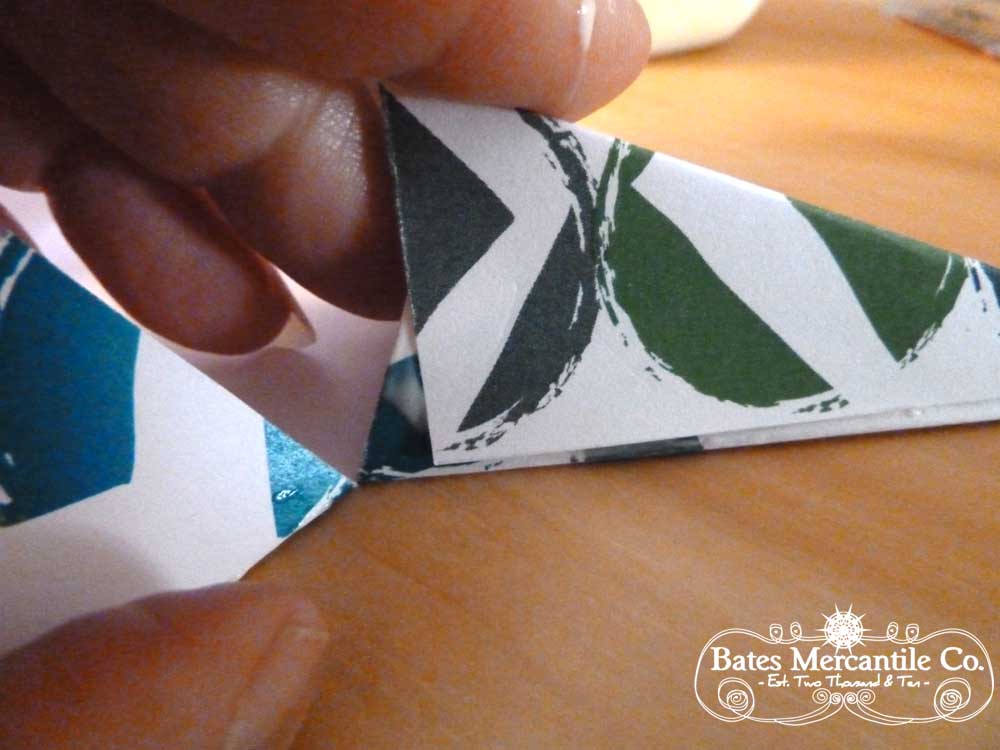
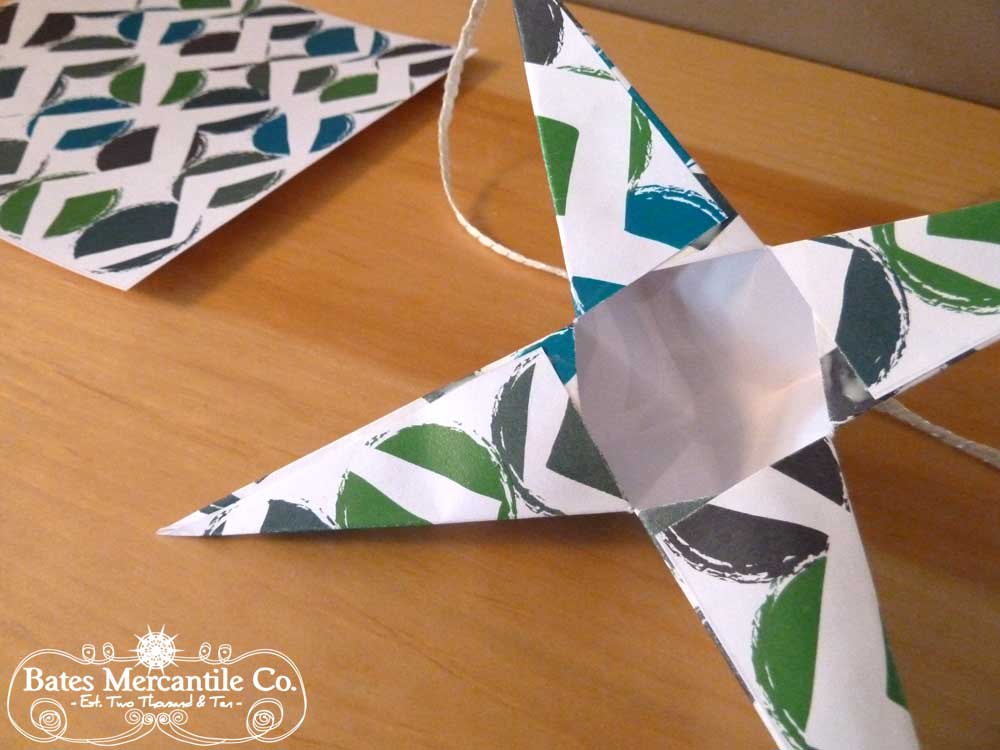
Now glue one flap at each ‘star’ point, and pull other flap over and hold until glue is set.

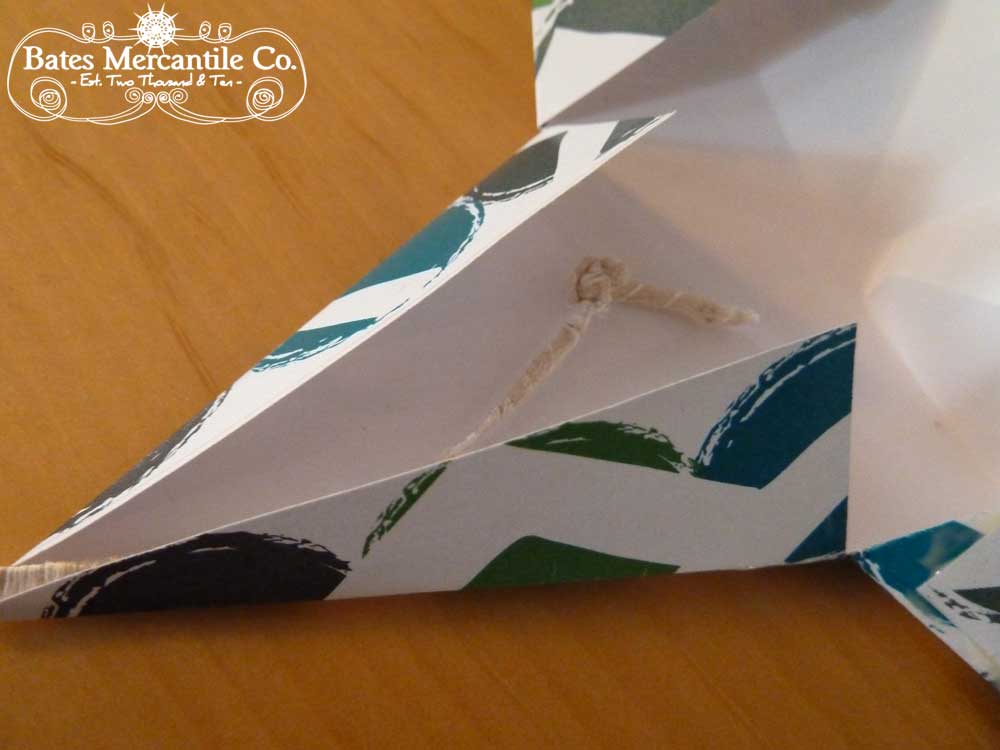
Choose one point to insert twine in before completing all sides.
Complete rest of points.
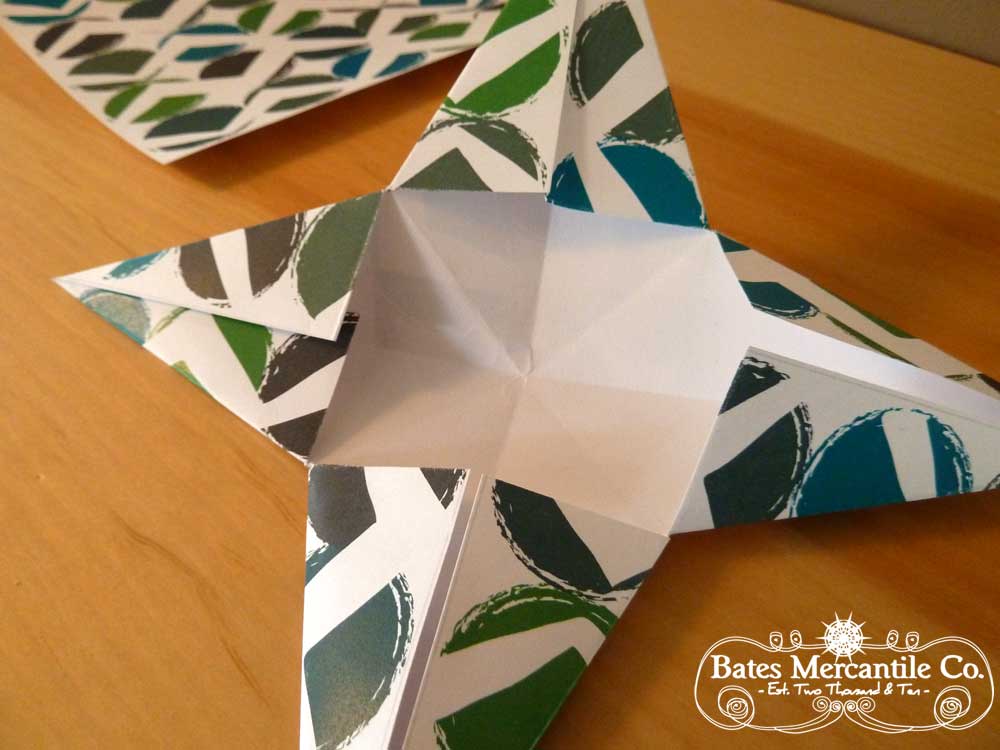
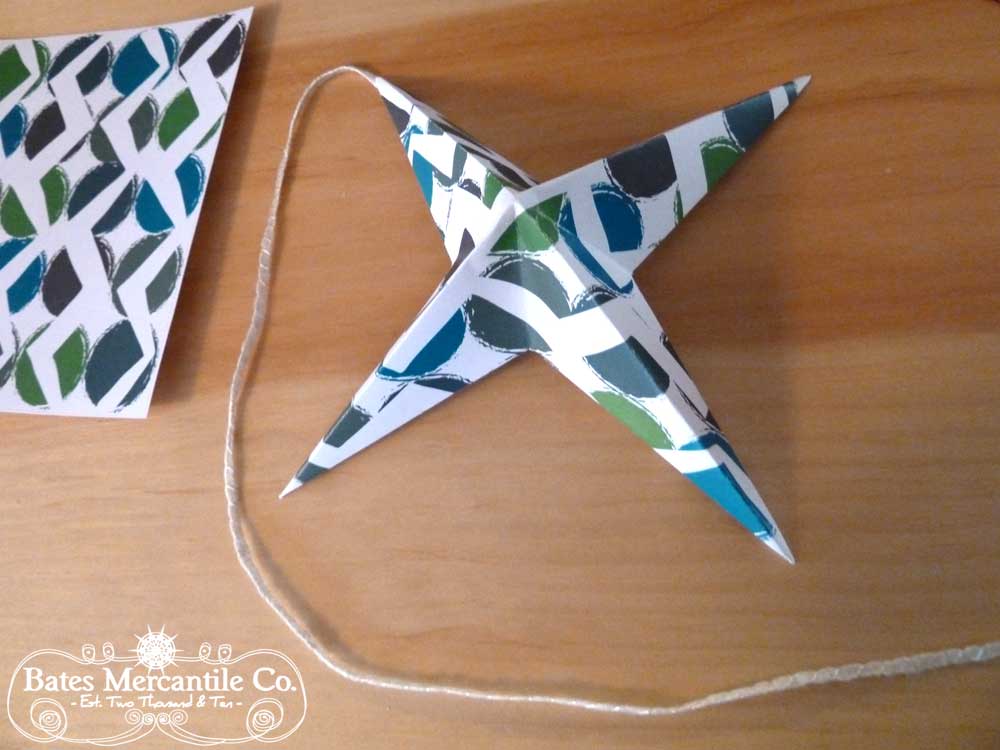
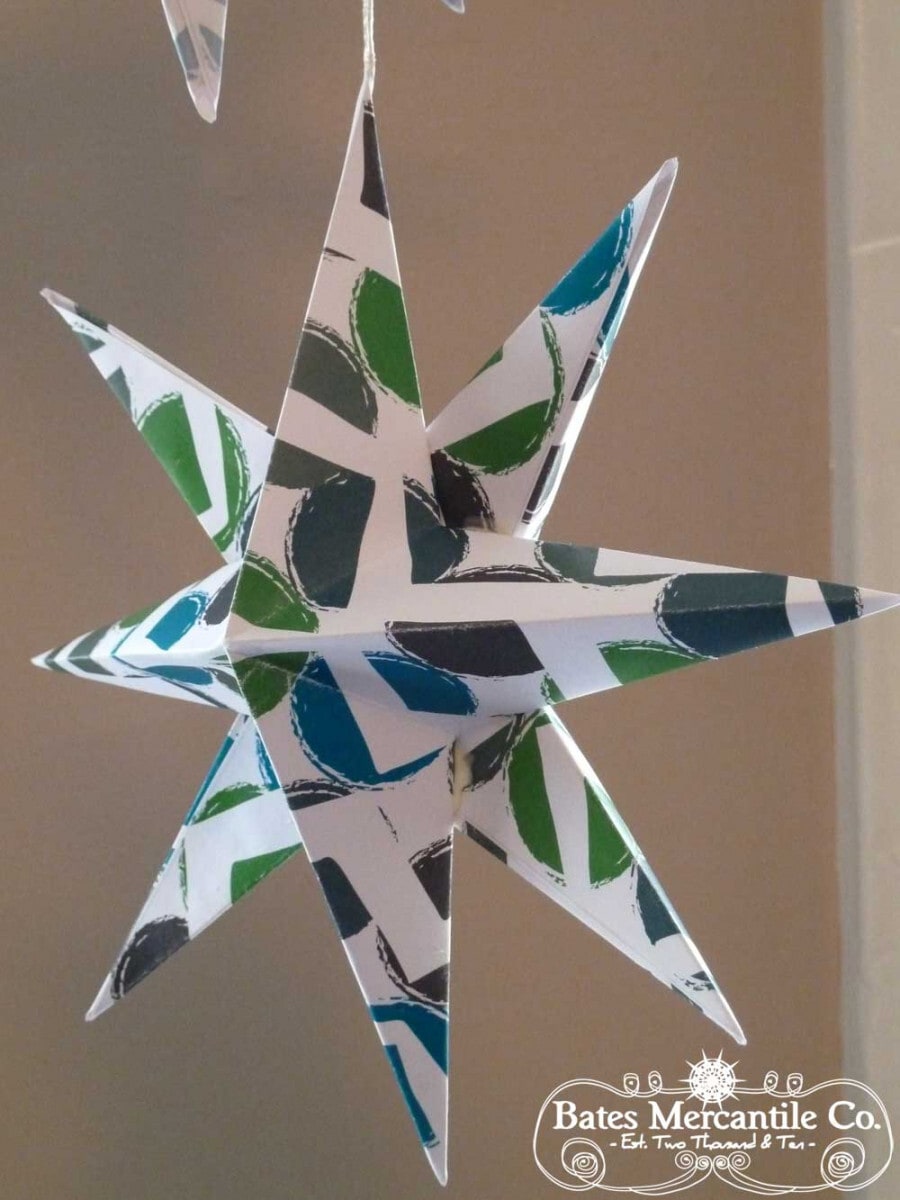
You now should have a 3 dimensional star that looks like this on one side………
……..and this on the other.
Repeat this process, except for the twine, to make another star. Once you have two stars you are going to glue together. Place glue like this.
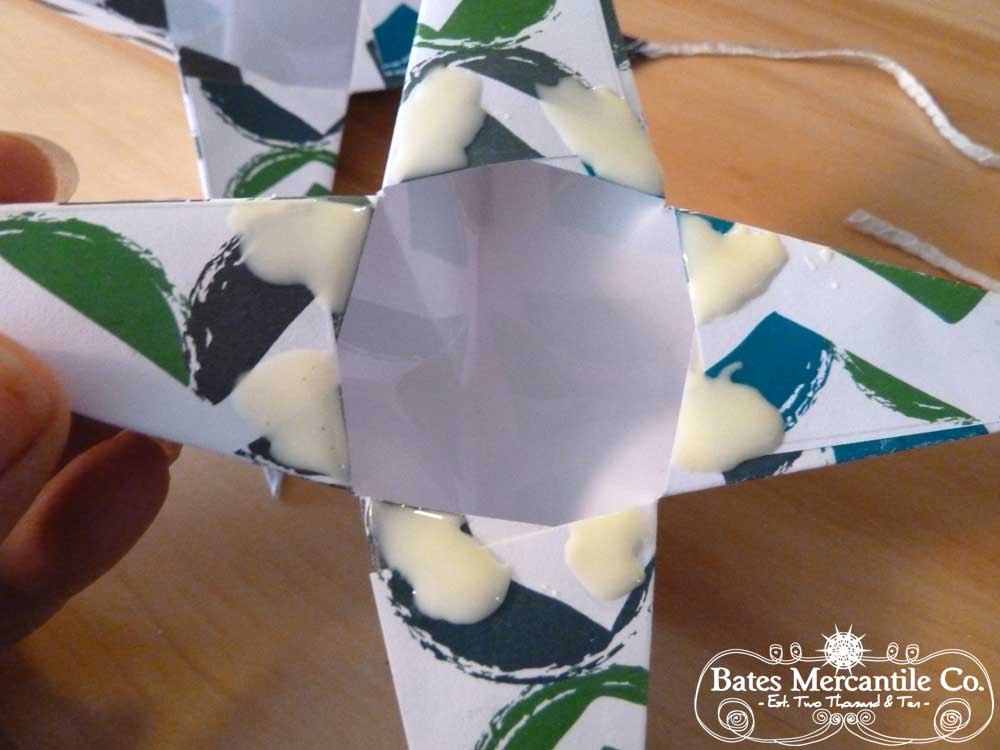
Gently press two stars together and hold in place until glue sets.
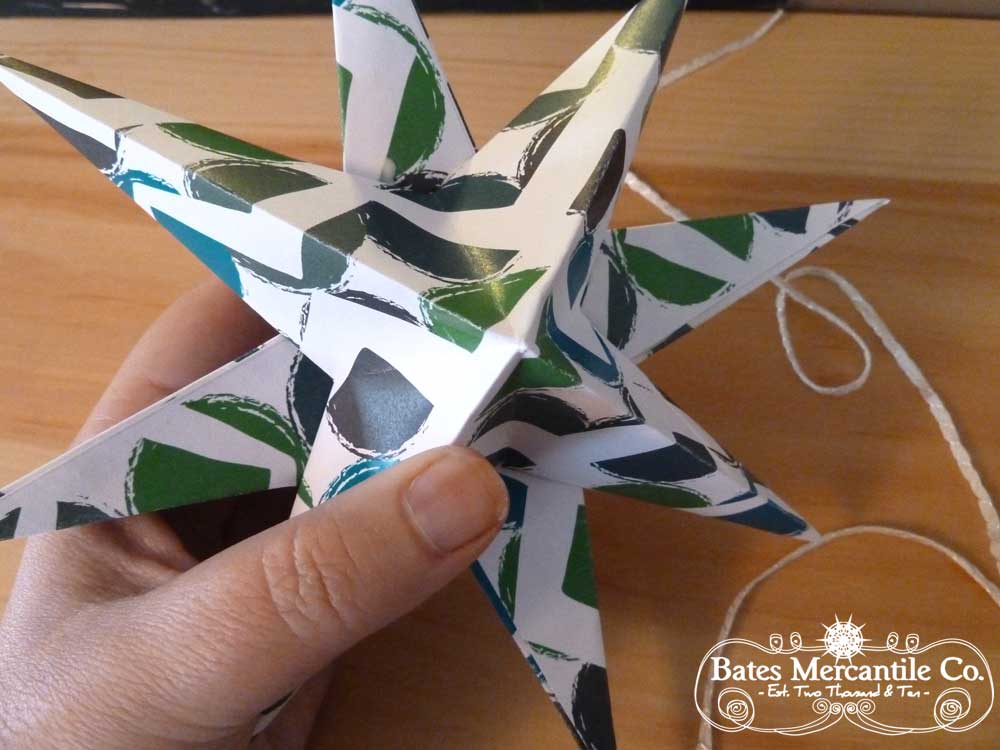
Wait 10 minutes before hanging to be sure glue is set enough.

Decorate with your new star as you see fit.
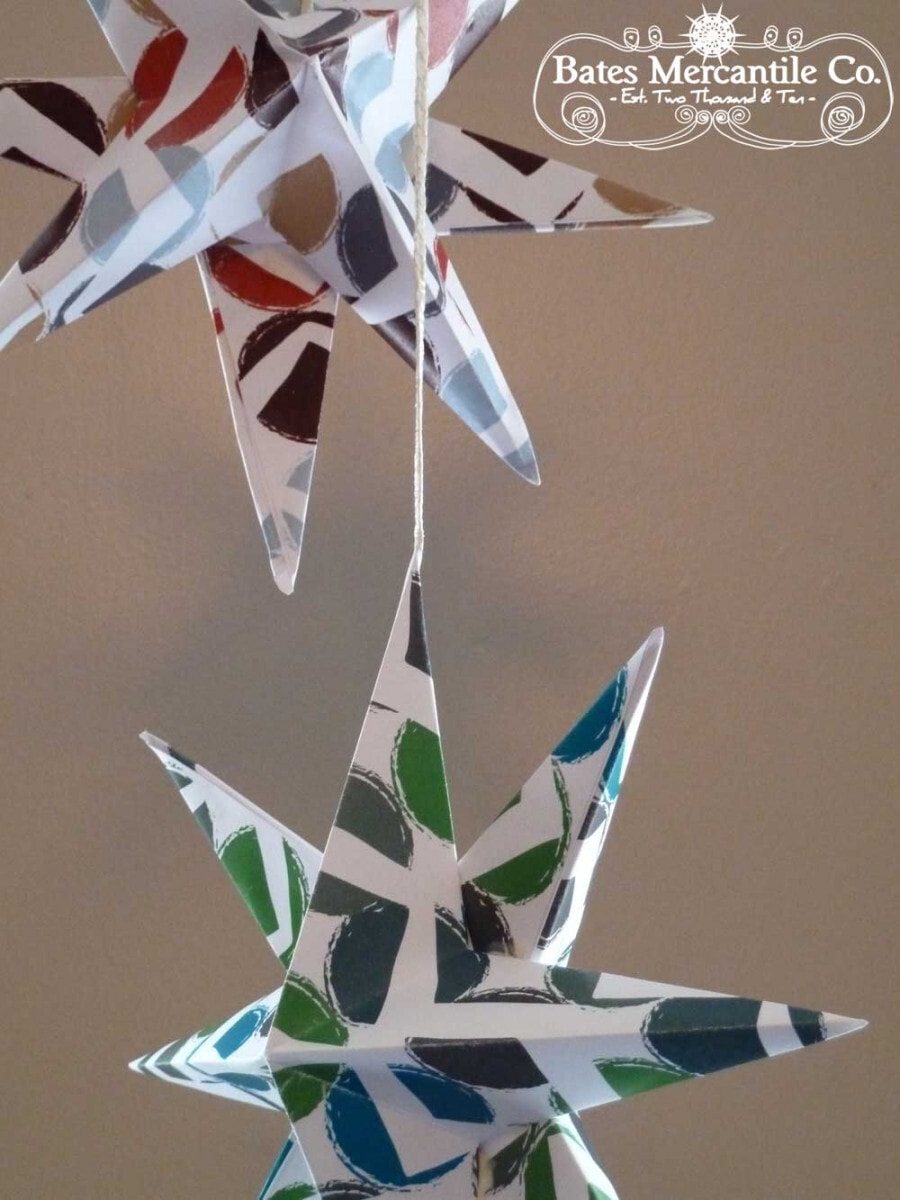
Hang a lone star or……………….
…….hang in a grouping.
Click below and right click to save to your computer or copy and paste into a document.

I would have tried the 8×8 paper design, but was doing my best to follow original tutorial from Pinterest to a T. FYI- I did use a little bit heavier 32 lb. printer paper, but you could certainly try it with regular printer paper. I think by the time the stars are folded and glued, it would have enough stability.
What are you waiting for? Give it a try!
~ Pam
