

I’m Brandy. A wife and a mother with a love for all things domestic. Being in the Coast Guard, we move around every few years, but two things remain constant. Our home and family. At Gluesticks, you’ll find ideas to create a house a home. Whether you are interested in new recipes, kids crafts, family activities or simple sewing projects, we welcome you!
I was very excited to come across this recipe online a few weeks ago! Butterfingers are one of my favorite treats, but I’ll admit that I was hesitant when it only had 3 ingredients and one of the ingredients was candy corn. Sounded strange. I LOVE candy corn….but only because it is so bright and festive. I really don’t care to eat it, so this is perfect. I can have my candy corn in cute jars for Halloween decor, then use it to make something sinful 🙂
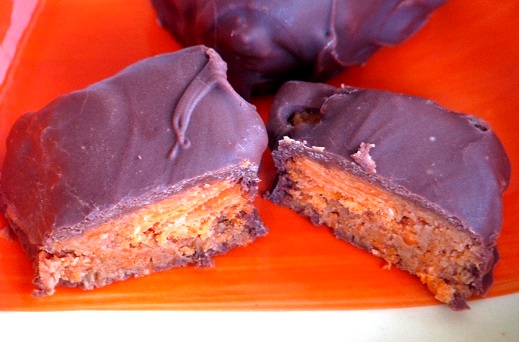
But believe me, these are the real deal. So delicious! And simple to make. I wasn’t sure if an 8×8 pan would be enough for me to get my Butterfingers fill, but they are very rich and we shared with friends as well.
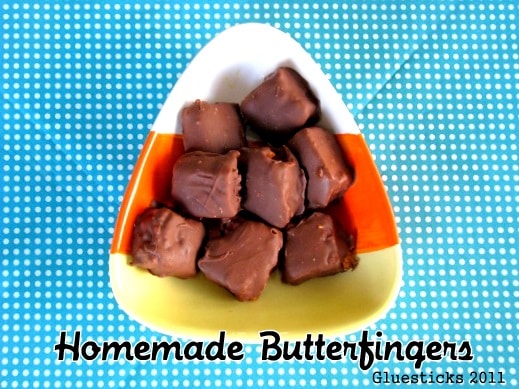
Candy Corn Butterfingers
Candy Corn Butterfingers (she: Brandy)
Ingredients
- 1 lb. candy corn
- 16 oz jar peanut butter about 2 cups
- 16 oz pkg. chocolate candy coating or milk chocolate chips
Instructions
-
Melt candy corn in microwave on high 1 minute.
-
Stir and continue cooking in 15-second intervals til melted, stirring after each interval.
-
Stir in peanut butter.
-
Spread mixture in an 8x8 pan lined with parchment.
-
Cool completely. I refrigerated mine to speed up the process.
-
Cut into squares.
-
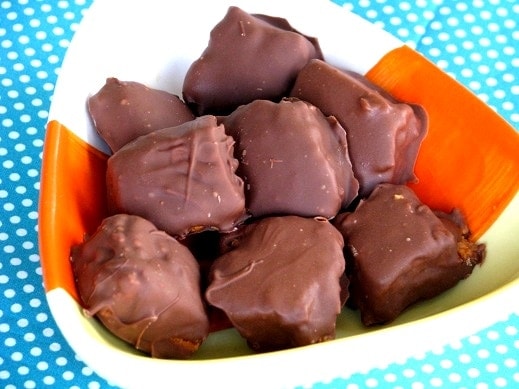
Dip in melted chocolate candy coating.
-
Lay on waxed paper to set.
Recipe Notes
I found that it helped to refrigerate the candy corn/peanut butter mixture every few minutes while I was dipping the squares in the chocolate. They would start to soften and get sticky. 5 minutes in the refrigerator cured that and made them easy to dip again. These would be fun on lollipop sticks as well.
Enjoy!
~ Brandy
%20~%20from%20Gluesticks%20via%20www.oneshetwoshe.com%20 "Pin It")