Hello all you Or So She Says readers! Hope you all had a Merry Christmas and a Happy New Year! A Photo Watermark seems like a necessity in blogland these days, and today I am going to show you how to make your very own watermark using software that most likely is already on your computer. The software that I use is Microsoft Publisher, and it comes standard with most versions of Windows.
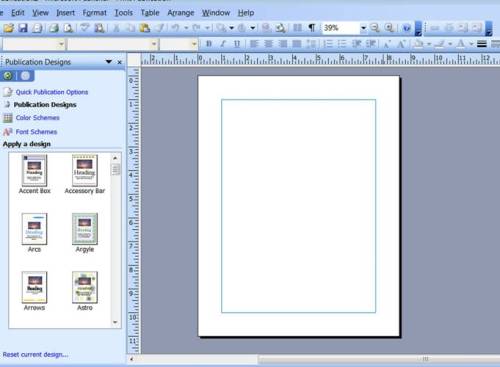
To design a watermark, first open up a new Microsoft Publisher document.
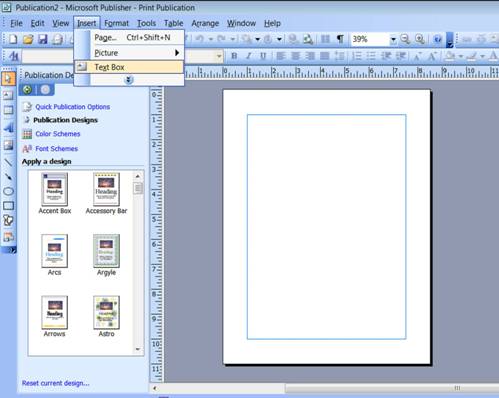
Next, go to INSERT and click TEXT BOX.
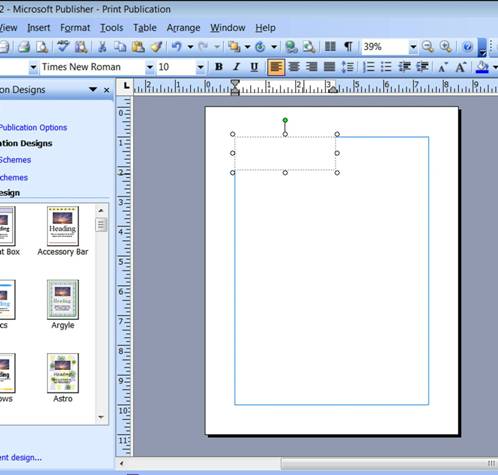
Using your mouse, stretch the text box open to your desired size.
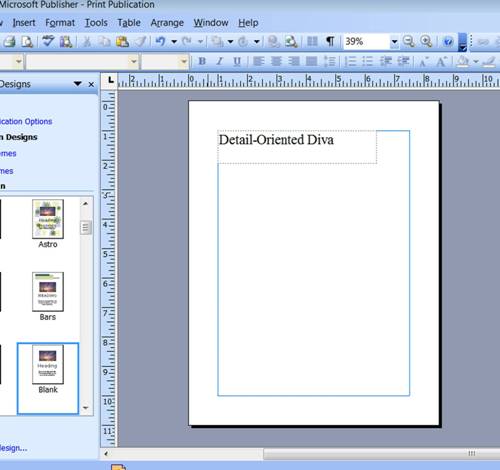
Once you have sized your text box, you can now type inside the box.
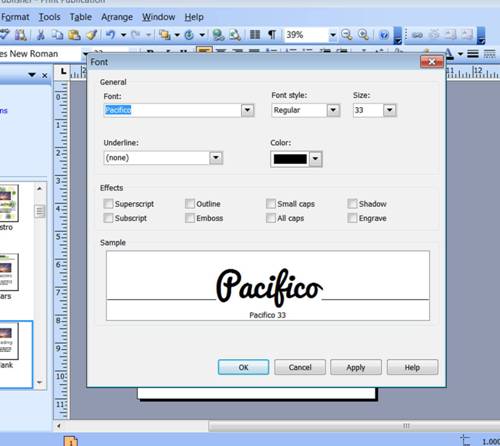
If you would like to change your font, just select the text with the mouse and go to FORMAT and click on FONT. A window like this should pop up and you can change what you wish. I made my font size 33. Keep it black if you would like to be able to change the color of the watermark at some point.
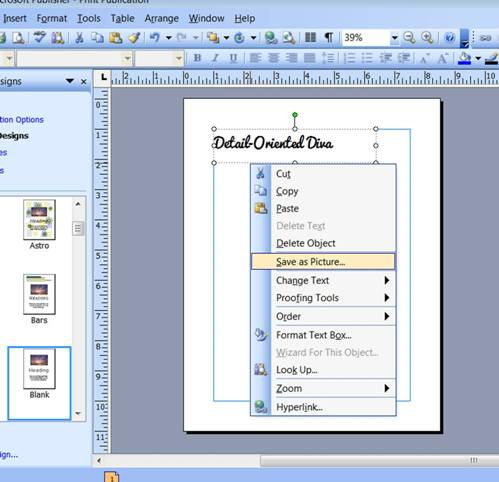
Once you have made your desired changes to the text, highlight the text box and right click. A window like this one should pop up. Click on SAVE AS PICTURE.
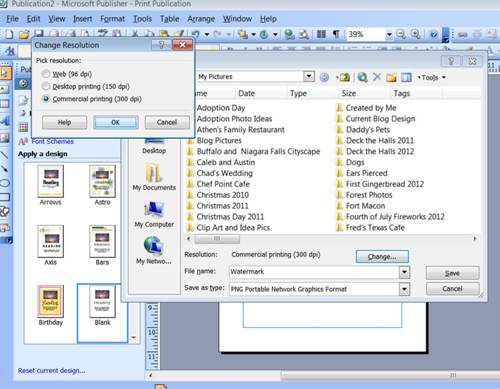
Depending on what version you have, it might automatically try to save the image as a PNG. If not, change it to PNG at Commercial Printing quality.
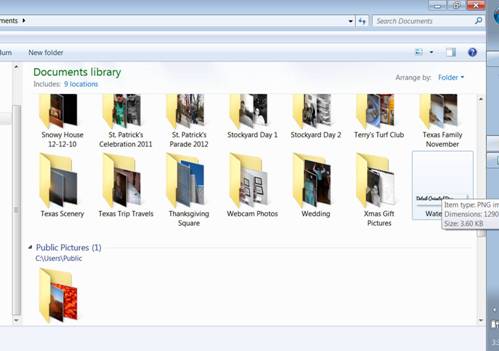
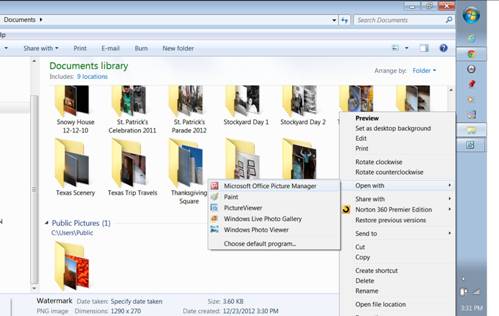
When you have saved your watermark image, find it wherever you saved it and right click on it.
Then click OPEN WITH and select MICROSOFT OFFICE PICTURE MANAGER.
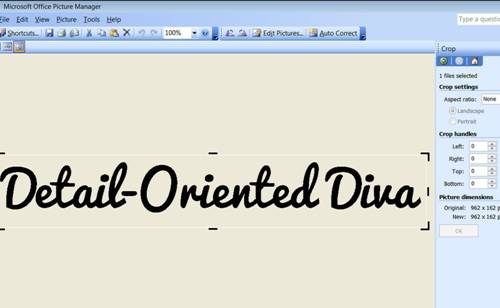
Once you are inside the picture manager program, click on EDIT PICTURES.
Next, you will need to crop your image as closely as possible. Then save the image.
To use your photo watermark with a photo editing site like Picmonkey:
Upload your picture that you are wanting to add the watermark to and edit as usual.
Next, click on the overlay shapes icon and it will give you the option YOUR OWN on top. Upload your photo watermark.
Your transparent photo watermark should now be there. You can change your color with the selector in the window that pops up.
I changed mine to white. You can also adjust your size and other elements as well.
Now, you are done. Just click SAVE and save it to your computer. Please note that your watermark will only show a true color change if it is originally done in black.
Hope you all enjoyed this little tutorial. You can see more of my Publisher Tutorials at my site Detail-Oriented Diva.
Looking for more blogging tips?? Check out some of these past posts:


%20www.oneshetwoshe.com "Pin It")