The inspiration for this project was from Nelly’s thread art post (fraufertig). Originally, I thought I would made our last name initial for our dining room, but since we are working on finishing our bedroom (hopefully that post will come soon), I decided we needed to get some artwork on the walls in there first. I wanted something romantic and ever since I saw this video, I have loved this phrase…
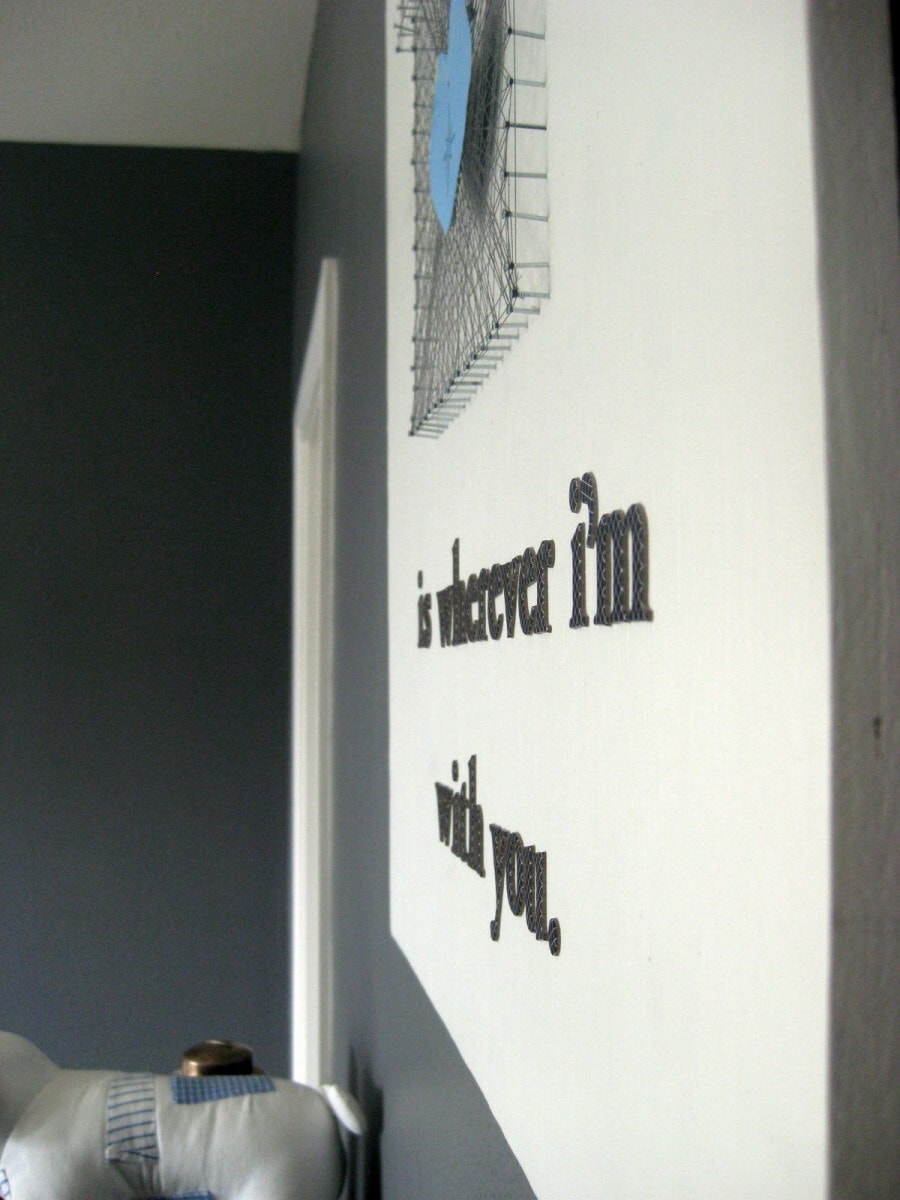
Here is the original song. Love it! All marriages have their ups and downs,twists and turns, but through it all, home is how I feel about my husband. Hence, my thread art for our bedroom:

Okay, let’s go!
Materials needed:
1. Piece of wood. Mine is about 22″ x 24″. I bought a large piece of plywood from Home Depot for about $15 and had them cut it into a bunch of different sizes for several projects I am working on, but you can get just the smaller size you want for cheaper. The cutter-guy was great.He let me take my time figuring out what sizes I want and my son got to see wood being cut by a huge machine! Cool!
2. Paint in desired color. I primed mine and then painted it white. (free since I had it on hand)
3. Sand paper and block sander or power sander.
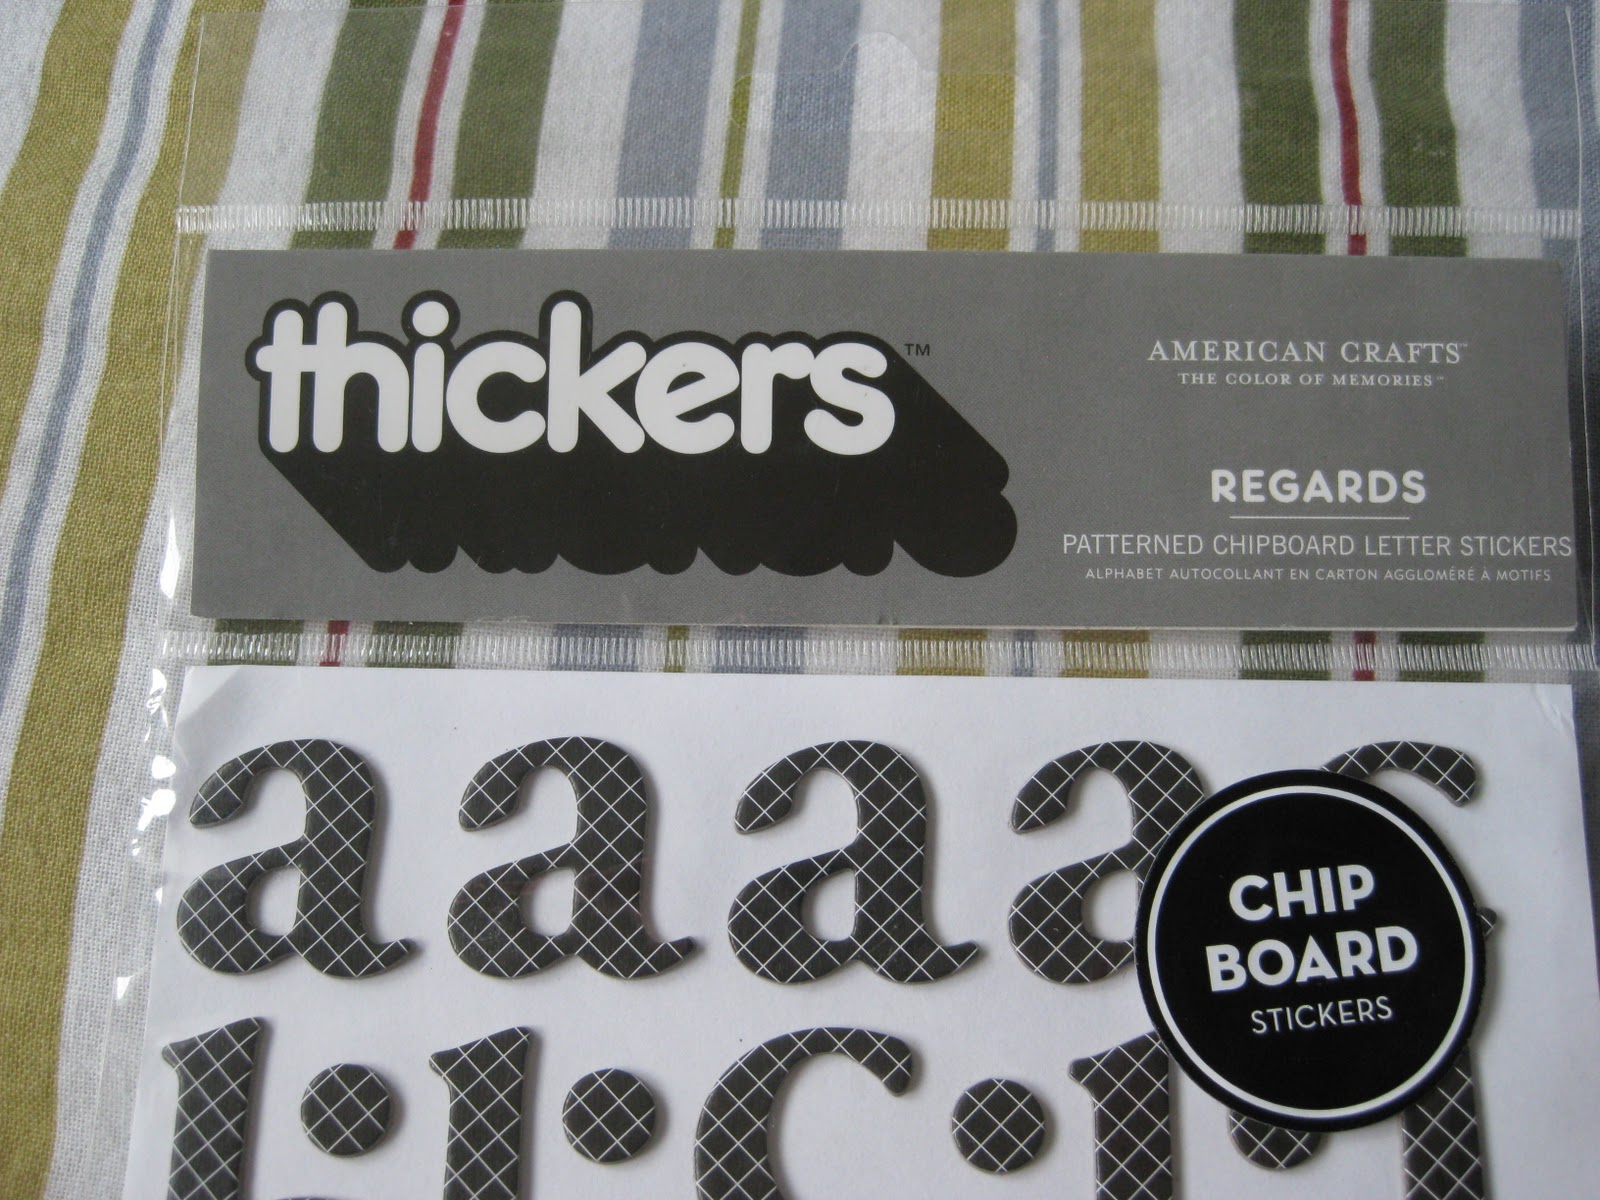
3. Lettering. If you have vinyl and a cool vinyl cutter, awesome. If not, like me, you can get letters from the scrapbook store. Mine were $5.
4. Thread. Strong. (also free since I had it on hand)
5. Little baby nails with heads. Mine were $1.50 at Home Depot.
6. Hammer.
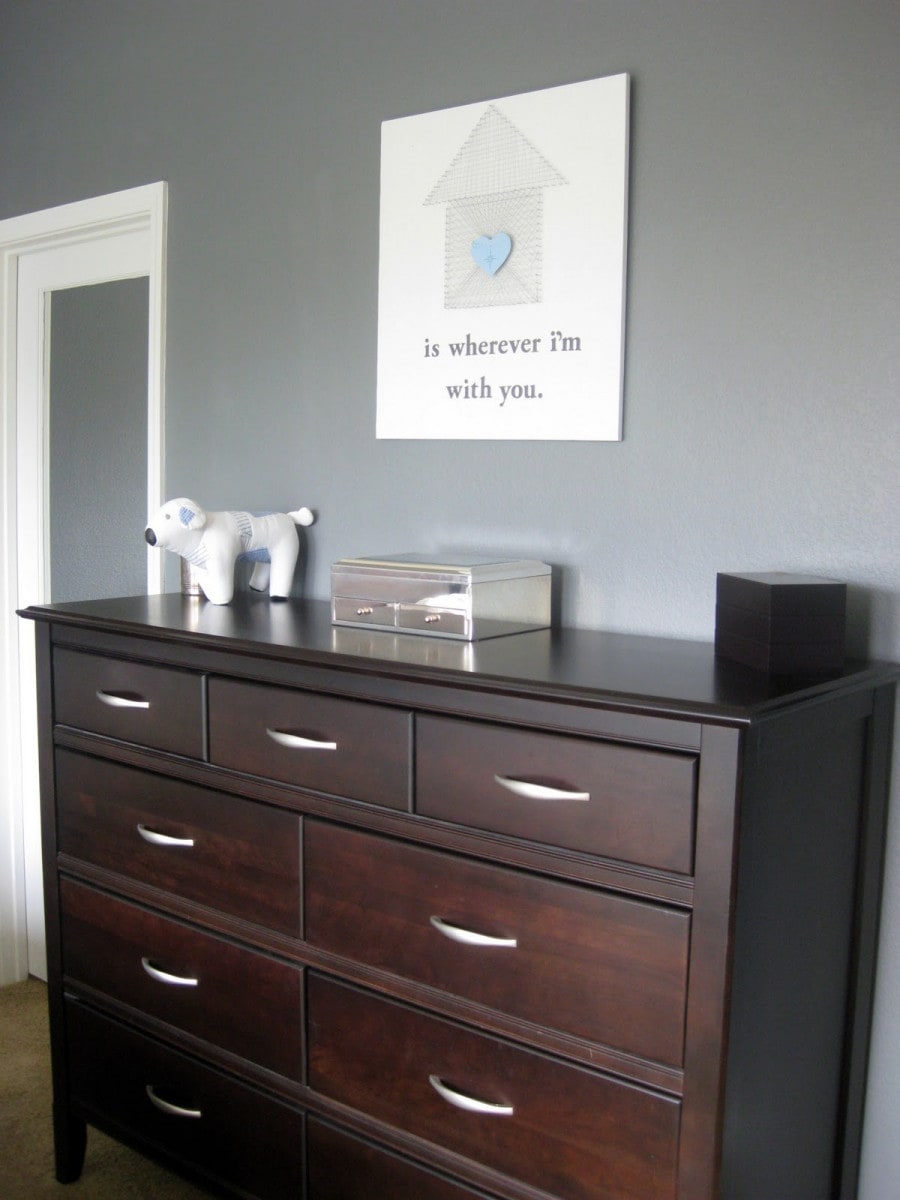
7. Hanging apparatus. I used 2 of the teeth-type hangers which I screwed in the back of the wood. Make sure that the screws are not longer than the depth of your plywood! You can do this first or after you are done.
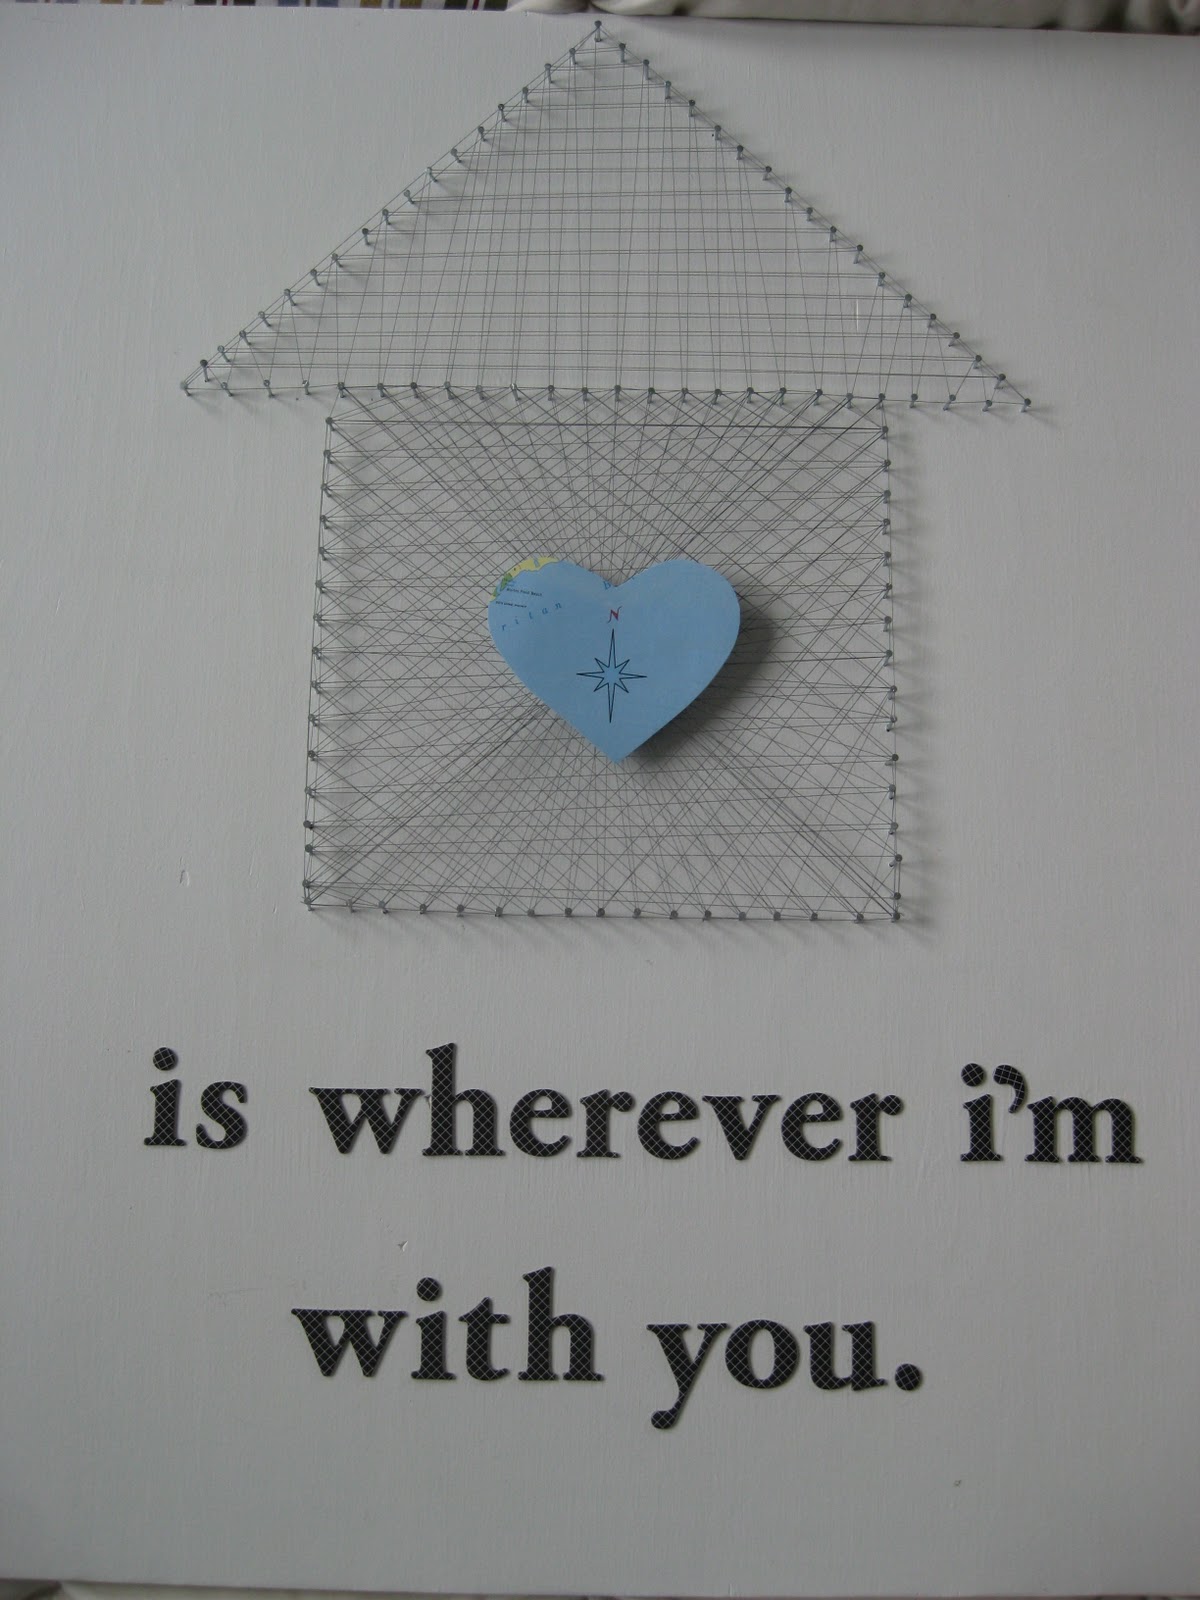
8. Map and thick backing paper for the heart.
9. Glue gun and glue sticks.
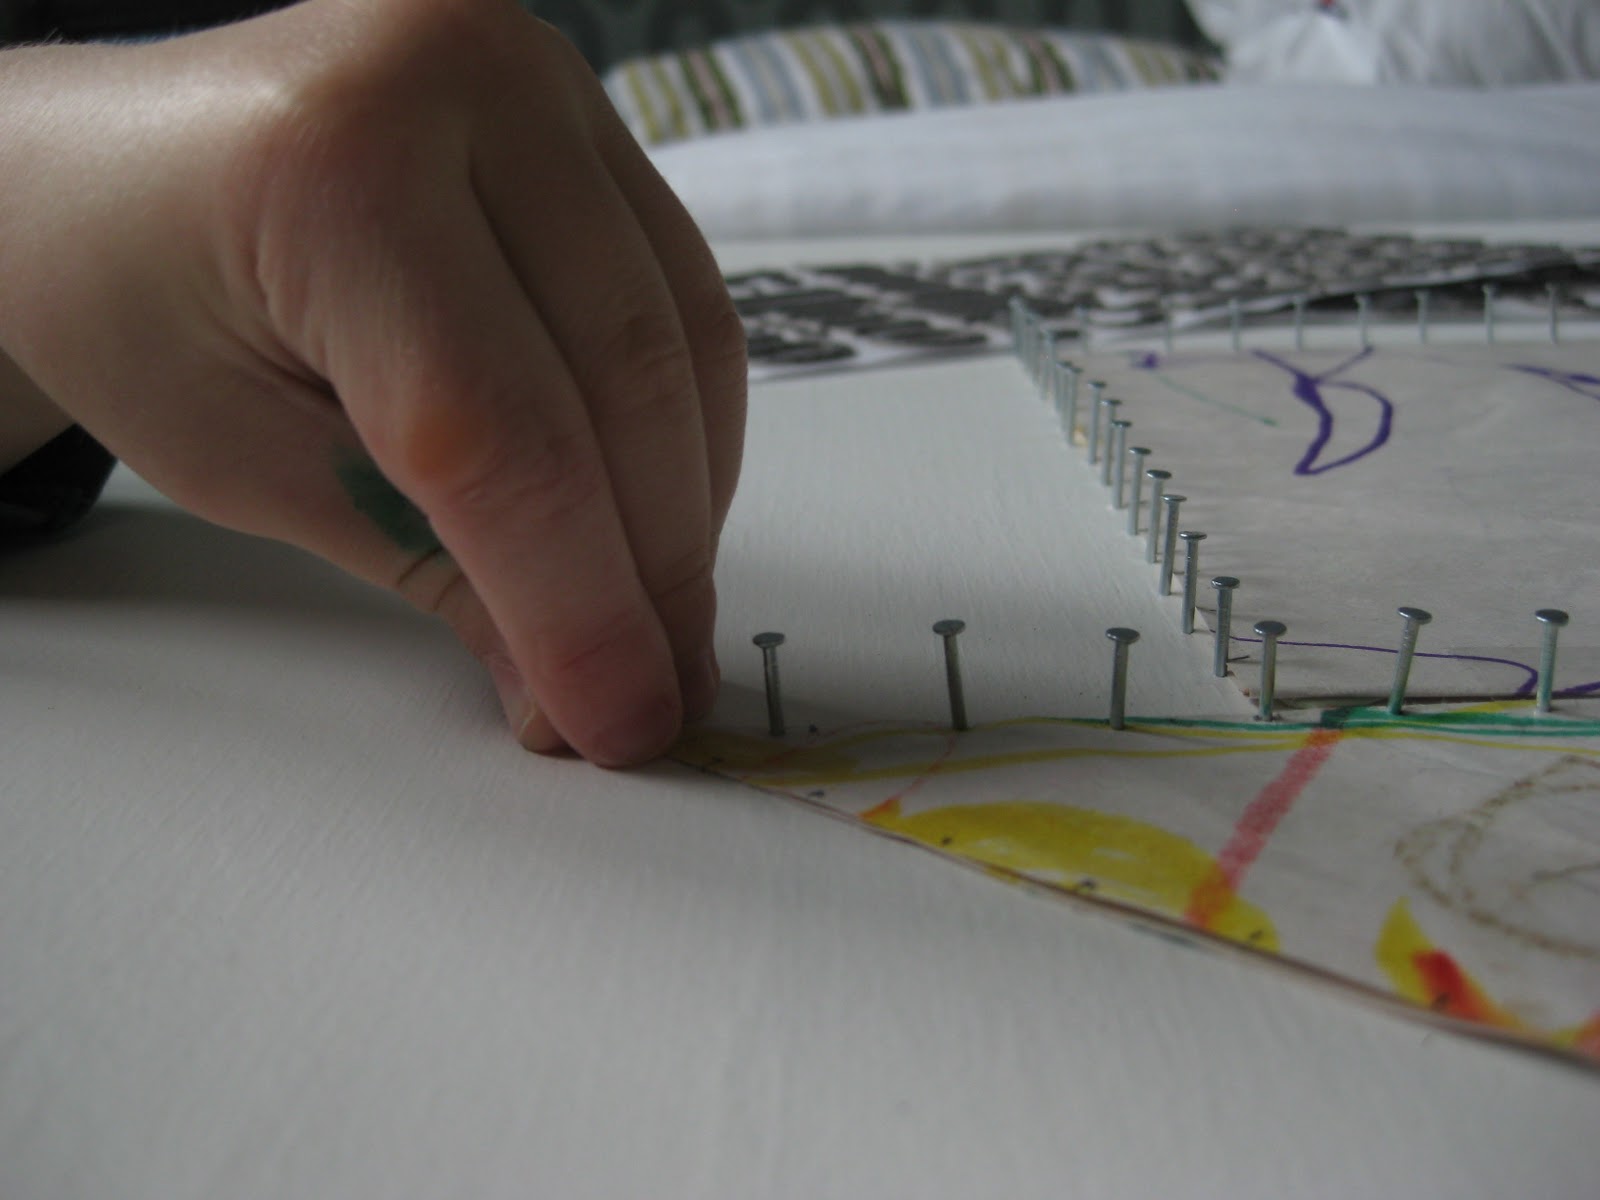
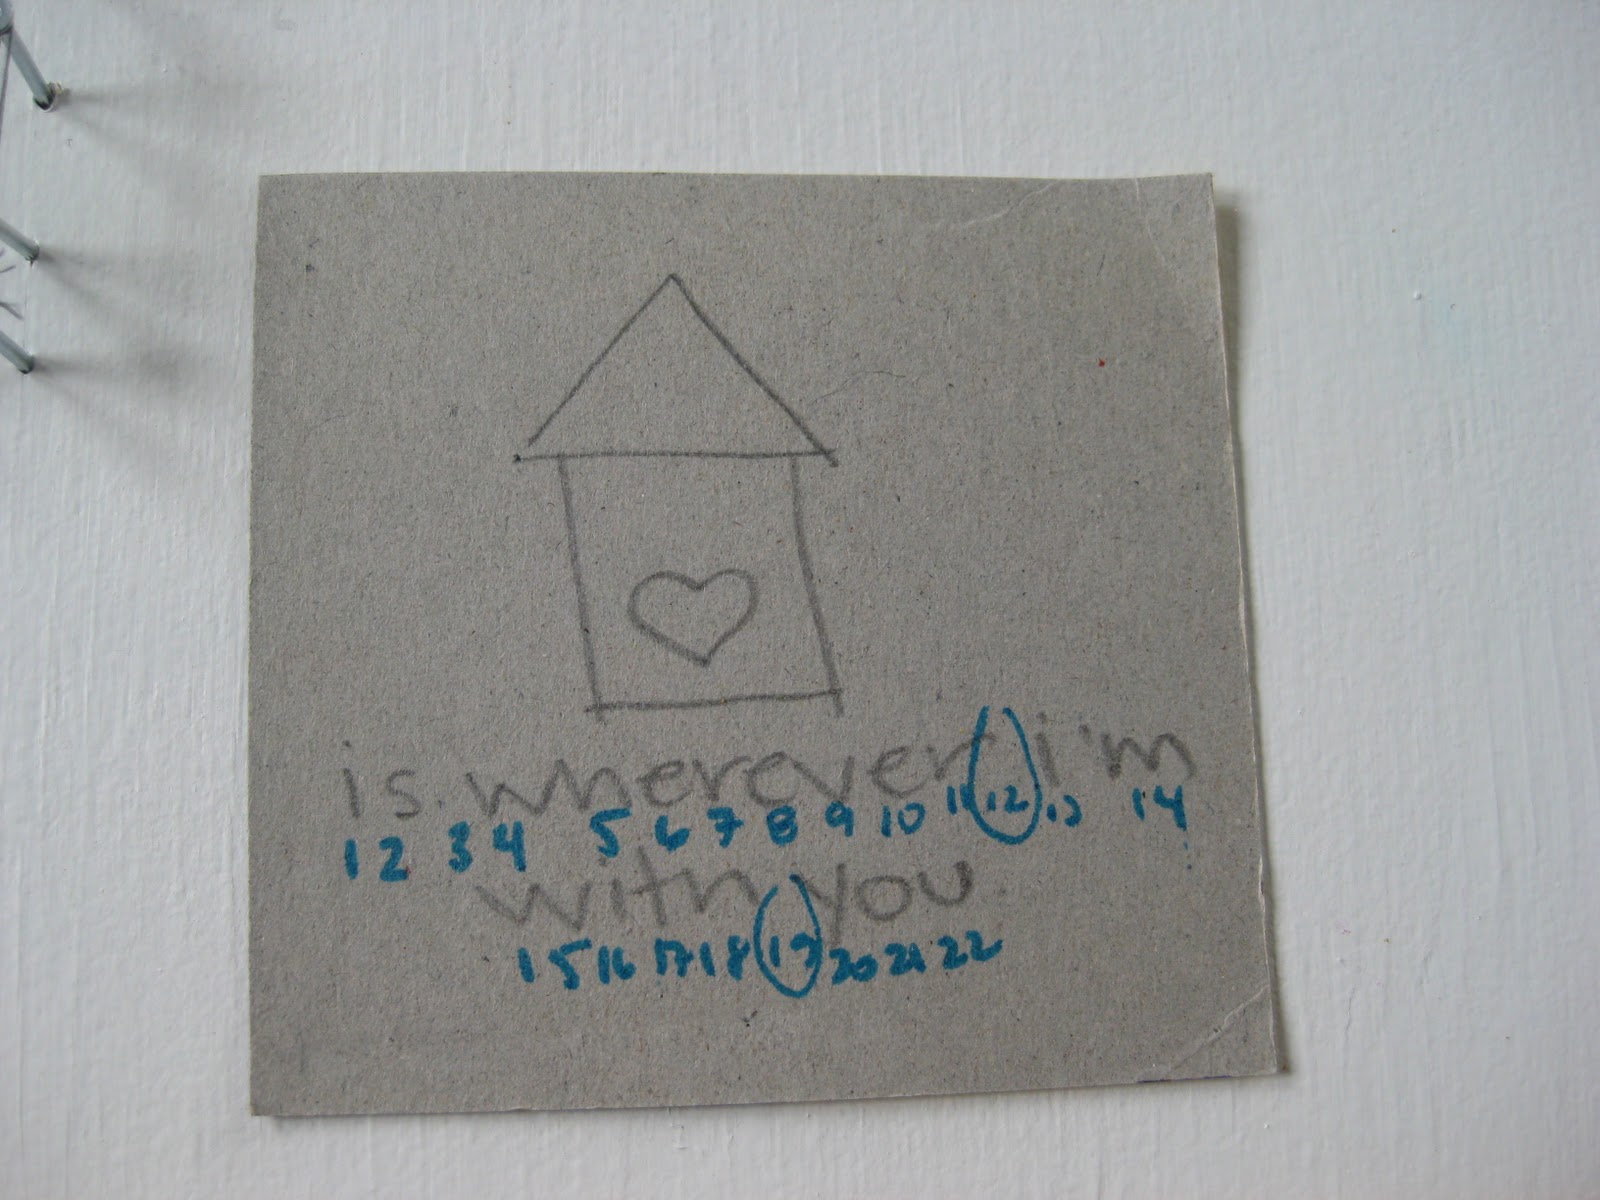
One you have cut, sanded, primed and painted your plywood, cut out a template of the shape you want to create with the thread. Mine was a “home” or house. I used one of my son’s old drawings for the template paper, as to not waste paper (side note: I also use his drawings as gift wrap and cut out pieces of his art for cards to give to family members.)
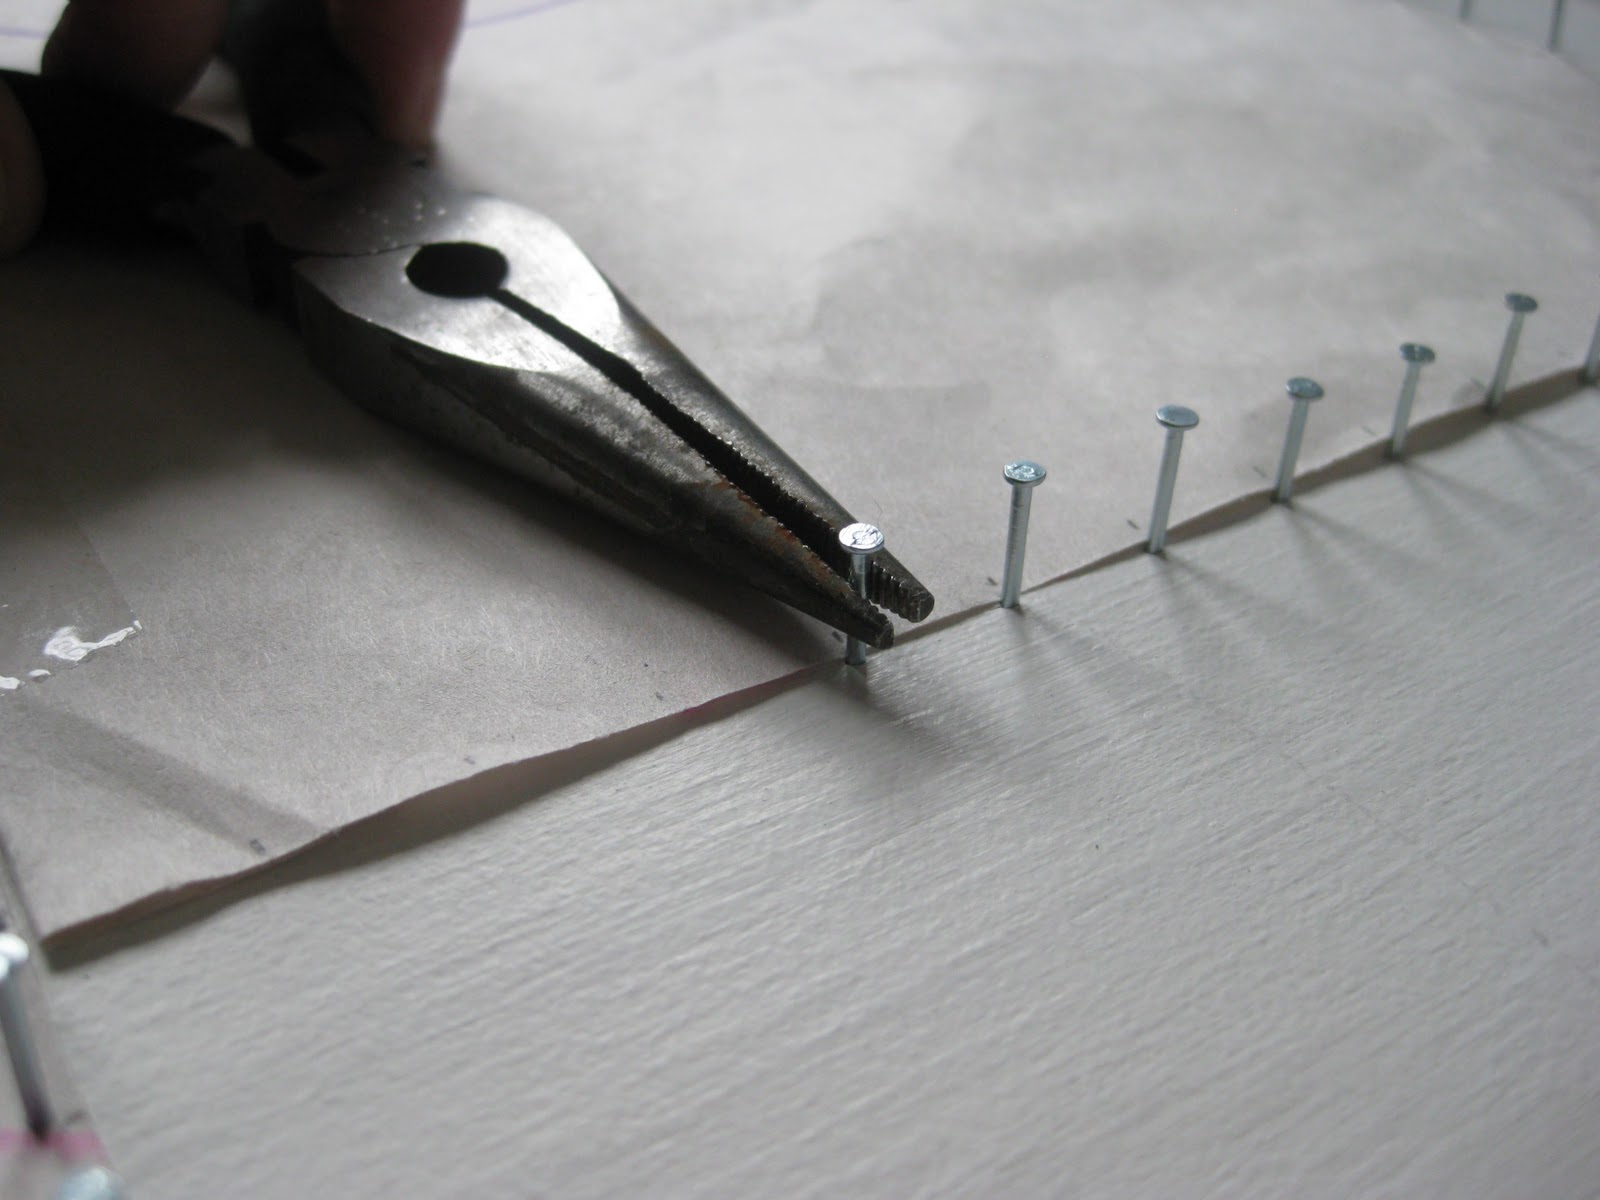
Start hammering in the little nails all around the edge. I took the cue from Nelly and measured out little tick marks on the paper so the nails were (fairly) evenly spaced.

My little helper.
That red-orangy mark on his index finger? A callous from sucking on it. The other marks? Markers.
I used needle nose pliers to hold the nails up. This helped me from not pounding my thumb and index finger and held it up straighter than I could with my fingers.
Highly recommend this.
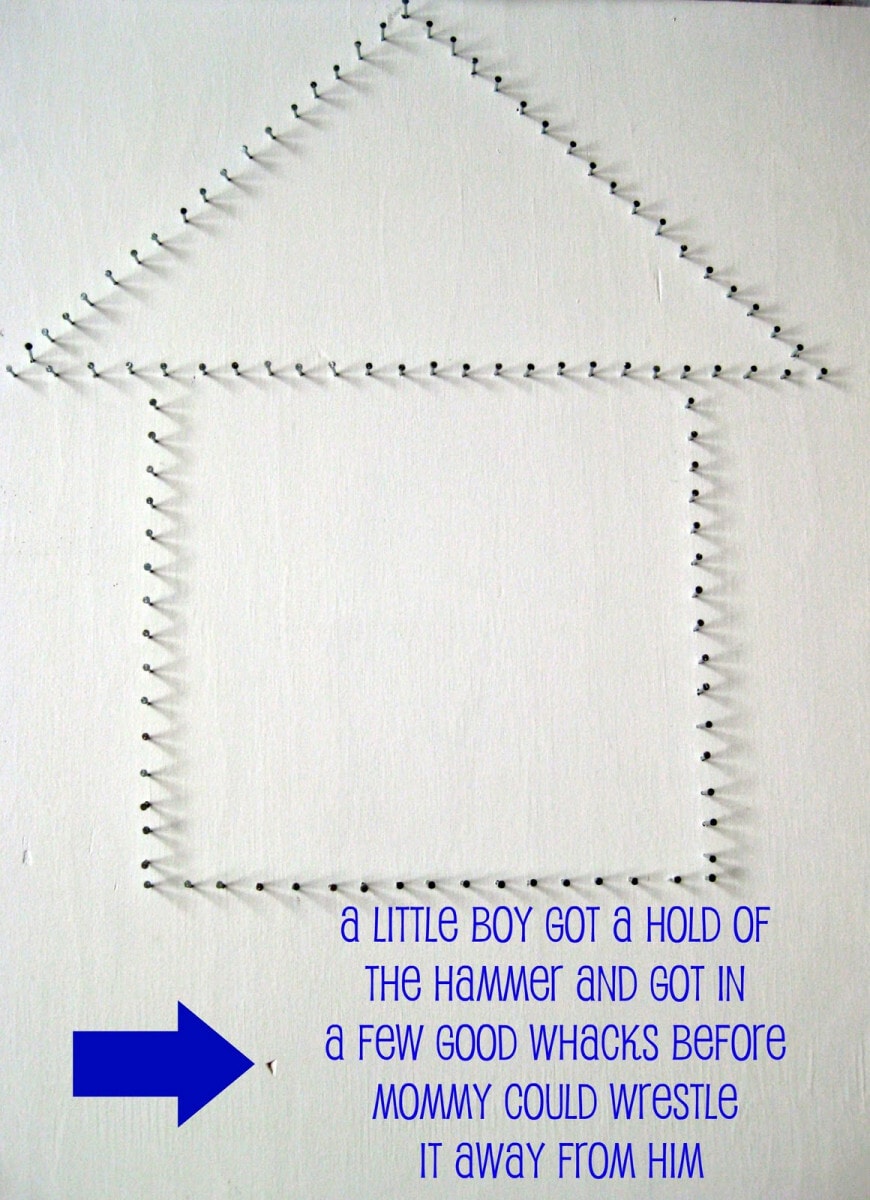
Definitely use a good quality thread that will not break easily. This will save you a lot of heart-ache because if your thread snaps you have to start over. Luckily, I had my favorite color (gray) on hand and it is a good brand. I did not get any photos of the actual thread-wrapping, but it’s pretty self-explanatory. Start by triple knotting the thread at your starting point.
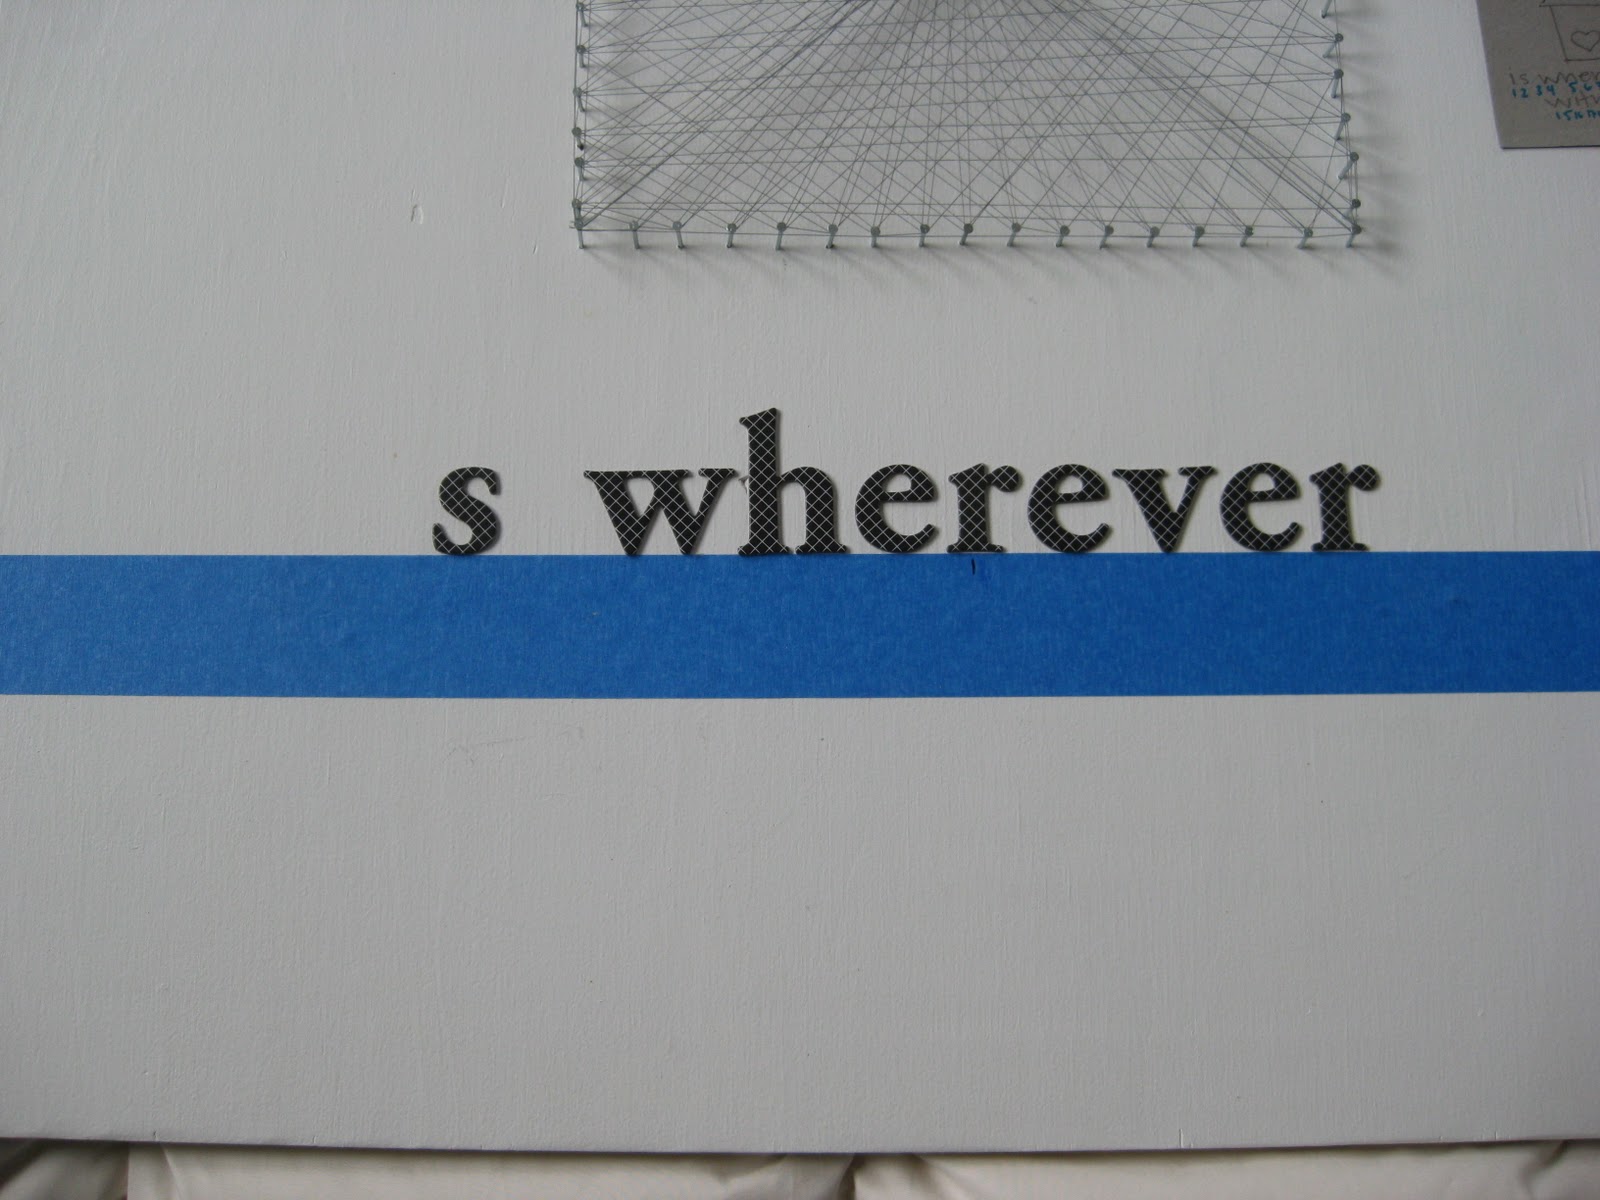
Once you are done winding the thread around in one direction, tie triple knots at ending point and at random spots wind the thread around the head of the nail a few times to secure it. Then move on to another direction. Once you are satisfied with the design, tie it off. When you’re done with the thread part, move on to your lettering. Use painter’s tape to align your letters and mark the center.

This was my scratch-paper-idea-drawing. I used that to count the letters and spaces.
This is the package of chip board letters I bought.

Take off the tape and you are done!