
Hi there! I can see why everyone gets so excited to be a part of this blog! I am thrilled to be able to share a favorite craft of mine.

A little about me, I’ve been married to my hard-working Luvrbuns for 6 years, and I am a mom to an energetic 3-year-old boy who loves anything with wheels. I love all crafts, digital scrapbooking, blogging, card making, playing the guitar, singing, painting, reading, and being outdoors.
To Mod Podge scrapbook paper to wood letters you’ll need:
Letters (any size), scrapbook paper (get colors that go well together and it looks best if you alternate with solids and patterned paper), pencil, good scissors, Mod Podge, and a sponge brush.
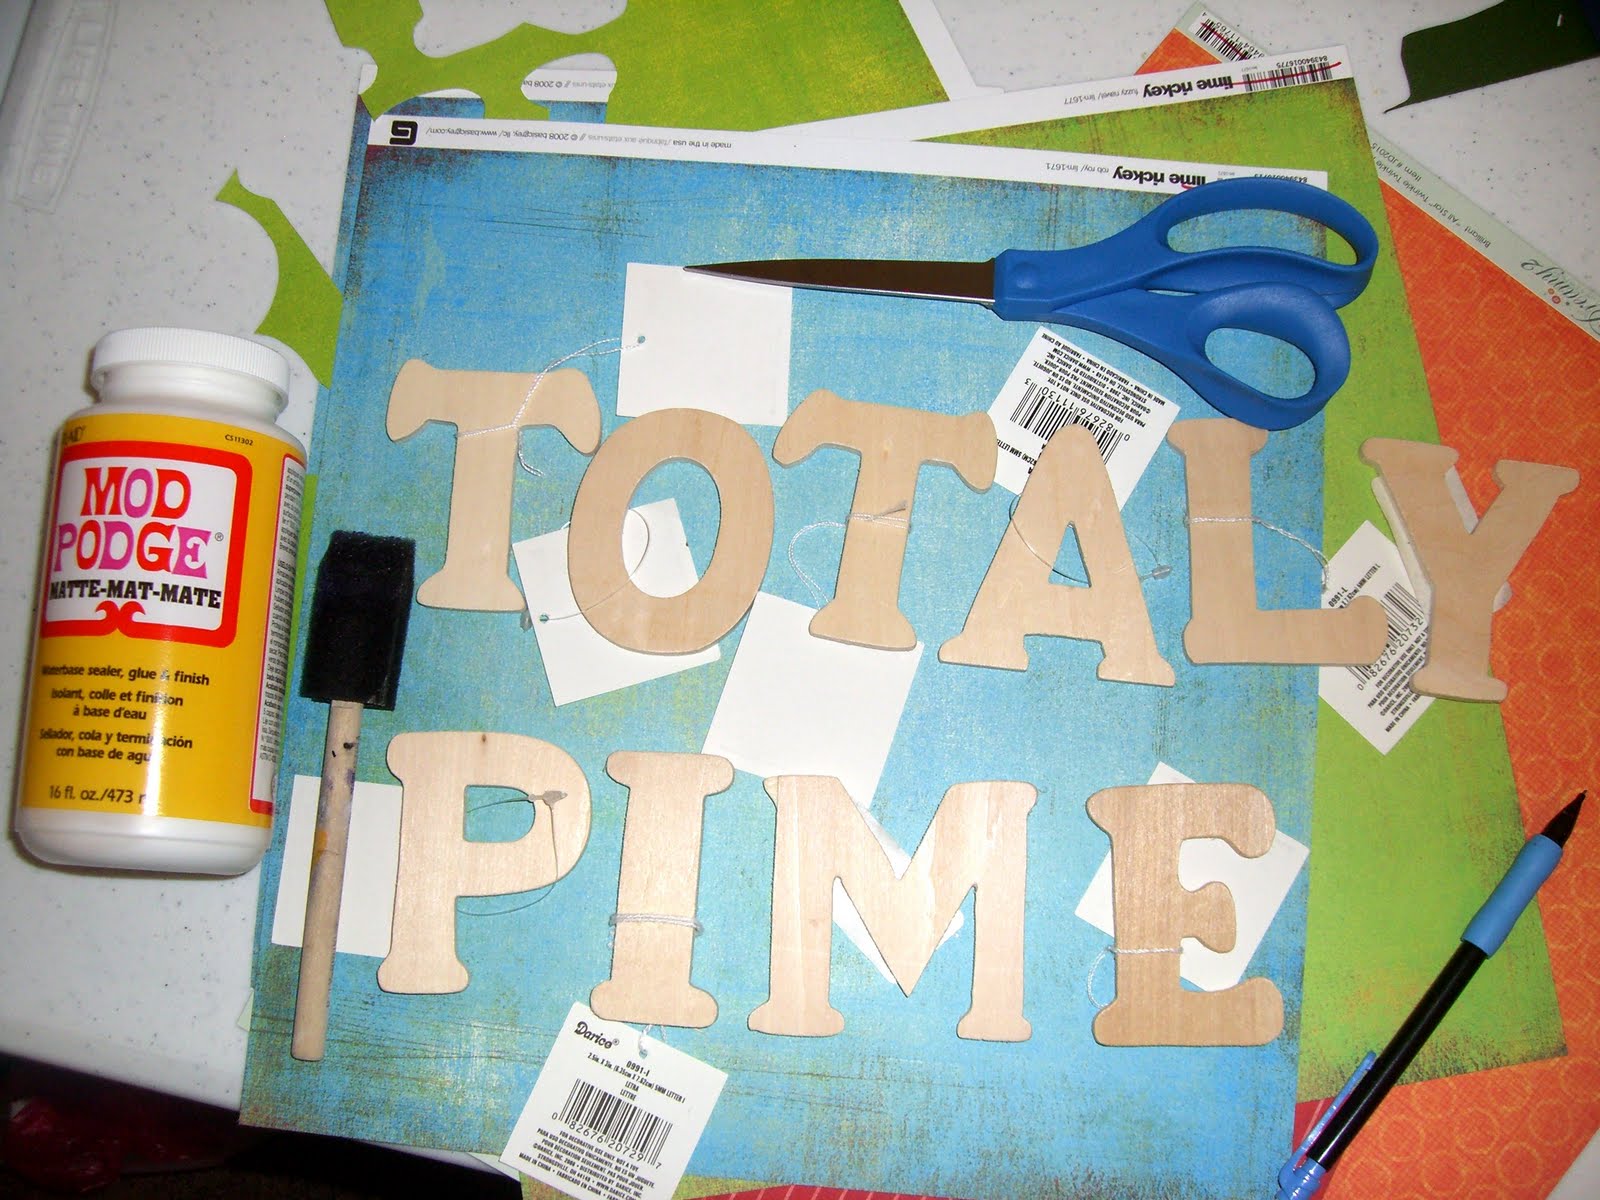
I know, you’re probably wondering what “Totaly Pime” means. Absolutely nothing! I was trying to come up with a cool anagram and that’s what I got. You’ll just have to wait to see what it’s really supposed to say! (Or cheat and scroll down to the bottom.)
Put your letters in the order they will go and plan out the pattern you want the paper to go.
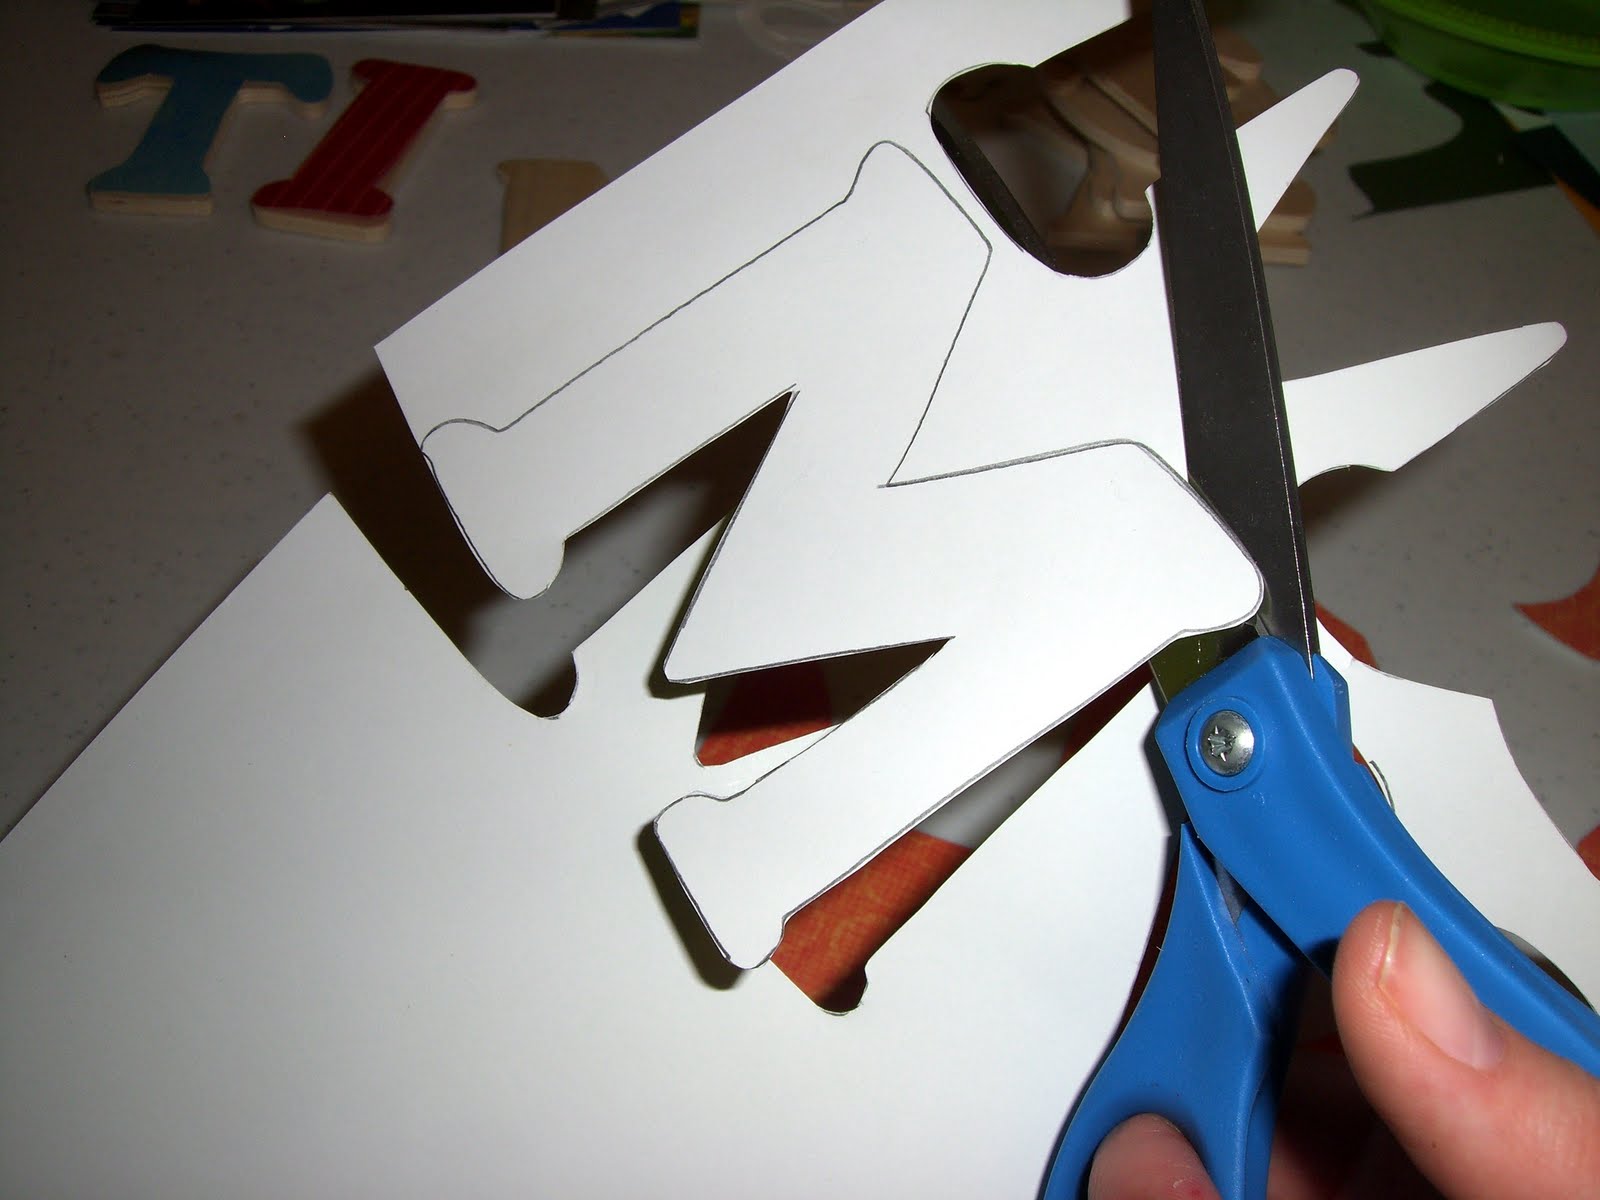
Trace your letter on the back side of your paper with the letter face down. Then you won’t have any pencil marks on the side that will show. Make sure to cut off the white tab on the paper (the part with the paper name and barcode) so you don’t accidentally trace your letter on that part.

Cut it out. It’s better to cut on the outer edge of the line and go back and trim some off later if you need to, rather than cut it too thin and have spots where the wood shows through.
Put some Mod Podge in a plastic bowl. (You can find Mod Podge at any craft store.)

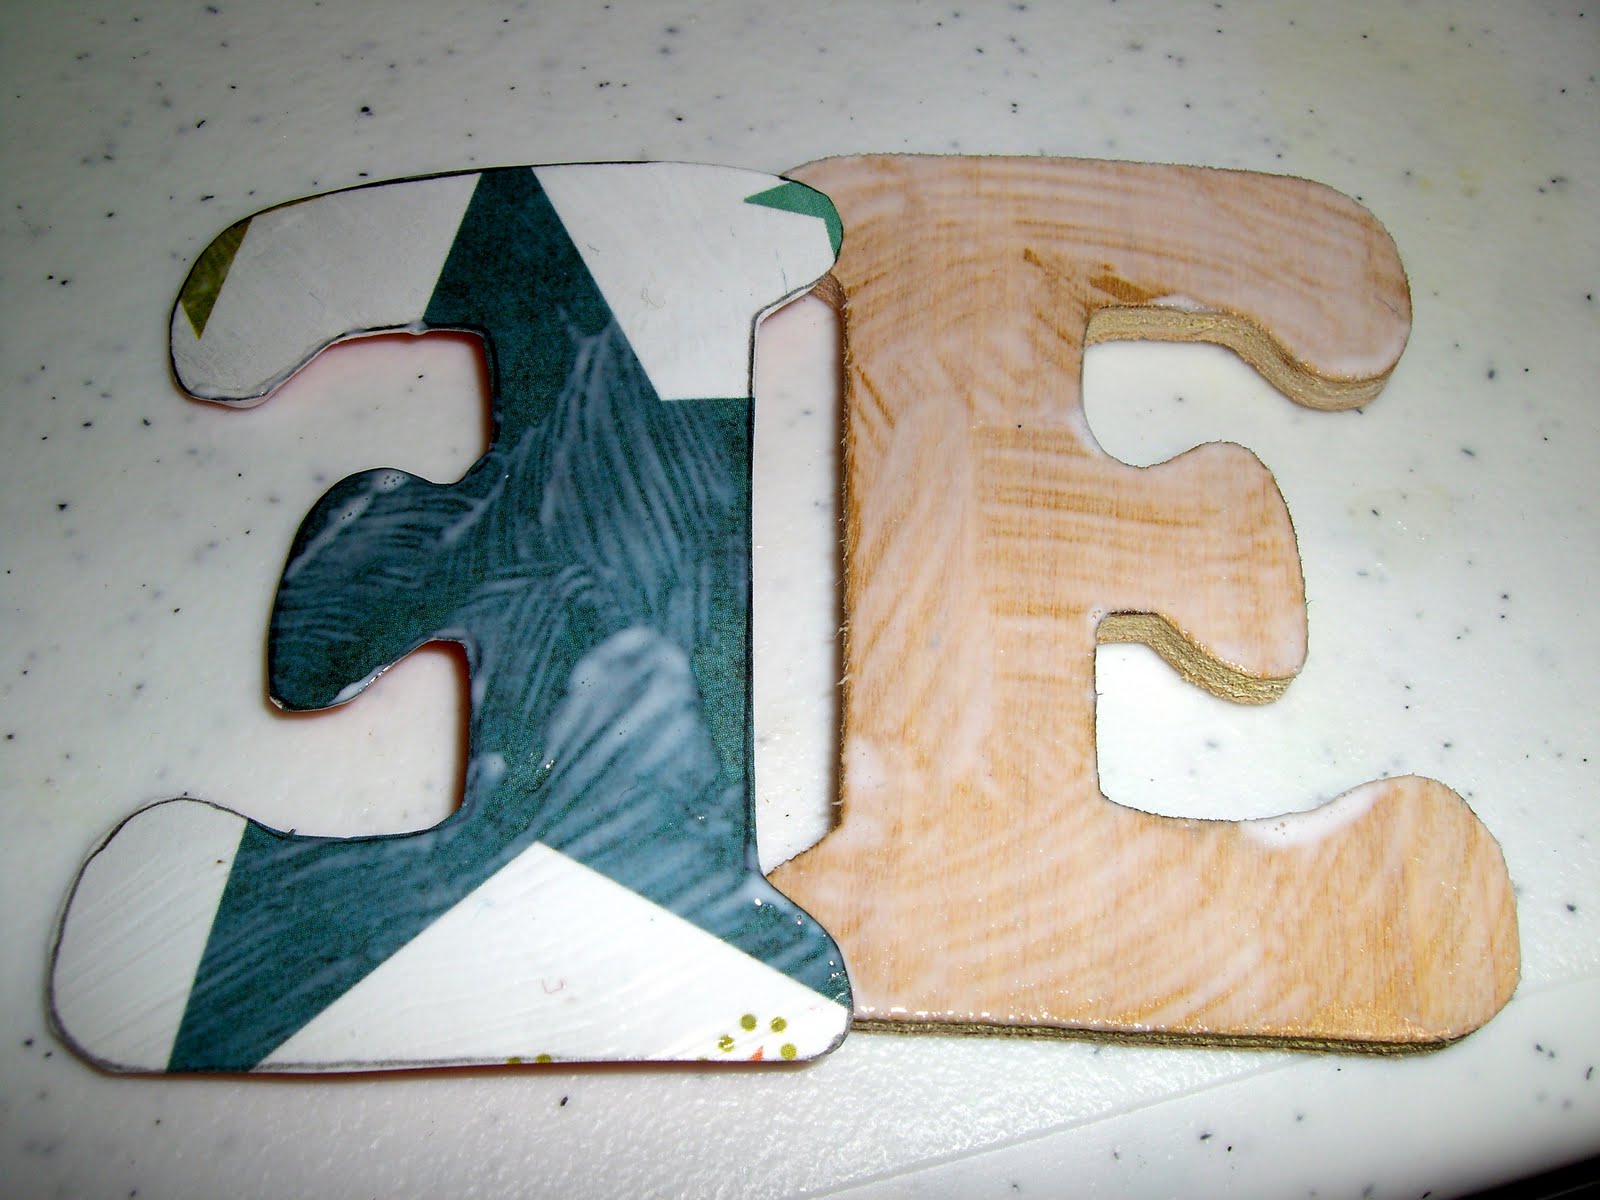
Put a thin layer of Mod Podge on the wood and the back side of the paper. Flip the paper over and gently press it to the wood. If some of it spills over the edge just wipe it off with a paper towel. Let it dry for 15 minutes.
Put a thicker coat of Mod Podge on the top side of the paper and around the edges to get a good seal. Let it dry for another 15 minutes. Then you can add embellishment like ribbon, buttons, flowers, etc. These were just little letters so I didn’t add anything to them.
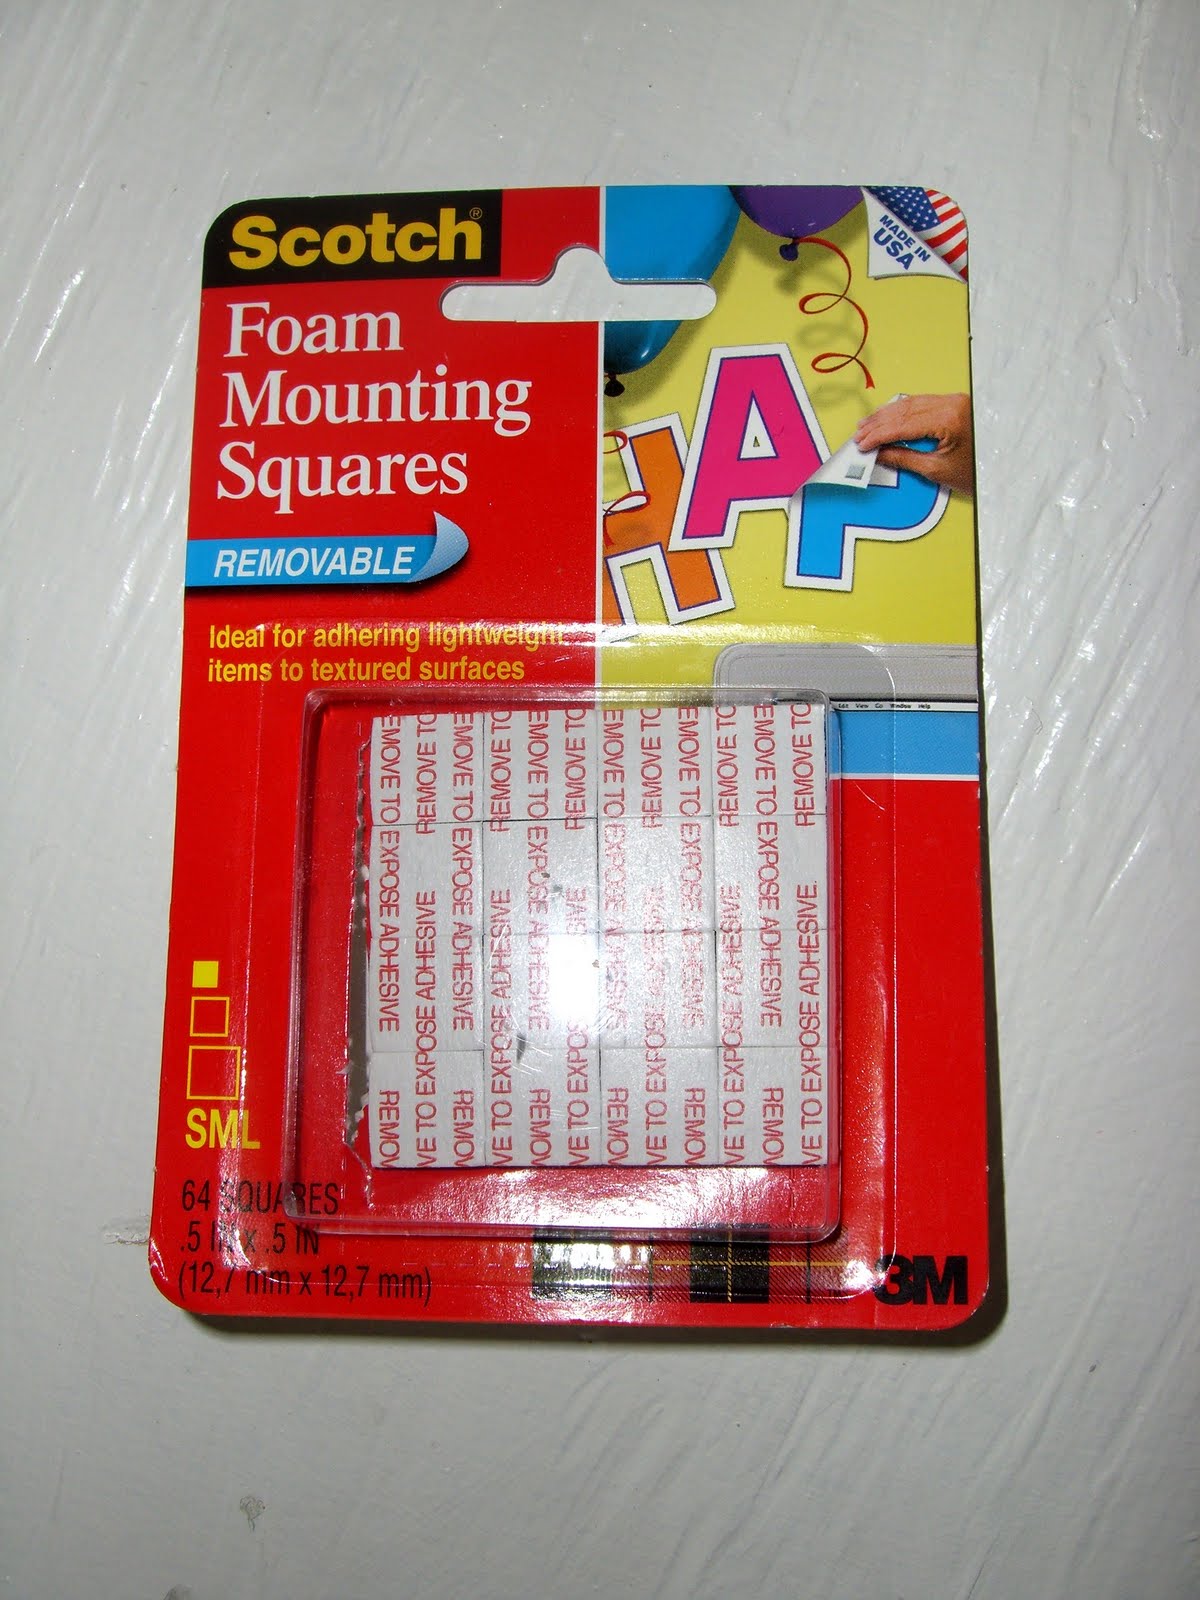
I used these foam mounting square to attach them to the wall. If you are using
the large letters, they will need to be hung on nails.
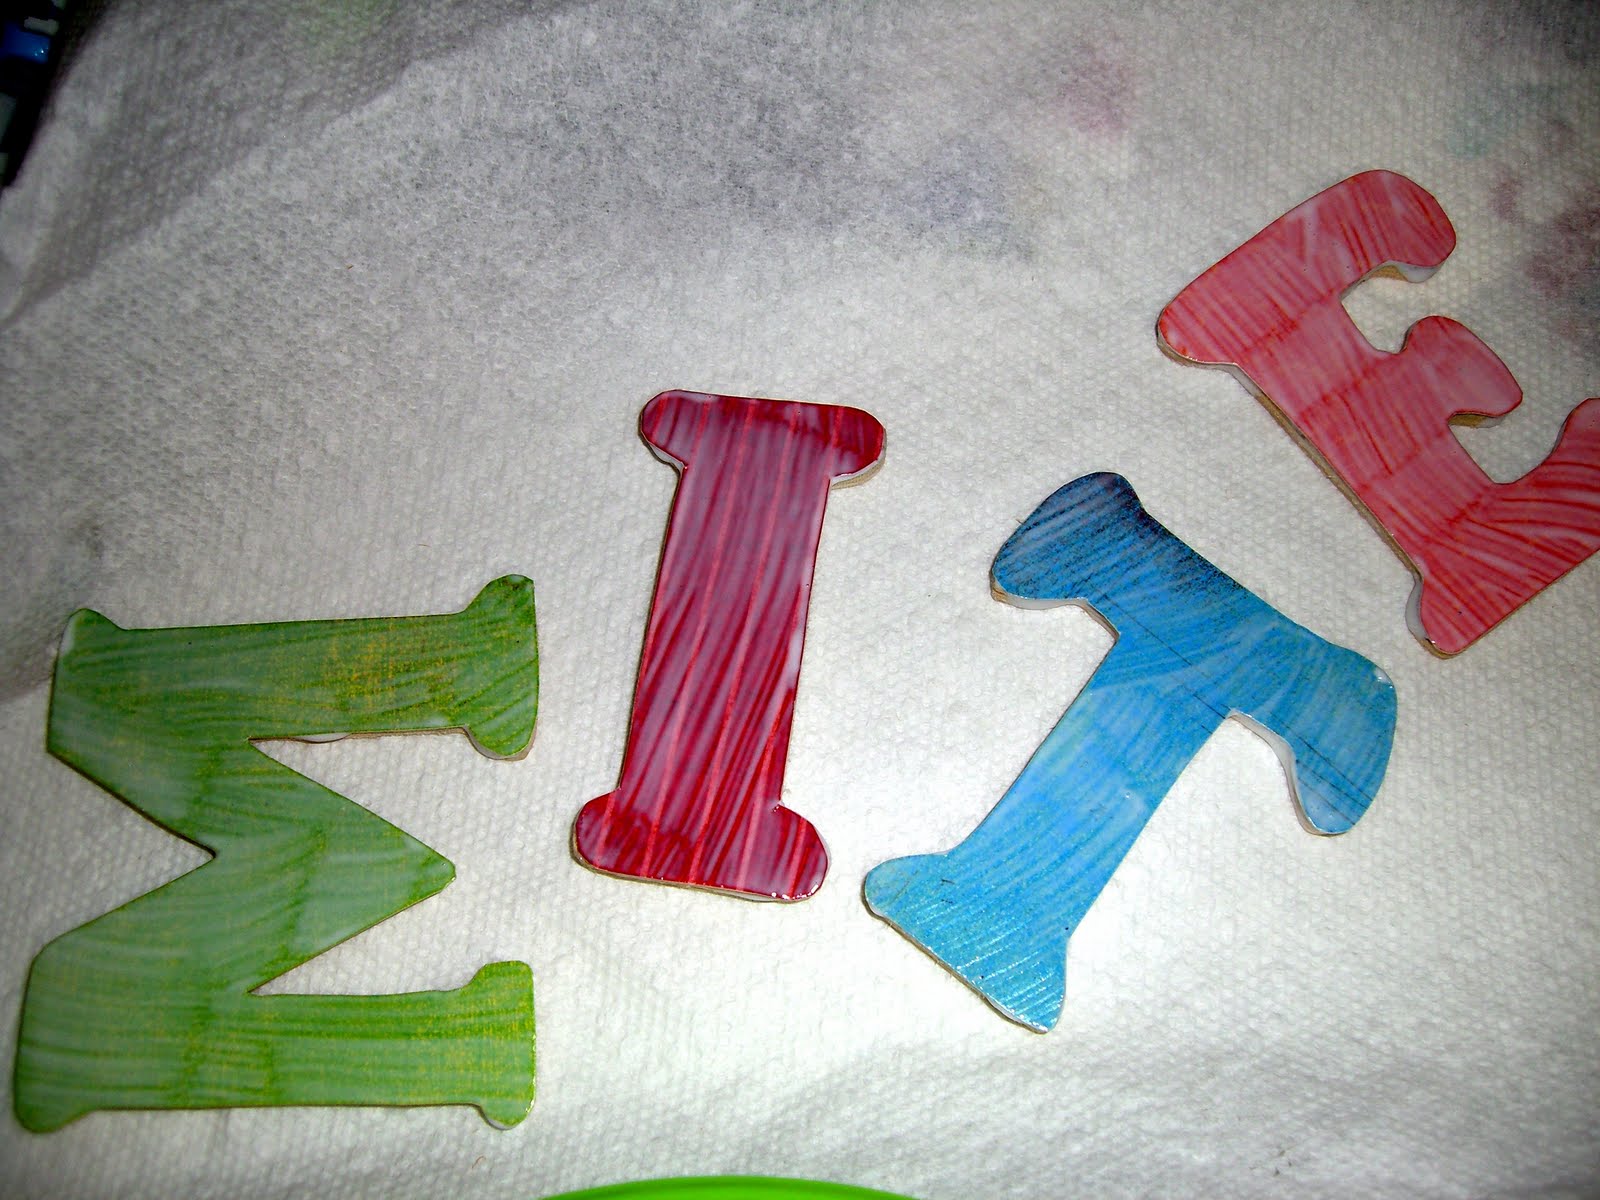
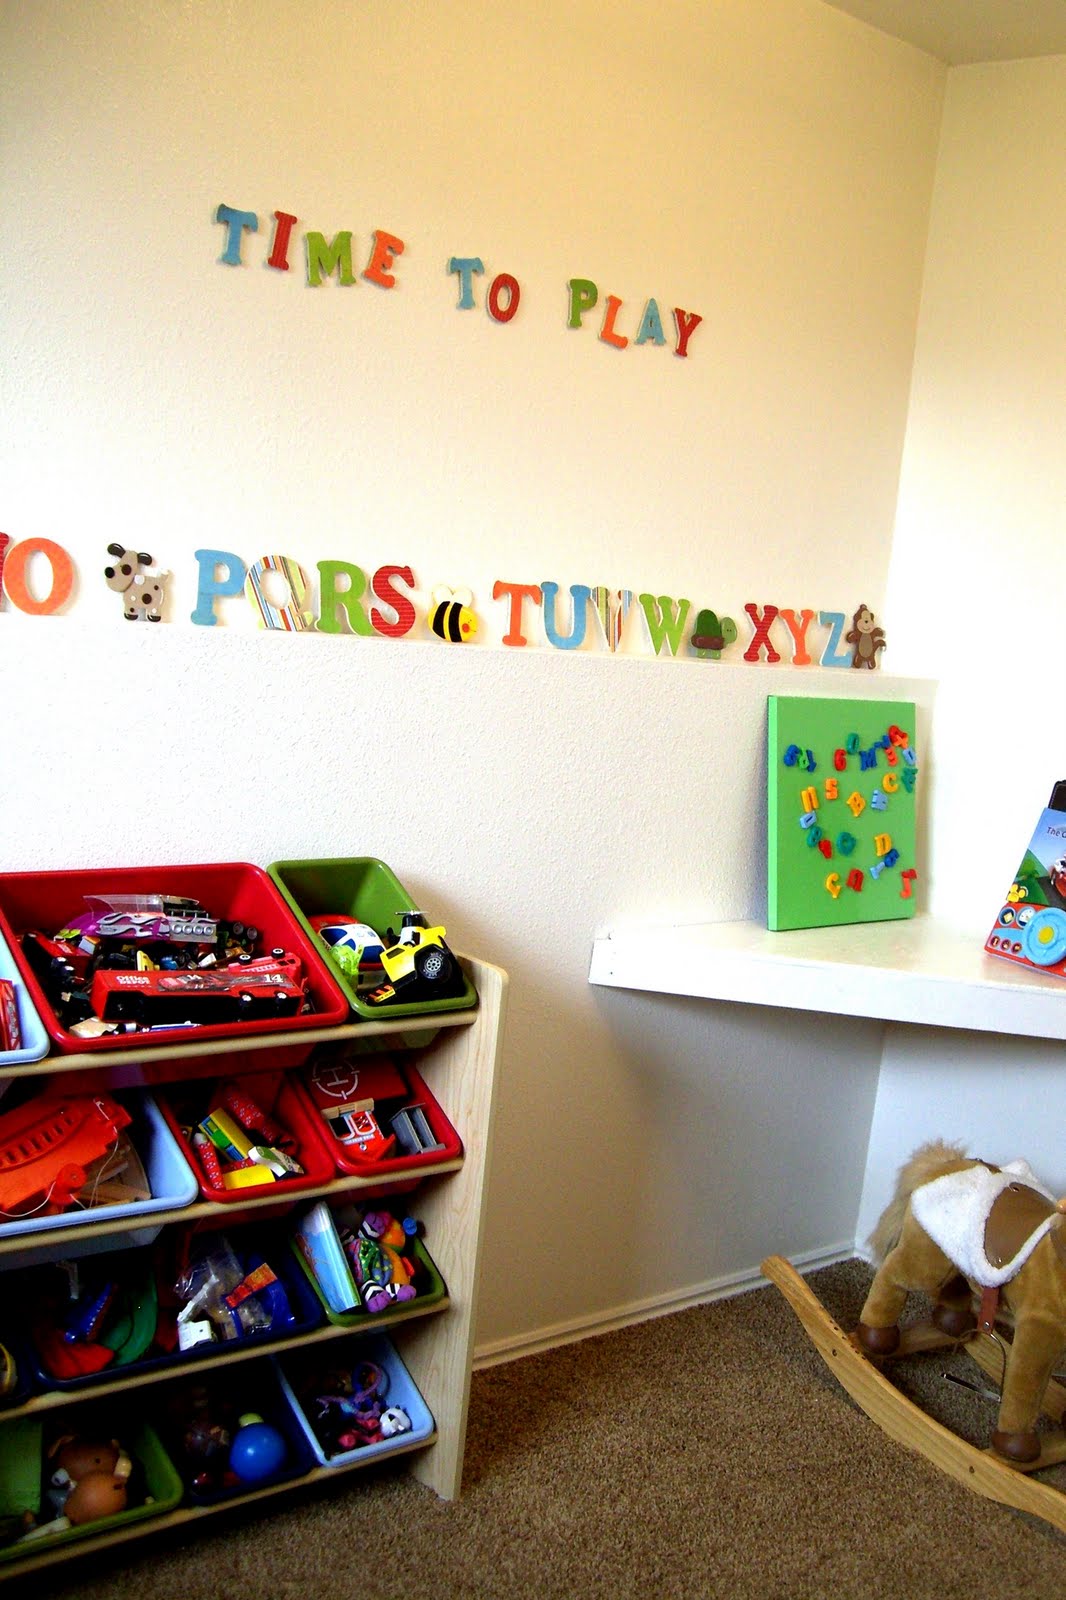
TA DA! So it really said Time to Play, which makes a little more sense than Totaly Pime. 🙂
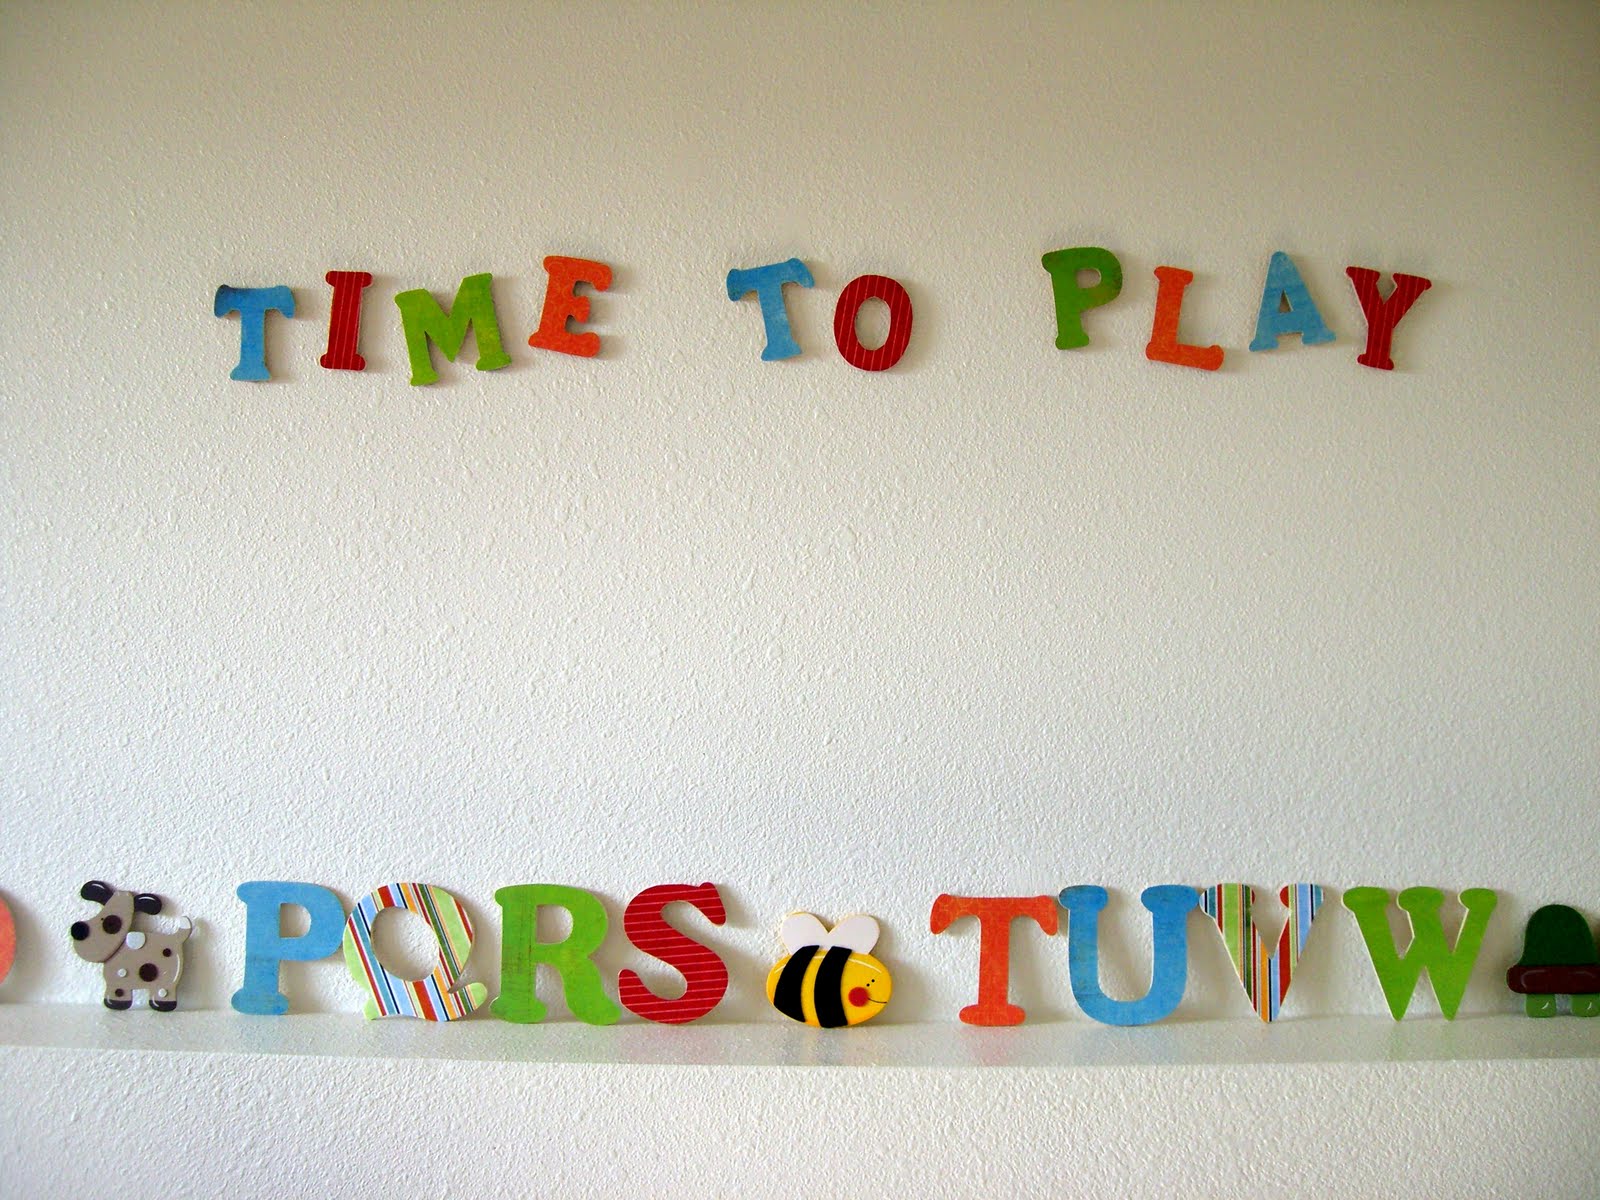
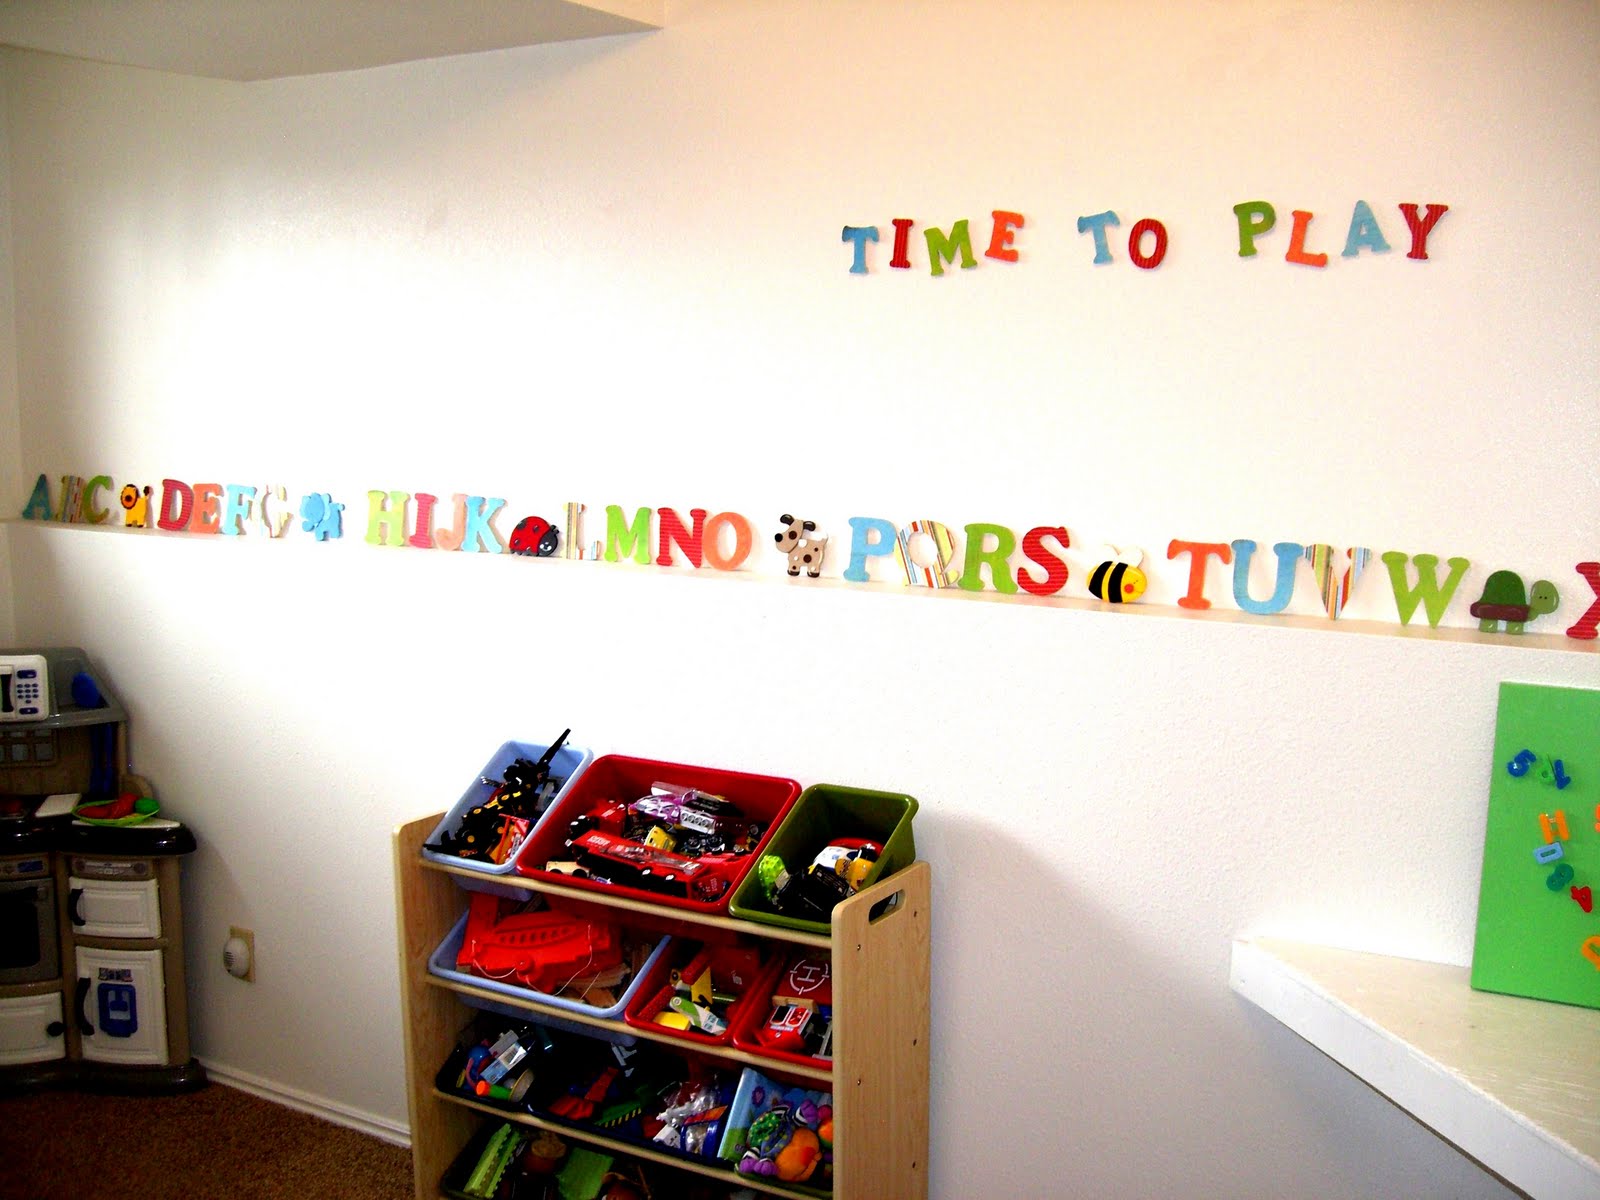
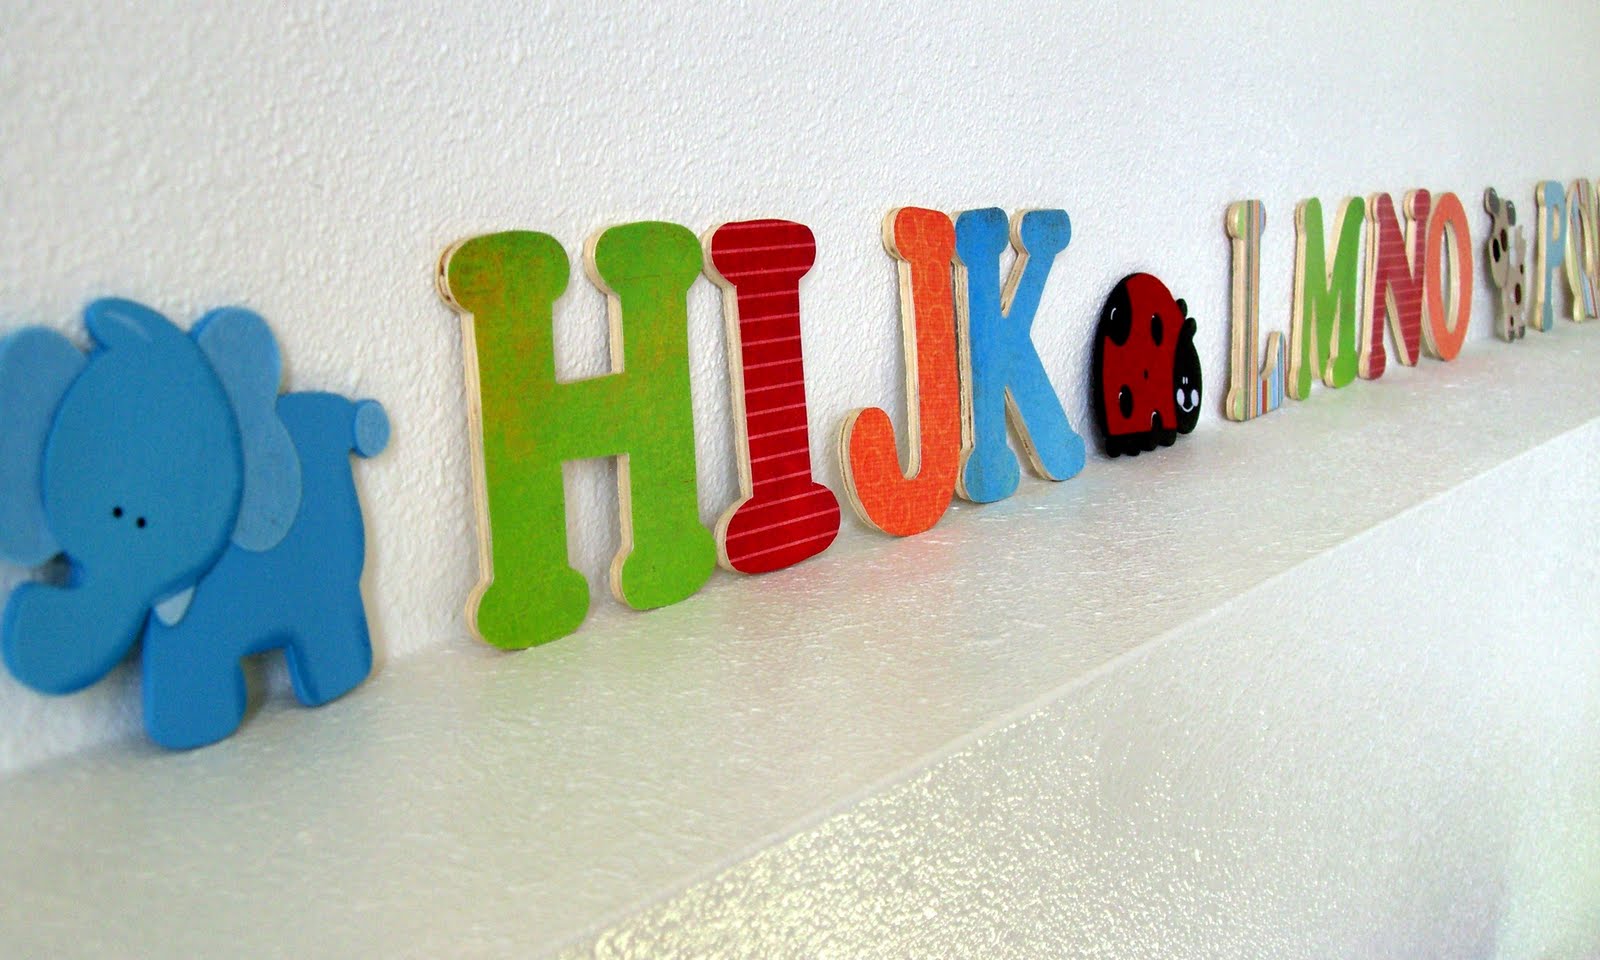
I love the fun colors and the 3D effect the letters give. I also did the same process with the alphabet letters that fit perfectly along this ledge in my little boy’s play room so they match.
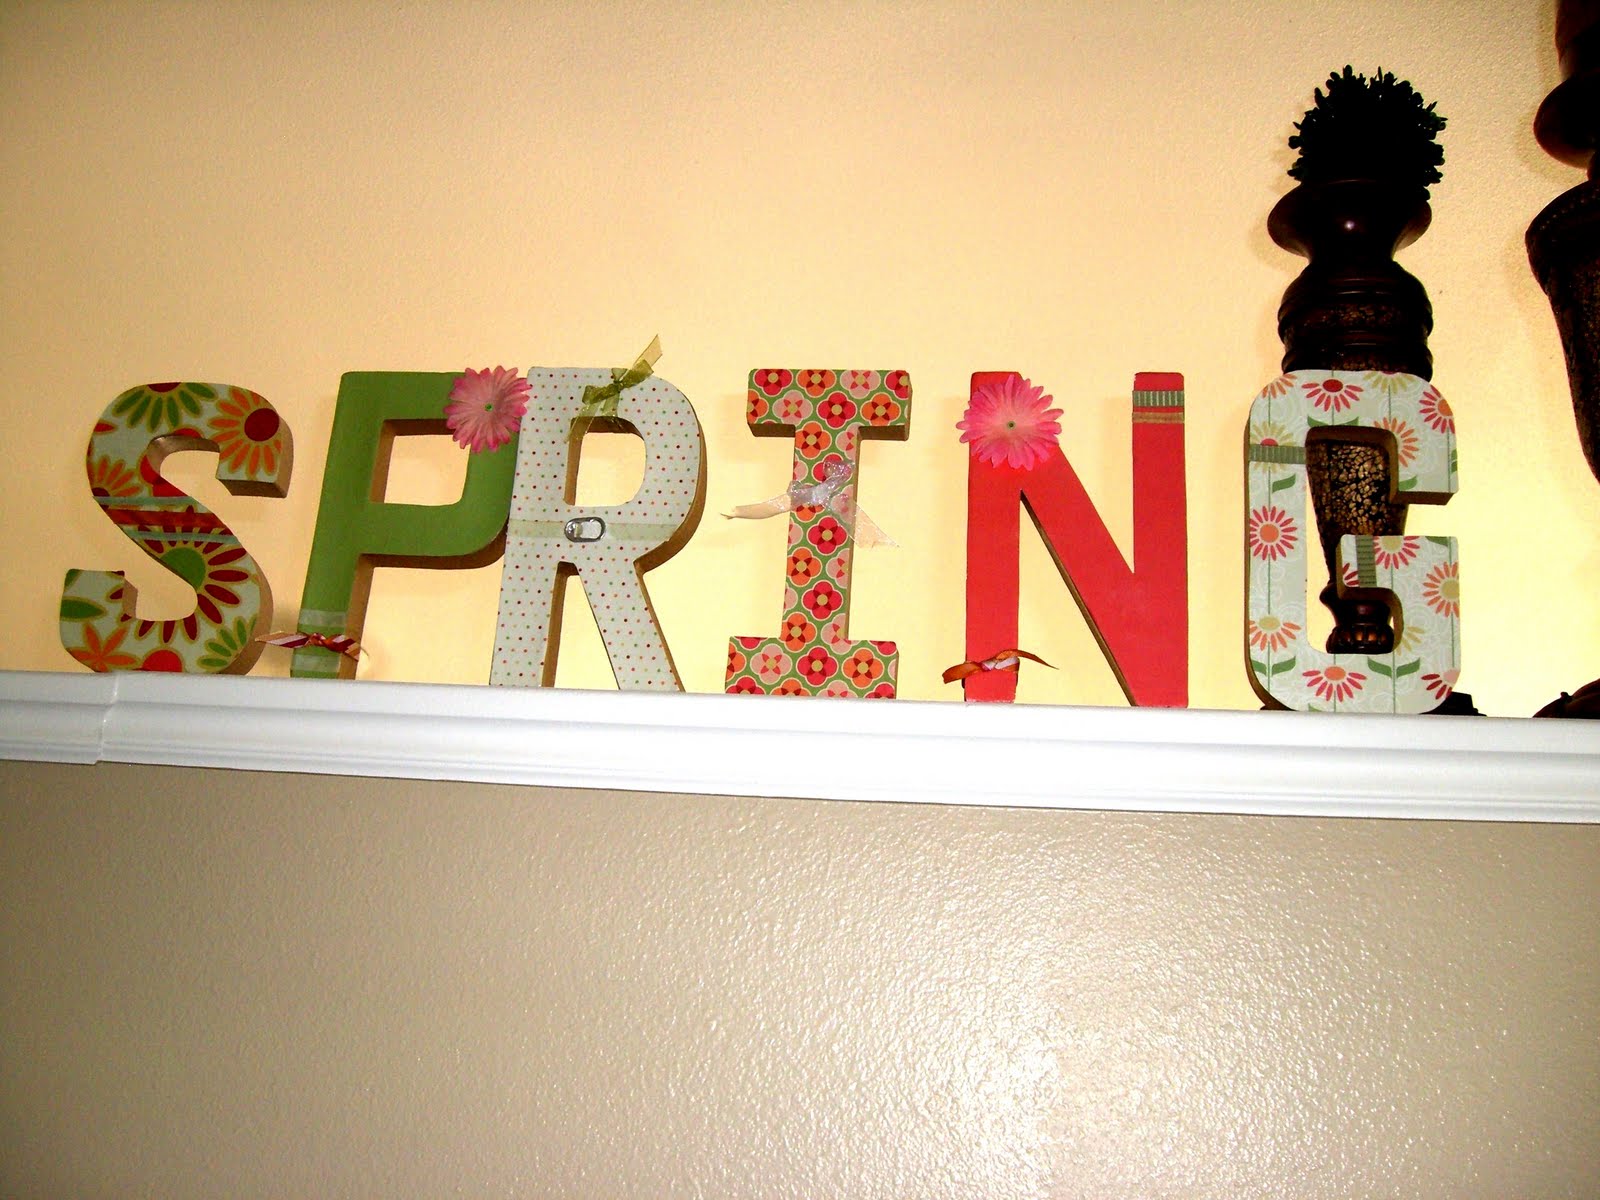
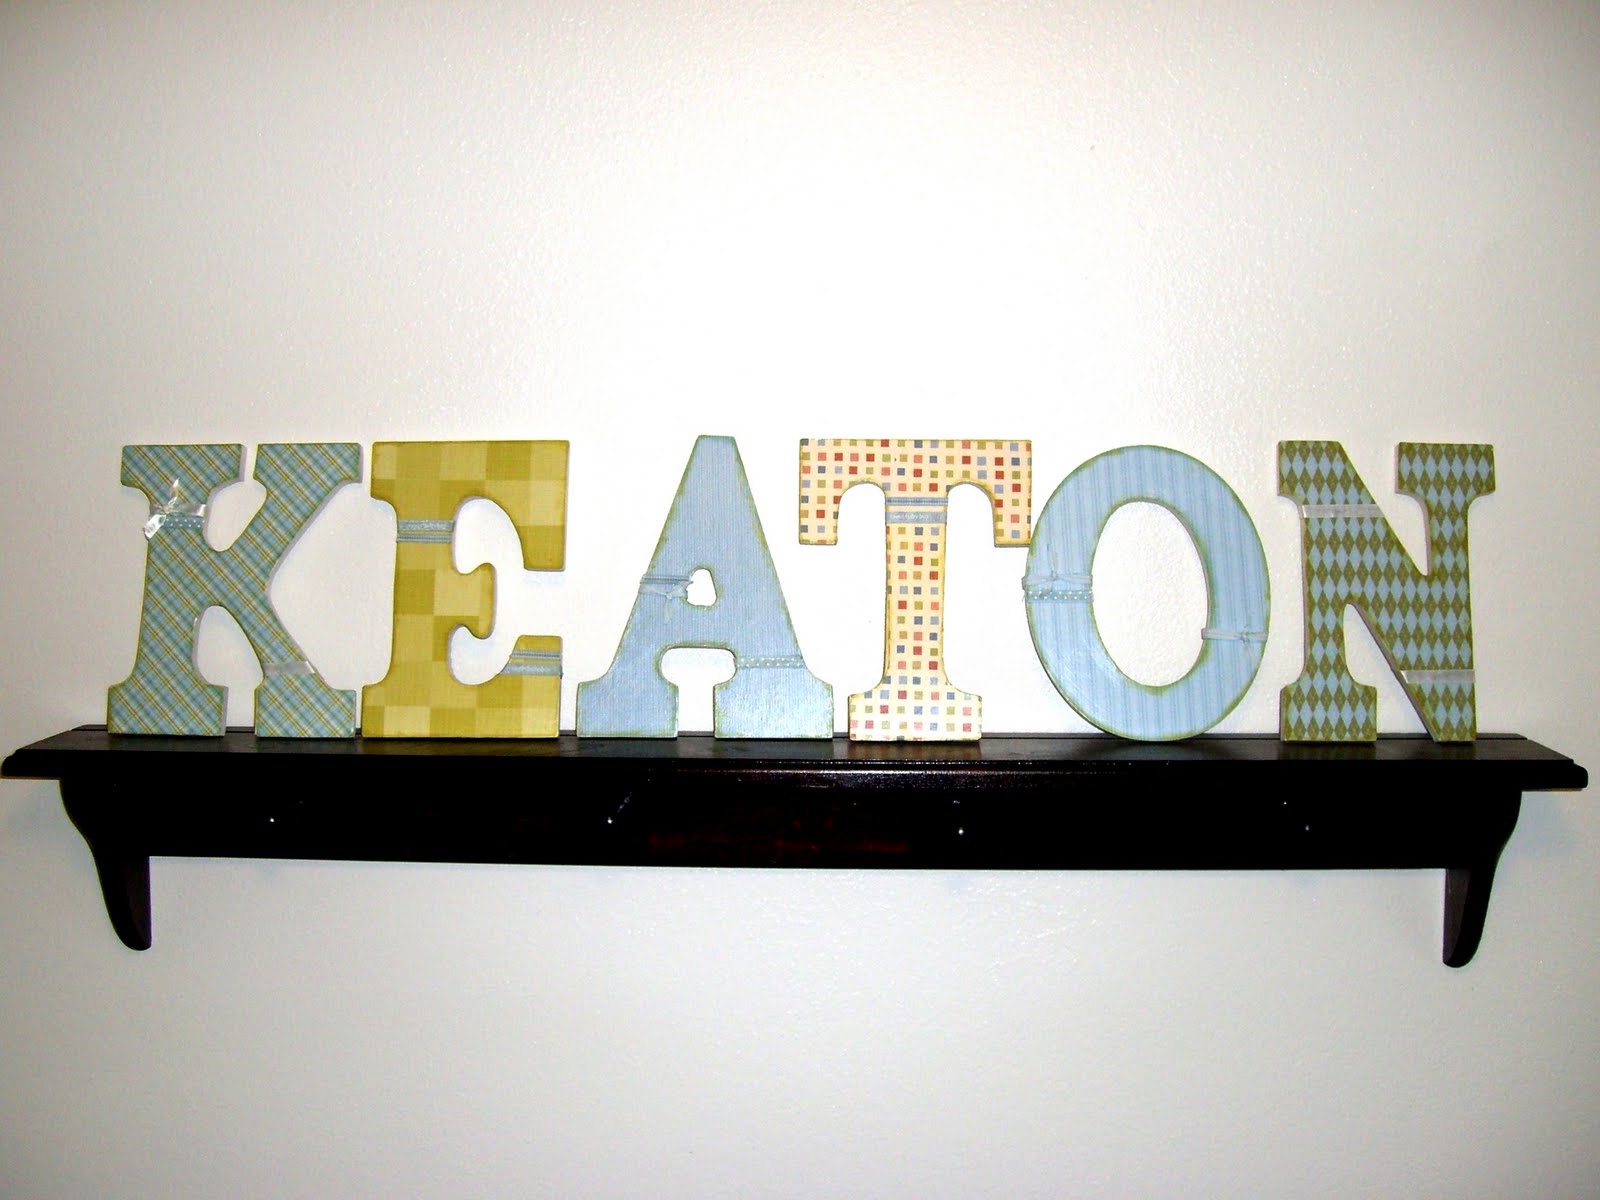
Here’s some other projects I’ve done so you can get an idea of what fun things you can do with it.
– Gina