OGreeting from The Wright House!

I just wanted to share how I recovered some salvaged chairs that I snagged from a local motel for five bucks a piece. I bought as many as I could fit in my van (besides four kids!) and raced home to get to work.
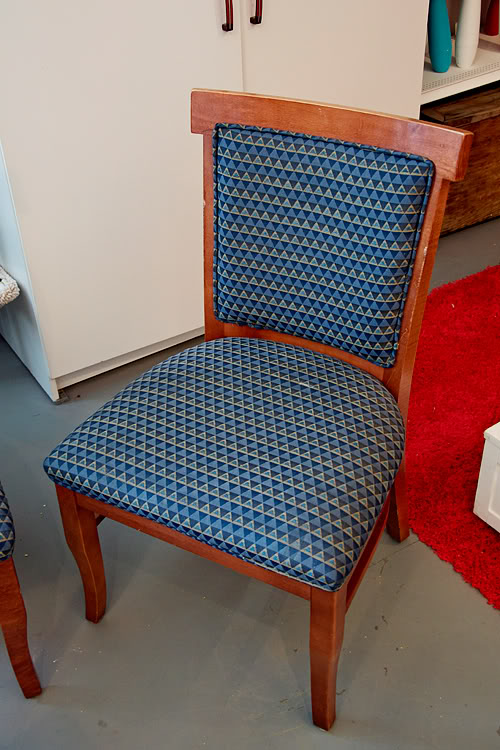
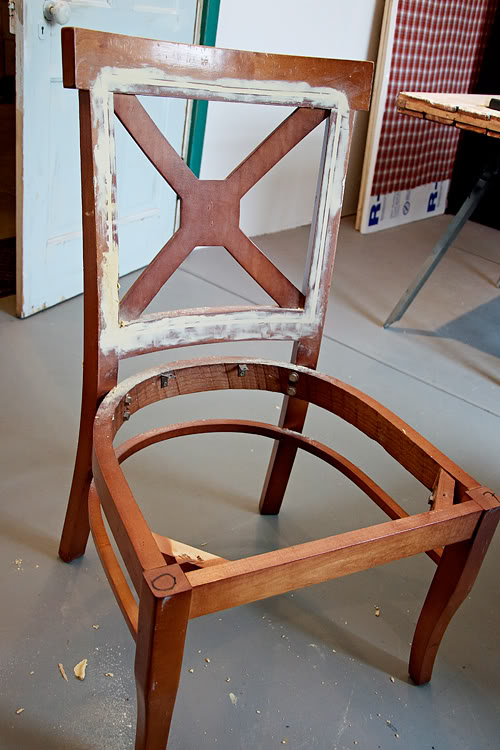
Here’s a peak at how the chairs looked before:
For the first two chairs I recovered the cushions with fabric. Luckily they easily removed with screws, and I used a staple gun to put the new fabric on.
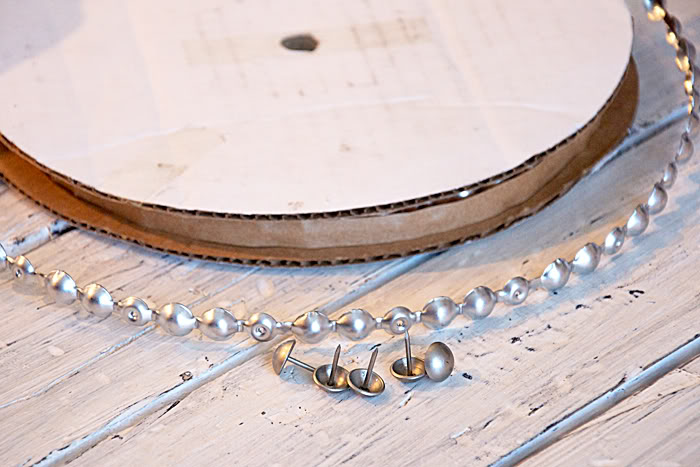
I wanted to add a little flair so I ordered some simple nail head trim from Ebay. You just nail in every third nail and the strip helps keep your nails straight. They are cheaper looking than individual hammered in nails, but as it was my first attempt I thought they did a pretty good job. I paid about $15 with shipping for ten yards and still have quite a bit left over for another project.
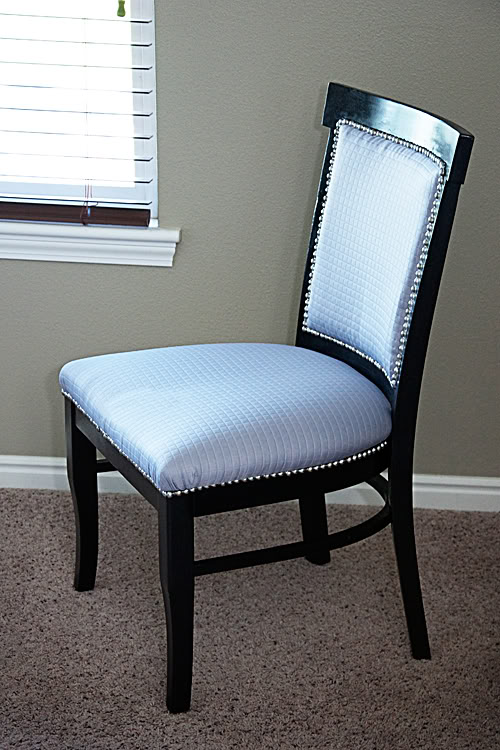
Here’s what the first chair looks which now resides in our master bedroom.
And the second chair which is being used in my photo studio.
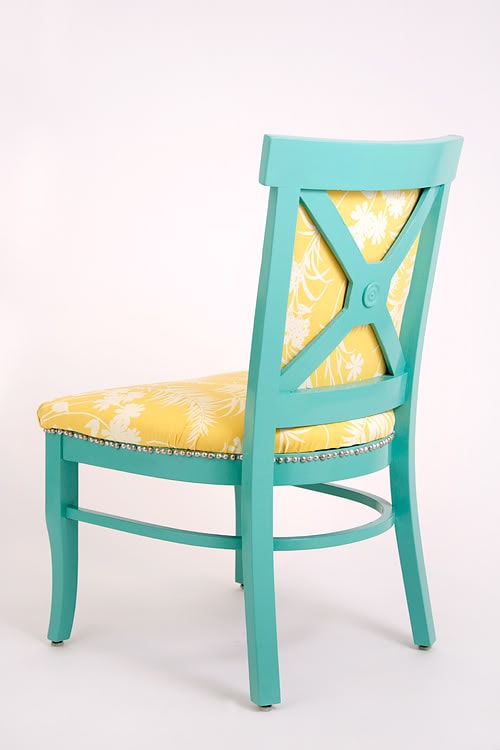
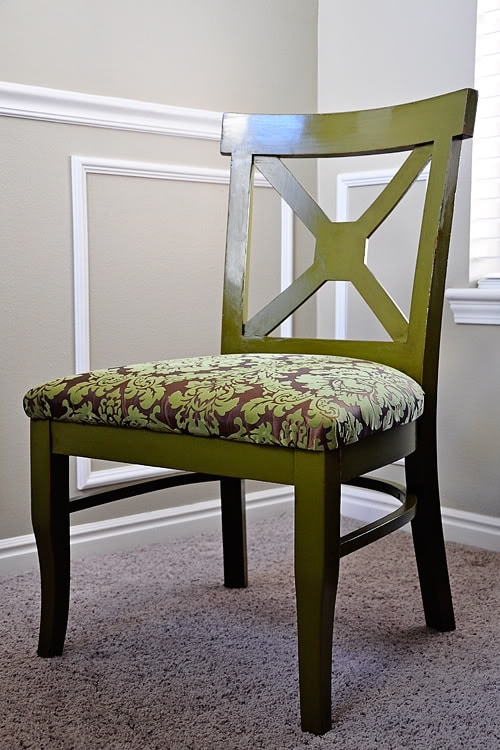
Four the third and fourth chairs I wanted a matching set that displayed the pretty back detail. I removed the top cushion and filled the wood where it had been attached.
On all of the chairs I did some light sanding, priming, and about three coats of semi-gloss paint.
Here’s what they look like after.
They now are happily residing in my living room!
To check out more of my before and after projects or tour my house you can visit me at The Wright House by clicking here.
~ Natalie
* You can have a post featured too! Just send links to your favorite “idea” posts to [email protected]. See Guests Posts 101 for more information. *

Your so creative! I love how you did it 3 different ways and how you completely took the back pad off on the green one. It looks so good!
Thanks for the post 🙂
They look great!
They are all so cute! I’m frustrated you couldn’t fit more in your car.
Amazing!