

Hey girls… I’m Jen from Organized Design. I love to blog about all things interior design and organizing. When I’m not busy doing the mommy thing, I enjoy creating functional finished spaces. Today I wanted to share with you how I upholstered a headboard in this Upholstered Headboard Tutorial.
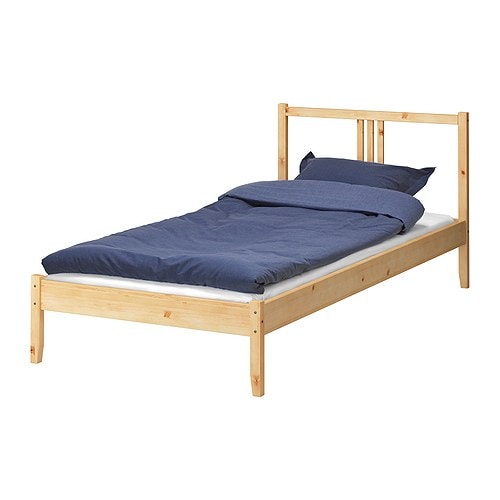
This bed would not have happened with out the help from my Dad and the small Home Depot in his basement, and my husband Pete. I could not have done this alone. It was seriously a pain in the neck. Now that I’ve done it I could do it again in about half the time. The hard thing about this was the fact that I built a pretty hard shape to upholster. I had intentions of making just the headboard, and down the road build side rails and a foot board. So I bought her a frame and wasn’t happy with how it was going to look. I found this bed from Ikea, and it was seriously the thing that saved me.
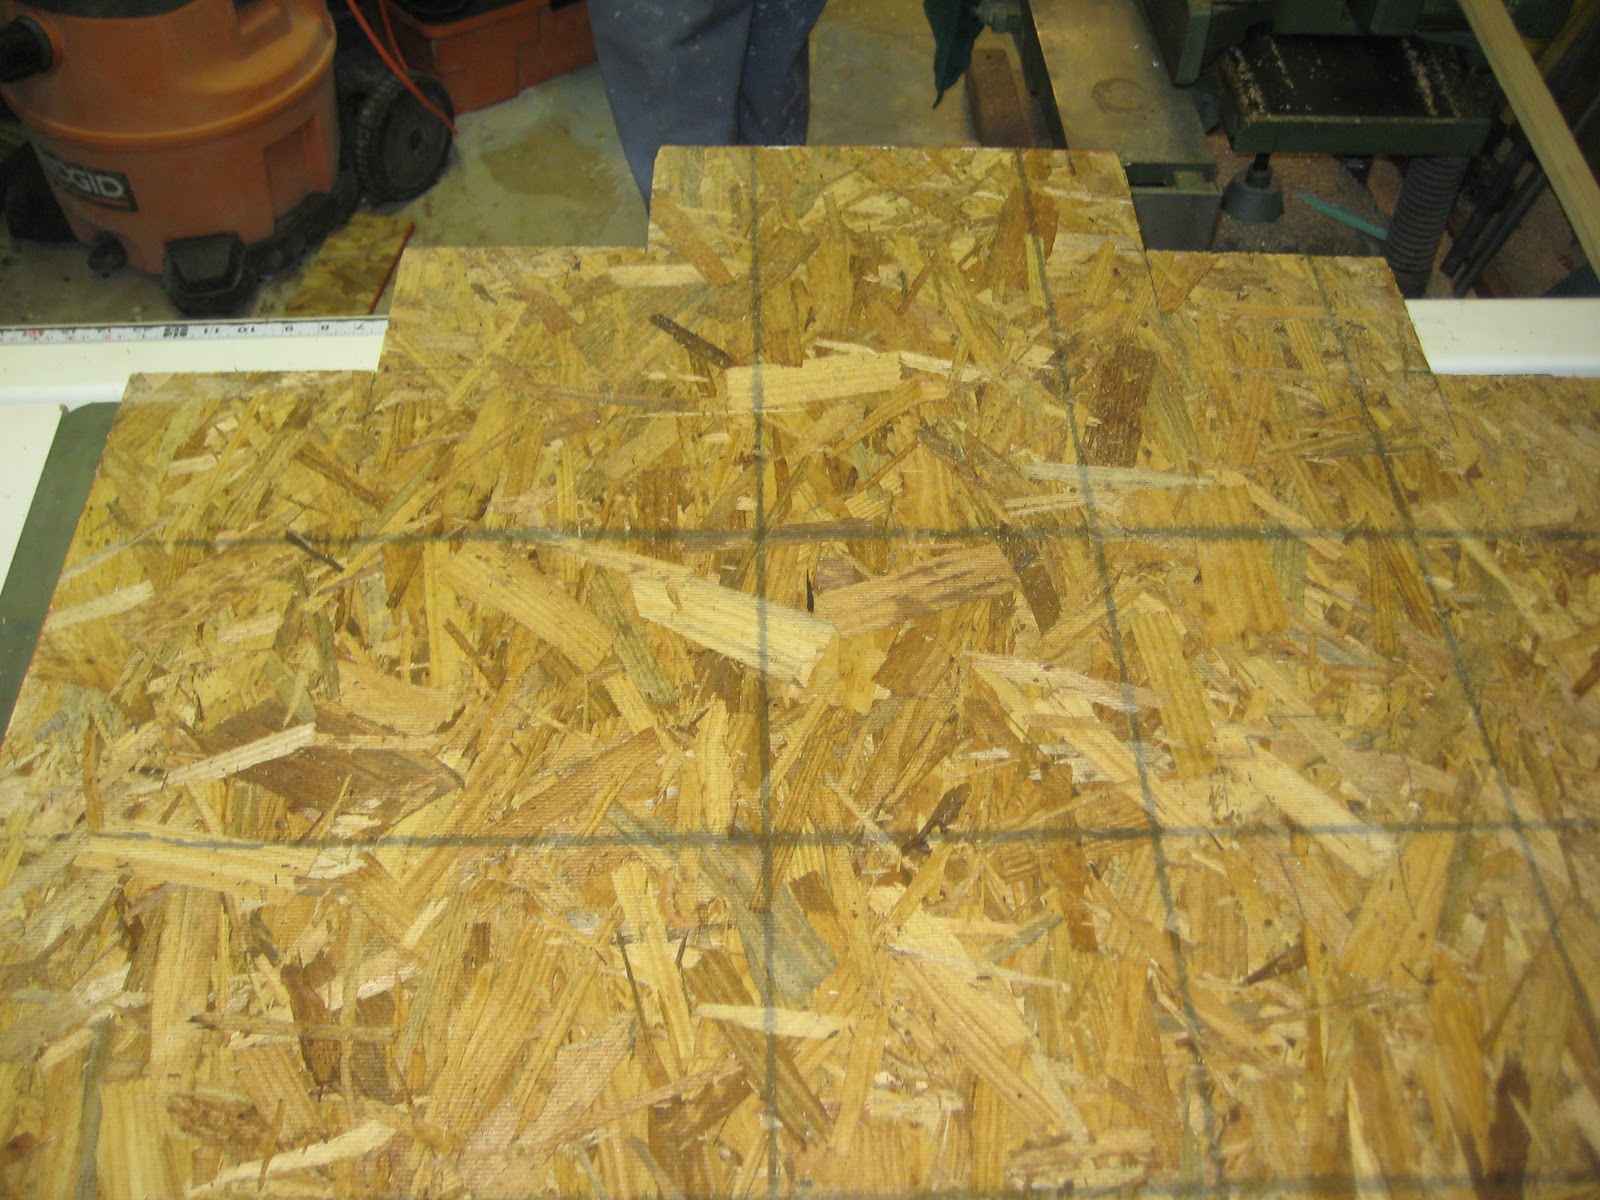
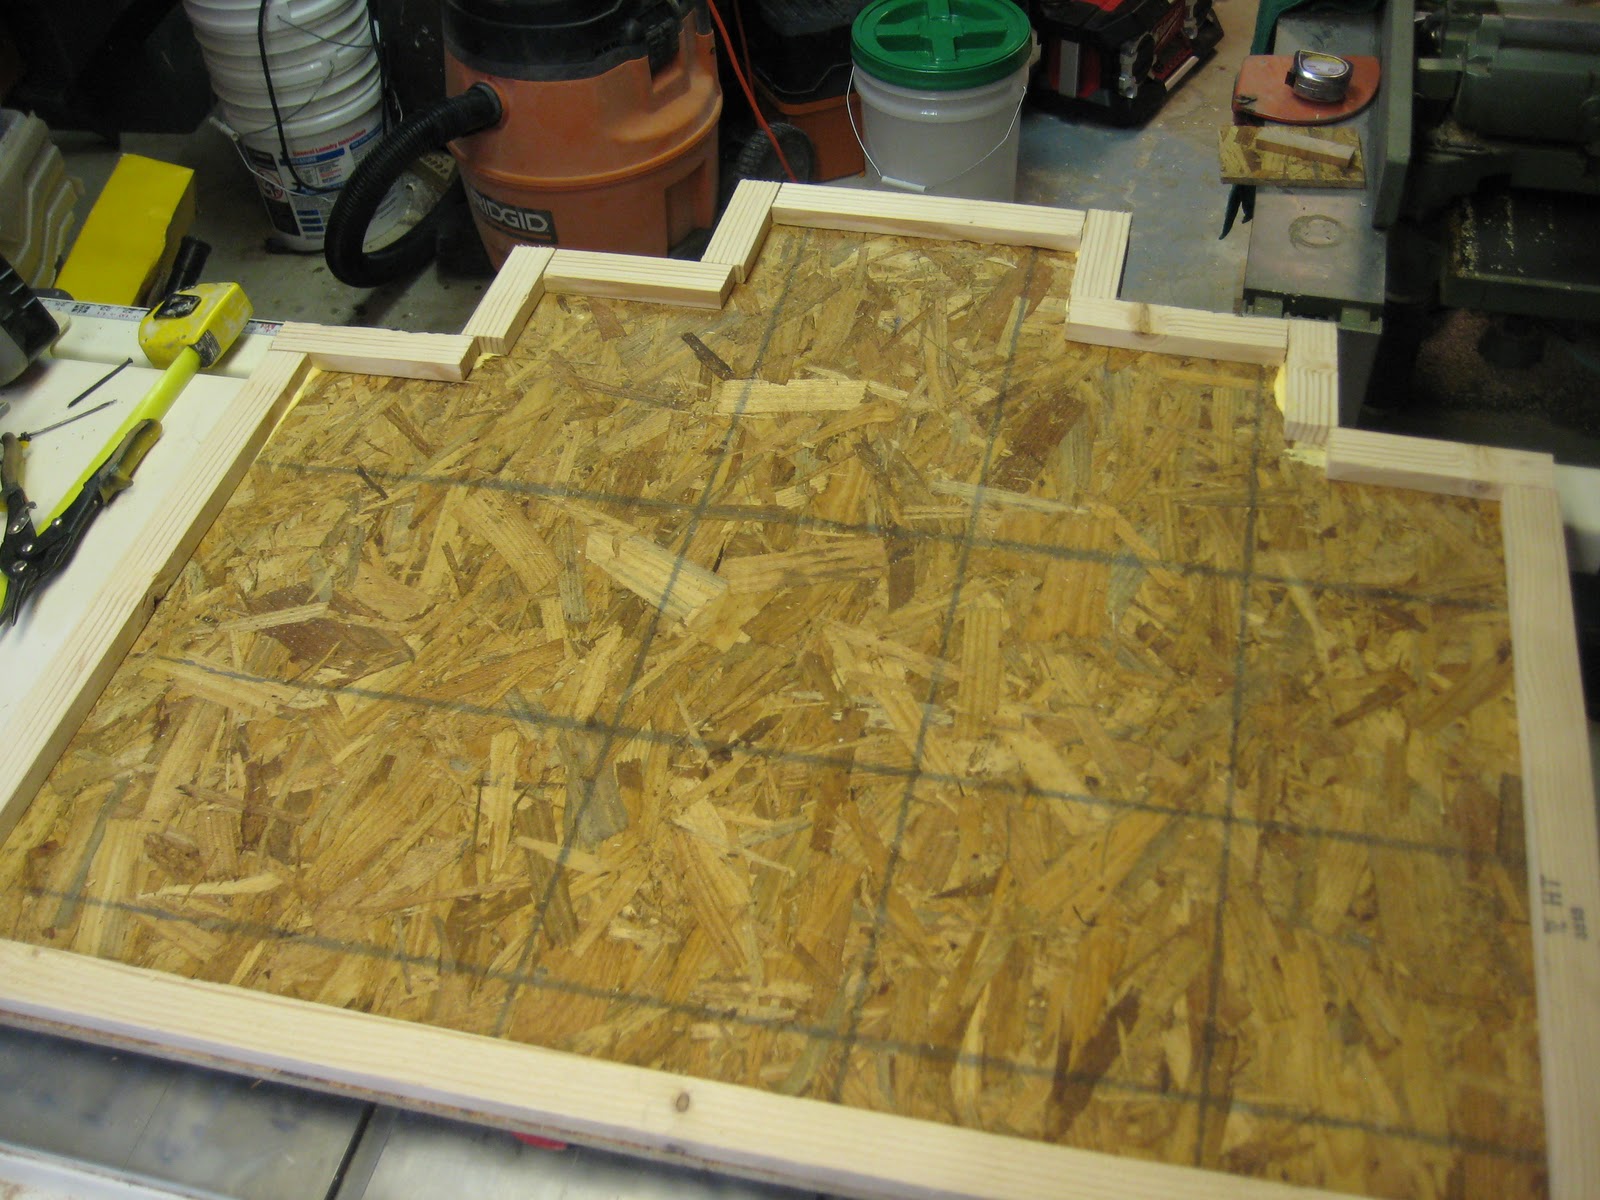
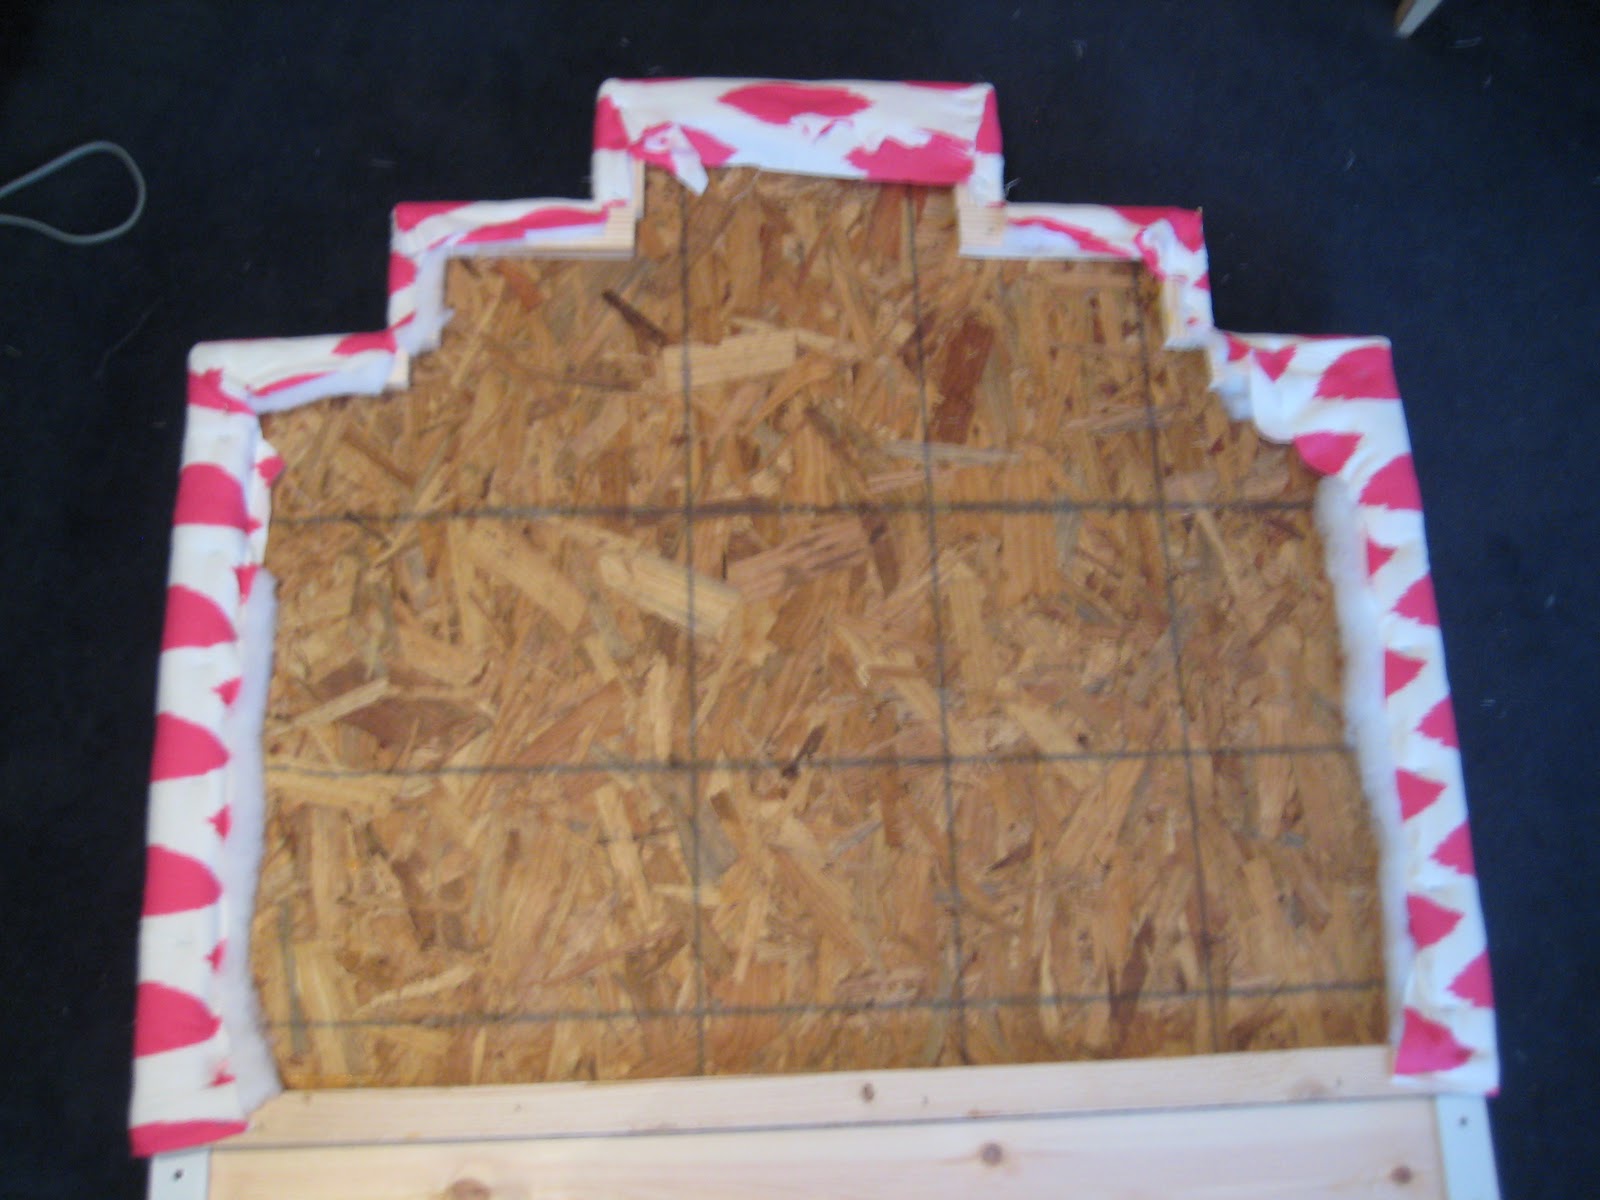
It was a perfect starting point. I upholstered the foot board and side rails which was the simplest part of the whole thing. I then bought particle board to make the head board the way I wanted it to be. I measured the board to the head board,
And then cut the shape out that I wanted. I measured from the middle over 7 inches, down 5 inches, over and down again.
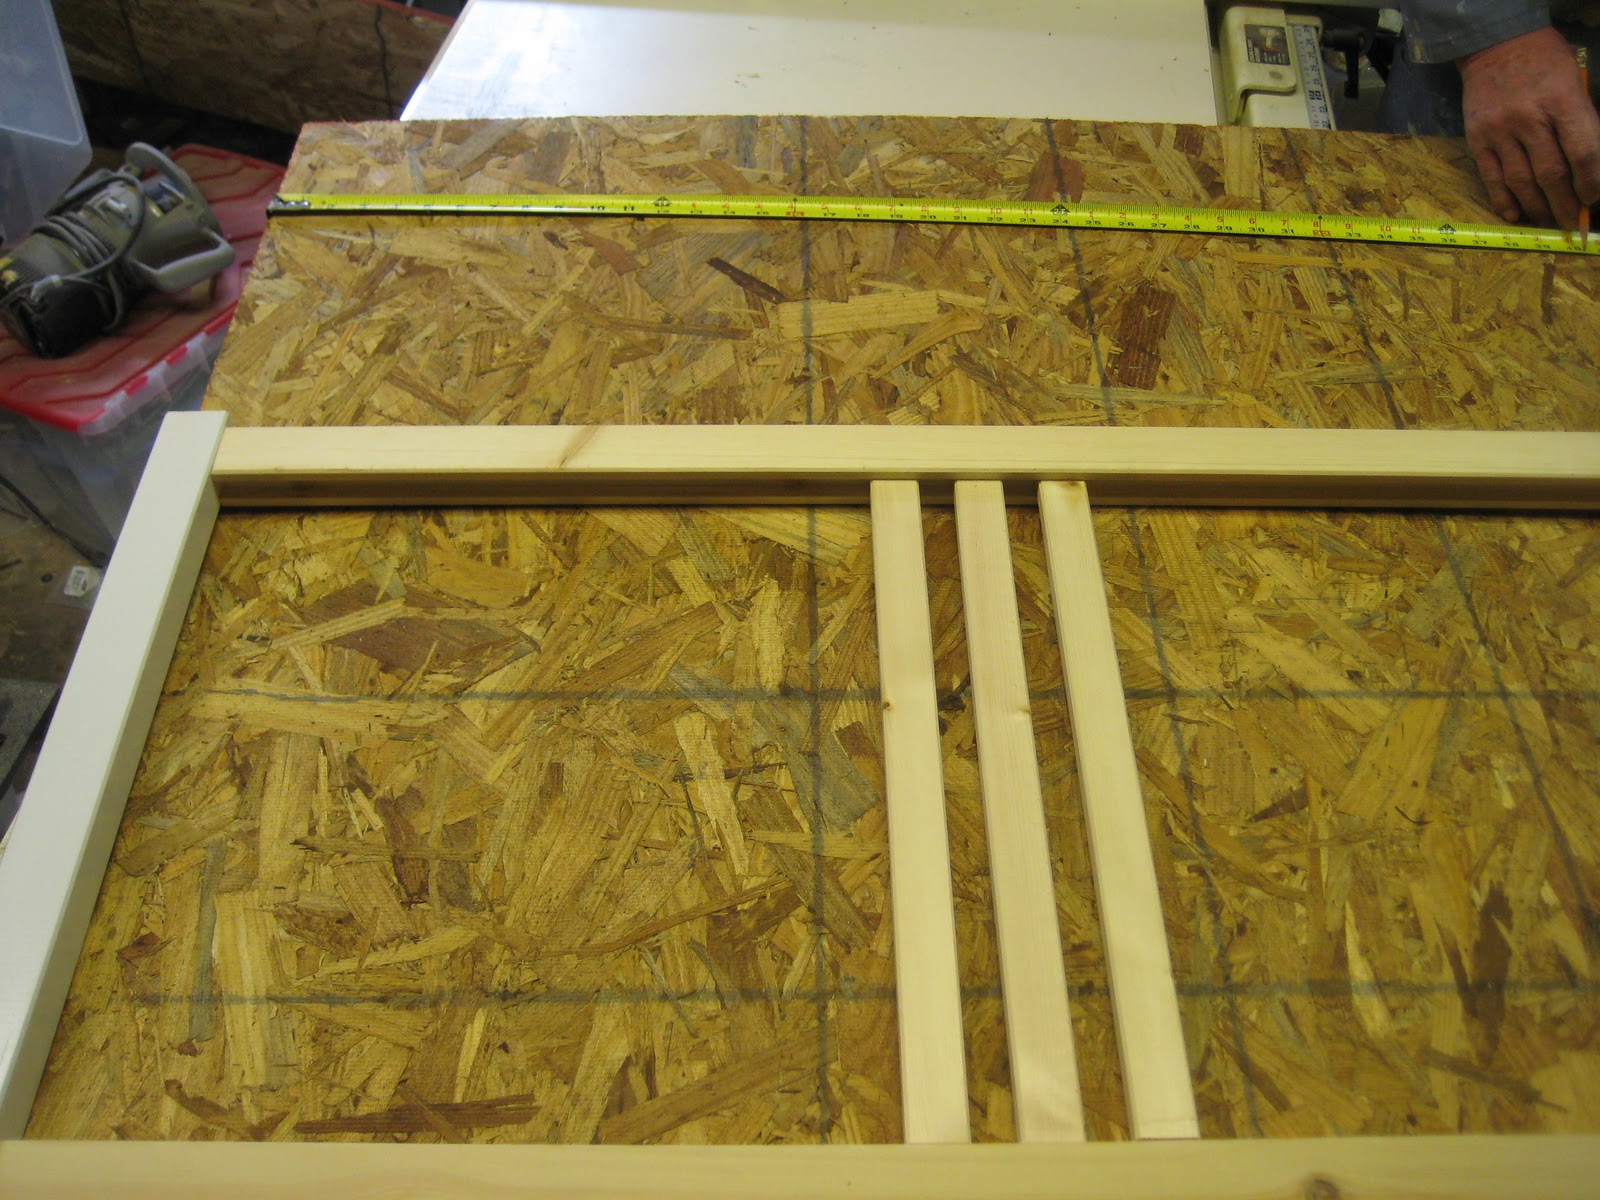
Then I reinforced the back of the board with wood. I am so glad I did this. It made the bed look a lot more rich and thicker. The wood also made it sturdier than a rock.
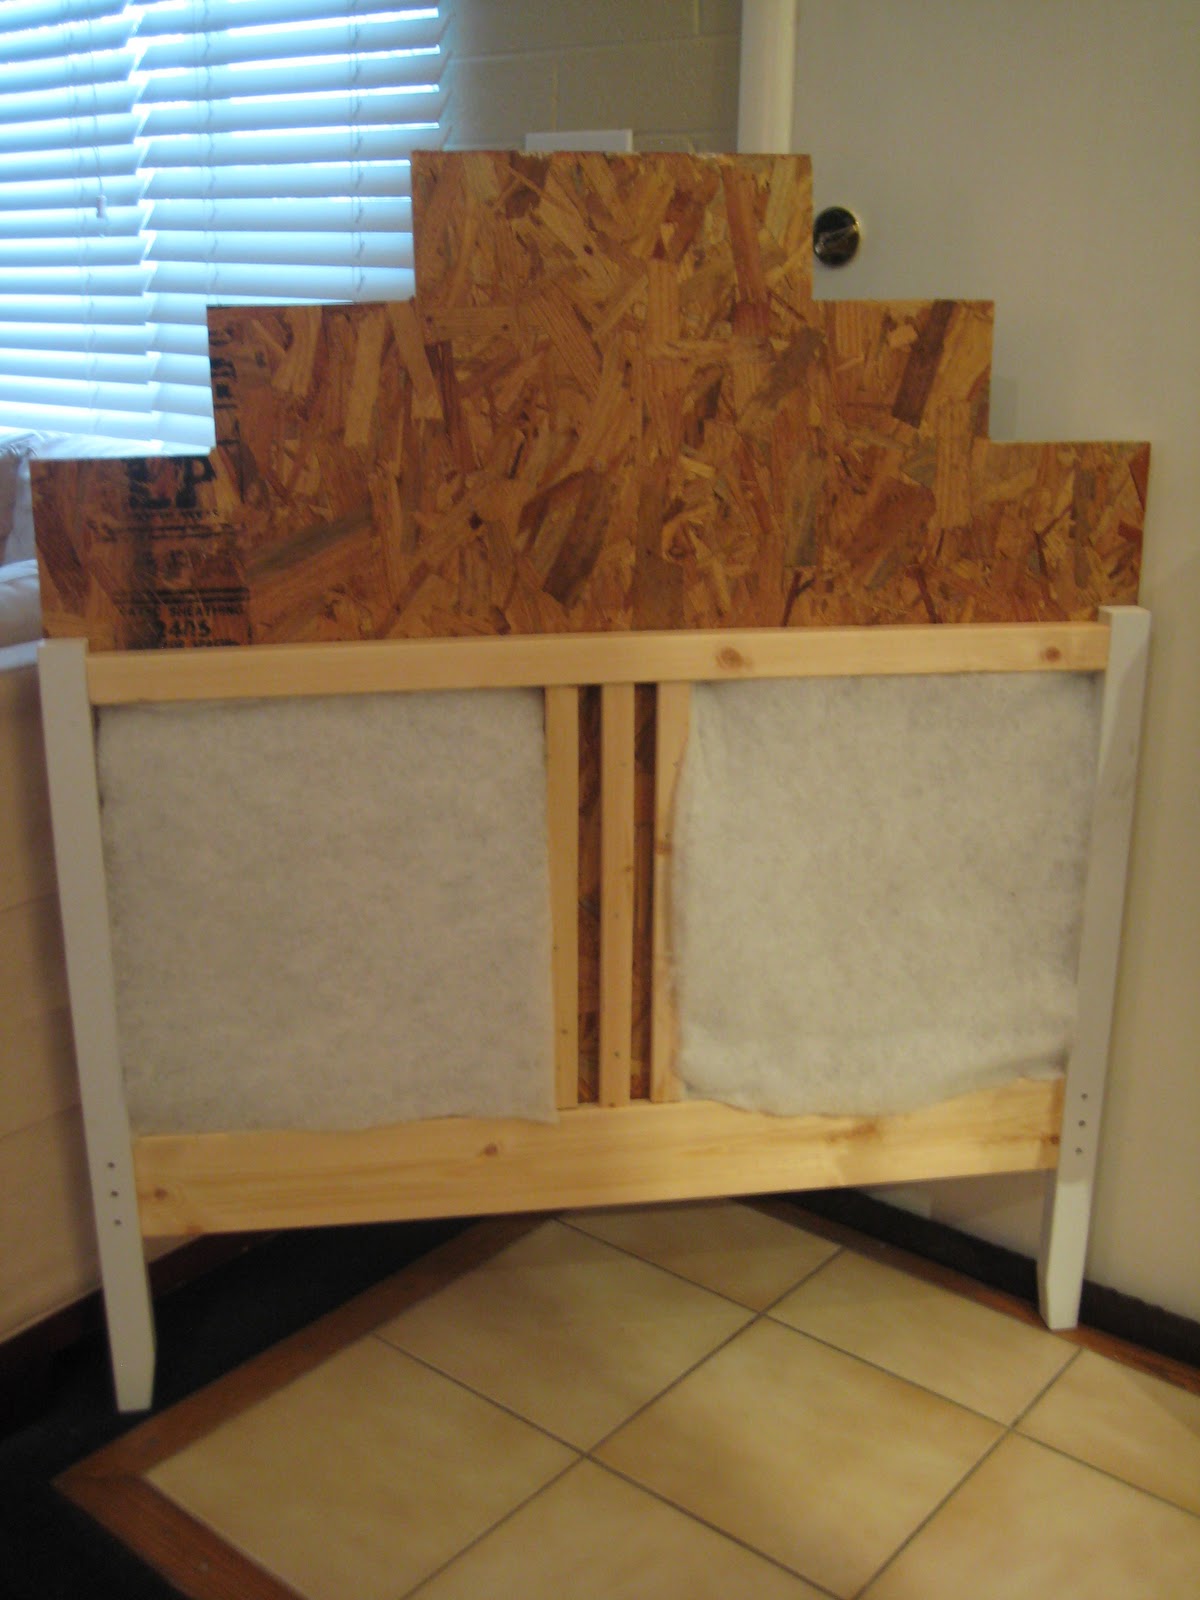
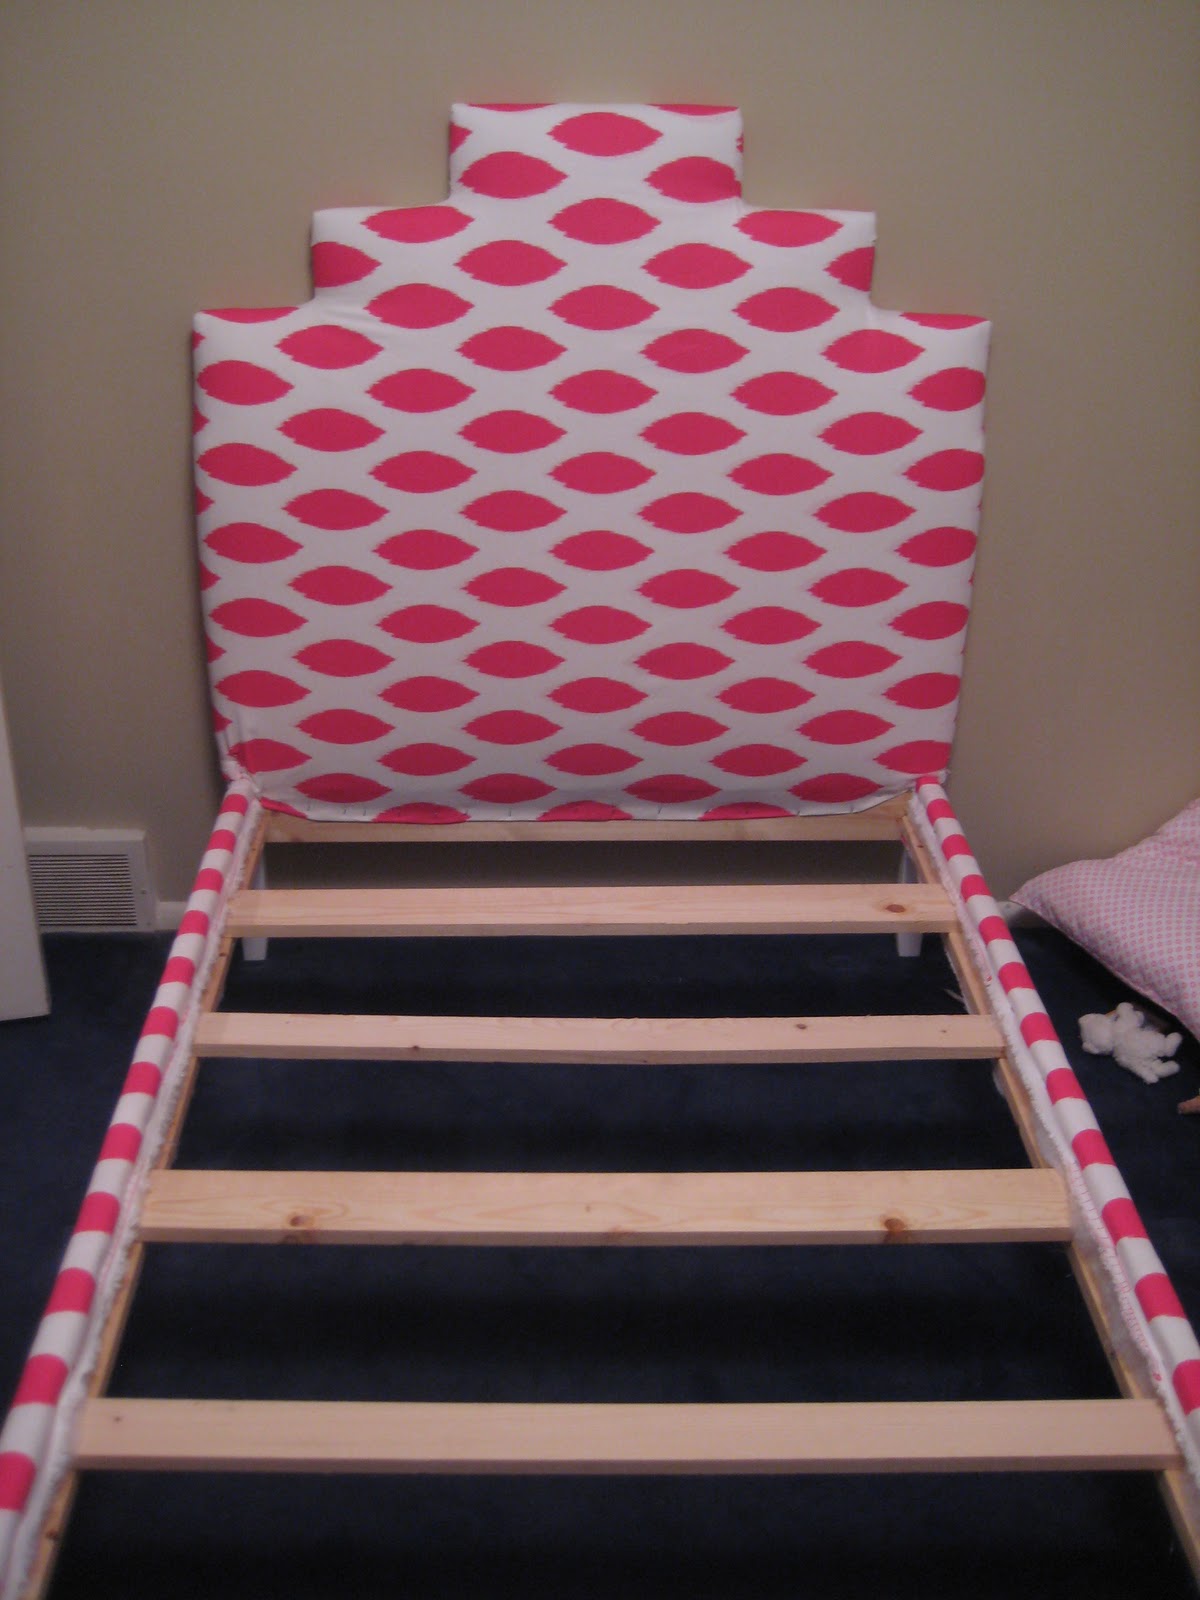
Then I glued the head board onto the particle board and let it dry for 24 hours. The picture below is the front.

The next day I had to add some extra batting in the middle so it wouldn’t sink in. I got a total of 3 1/2 yards of batting and fabric. And so very glad I did. I used every last inch of both!
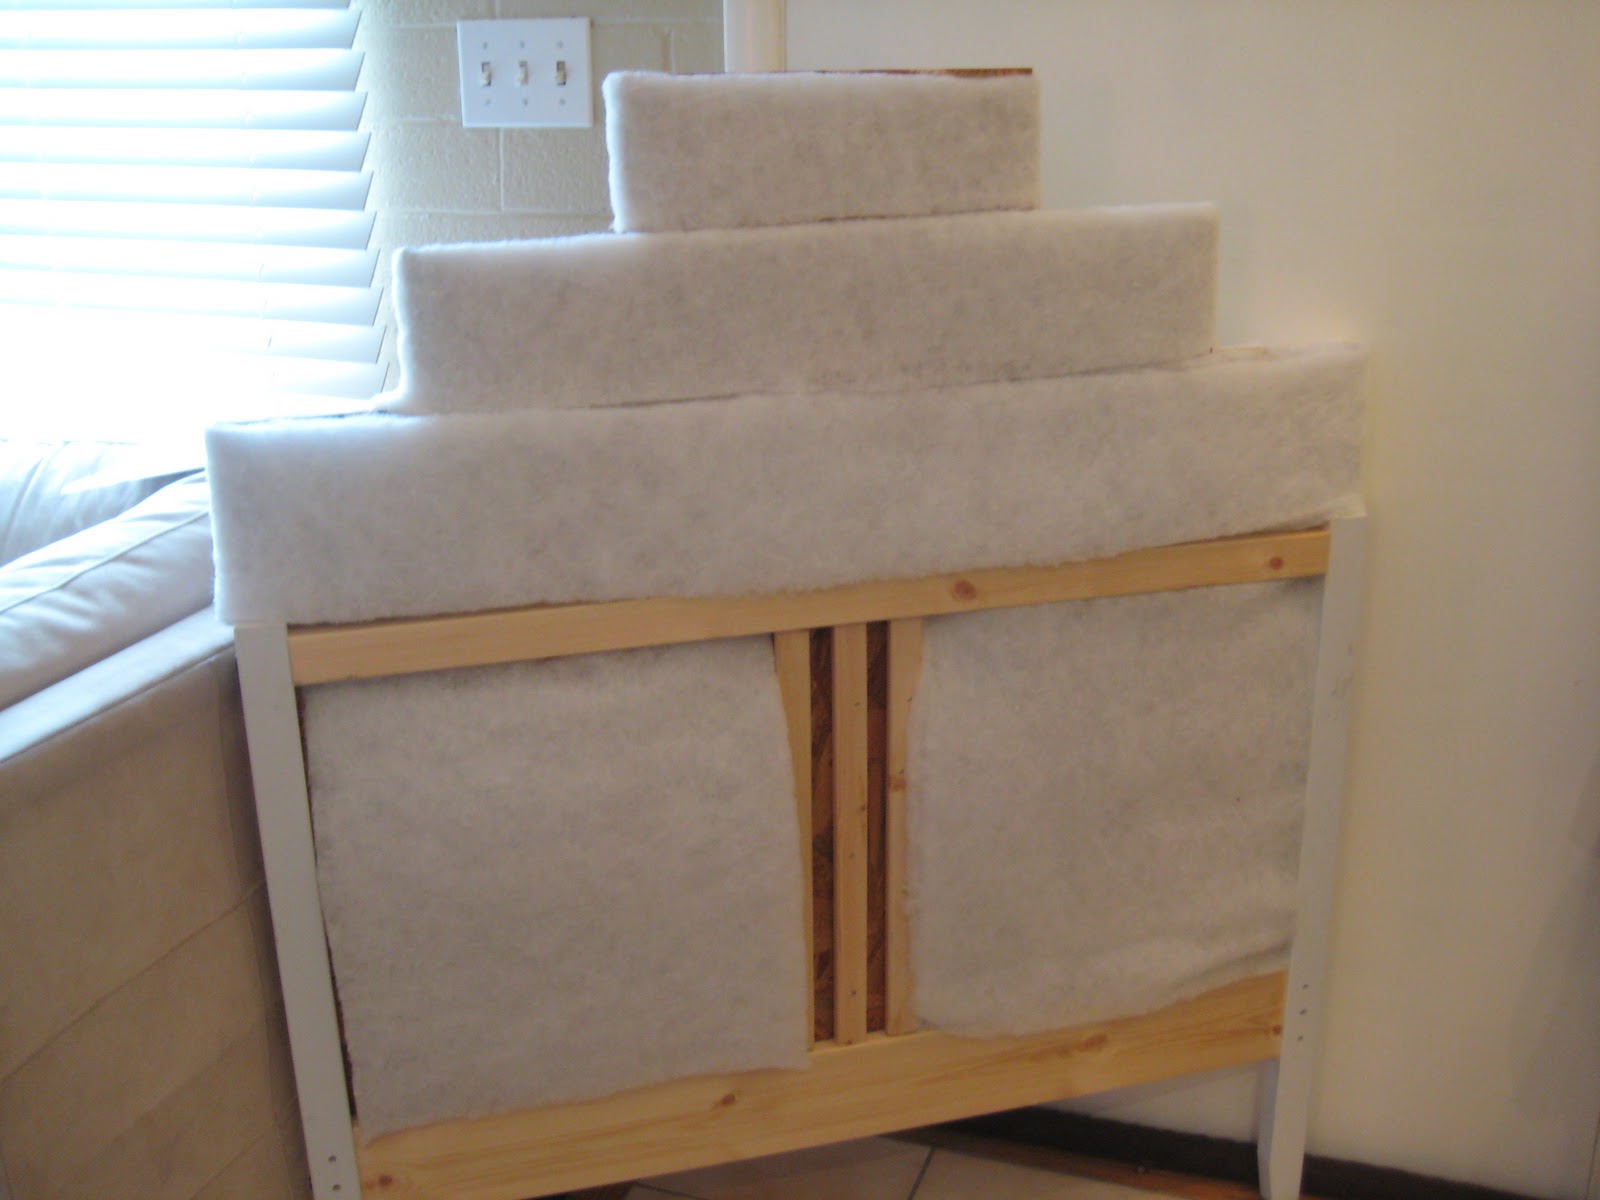
I added more on top to even out the bottom. I had to upholster it very differently than just laying it on top. Because of the angles I went horizontal with strips of batting and fabric, and vertical with more batting and material. The picture below has two layers of batting then I did one whole sheet that was two-thick. So in all I used four sheets of batting.
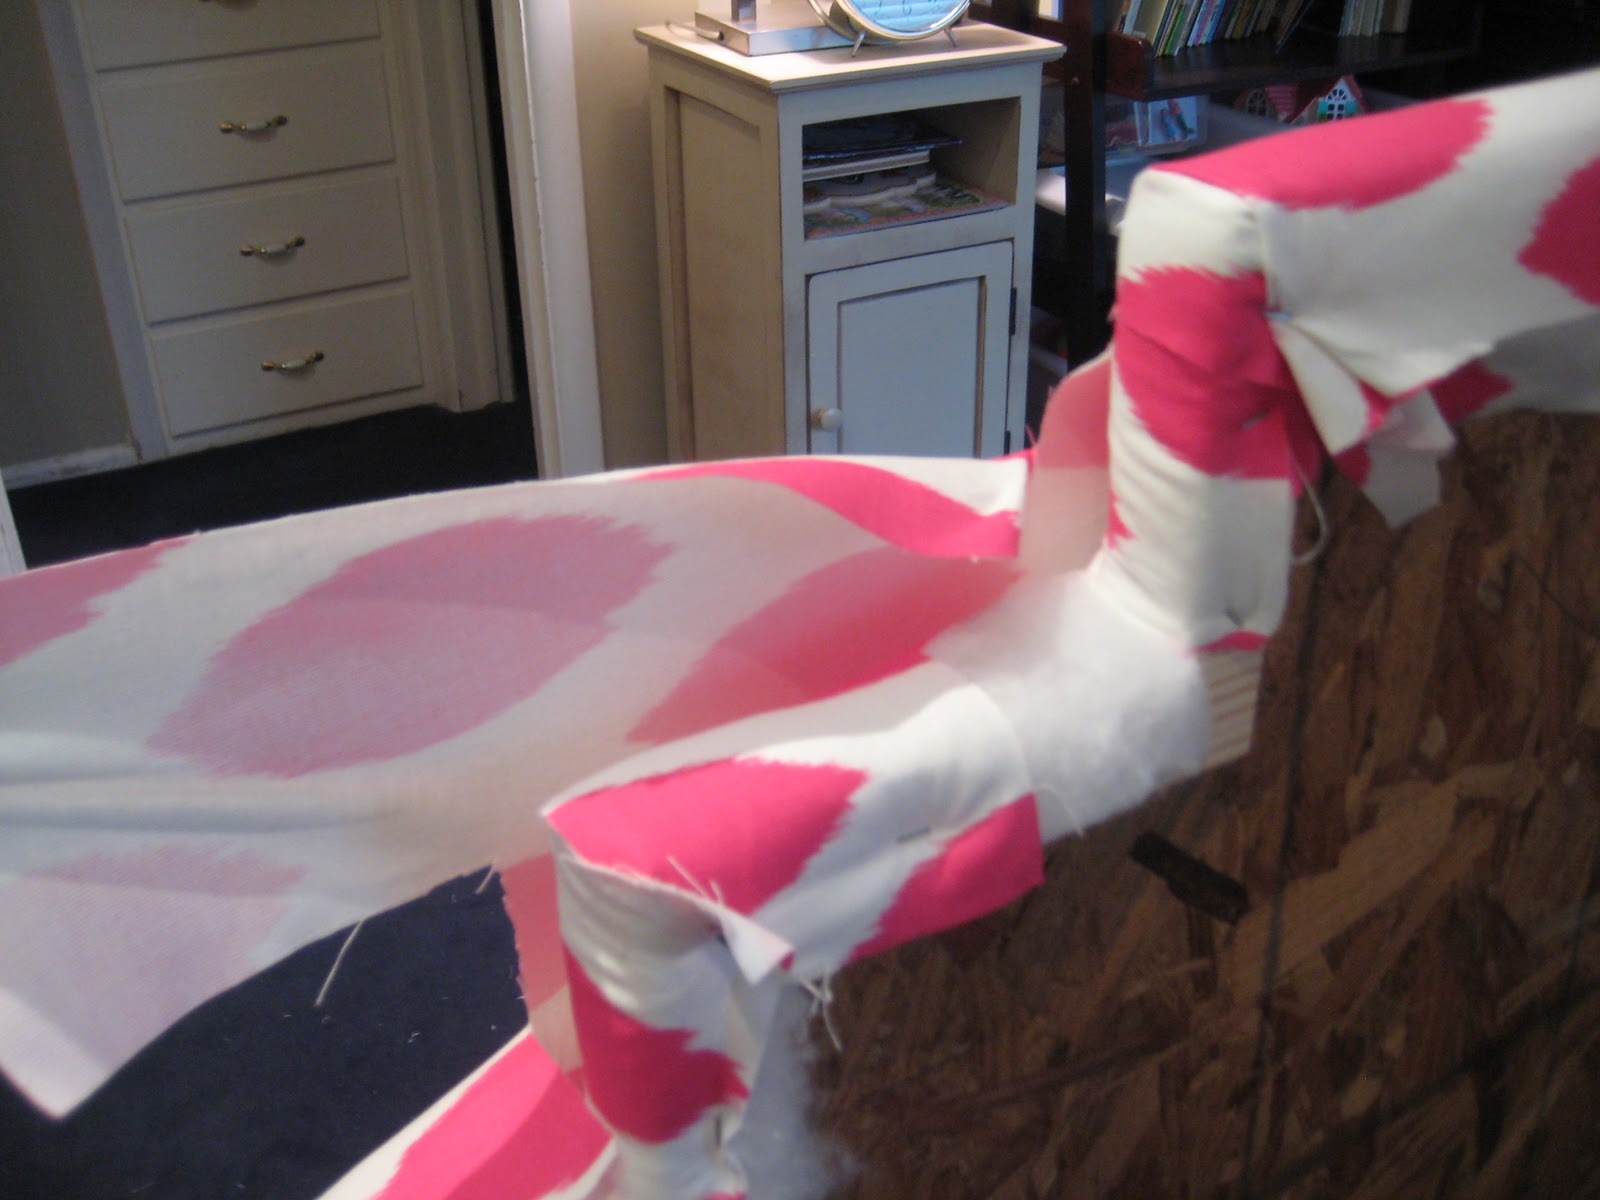
This is how I had to wrap the fabric. I already stapled a layer of fabric going vertical, then I added the top layer to fill in the sides, so there would be no open pockets.
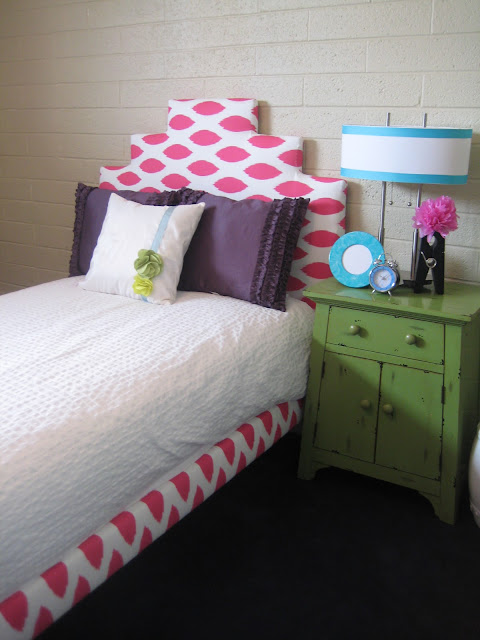
This is what it looks like all done. There seriously are more staples in this than I care to share.
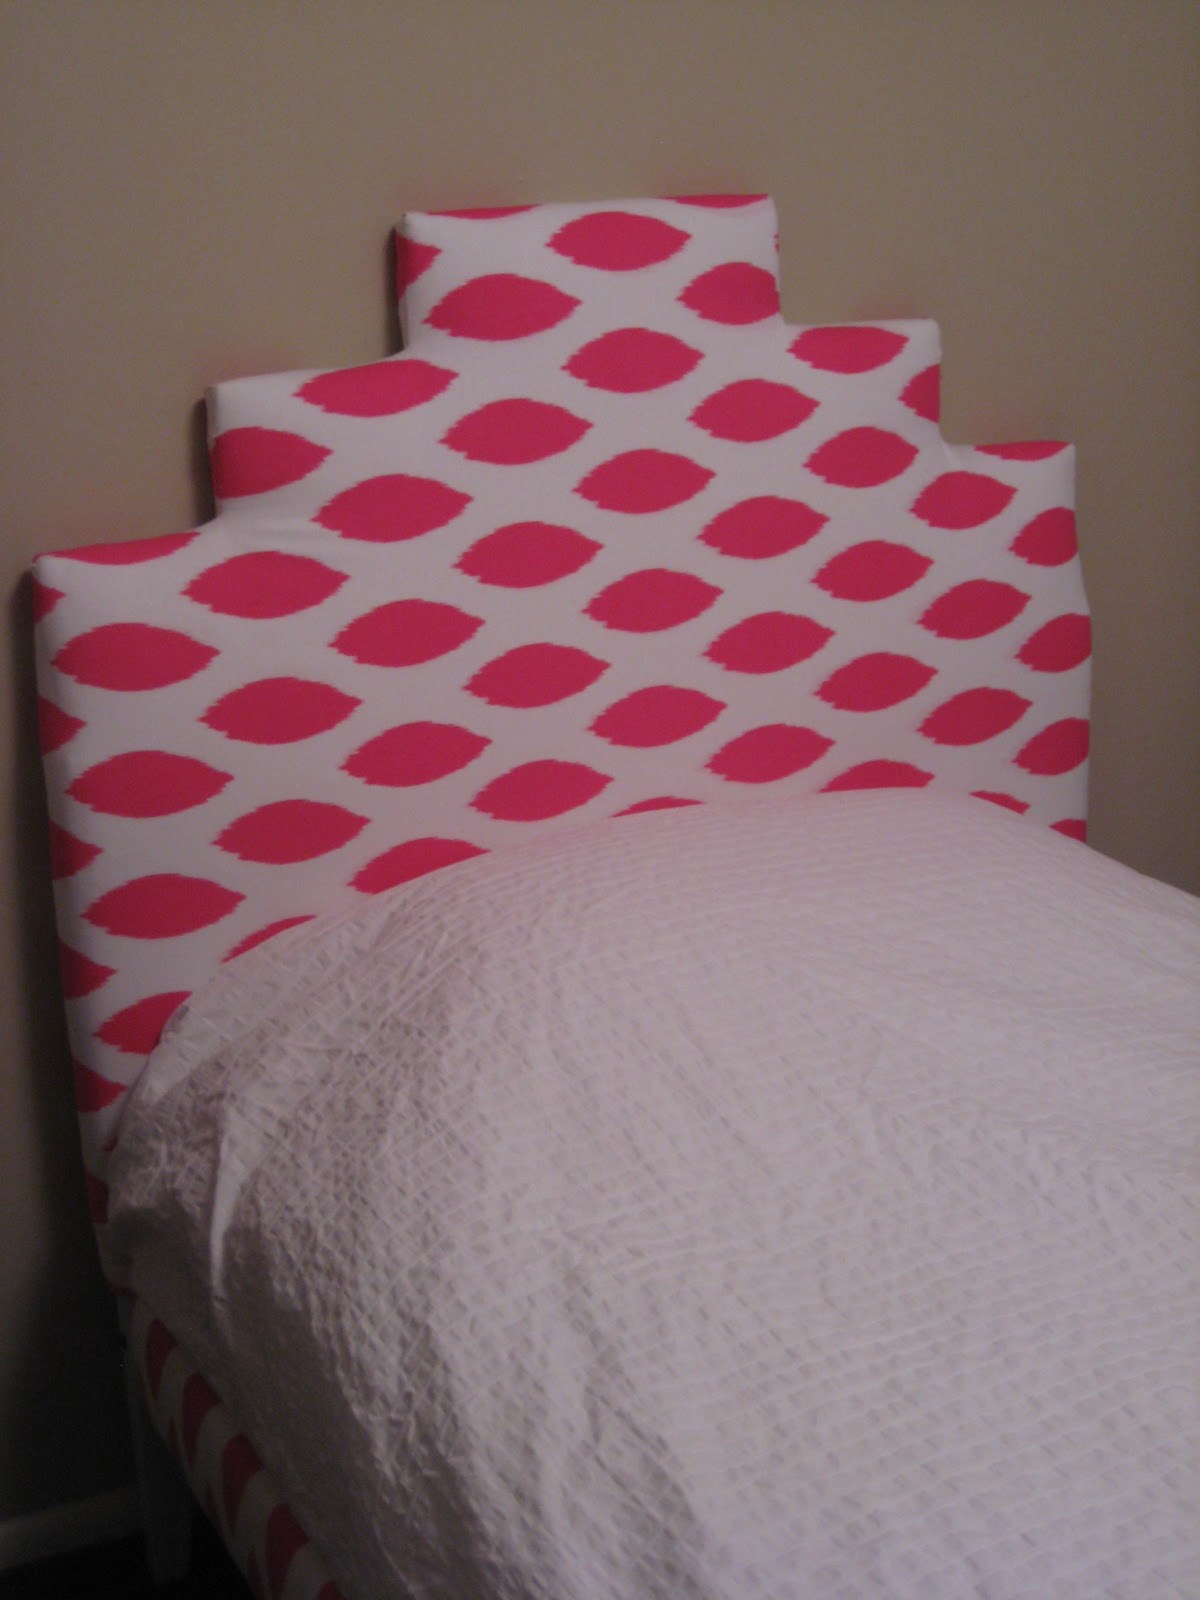
The total height four feet from the floor, and I think it’s perfect with her mattress added.
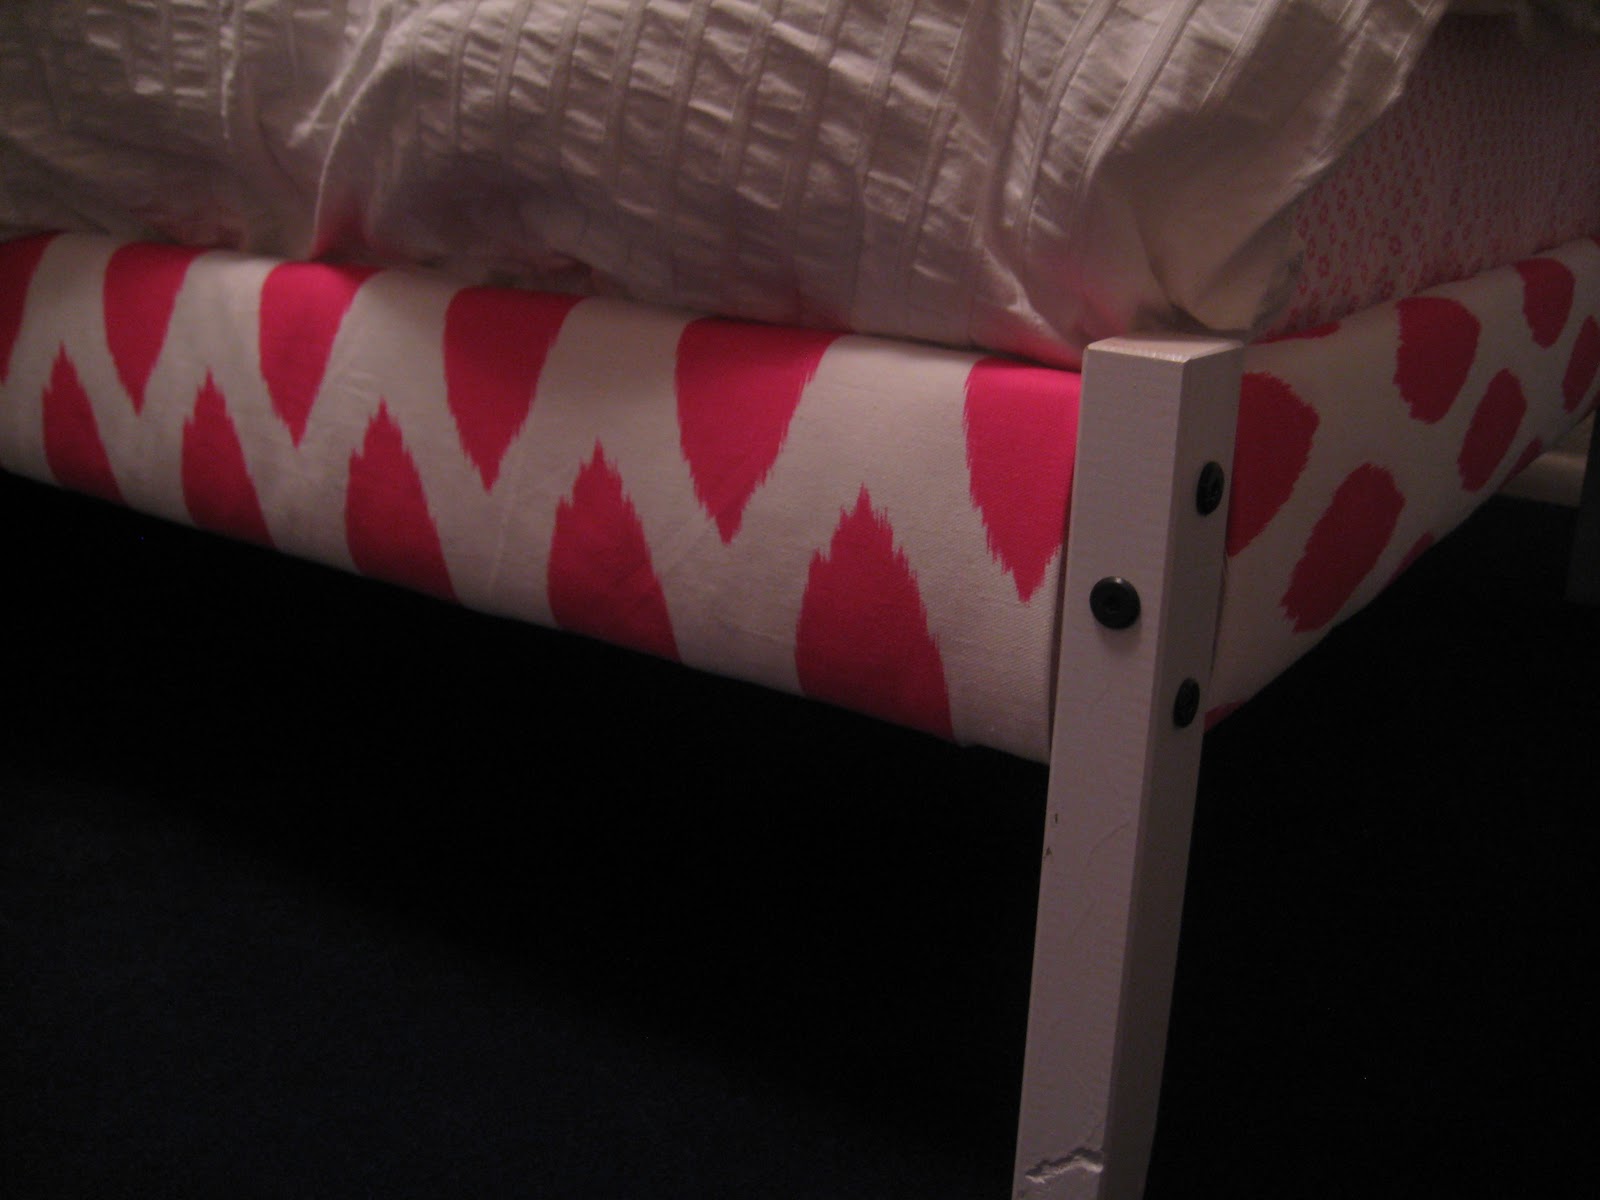
This is the foot board and side rails. I really am so glad I used the bed from Ikea. It made this project so much easier.
And the completed look. I love it! I still need to get some decorative pillows. Ainsley really wants a purple pillow, so I’m on the hunt for one. I got her bed spread from Ikea. I was looking for a textured white one. It’s got tiny pleats all over it, and the picture does not do it justice.
Here’s the break down of what I used and how much it cost.
Frame: $30 — (Ikea)
Fabric: 3 1/2 yards for $25 — (fabric.com)
Batting: 3 1/2 yards $19 — (Hancock Fabrics)
Particle board: $8 — (Home Depot)
Wood enhancers: $3 — (Home Depot)
Total for the head board: $85
With how much the beds I wanted were, and that they weren’t that cute to begin with, I’m great with the price. The cheapest bed I found that I liked (not loved like I do this one) was $100, and there were a few things I wanted to fix. So I’m very pleased with the outcome and price.
Hope you enjoyed my upholstered headboard tutorial!
~ Jen