
Greetings, dear readers! My name is Lauren, and I am thrilled to be kicking off my first post as a regular craft contributor here at Or So She Says.


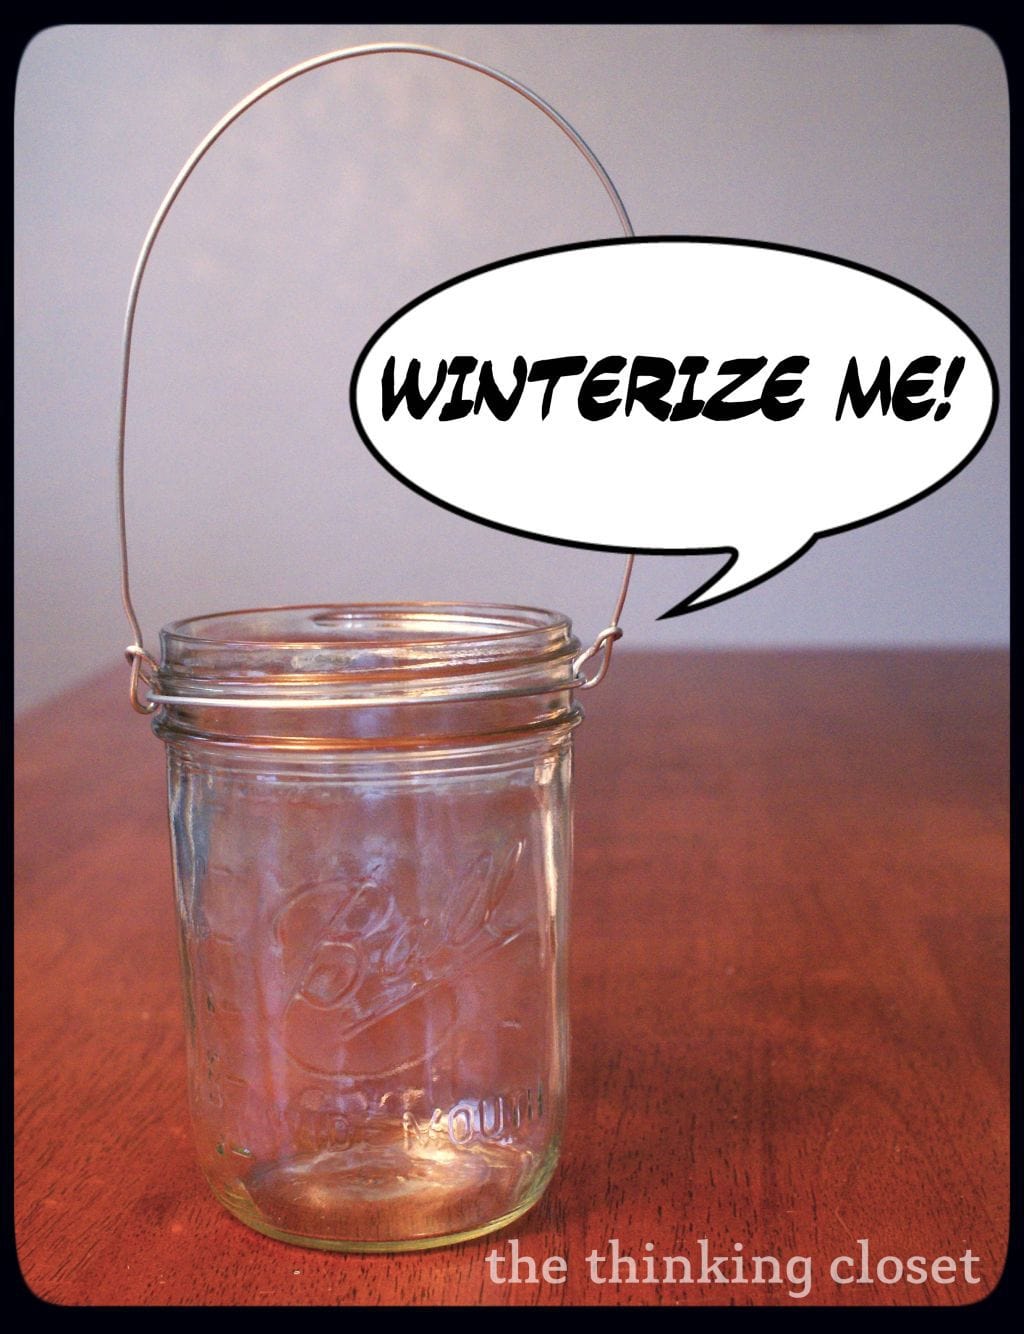
So, I’m eager to share with you all my newest d.i.y. creation: Winter Mason Jar Lanterns. This project combines three of my loves: mason jars, candlelight, and SNOW!
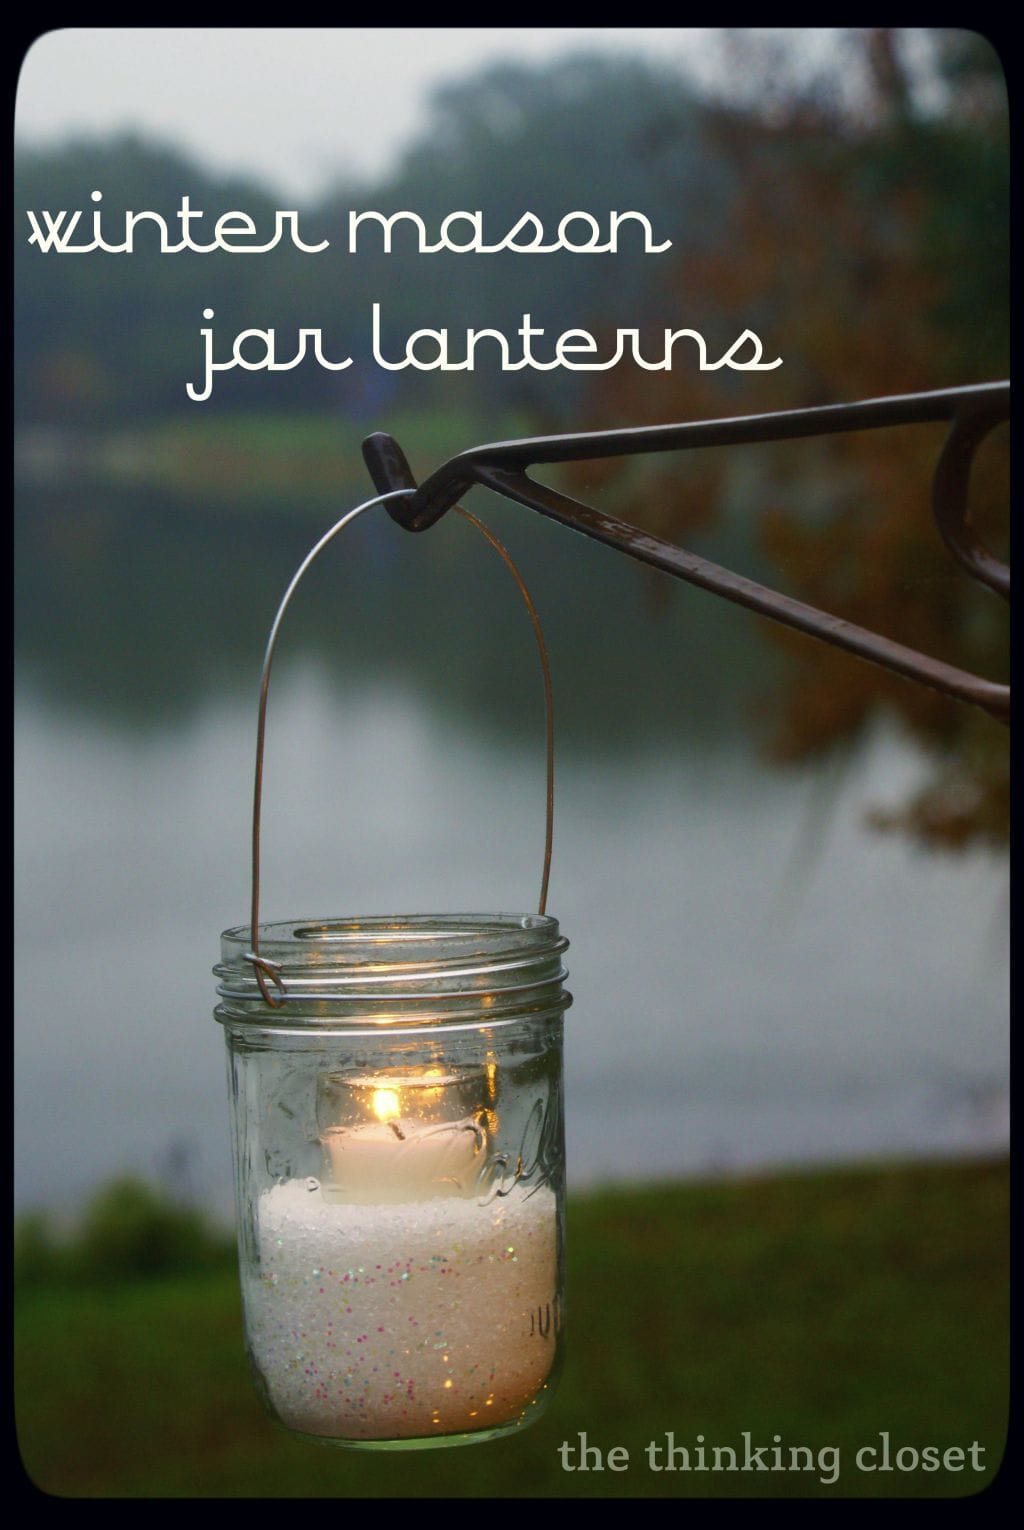
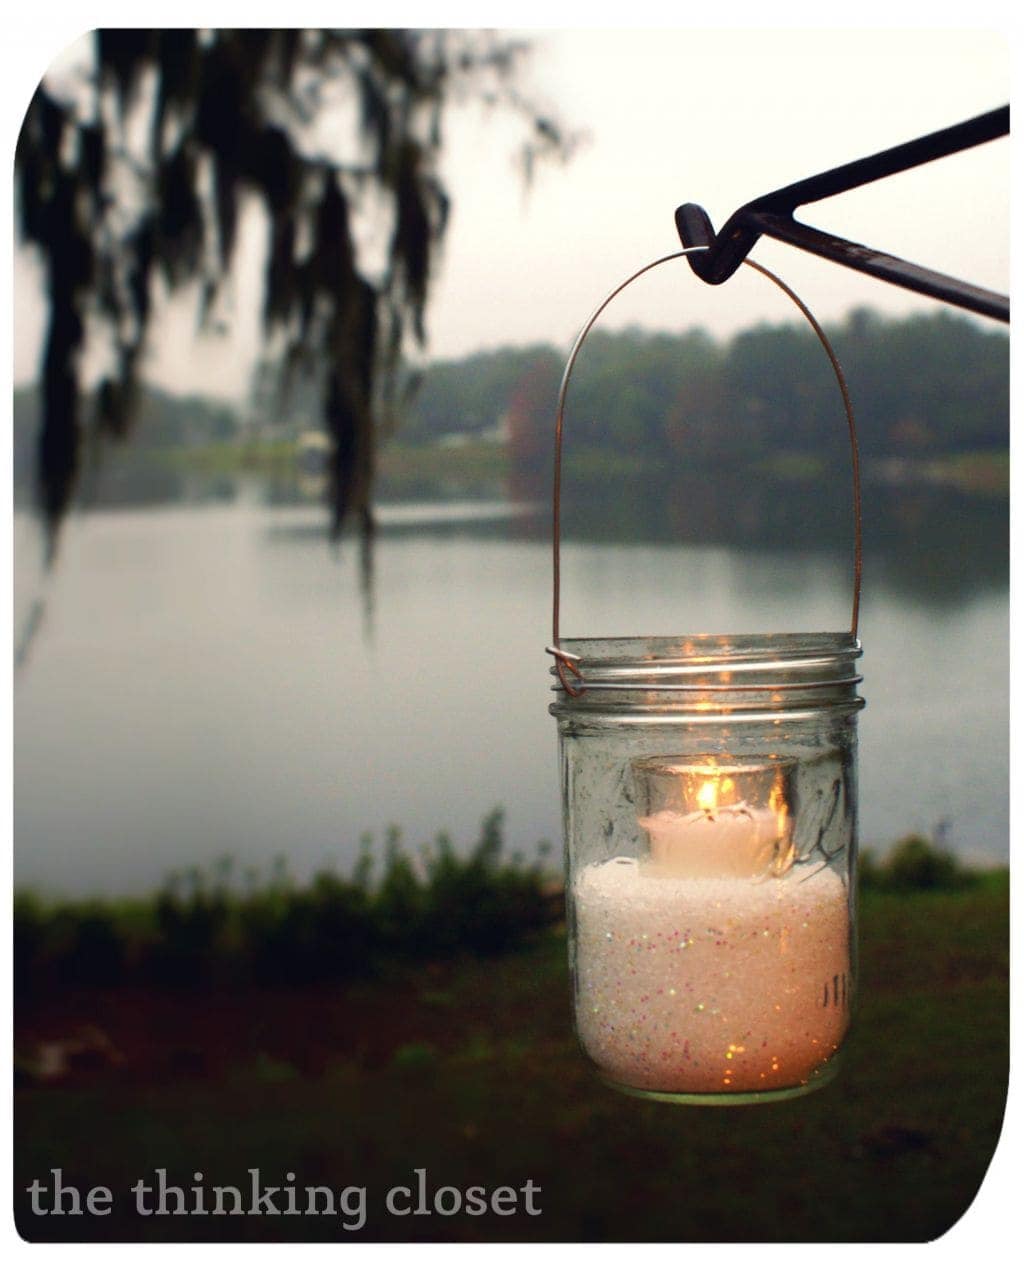
Mark and I moved to Florida this past summer, so this is my first “tropical” winter. Although I’m loving the warmer weather, I do miss that childlike awe that comes with waking up to the world blanketed in fresh, white snow. So, I thought that I could bring the “snow” down south while making our backyard more welcoming to guests with some winter mason jar lanterns.
Here’s the how-to, so you can whip up your own lanterns this season:

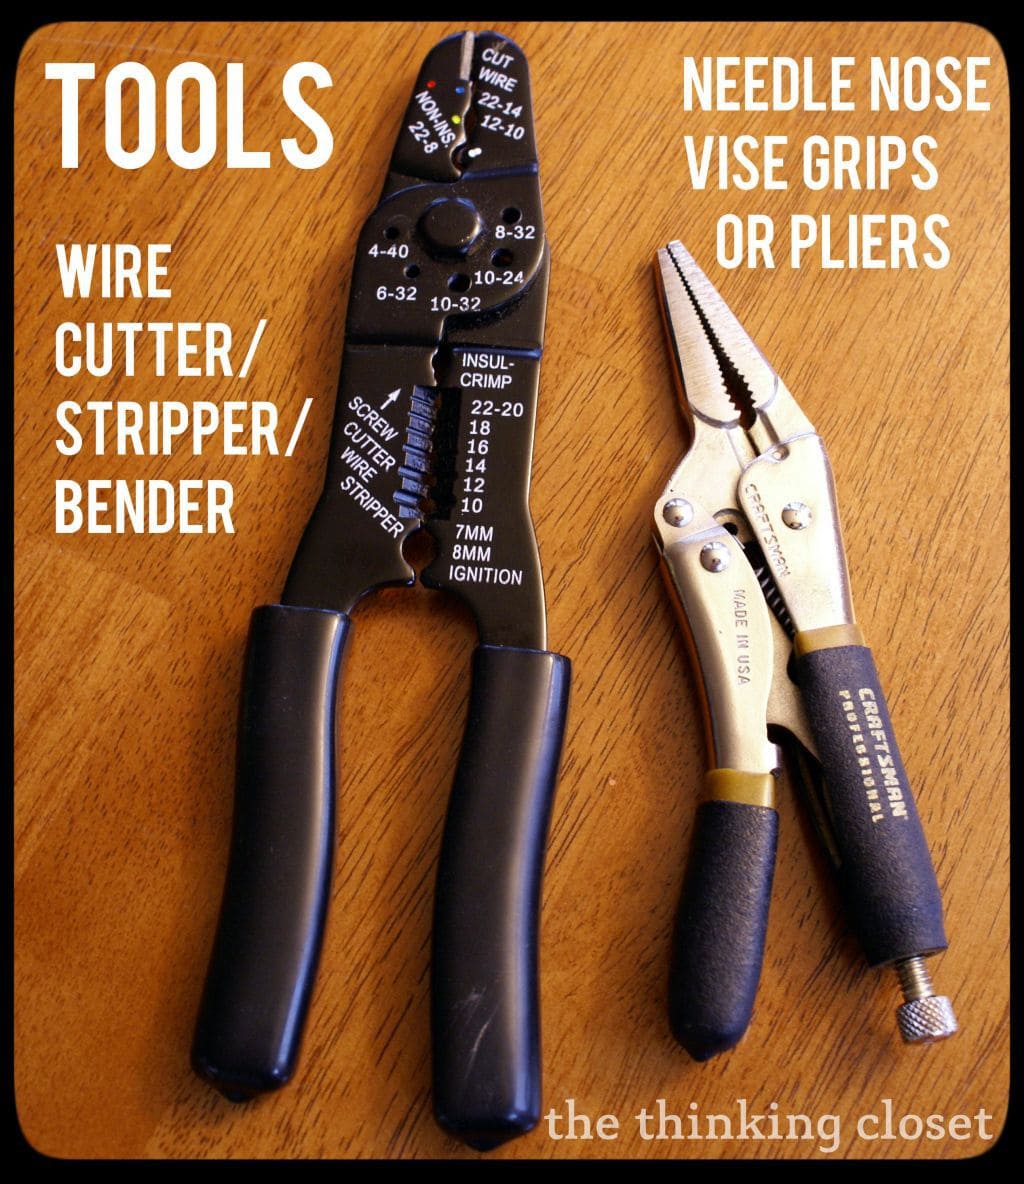
Don’t let the sight of tools intimidate you! I don’t consider myself super handy when it comes to tools, but this project was very do-able for me. The hubster helped me with the wire wrangling, and I’ll break it down for you in such a way that I KNOW it will be do-able for you, too. Here we go.
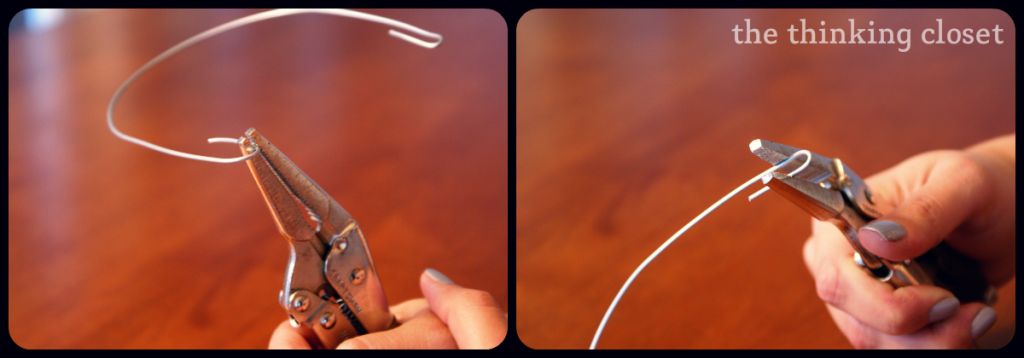
Step 1. Cut the wire into two pieces, 14″ each. TIP: with a wire bender, sometimes you have to crimp the wire, then bend it to break it. Take one piece that will become our “handle.” Round it into a horseshoe by wrapping it around the jar. Set it aside.
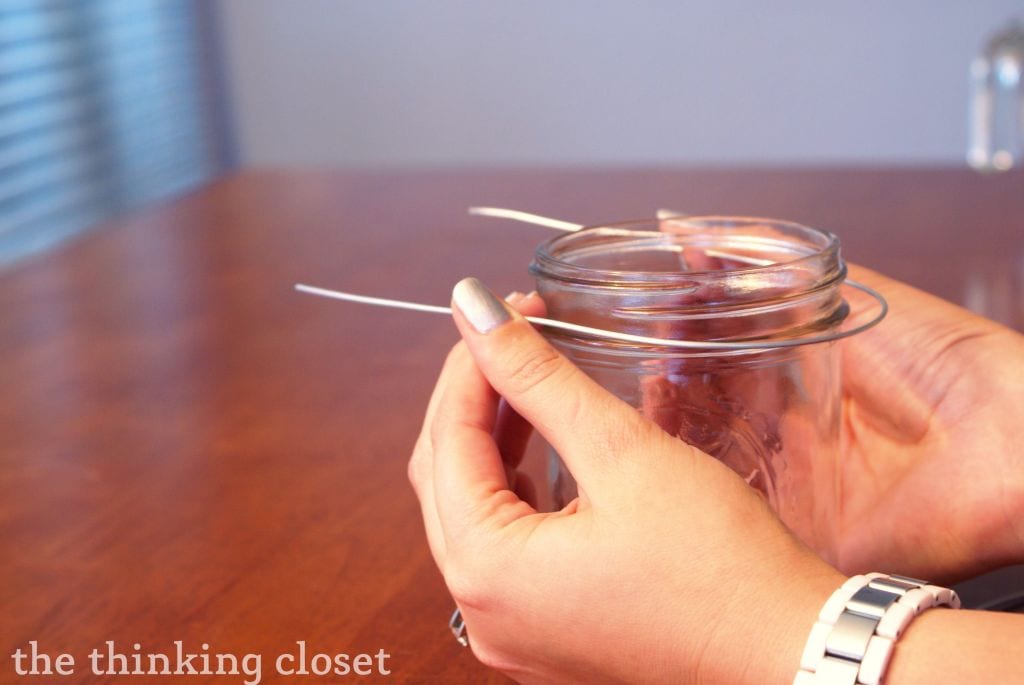
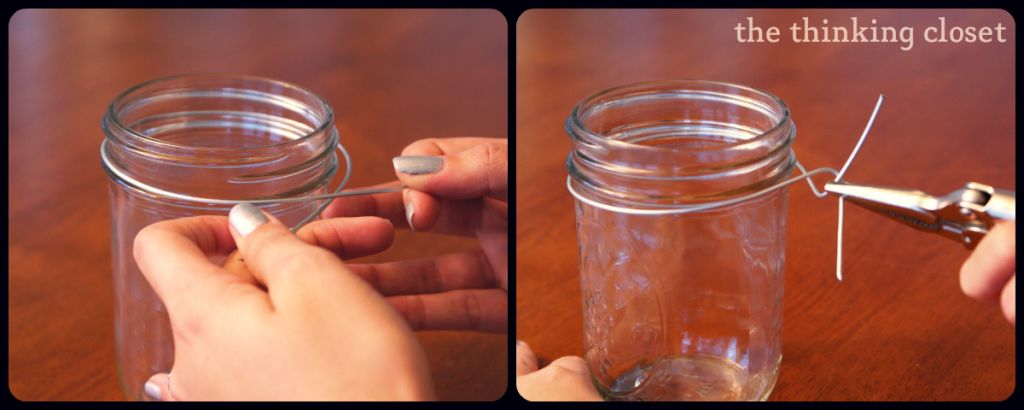
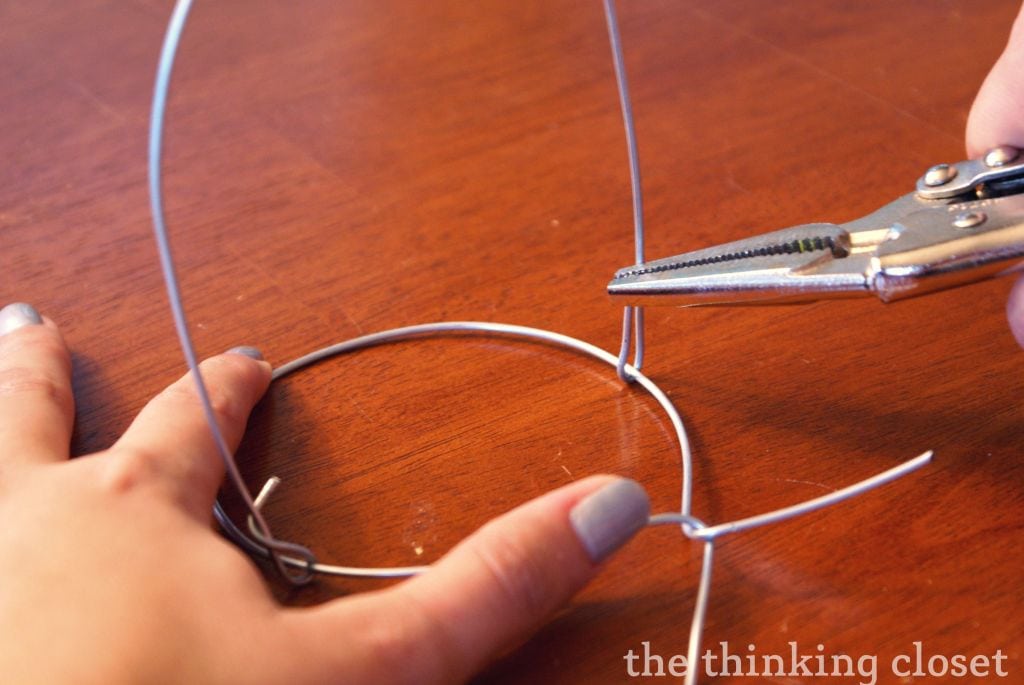
Step 2. Take the second piece of wire that we’ll call the “circle” and wrap it around the jar in between the bottom ridge and the middle thread. Chevron the two ends (criss cross them). Use your vise grips to clamp the wires where they cross and give a single twist. You should still be able to remove the “circle” from the jar.
Step 3. Take your “handle” piece and using your vise grips, clamp the wire 1″ from one of the ends; bend that portion of the wire inward, 180 degrees. Release. Pinch the bended portion, so that you end up with a tight u-turn. Repeat this on the other end.
Step 4. Hook the u-turns on the “handle” piece over the “circle” piece. Twist the ends on the handle around themselves so the sharp part is facing inside toward the jar. Trim any excess pieces now.
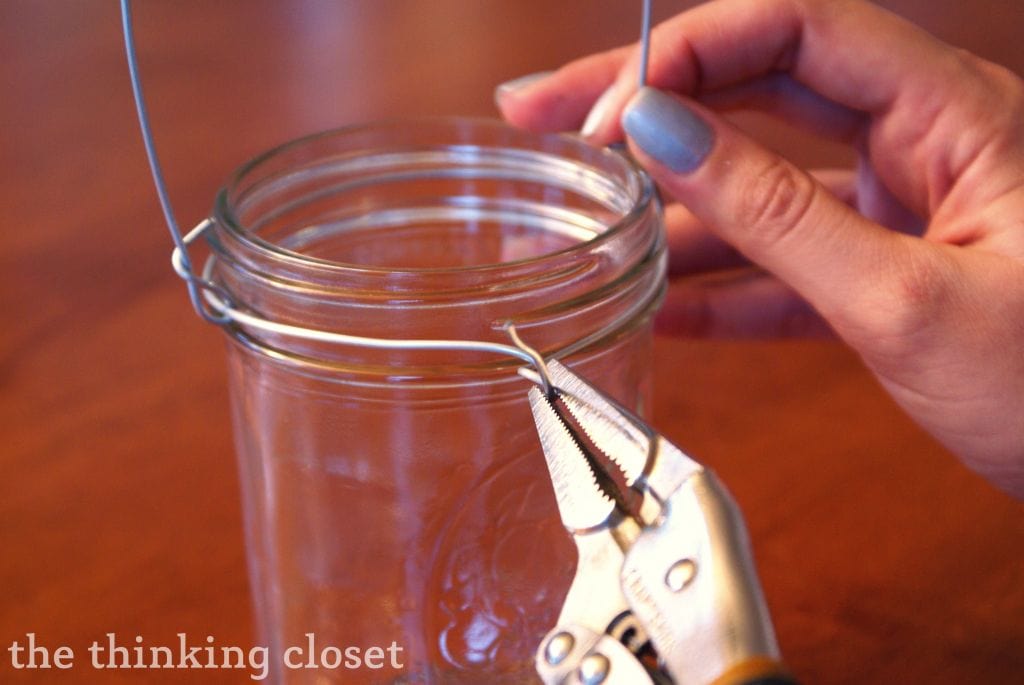
Step 5. Put the now-combined wire pieces on the jar and rest the “circle” part in the same spot as you did in step 2; line up the twisted ends of the circle on the “back” of your jar. Line up your handle so the two ends are across from each other. Grab the two ends of the circle with your vice grips and twist again and again and again, until it sufficiently tightens up. (Here’s where you might invite a second set of hands to come and help steady the wire while you twist.) Trim any excess pieces of wire on the ends.
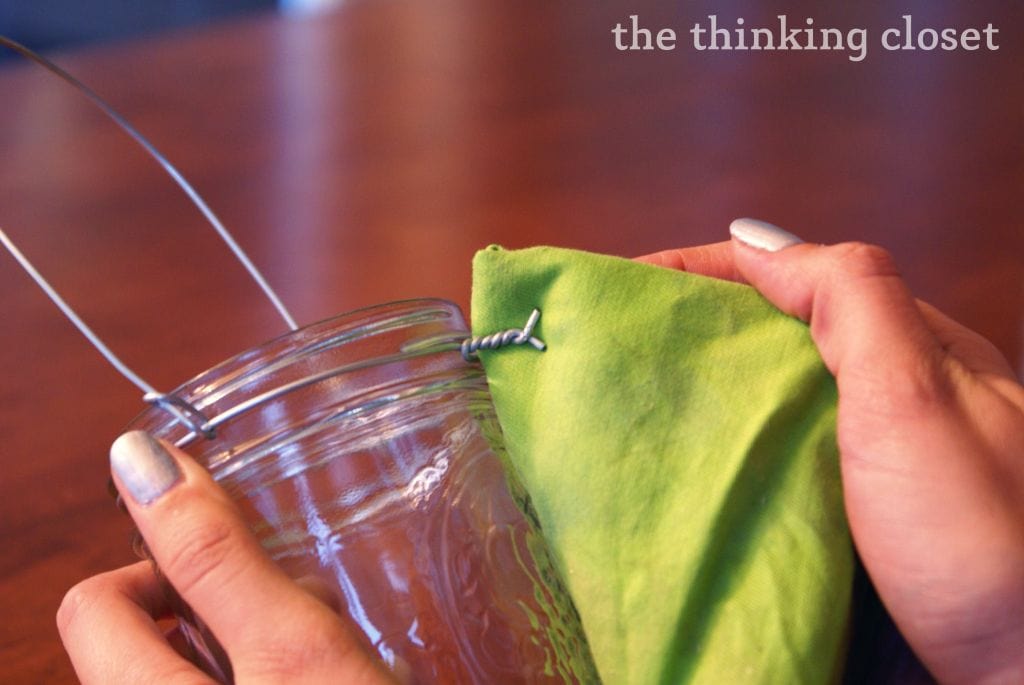
Step 6. Take a thick cloth and use it as a buffer between your thumb and the wire as you press the twisted ends flat against the jar.
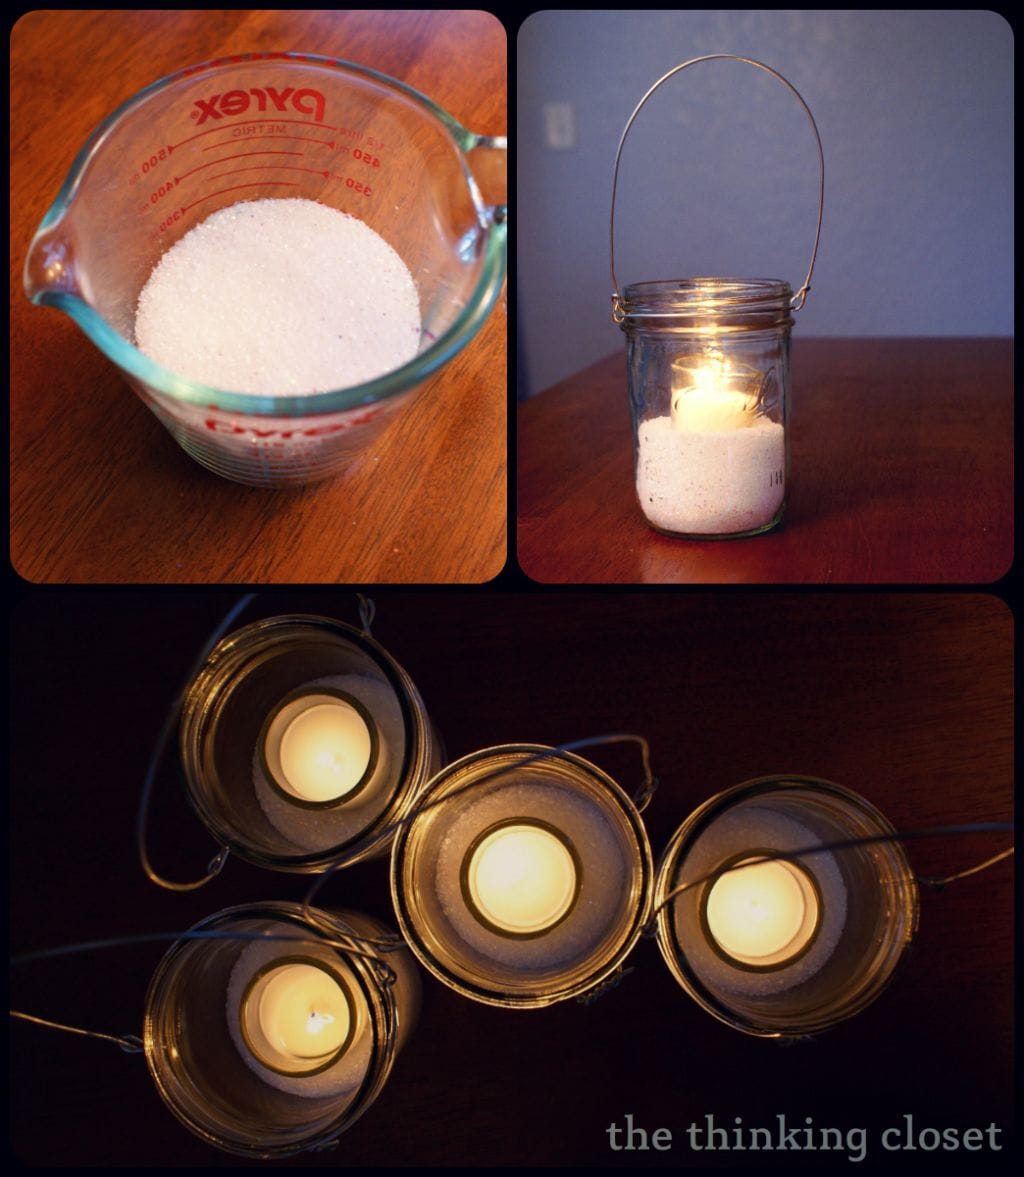
Step 7. Mix up a concoction of Epsom salts and disco glitter to create the impression of glistening snow. Nestle your votive candle into the “snow” and light your candle.
Thanks to Mariel for inviting me to join the team of contributors at “Or So She Says.” It’s a true honor to be able to share my projects with y’all over here, so thanks for following along.
Meanwhile, I’ll be sharing more d.i.y. projects and tutorials over at The Thinking Closet, not to mention pinning crafty goodness on Pinterest, like it’s my job. You and your creative self are always welcome to stop by for a visit.
Until next time,

