Good Morning! I’m Kristi, the gal behind making it in the mountains, and I’m so thrilled to be back here sharing my first DIY project on OSSS today! So far I’ve shared some of my fave recipes like this Best EVER French Onion Soup or my delicious Mac Salad, which might just give the impression that I typically blog about food. Truth is though, most of what I share on my blog would actually fall into the DIY & home decor niche! Shocking, I know! Though it’s been fun to step out of the DIY box a bit with my OSSS posts, I’ve gotta say, I’m pretty darn excited to finally be sharing a DIY project with y’all!
 In our old home, I had this lovely vintage window hanging over our fireplace.

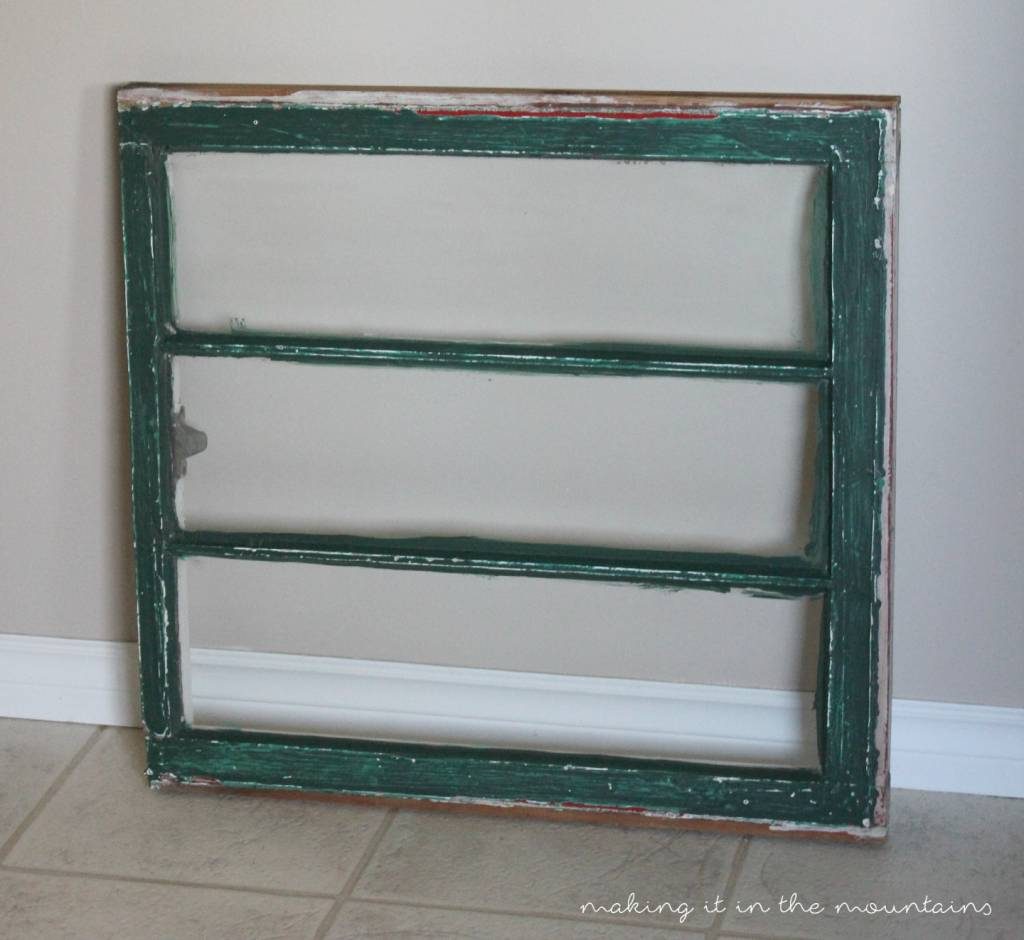
It’s so full of chippy rustic charm and I really love the personality that it injects into the room! Right from the start, I liked the white paint on the front, but I have to admit, I wasn’t exactly fond of the dark green colour on the side and back. Time for a makeover me-thinks!

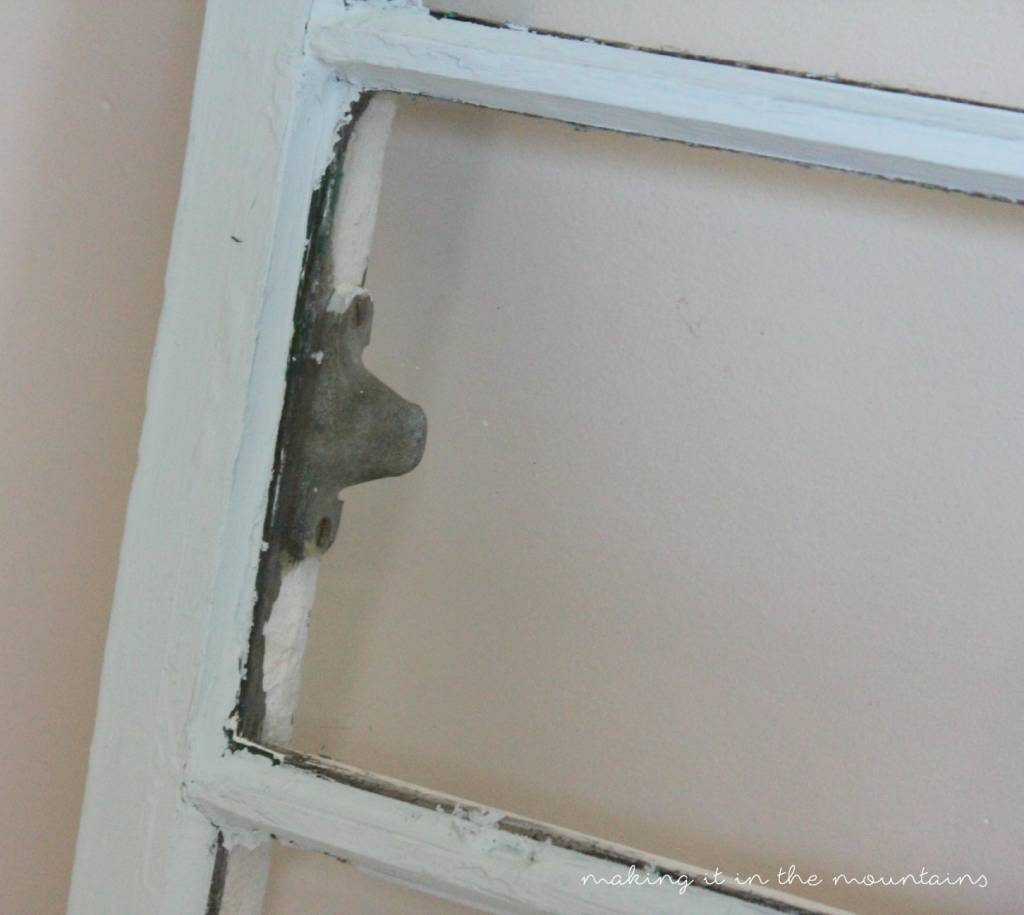
Since we’ve been testing out all sorts of colours as we make paint selections for our new home, I figured this would be the perfect chance to see one of my new faves in action … this Woodlawn Blue colour by Benjamin Moore has totally stolen my heart! It’s a lovely blue-grey colour that’s impossible not to love! In fact, I’m thinking of painting my craft room with it – what do y’all think?

This was seriously one of the fastest and easiest painting projects I’ve ever done! I started by carefully scraping the old green paint off of the glass window panes with a simple scraping tool. Thankfully this part was pretty easy as that glass was an absolute mess! Clearly the old owner hadn’t heard of painter’s tape. With just one quick coat of paint to cover the green, the back of the window was done in no time. Since you get just glimpses of the colour poking through the glass to the front or peeking around only one side, I wanted to add a touch of colour to the front as well with a bit of dry brushing over the white. This is such an easy technique to try – simply dip the ends of your brush in the paint and then paint most of it onto a scrap piece of wood (or even some newspaper). Then paint away! A light touch is key, though it’s quite easy to go over the paint with a rag to wipe off any excess if you need to.

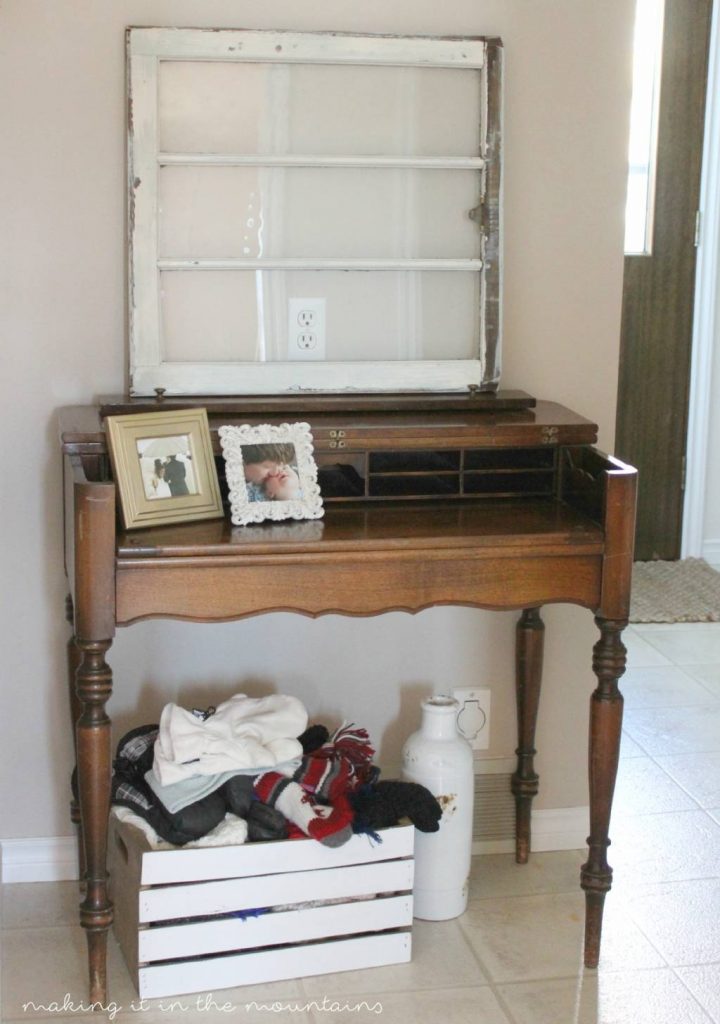
This transformation took just minutes, but I’m SO in love with the result! It may not have a home on our new mantel yet, but I think it’s looking pretty good just hanging out on this old desk in our entryway for now.
If you loved this window makeover, you won’t want to miss my DIY Vintage Window Mirrors, which just happen to be one of my very favorite projects ever!
Wishing you SUCH a lovely weekend!!!
Have an antique window makeover like Kristi’s? Here are some more ideas for using one as decor:
Using Old Window Frames to Decorate
For more craft ideas, check out these posts on OSSS:
Personalized Initial Letter Art
And with all these projects, you’ll appreciate some tips on craft drawer organization!


super cute, love it white!
Thank you SO much Susan!