

Hi I’m Amy from Nap Time Crafters!

I LOVE every kind of craft, but if I had to pick a fav it would definitely be sewing for my little girl (be sure to check out my Pattern Shop). I also love decorating my apartment with very budget friendly projects. Nap Time Crafters is home to 100 free Tutorials {and growing!}, the American Crafter Competition, Friday Favs Party, & a Giveaway every Saturday!
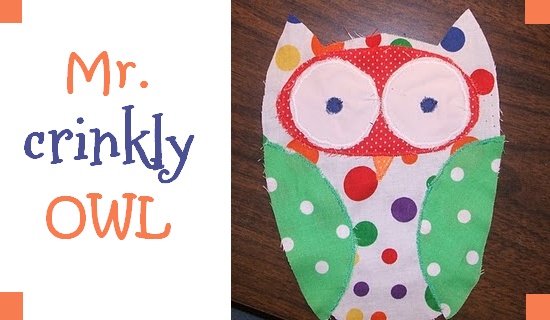
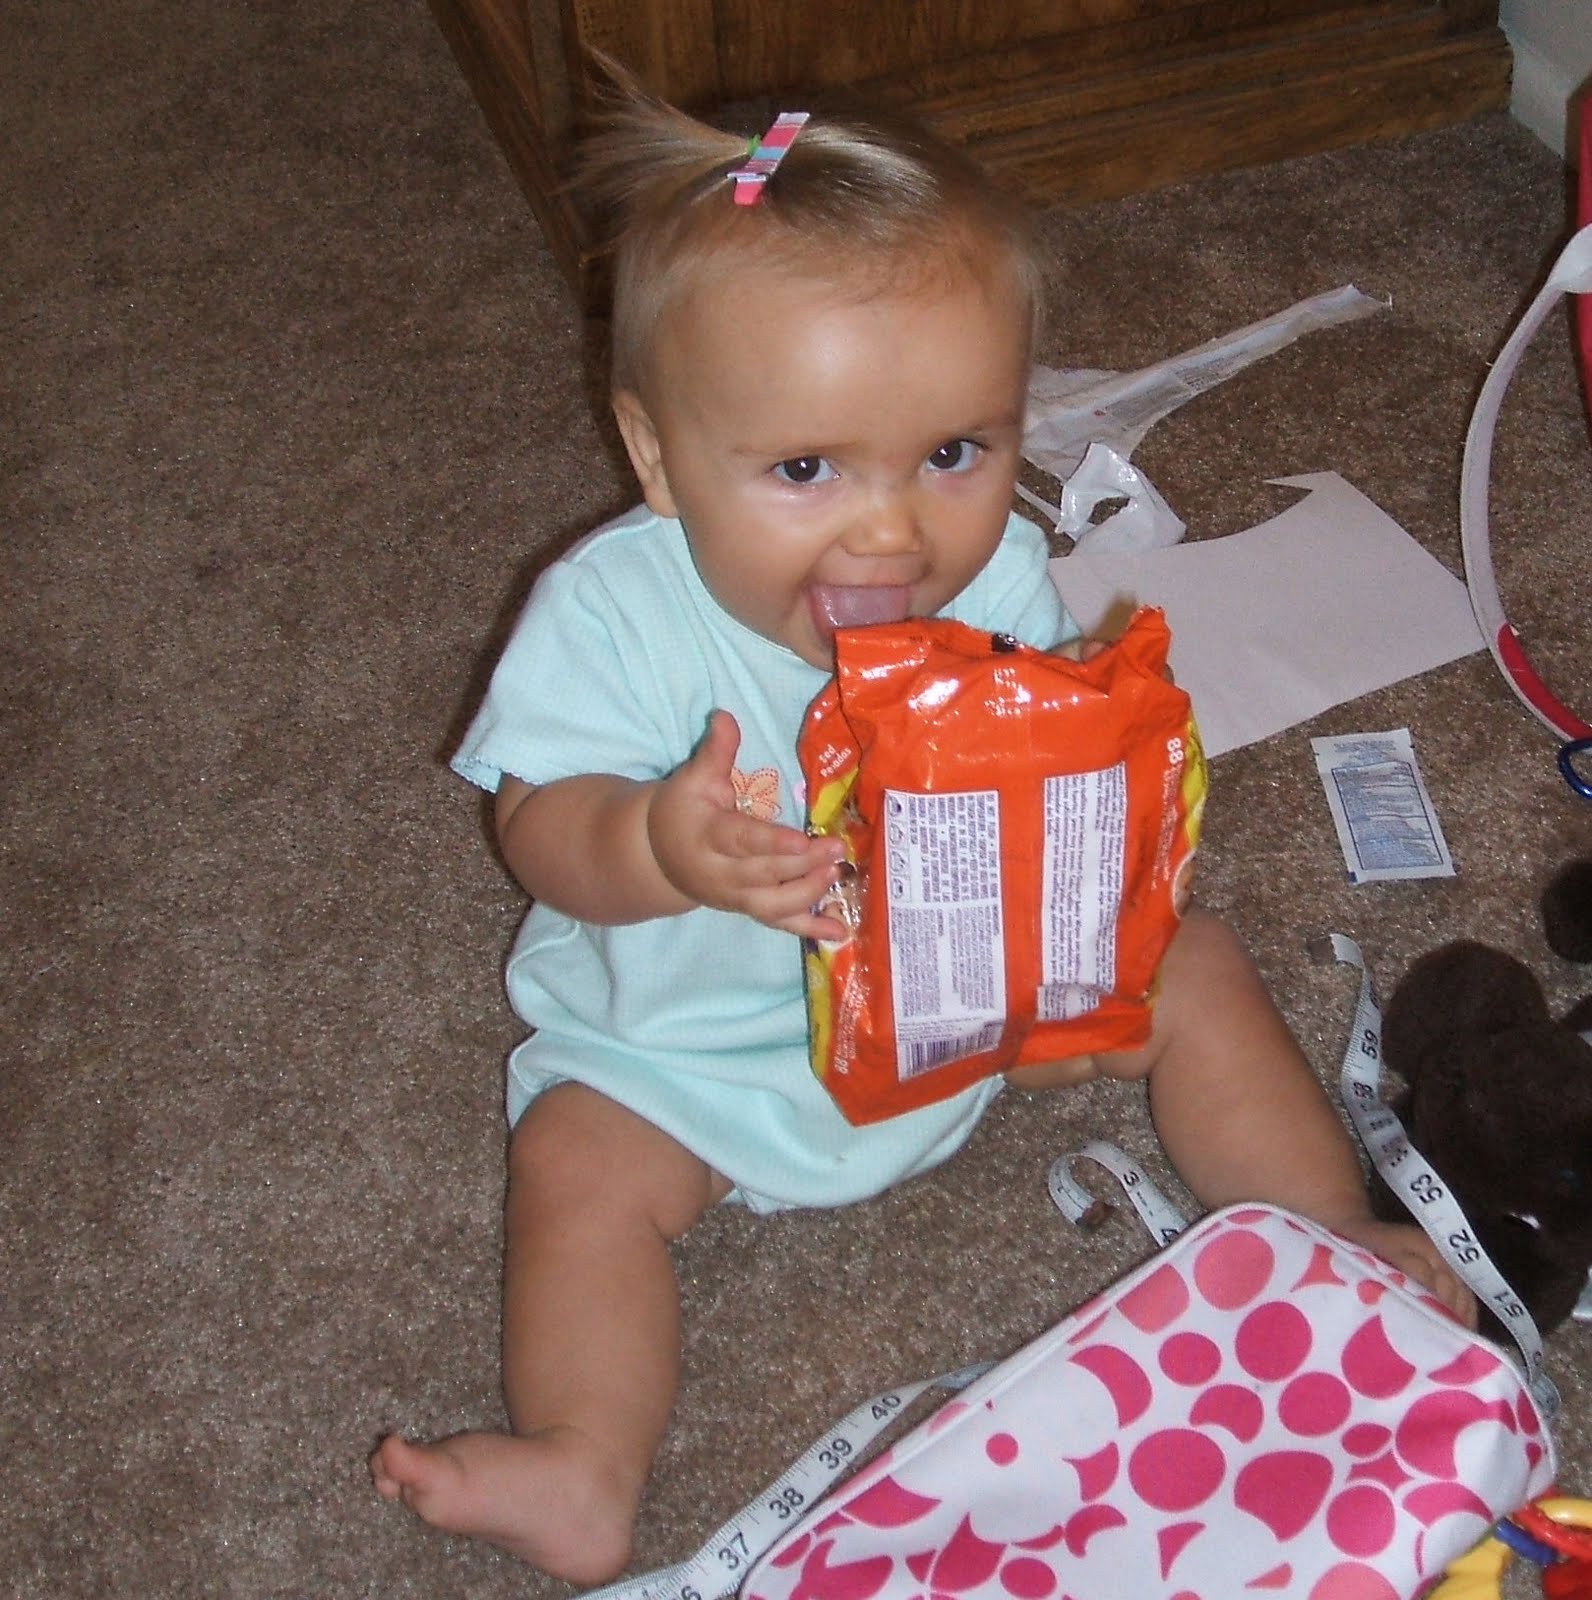
My daughter adores her wipes package- it might possibly be her favorite toy. While I was sewing today she got the diaper case out of the diaper bag and then went for the wipes. So when I saw this idea here I decided to give it my own little spin and Mr. Crinkly Owl was born.
Materials:
Fabric Scraps
Something crinkly:)
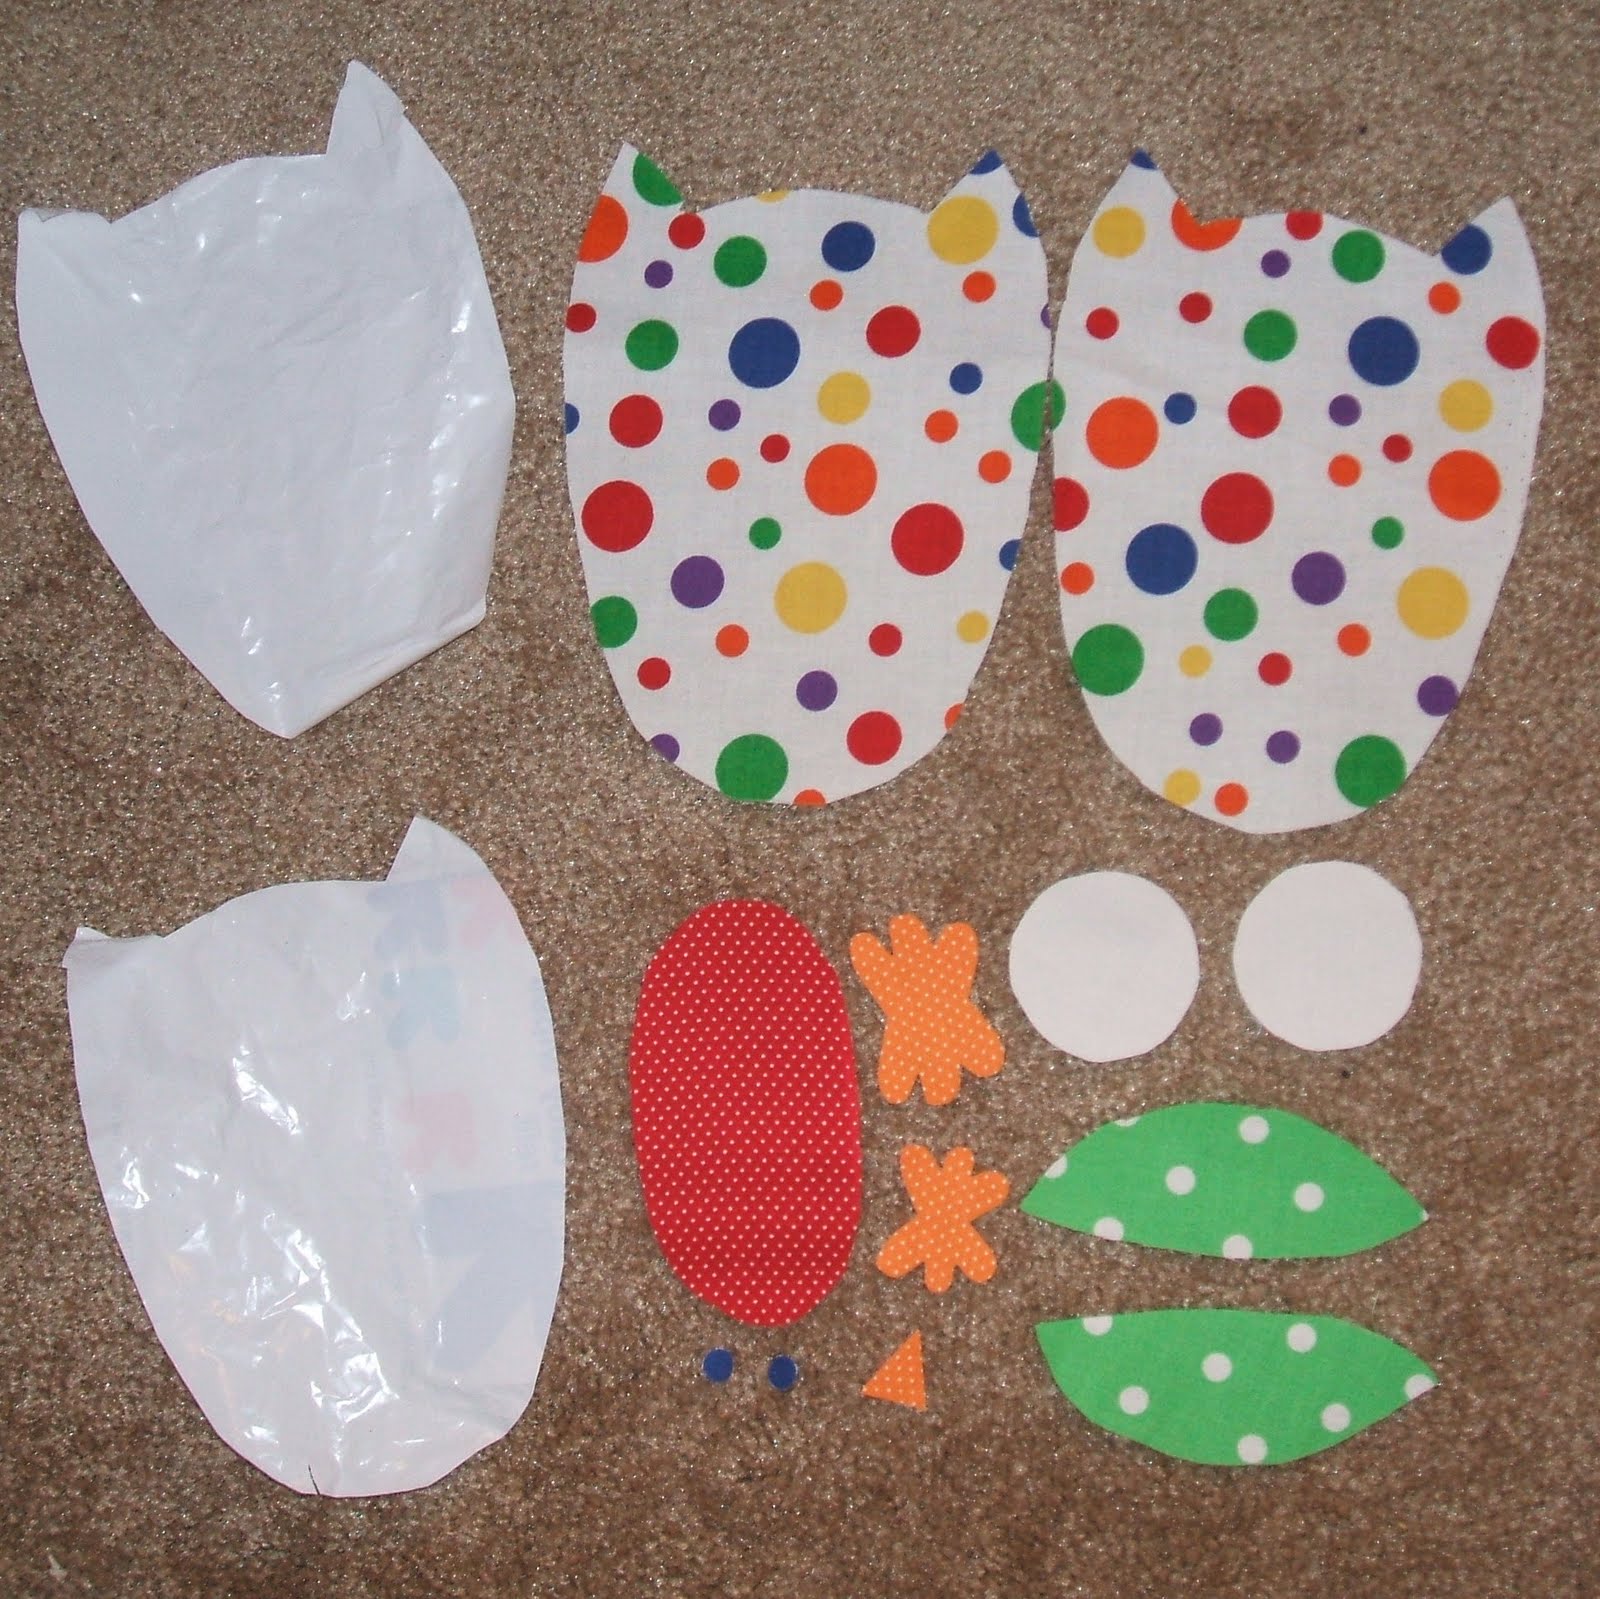
1. Cut out your pieces. If you want to use my pattern you can print it out here. (Ignore the feet- they were more pain than they were worth, so I didn’t end up using them)
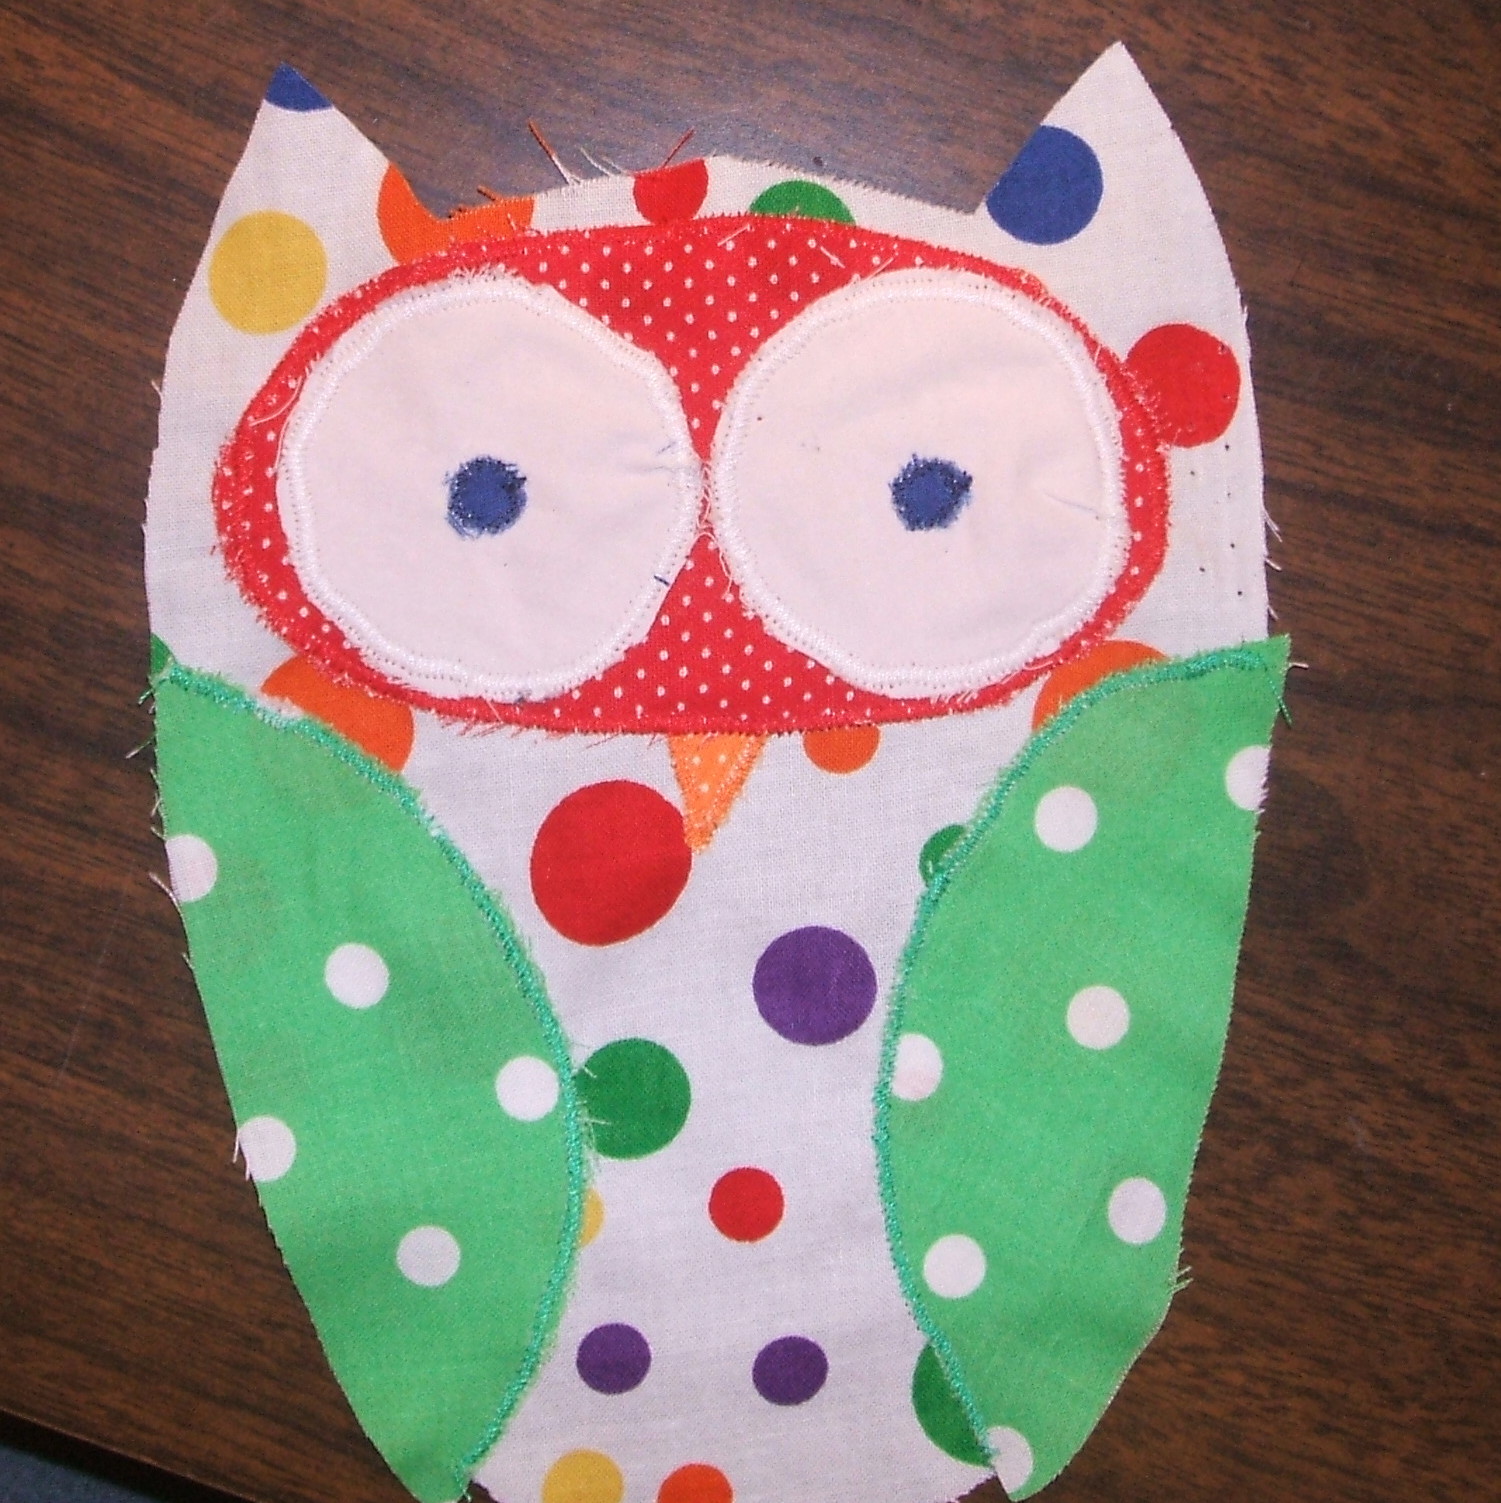
2. Pick out a piece for your front and pin down the wings and beak. Use a zig-zag or applique stitch to sew them down- note* don’t bother with the outer edge of the wings or the top of the beak. They’ll just get covered up later

3. When those are finished, repeat the process for the mask and then the eyes. I cut out little bits of fabric for pupils- do those last or you could use buttons, eyelets, marker, etc. instead
4. Make a little owl sandwich with the right sides of the fabric together and a crinkly piece on each side.
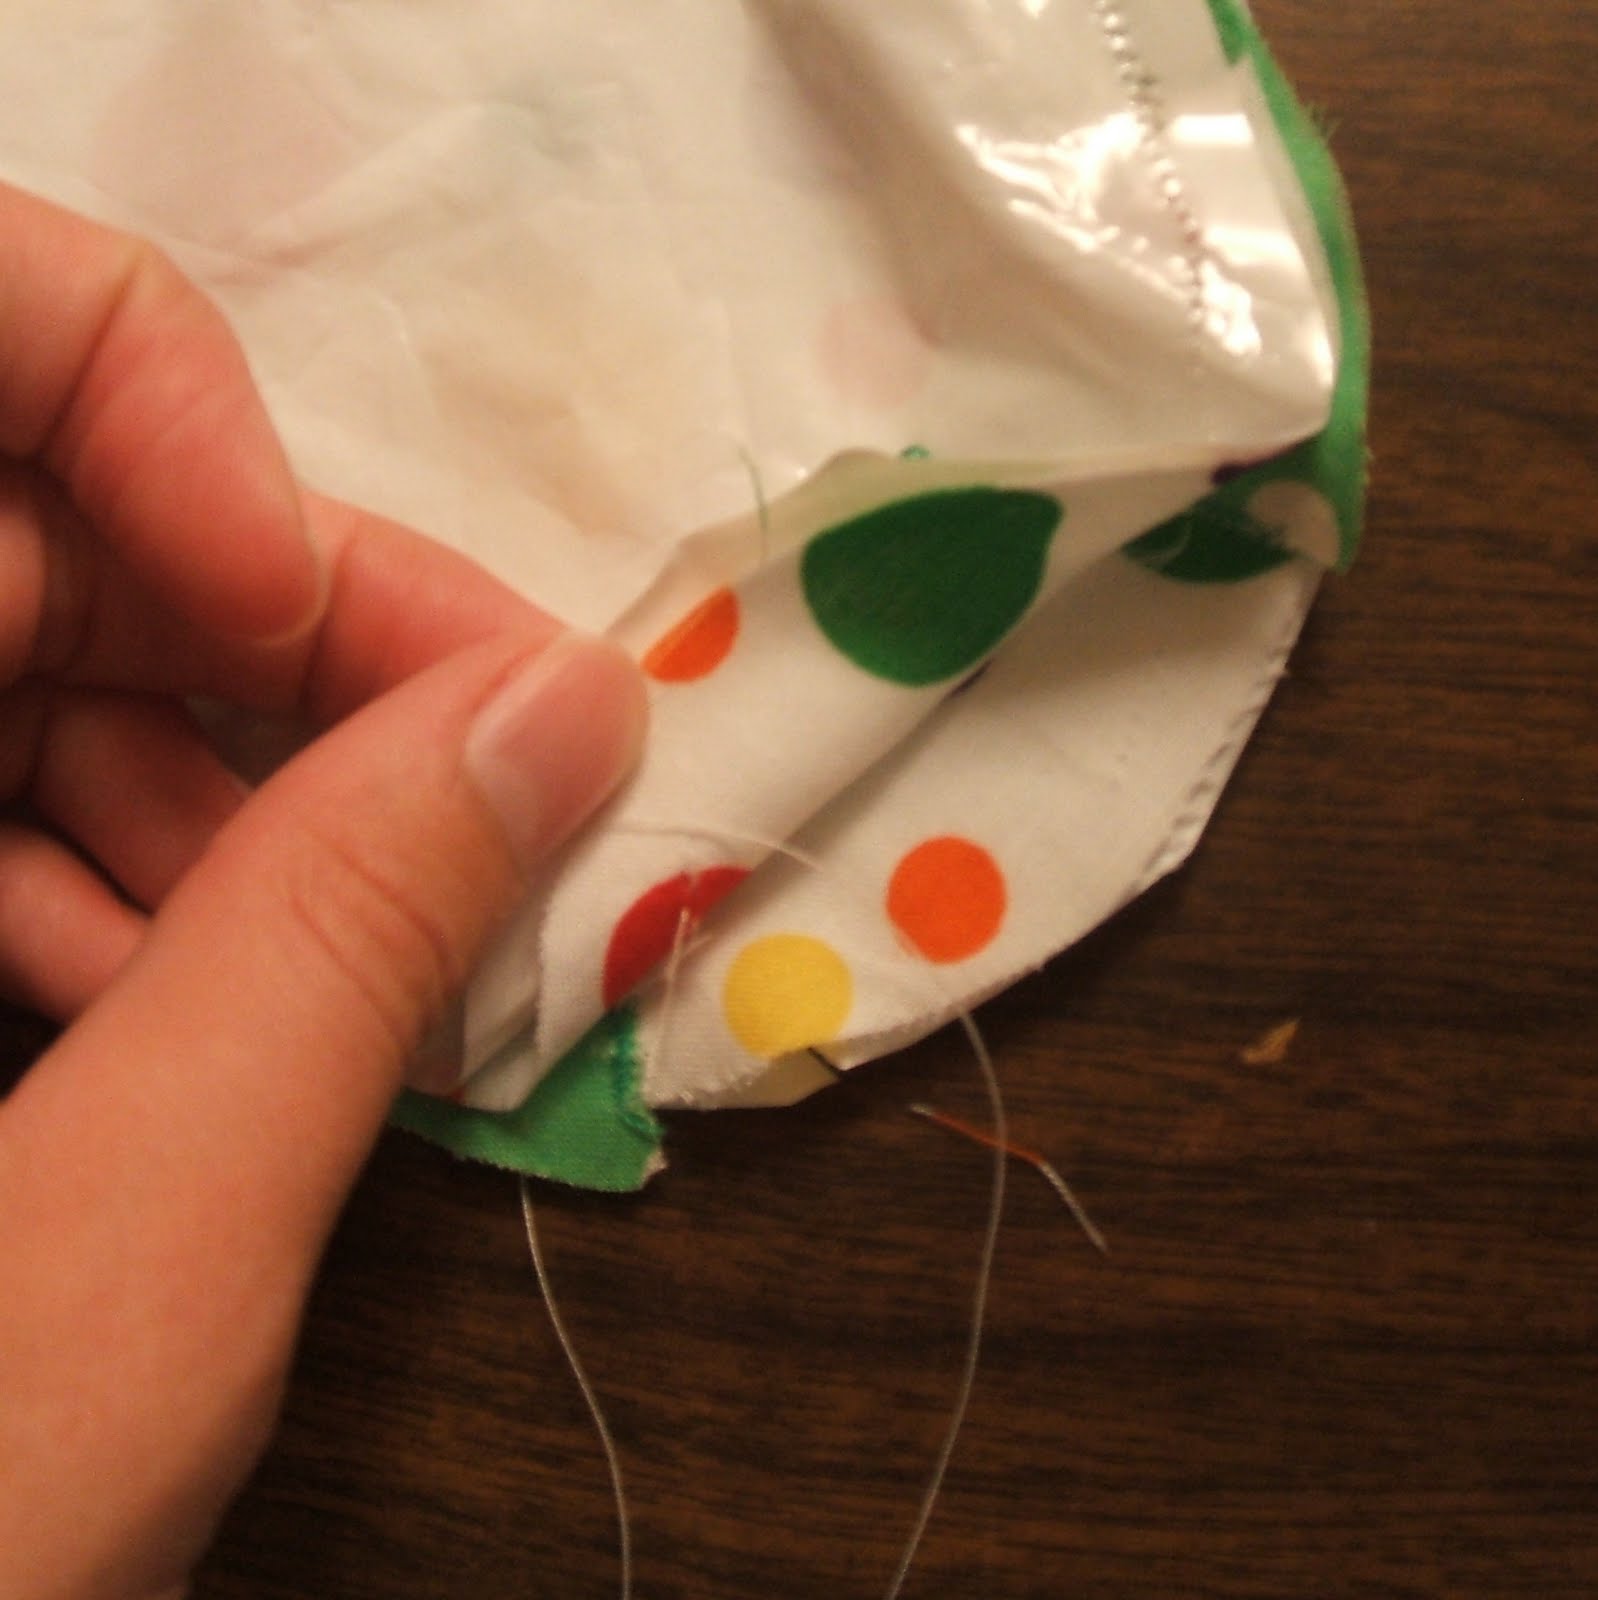
5. Stitch around the outside leaving a little gap at the bottom so you can turn it right side out.

6. Turn him right side out- you may need a little crochet hook or pen to shove out the ears (are those ears? Maybe not, but whatever they are they will need some shovin).

7. Finished- crinkle and enjoy:) (gosh- please ignore that wild thread hanging down- oops)

