
Hi there, I am Creative Carmella and I am so excited to be one of the newest Or So She Says contributors! My job here will be to bring you the coolest in crafts…. some things you can do on your own and some that you will love to get your kids involved with too. I’m here to help you unlock your creative side, even if you think you don’t have one 😉

Before I share my very first craft with you {gulp} I wanted to let you know a little about me. I am a southern girl, born and raised in Alabama. I spent some time traveling this great country of ours but finally settled again just outside of Nashville. I met the man I would later call my husband just two weeks after I moved here and the rest, as they say, is history. Fast forward many years later and I am now a momma to three beautiful kiddos that keep me very, very busy. Two and a half years ago… somewhere between the diaper changes and play-dates… I began to feel like I was starting to lose myself a little. What I needed was a creative outlet… and from that thought, the Creative Carmella Blog was born. Also known as my “happy place”, the Creative Carmella blog is my little corner of this blogging world where I share stories about our life, DIY crafts, and all things creative. Finding my creativity again also opened the door to jewelry design too, you can see the designs that I have for sale now HERE in my online shop.
Now, on with the craft!
Today I am sharing with you how to pretty up a tired metal bucket.. with my favorite paint, spray paint!

DIY Spray Painted Flower Pail ~ Here’s what you will need to try this out for yourself:
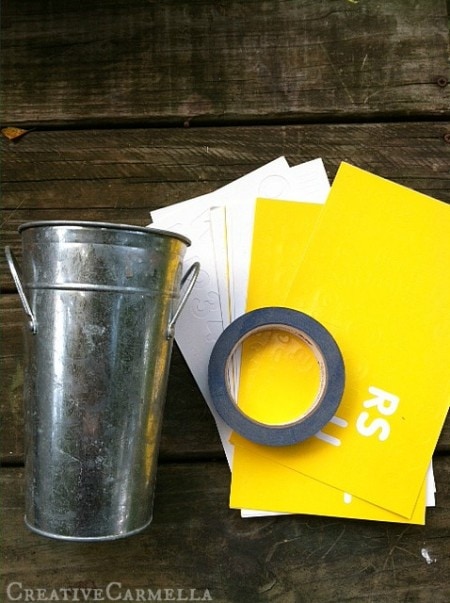
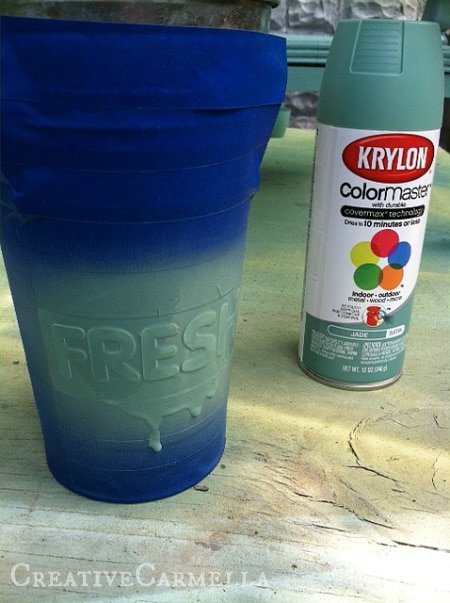
1. a metal bucket {this one was a thrift store find for .50!}
2. Letter stickers {you can find these in the office/school supply section}
3. Painter’s tape
4. spray paint {not pictured…. yet}
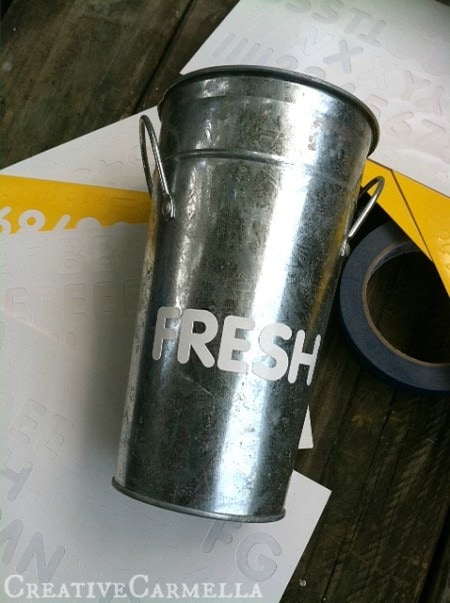
First, you will need to add your letter stickers… just make sure they are pressed down really well
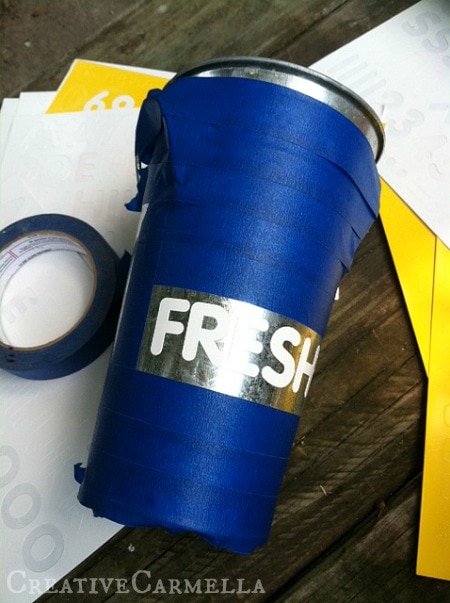
Next, mark off the area with your painter’s tape
Now, for my favorite part.. the spray paint 🙂 For this project, I used Krylon “Jade” satin finish.
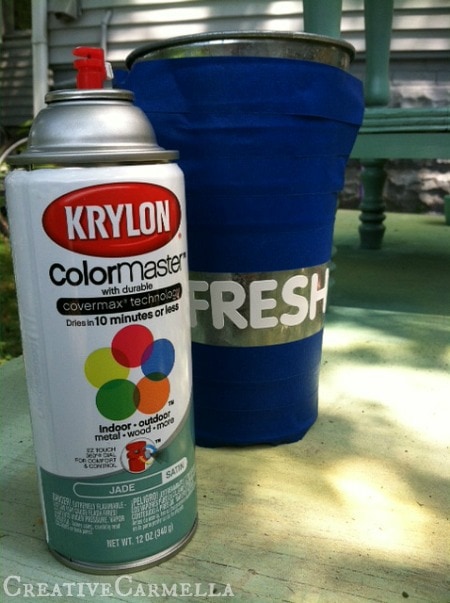
If you haven’t worked with spray paint that much before, no worries…. just be sure to hold the can about 12 inches away and make steady, even passes back and forth until the area is covered.
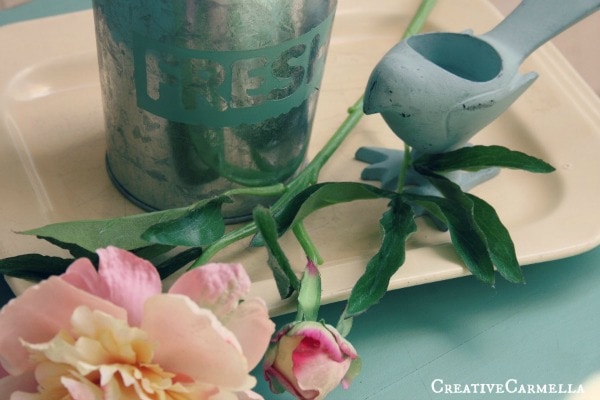
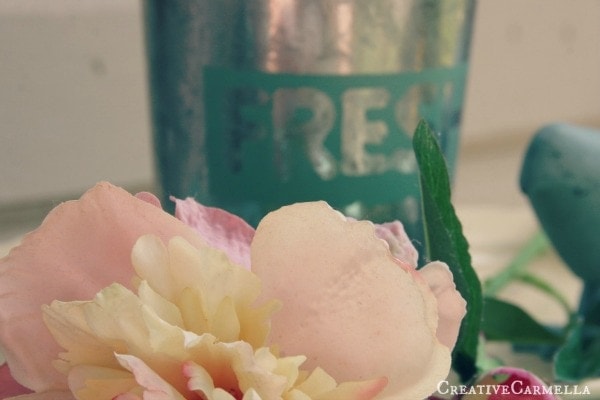
Now, all there is left to do is let the paint dry… once it is dry, you can use tweezers to gently pull the letters off and then the tape and Ta-Da!! You are finished!
Now you can dress up your “fresh” flower bucket with… well… fake flowers if you wish 😉
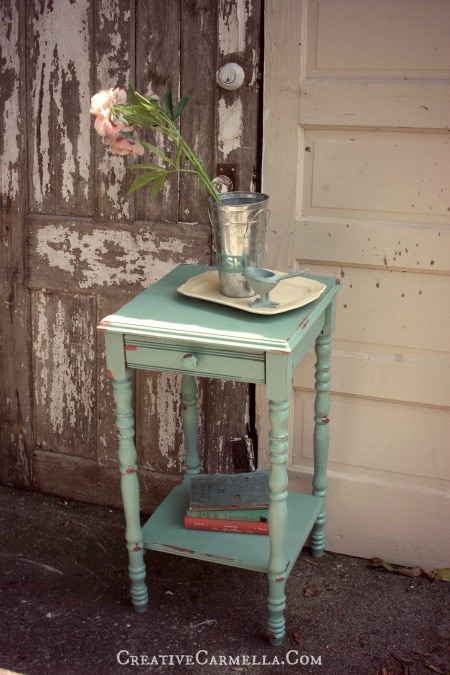
To find out how I dressed up this little side table with spray paint too, click HERE to find the tutorial on my blog…. see you there!
Thank you so much for taking the time to read, be sure to let me know if you have any questions! See you all again next month!