
Hi there! I’m Ashley, a twenty-something Northwest girl, blessed to be experimenting in the world of mommyhood. Yes, that’s right, my days are filled with experiments. Not scientific ones, but ones that involve the kitchen, raising my little boy (and another on the way!), and learning to be better in all ways that I believe a wife should. It is a dream to have a house filled with all things boy, and I strive daily to instill a Godly legacy in him. We try to maintain sanity in the house while my husband is away at his 9-5.

A few things you should know about me, if we’re to be friends: I bake cookies only with pre-made dough, I have more ideas than I actually follow through with, I regularly fill my online shopping cart, but rarely buy anything. Guilty pleasures include game and reality shows, of most kinds, peanut M&M’s, Nacho Cheese Bugles and Diet Coke. You can find me at One in the SAHM.
It is SO much fun to check the mail at Christmas time! I feel like a little kid running out to the mailbox everyday to see the beautiful Christmas Cards that our closest friends and family have sent.
The downfall to these beautiful cards, is what do you do with them at the end of the season? I struggle just THROWING THEM AWAY (don’t worry, we recycle at least). So last year, I made an intentional effort to save all of our cards that we received in anticipation of pulling them out this year and compiling some sort of display to look at for years to come.
ENTER, MY LATEST TUTORIAL:
Supplies you’ll need:
1 piece of colored cardstock (I chose red)
2 pieces of kraft-paper cardstock
Glitter
Hole-punch
A Ring Thing (technical term)
Hole reinforcer stickers

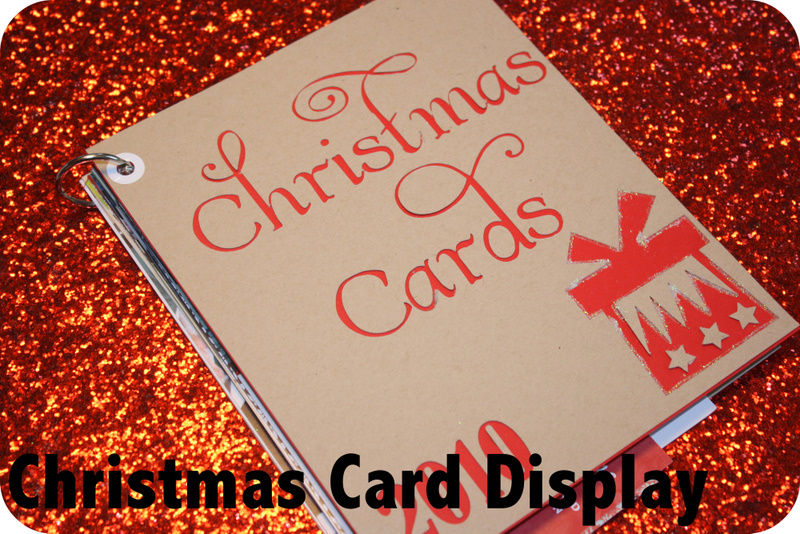
I first played around on my Silhouette for a bit to come up with a fun design that would serve as the “cover” to my card display booklet:

Font Used was Albemarle Swash (wish it was a free font, but it was a splurge I made awhile back because I’m obsessed with it). You can purchase it here.
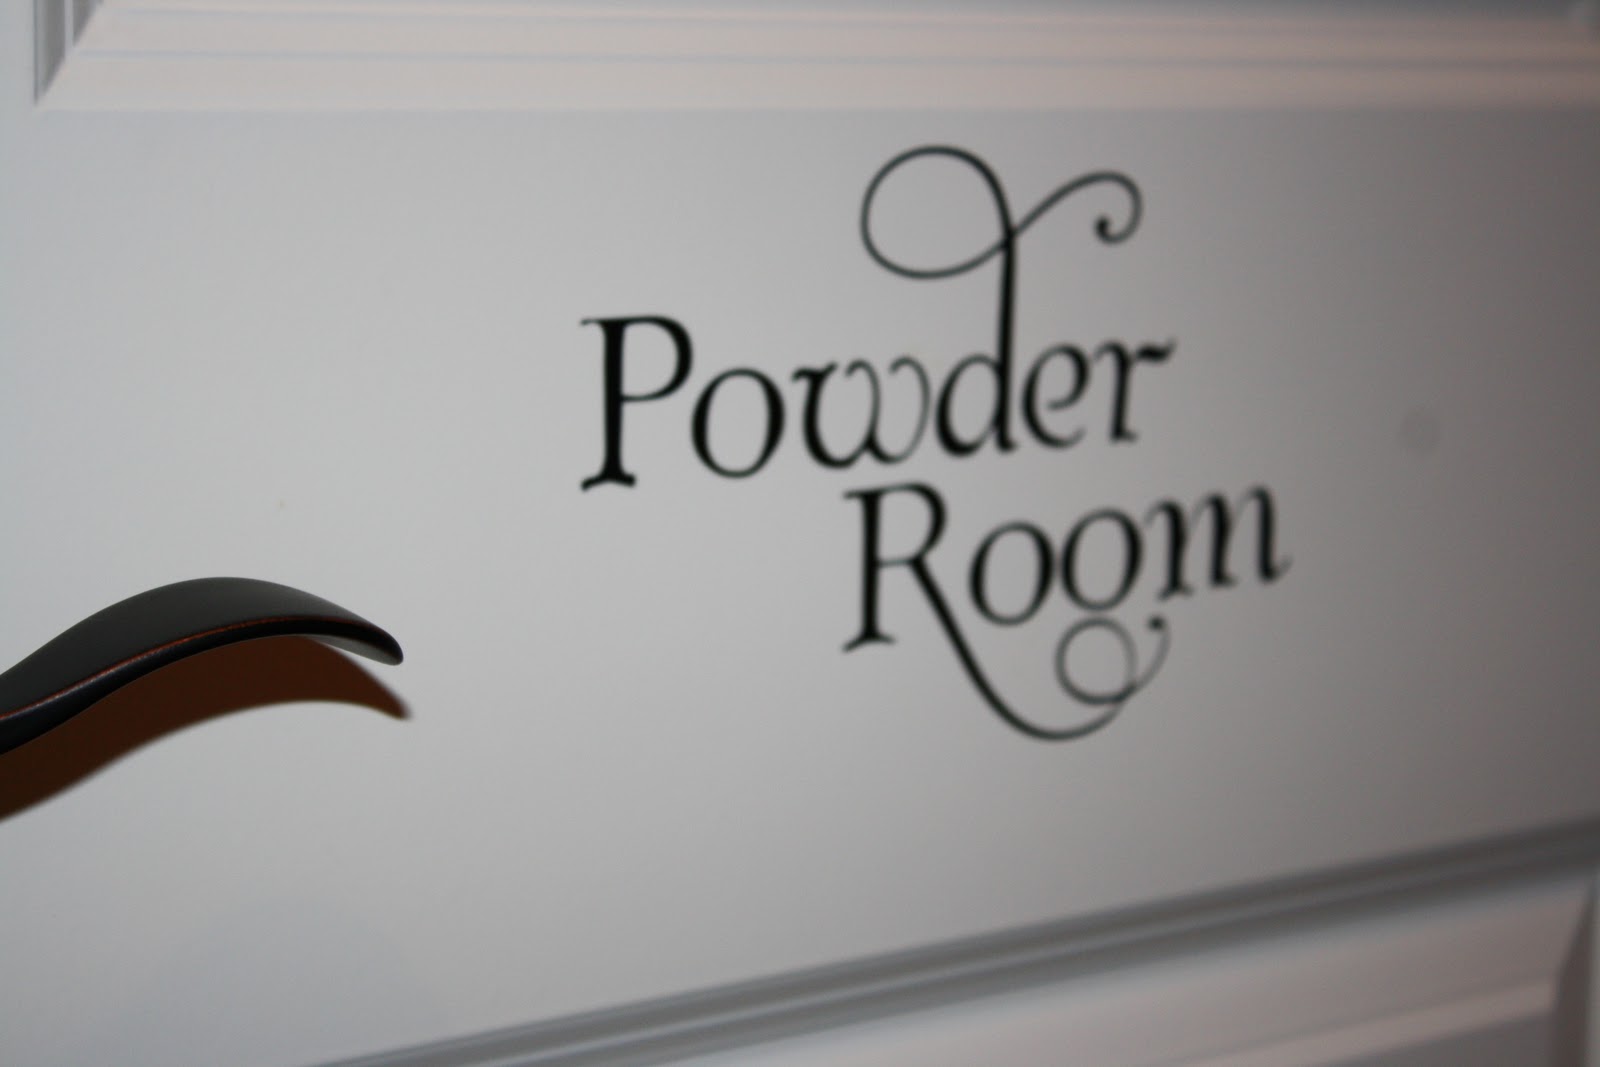
Side note: I also used this same font to vinyl/labels various rooms throughout our last house:
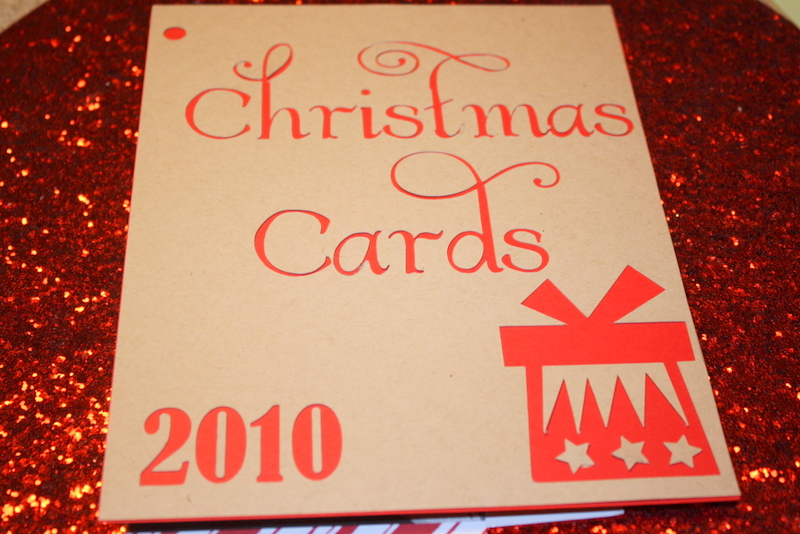
I digress…next, I went ahead and put the kraft paper through the Silhouette (I had to double cut mine). I used regular 8.5 x 11 pieces of cardstock that I cut down to be 7 x 9.5 simply to accommodate the random sizes of cards that we had.
Once I had successfully punched out any remnants from the Silhouette, I was left with the simple cutout piece of cardstock.
Then, slide in your colored piece of cardstock behind for a fun peek-through effect.
Easy right?
I used some simple adhesive dots to attach the red paper, but you could use a gluestick or whatever you have around the house.
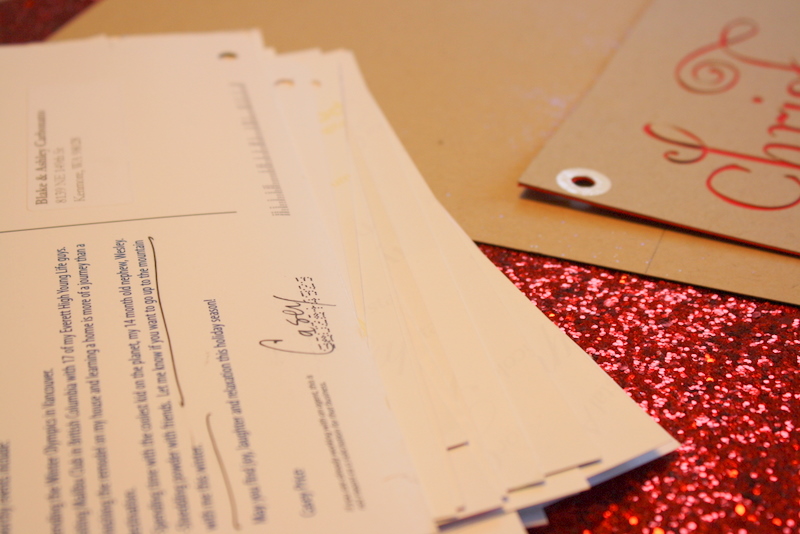
Now you must begin the tedious task of punching through all of your cards. Turn on Ellen, or Nate, or get to town. Don’t forget your hole reinforcer stickers at least on the front and back cover.

This is us taking a break in between. He was being a trooper just sitting on my lap.
I decided that the cover needed a little holiday spice, so much to Blake’s demise, I added an outline of glitter around the “gift”. Much better.
YOU ARE ALMOST DONE!
Pull out your binder ringer thing (I used a small 4″ one) and assemble!
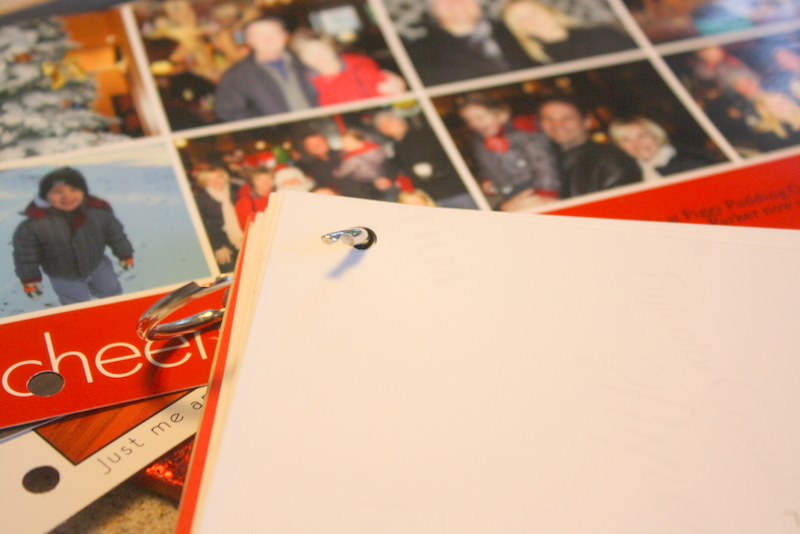
Now you’ve got the perfect way to display your loved one’s cards of seasons past!

I figure it will be fun to just have a basket of these that collect throughout the years to flip through each year.
There you have it – now go enjoy the New Year!
