Or so she says...

Family Fun, Favorites, Food, and Faith

  • Home
  • Categories
    • Gift Ideas
    • Family
    • Recipes
    • Education
    • Faith & Inspiration
    • Holidays
    • Vacation
    • Crafts
    • Health
    • Home & Garden
  • About
    • OSSS Team
    • Media & Partners

March 26, 2012 by Mariel

Easy Candle Upcycle Tutorial (she: Erin)

This post may contain affiliate links. For more information, see the disclosure policy.
98 shares
  • Facebook
  • Twitter
  • Email

My Name is Erin Kennedy and I decided to start my blog, My Thirty Spot, because there was nothing out there dedicated to the “Thirty-Something” gal. I love to write, so why not? I graduated with a BA in Communications/Journalism from Westminster College in Salt Lake City, Utah.

Easy Candle Upcycle Tutorial

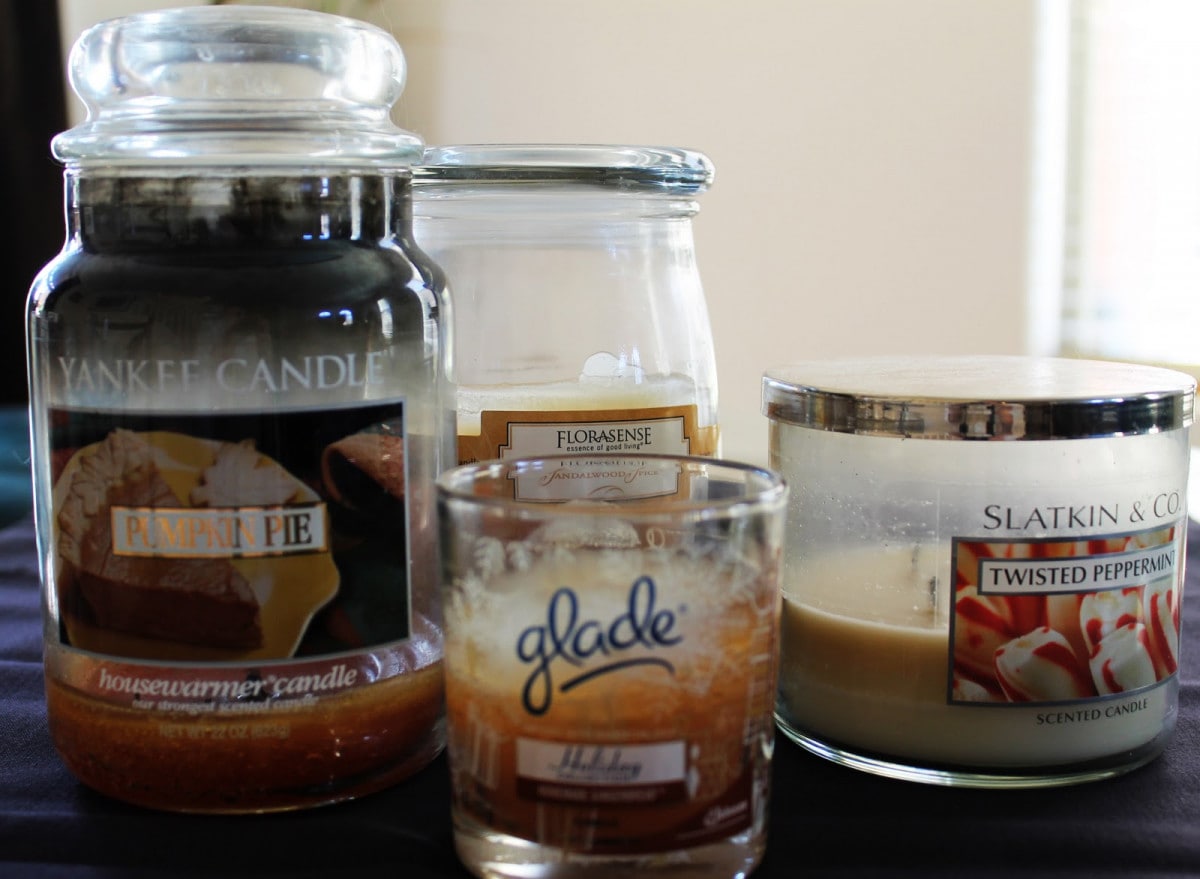
I love candles. I used a lot over the holiday’s and I usually would just stick the candles that wouldn’t light anymore into a closet until I could figure out what to do with them. Well, I finally rounded them all up and upcycled them, and now I have a brand new candle that smells amazing.

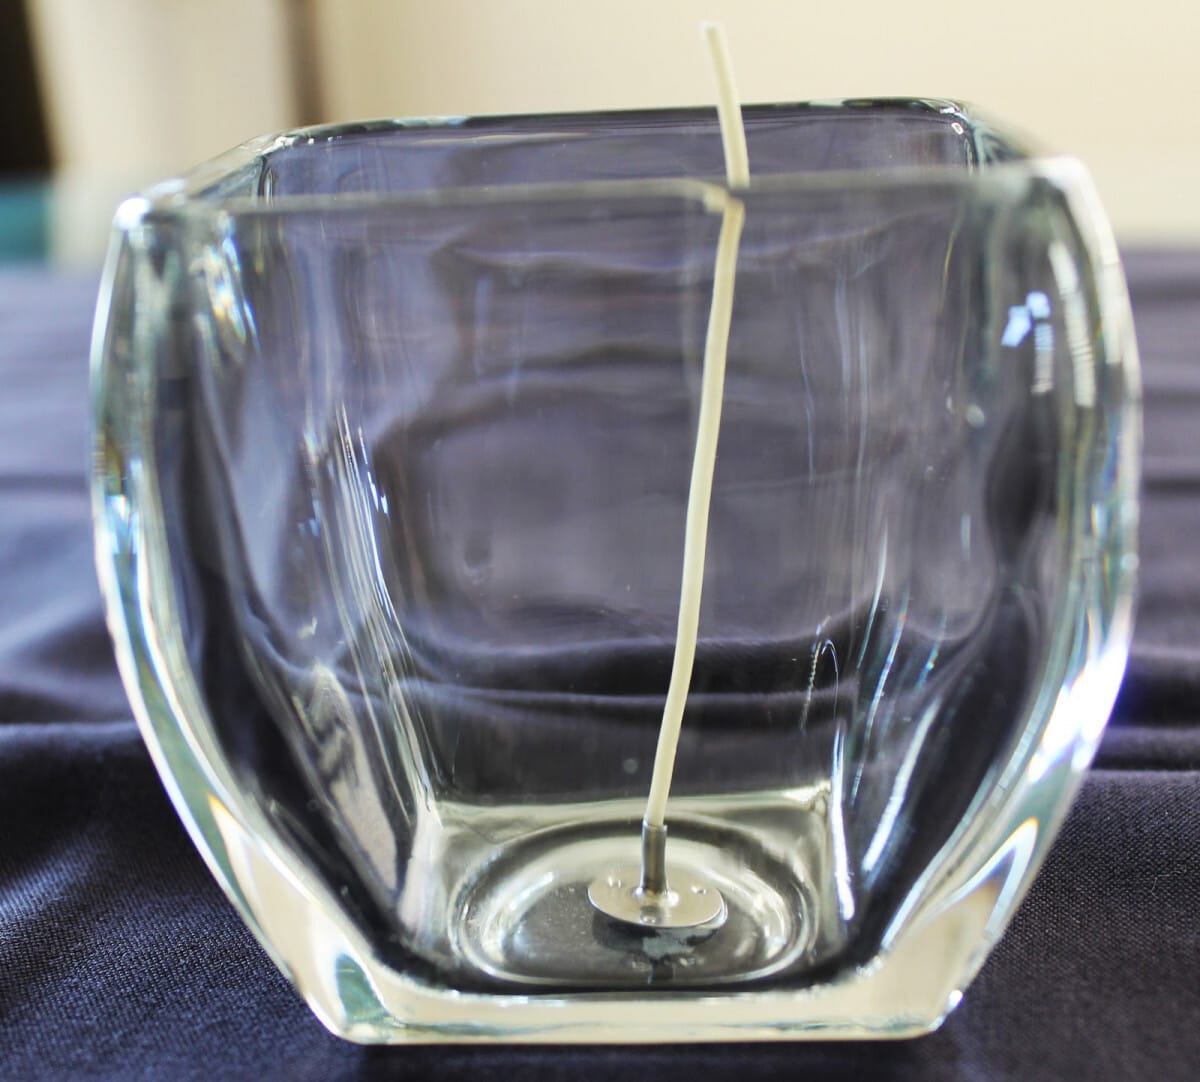
I went to Hobby Lobby and got a few wicks for about $2 and this candle glass. They were on sale for 50% off so I only paid $1.25. You can get these items at any craft store.

I just put the wick in the glass and it stood on its own, but when you melt the candle wax, you can use a little at the bottom and let it cool so the wick will stick straight up and stay up once you add the hot wax.

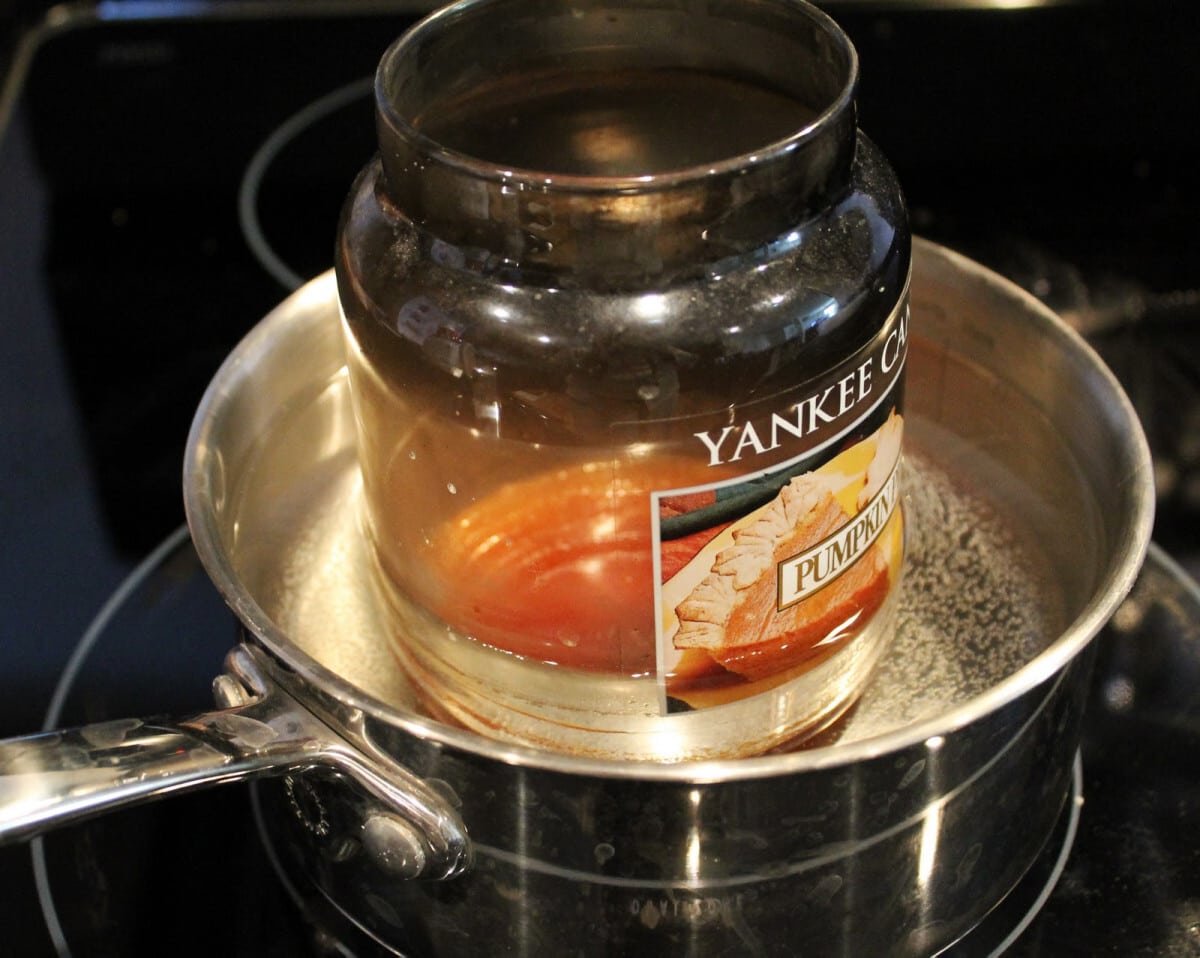
I put each candle in a pot with simmering to boiling water. Depending on how much wax there was to melt, it took anywhere from 10 minutes to 25 minutes to melt completely. Bonus: It makes your house smell so good!

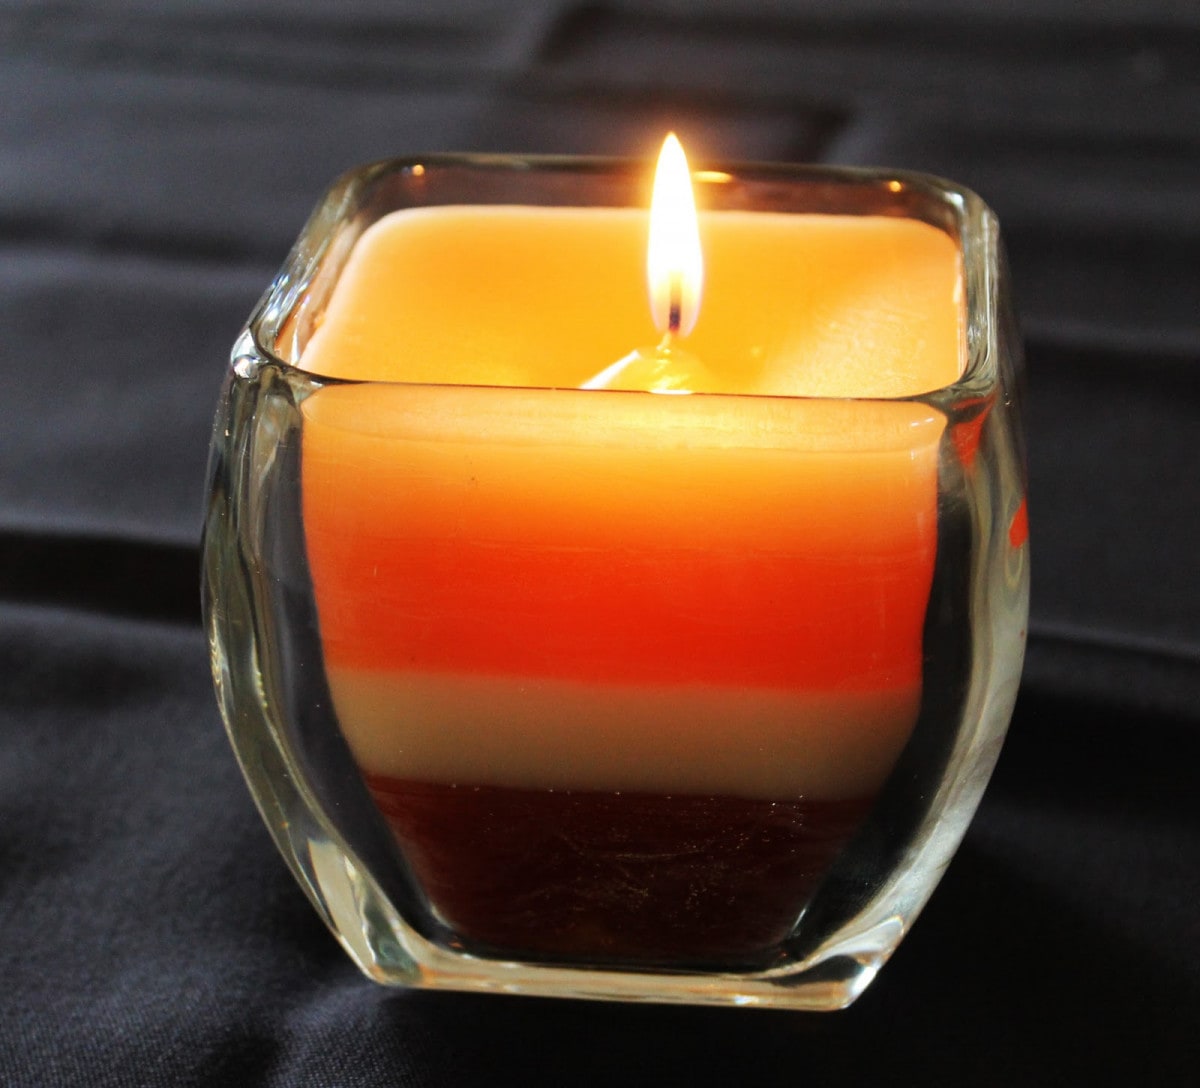
Pour your wax into your new glass and let it cool until it hardens. By the time the next candle melted on the stove, the wax had hardened enough for me to pour the new wax on top. You want it to be hard enough that the hot wax doesn’t melt the previous wax. You are trying to create layers.

This candle was made with all of my holiday scents so they went together well. I will be putting together my fruity scents next time. I never knew it was so easy and I am so happy with the end result!

~ Erin

Photobucket
98 shares
  • Facebook
  • Twitter
  • Email
❮❮ Previous Post
Next Post ❯ ❯

Comments

  1. orsoshesays says

    March 26, 2012 at 2:41 pm

    Such a good idea!  I can’t tell you how many candles I’ve tossed, because there’s just a bit of wax at the bottom.  Thanks for sharing with us!

    • MyThirtySpot.com says

      March 26, 2012 at 5:39 pm

      I am so glad you like this! I couldn’t believe how well it worked. I still have the upcycled candle that burns so well! Thanks so much for featuring me! 

    • lynnie says

      January 1, 2016 at 10:12 pm

      I have been doing this too, especially if I’m short on wax. It’s awsome

  2. Krista Salter says

    March 26, 2012 at 4:36 pm

    Great idea!! I love the colour combos!

    I use to do this when I was younger with Lip Smackers lip gloss. Layered them with the bottom part I couldn’t get. Ohhhh, to be young again! Thanks for sharing!

    Krista
    http://www.therenoproject.blogspot.com

  3. Sunny says

    November 27, 2012 at 2:57 pm

    Pretty upcycle! I keep a small jar on the warming burner on my ceramic cooktop and pour candle remnants into it for a wickless candle. One word of caution about remaking with a wick: candle-makers experiment and test with different sizes and types of wicks in order to ensure safe and effective burning. If the wick is too large, it may burn too hot for the jar into which you have placed it, etc. I would recommend you place a homemade candle like this on a non-flammable surface while burning. Another option would be to forego the wick and smoke altogether and make a wickless candle that you heat on a coffee-cup type warmer (the plug-in kind). Safer and less sooty.

  4. Nicole says

    November 18, 2014 at 10:49 am

    What a neat idea! I have a candle that I stopped burning when it got really low because it got really hot and I wasn’t sure the glass would be okay (it seemed like really thin glass). So I shall try saving some complimentary scents and making my own! Plus the layers look really cool.

Categories

Topics

The Rare Newsletter

It doesn't happen very often, but when it does... it's good!! Favorite things, great ideas, and all things "FAMILY."

My Beliefs

Free Book of Mormon Offer

10 Reasons I Love Being a Latter-day Saint

The Church of Jesus Christ of Latter-day Saints

Affiliate Disclosure

‘Or so she says…’ is a participant in a variety of affiliate programs, including the Amazon Services LLC Associates Program, an affiliate advertising program designed to provide a means for sites to earn advertising fees by advertising and linking to amazon.com. Read more in the Disclosure, including info on Adthrive, the publishing network for this blog.

10 Most Popular Posts

  • 16 Teenage Birthday Party Ideas
  • 26 Camping Hacks You Need to Know
  • Best Products for Thinning Hair
  • Swiss cheese Chicken Easy Dinner
  • Would You Rather ~ Scripture Edition Game
  • Cute Bun Hairstyles for Girls
  • Over 100 Family Movie Ideas
  • The Ultimate Collection of Scriptures on Faith
  • Foods to Freeze Dry ~ Ultimate List
  • 30 Books to Read Out Loud to Older Kids


  • Disclosure Policy
  • Privacy Policy

© 2018 Or So She Says... By: Pretty Darn Cute Design