

My name is Dalia Abdalla, I was born and raised in Brooklyn, NY. I am currently living in Houston, TX and that’s where I became a mother to one sweet girl and a great husband. I have a huge love for art and stationery and am living my dream by running my own little stationery company on Etsy and I blog over at The Stationary Sisters.
I love reading, designing, cooking and food, mint and pink, fonts, chocolate, laughing until i cry, hot shower, sleeping in, music, blogging and anything that involves my family. I am inspired by fashion, people, my daughter and every day life.
How to make a Coloring Book – Easy Photoshop tutorial
This idea is great for many occasions. You can use it for a kids birthday party. Hand out several of these coloring books and some crayons and the kids will be kept busy for a while. You can make the coloring book pages out of pictures of anything. You can even use pictures of the birthday kid. Another idea is to make a coloring book for a next door neighbor, to bring along with you on a long car ride, the possibilities are endless.
In this example, I’m going to show you how to make a page of a coloring book for a wedding (great way to keep the kids busy- this would be given to the parents with kids by the maid of honor).
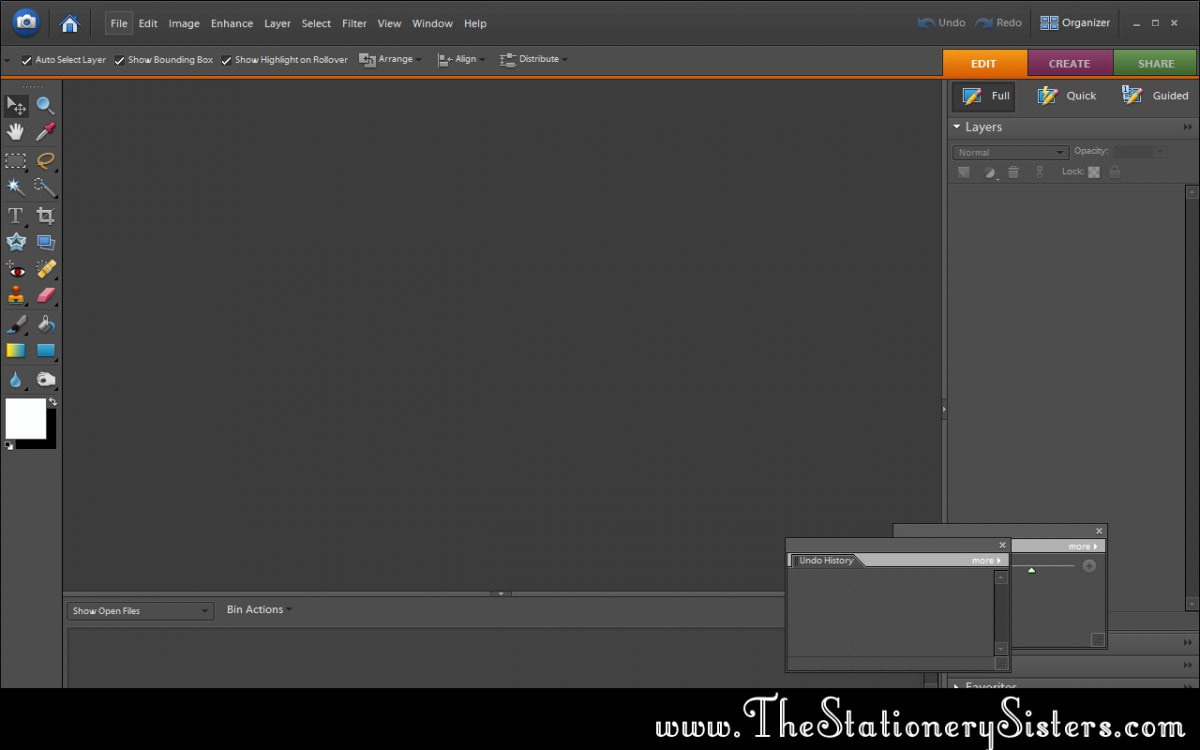
Step 1. Open your Photoshop Program. I have Photoshop elements which works just as well.
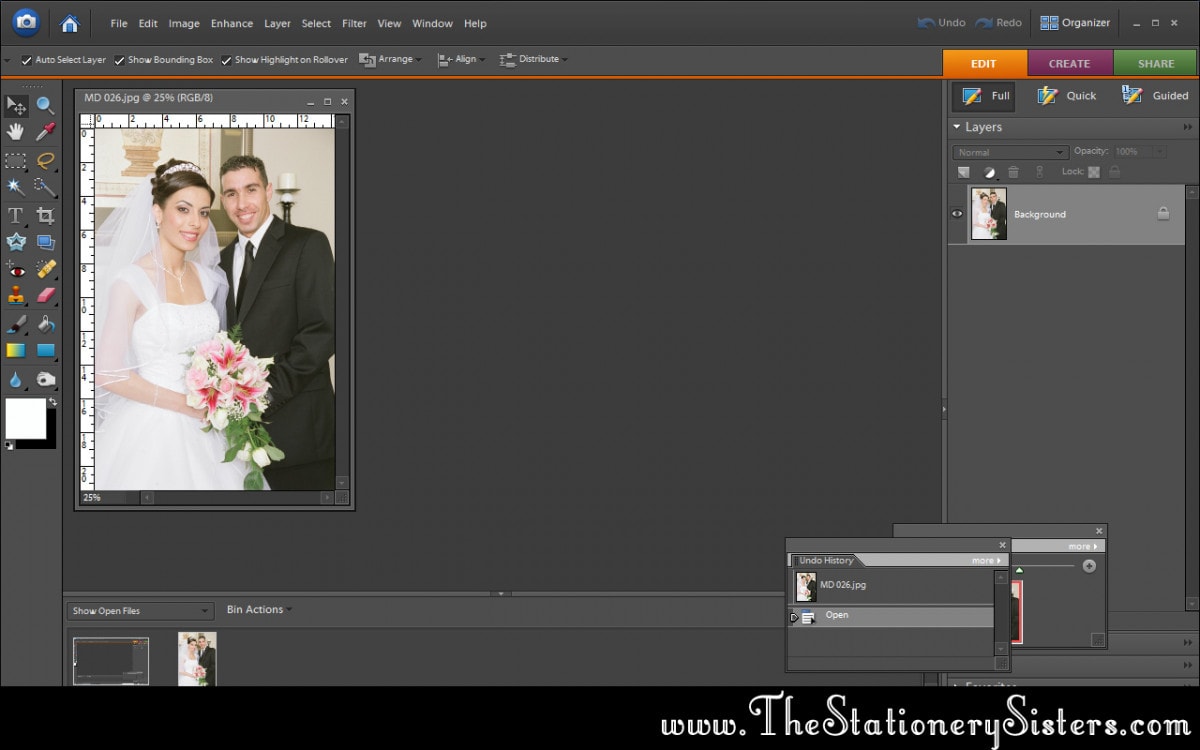
Step 2. Open a picture of your choice. This can relate to the theme of what your using the coloring book for. You can find images off the internet to use as well. I used a picture I took for my wedding.
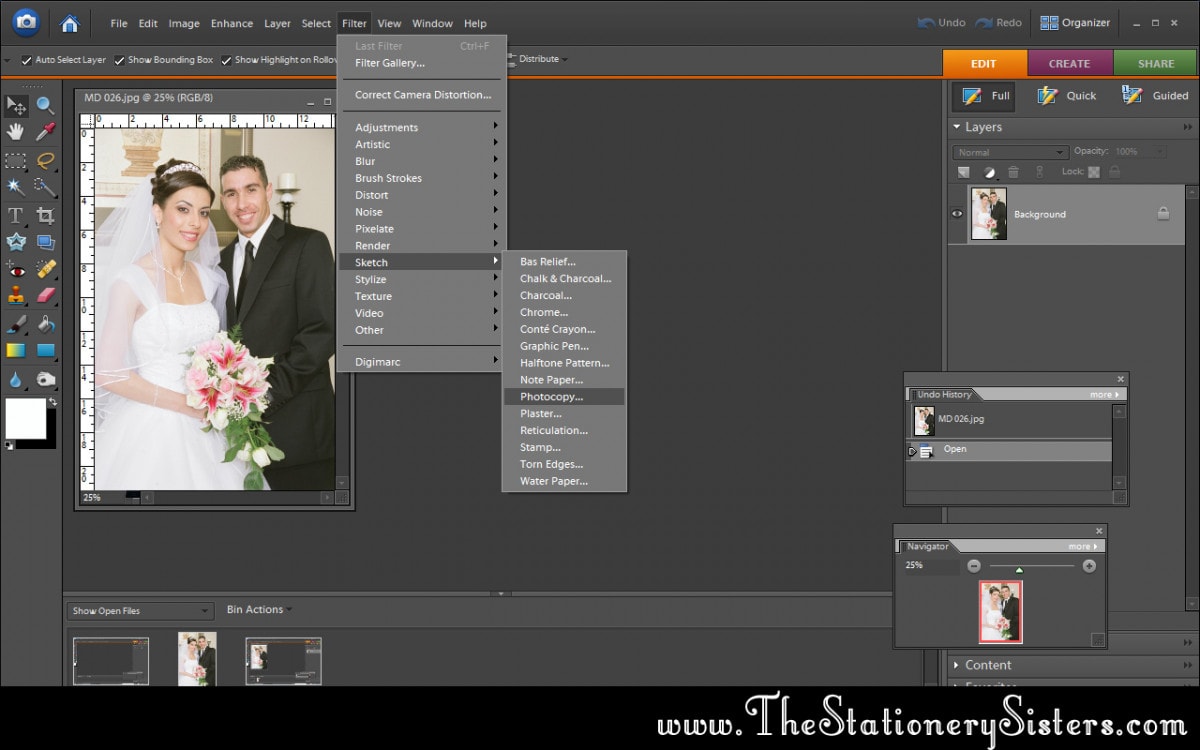
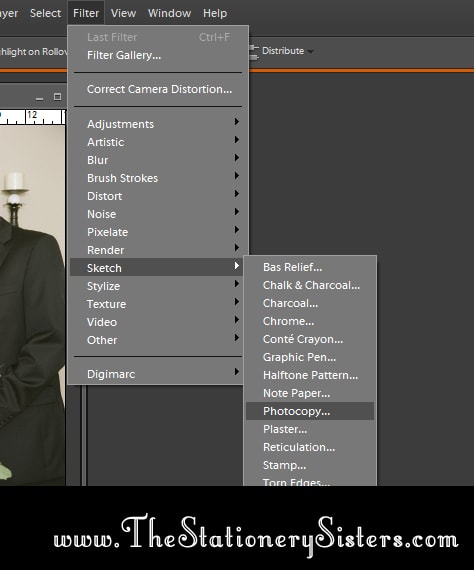
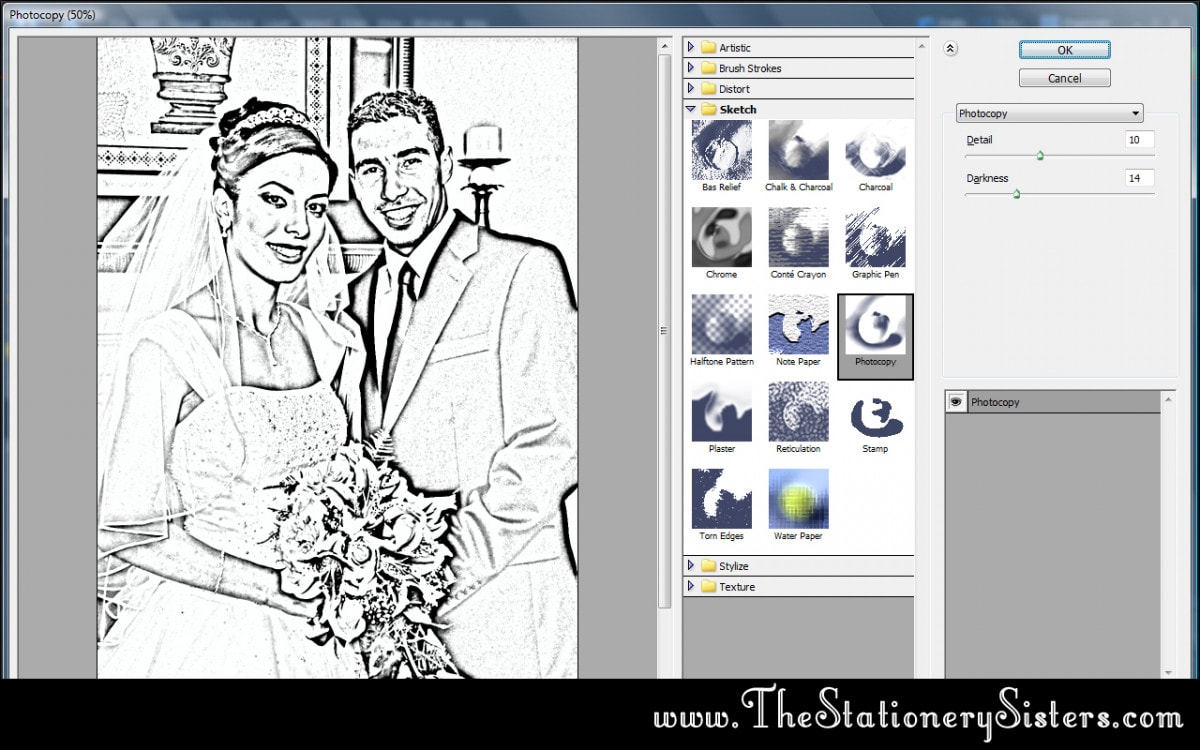
Step 3. Go to the menu bar and chose “Filter” – “Sketch” – then “Photocopy”. Look at the picture below for a close up.
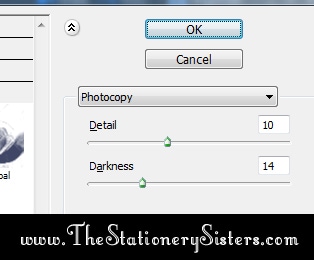
Step 4. You will see this window pop up. This is the window in which you can adjust the picture to look more like a coloring book. The more detailed the image, the more detailed the black and white outline will be. It might be best to use images with less color or less detail. If you did pic an image like this, thats okay. You can adjust the detail level and darkness on the right side of this window. Look at the picture below for a close up.
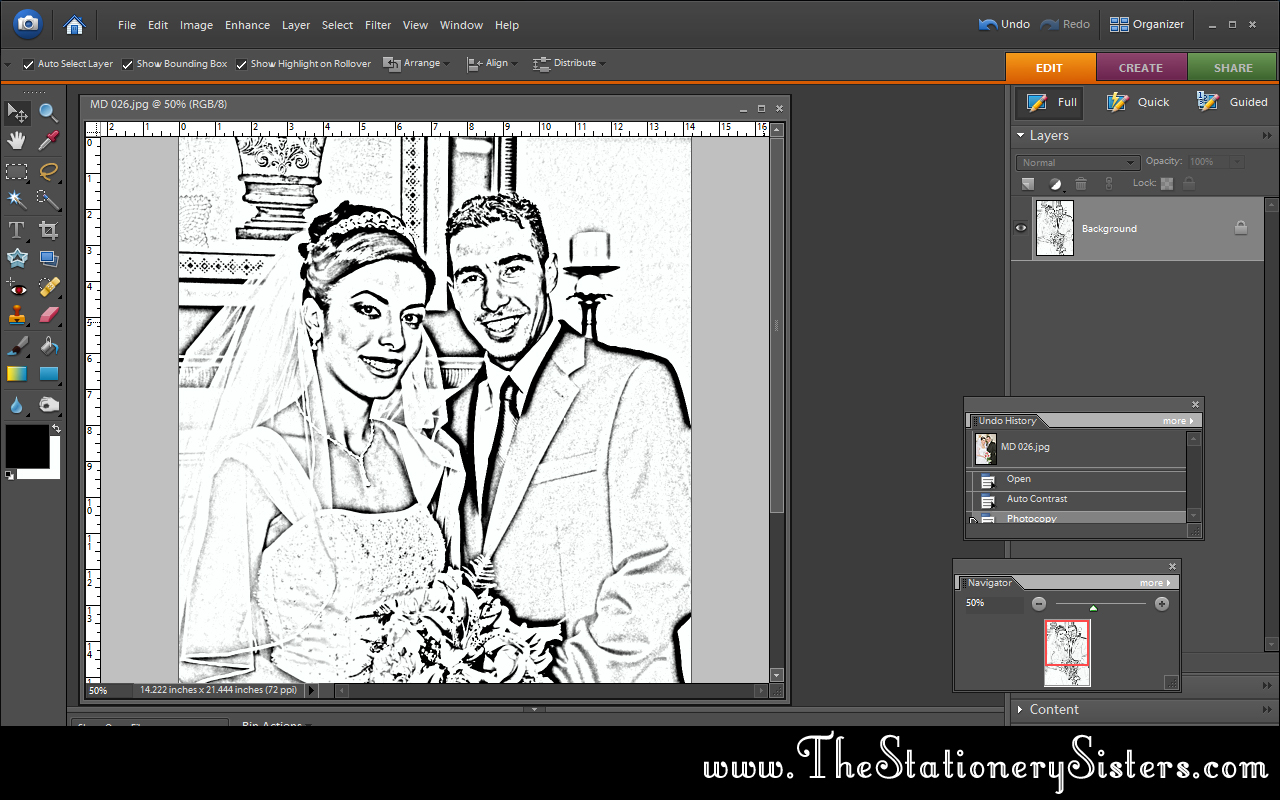
Step 5. After you adjust the settings you desire, press “Okay”. You should then see your final image ready to go, just like i have the picture below.
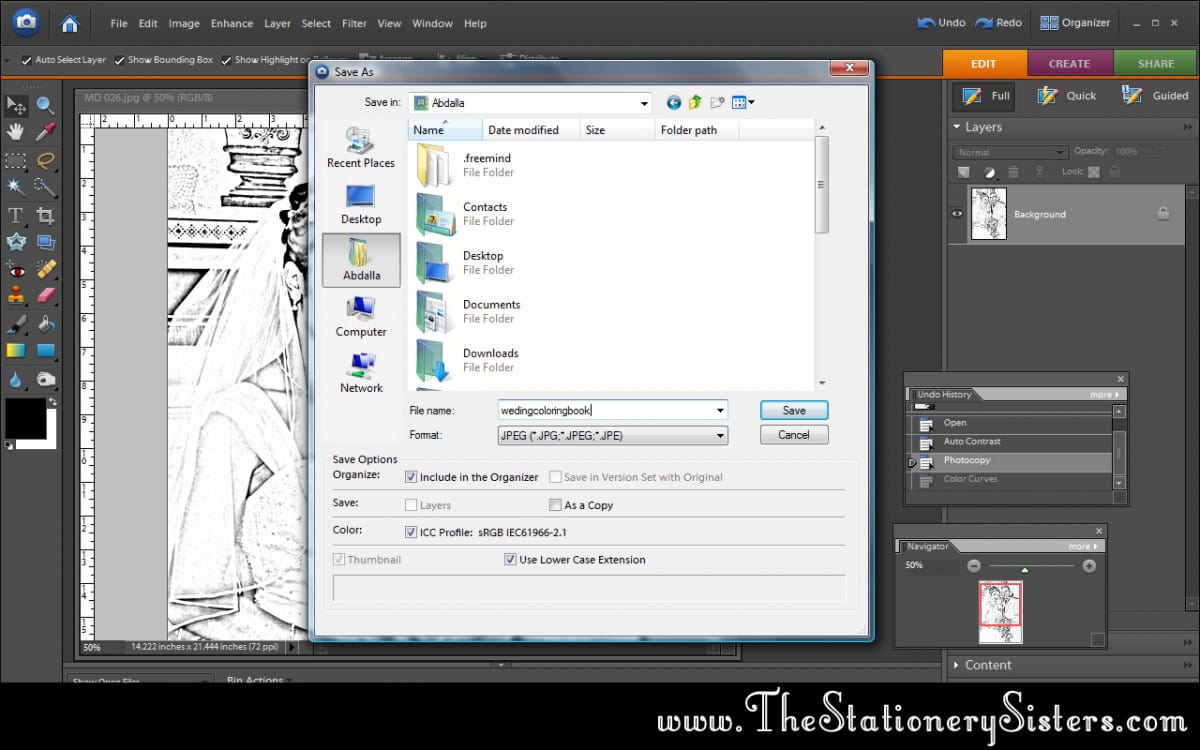
Step 6. Go to the menu bar above and choose “File” and “Save as”. Save your new image at the location you desire. DO NOT chose “Save” instead of “save as” this will save over your original photo.
Step 7. You are done! You can now repeat this process to have as much pages as you want in your coloring book. You can even get creative and create a coloring book cover from Photoshop or microsoft word.
Good Luck!
~ Dalia