

Hi, I’m Vivienne. I am a wife, mother of 4 boys, a DIYer and smart-aleck. At The V Spot you’ll find lots of crafts, home projects, cooking and funny stories. If Erma Bombeck and MacGyver had a love child, that child might have turned out a little bit like me.

How do you like your eggs? (A faux Robin’s egg tutorial.)

Scrambled..? Over easy..? PLASTIC..?
Um, no thanks for these.
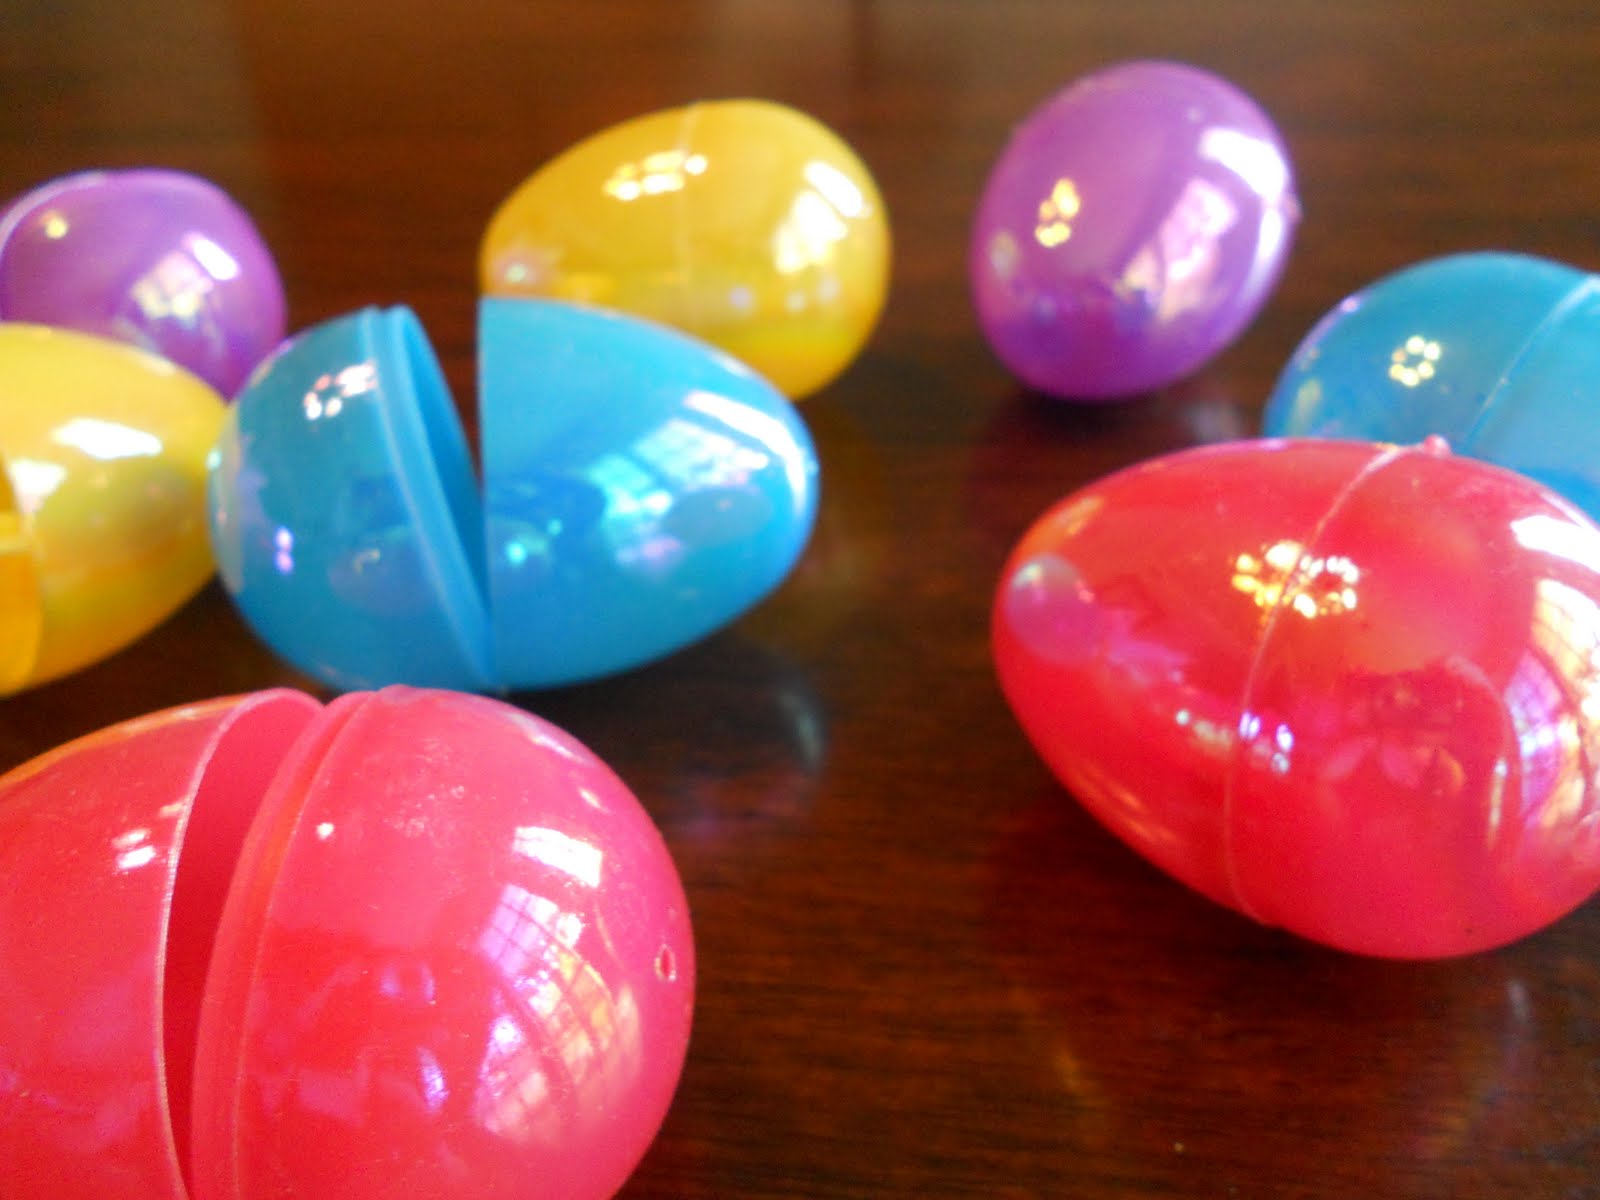
Gather up a whole bunch of plastic Easter eggs.
Glue the sides together. I think the finished product looks better with the eggs that come in a top and bottom half, as opposed to two equal sides.
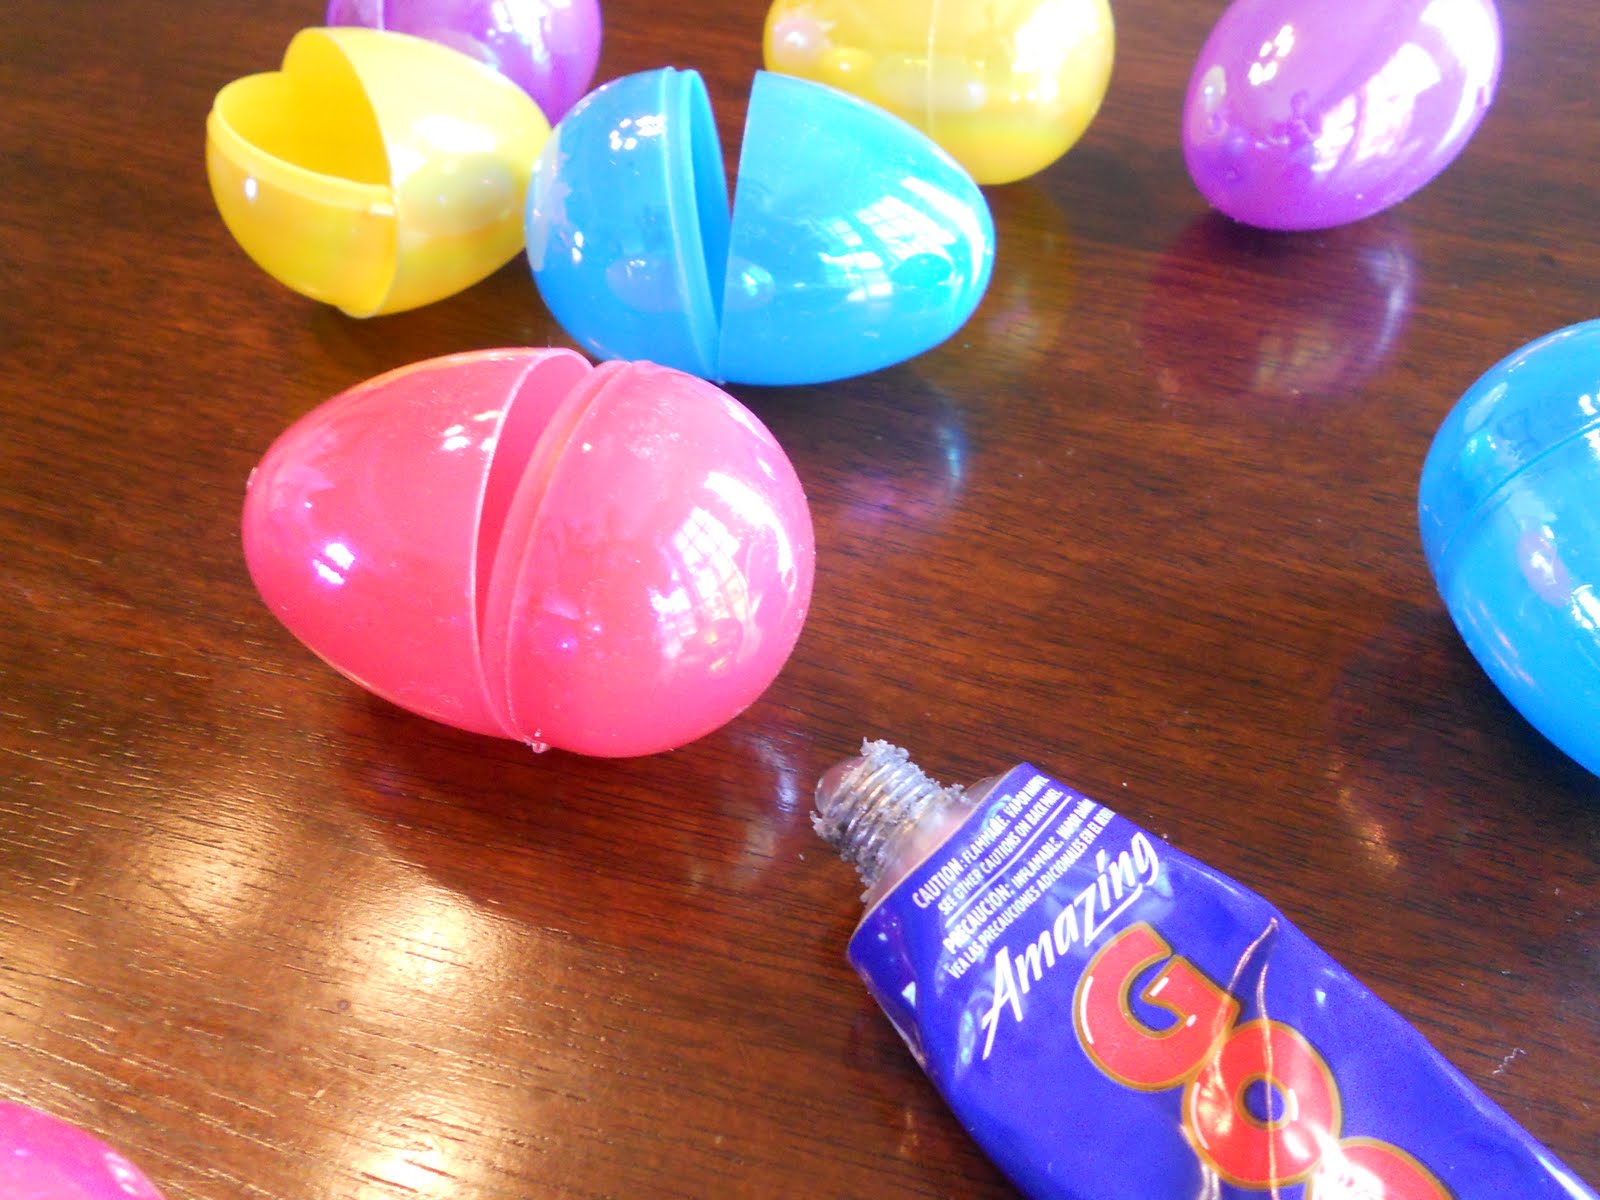
I used goop, but any glue, even regular old Elmer’s would work.
Once they’ve dry, take them out to your scary spray painting area and give them a good shot of plastic primer. (This is important if you would like to keep the rest of your paint on the egg, as opposed to having it chip or smear off.)

Once they’re coated with the primer and have had time to dry, you add the base coat. The base coat has some texture to it, which is important to help hide the little seam in the plastic where the two halves fit together.
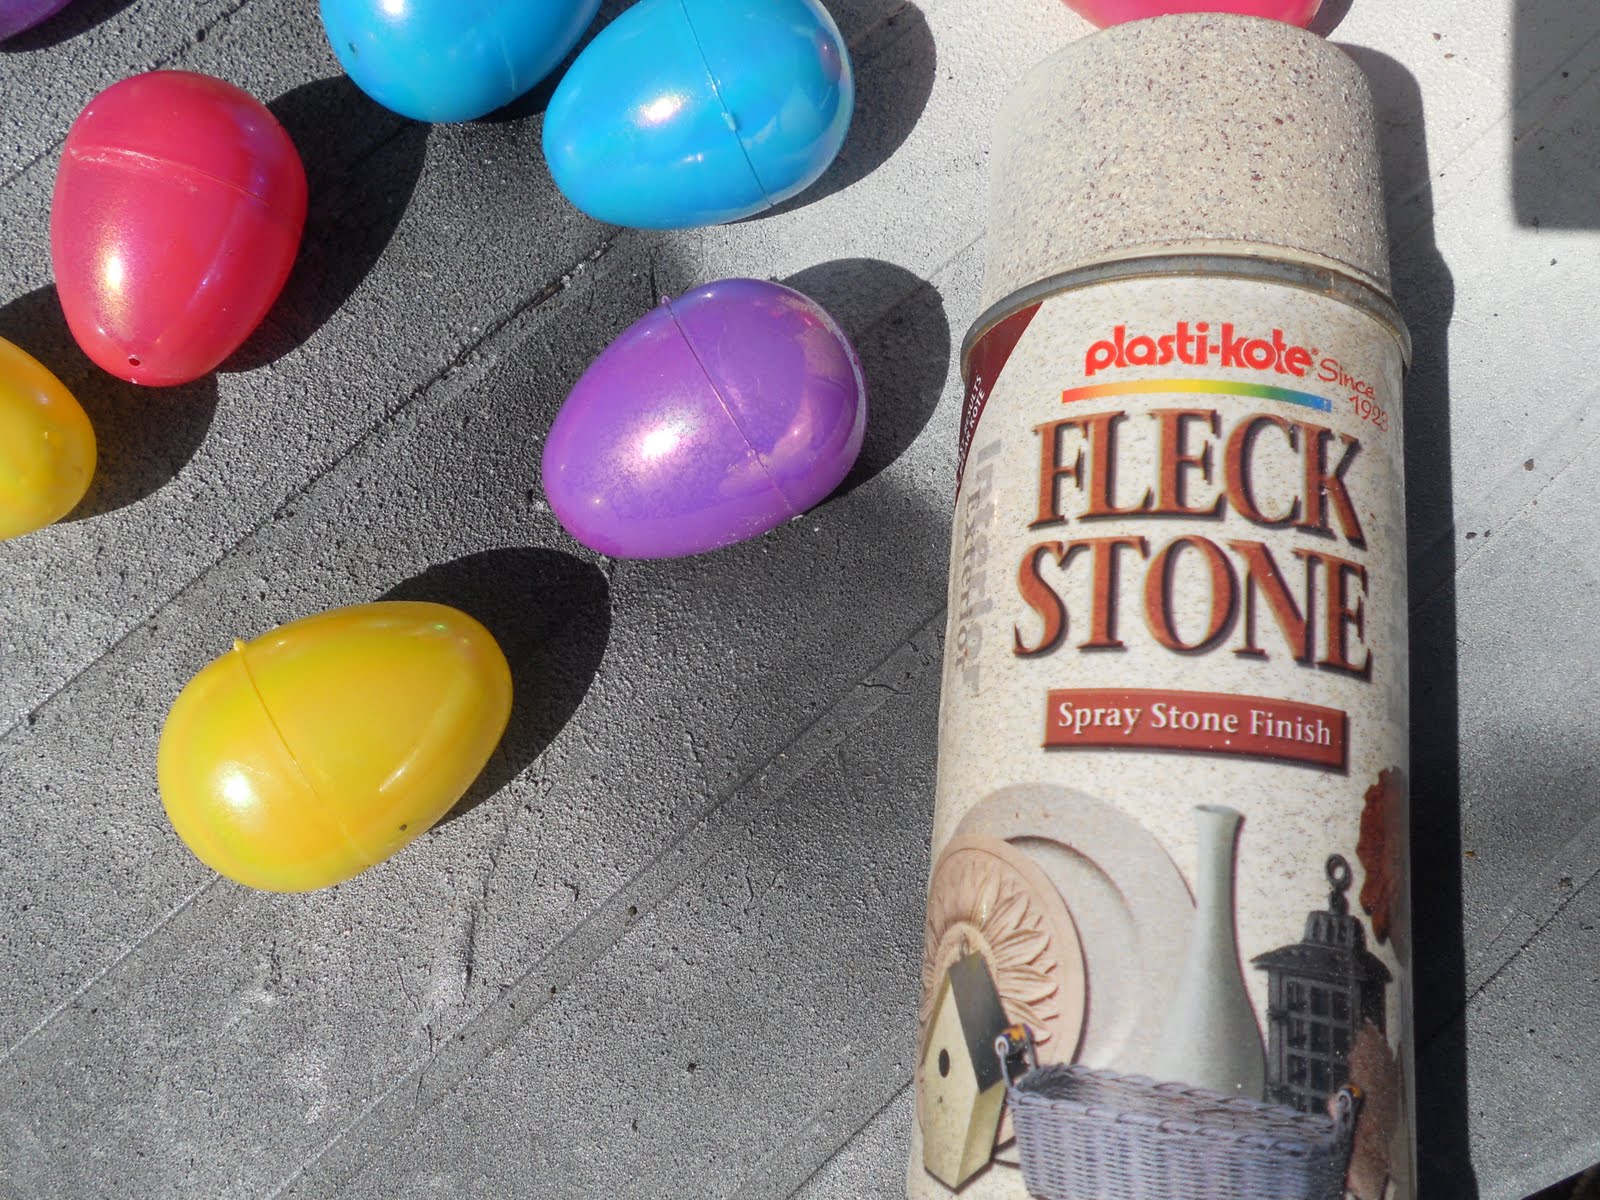
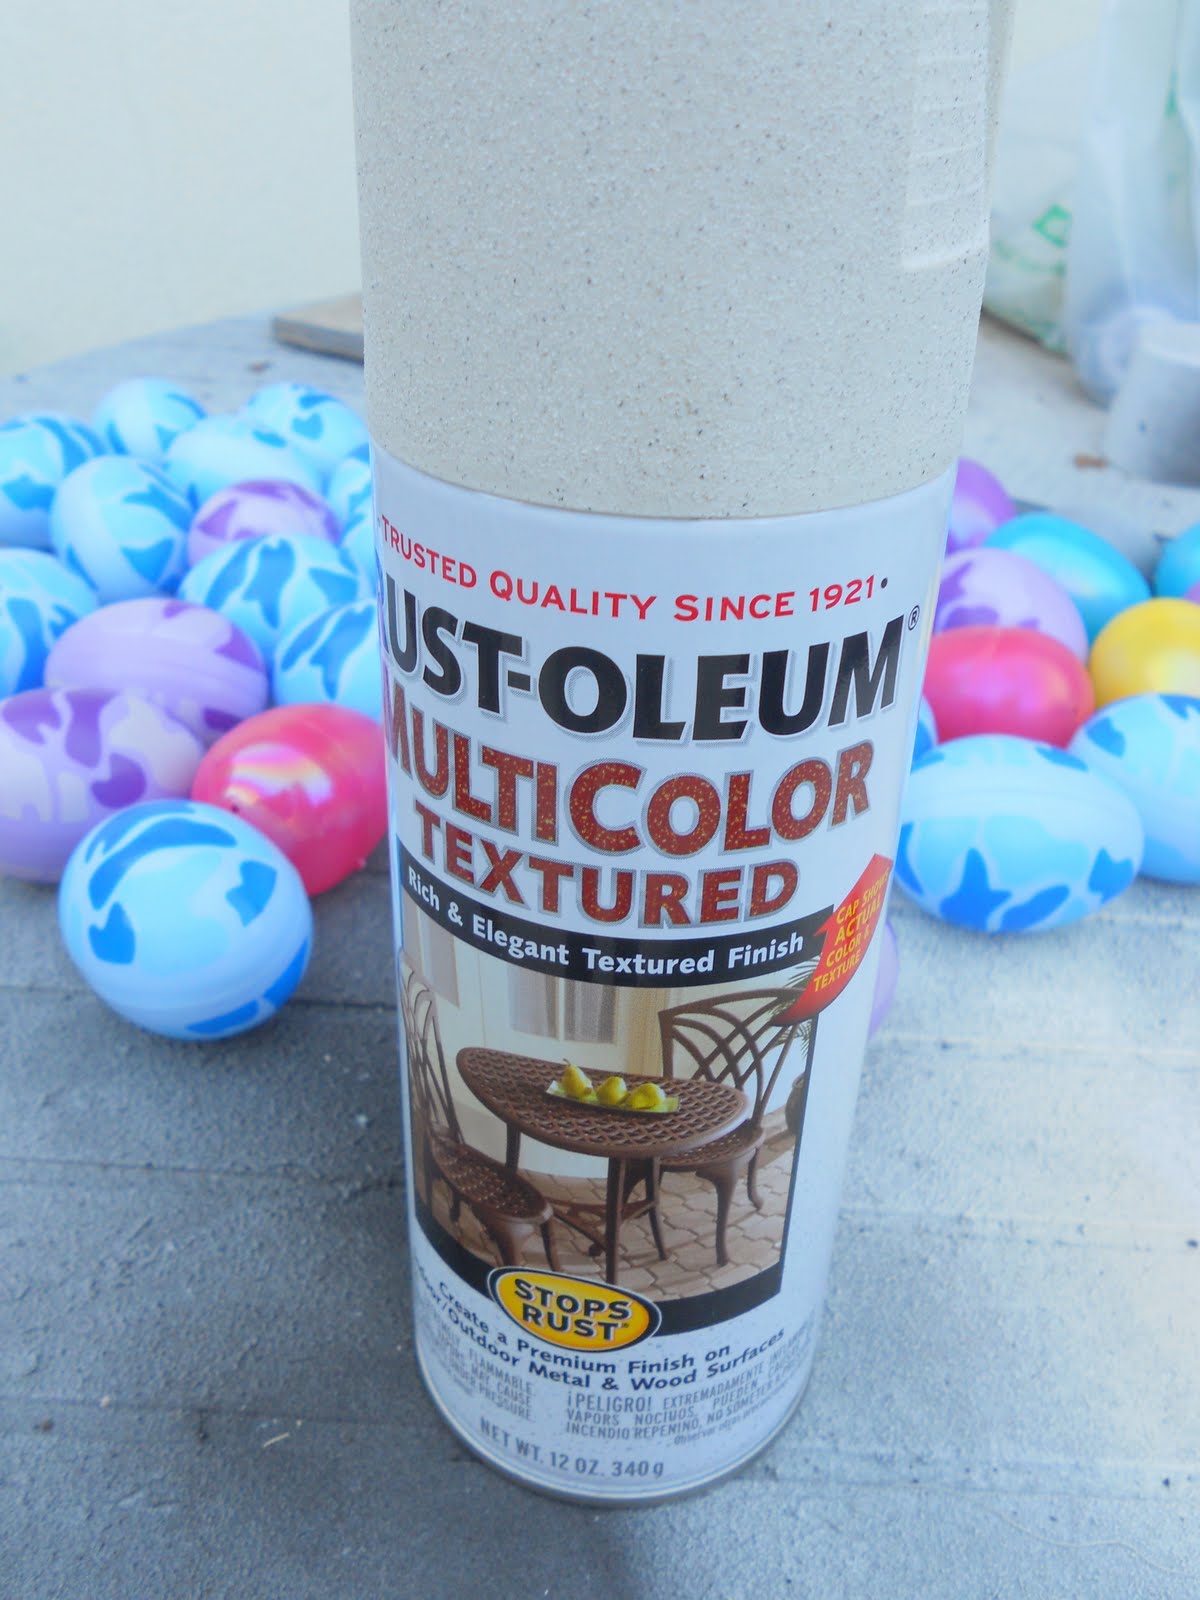
I like Fleck-Stone the best for this, but if you can’t get it at your local hardware store…. go ahead and use the Rustoleum Hammered Finish spray paint instead.
Spray the eggs and let them dry. Then turn them over and hit the remaining sides.
I wedged them together for this portion of the project. They are so light weight that the force from the spray can was blowing them around. This helped to keep them from rolling away.
You can separate them to keep them from sticking.
While they dry, get ready for the next step. Gather some light blue acrylic paint and a spray bottle.
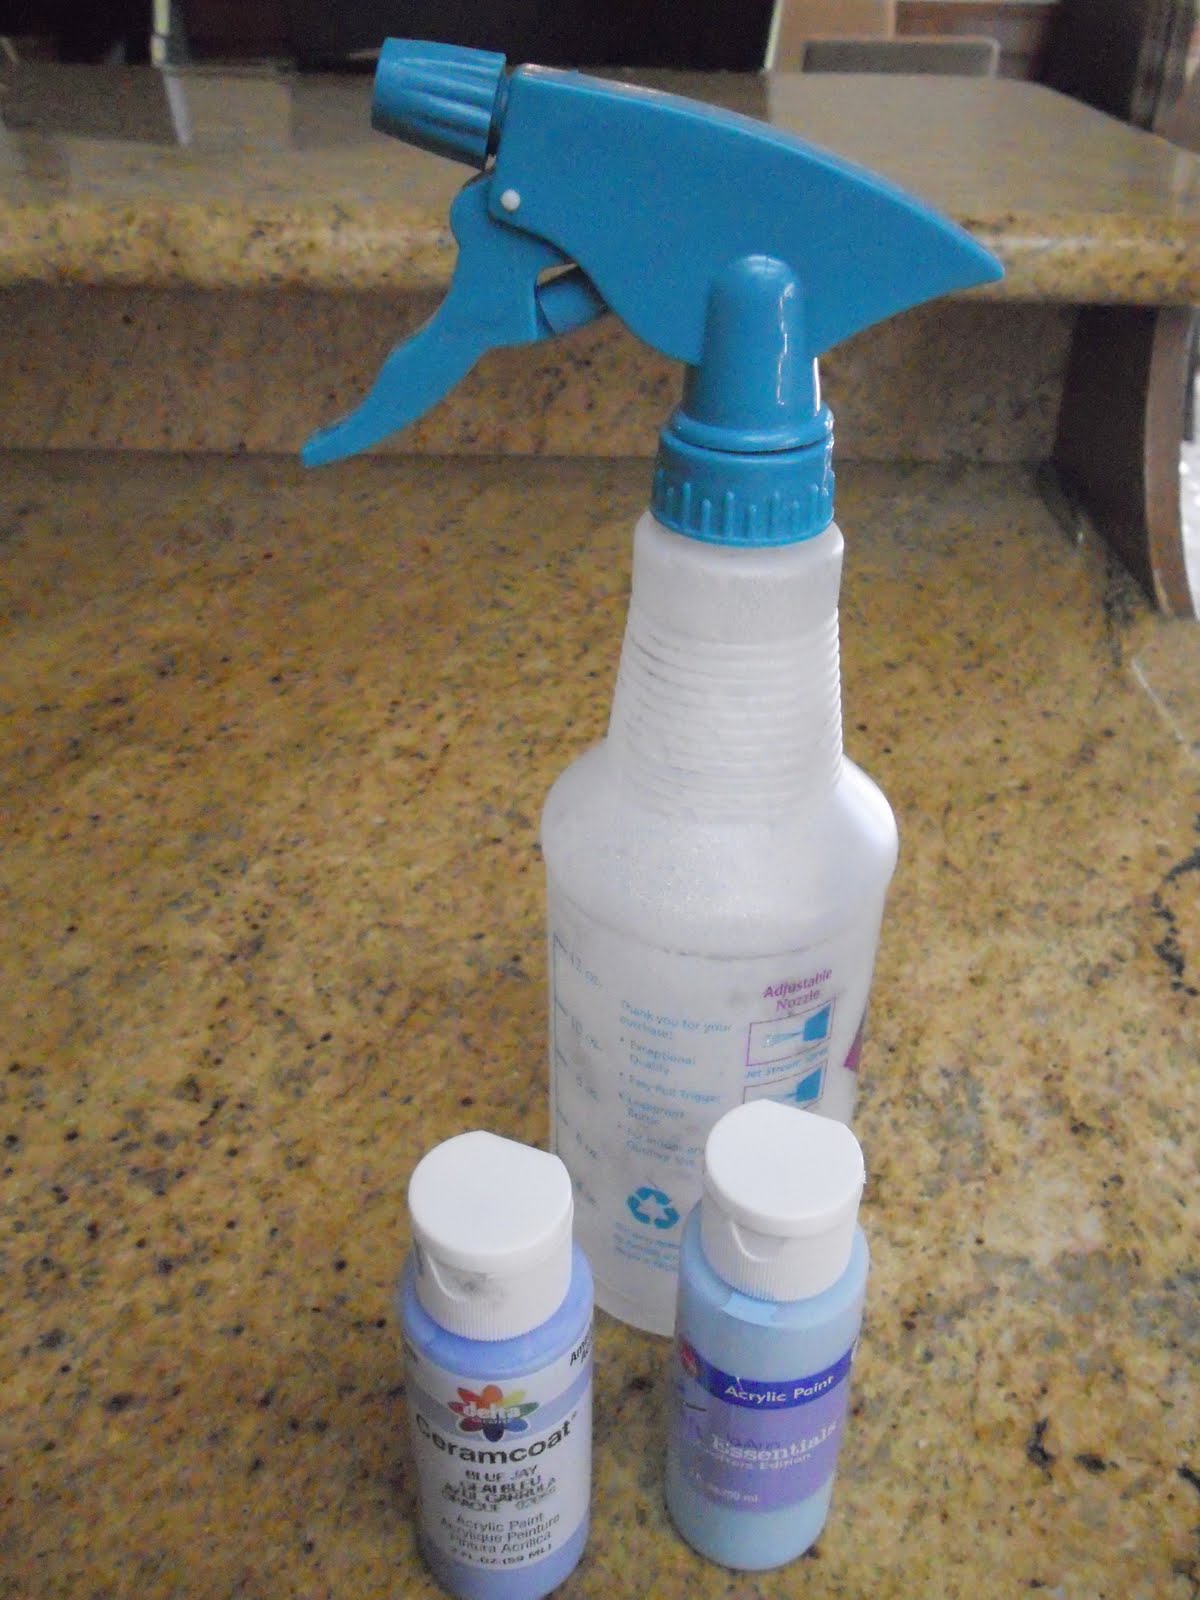
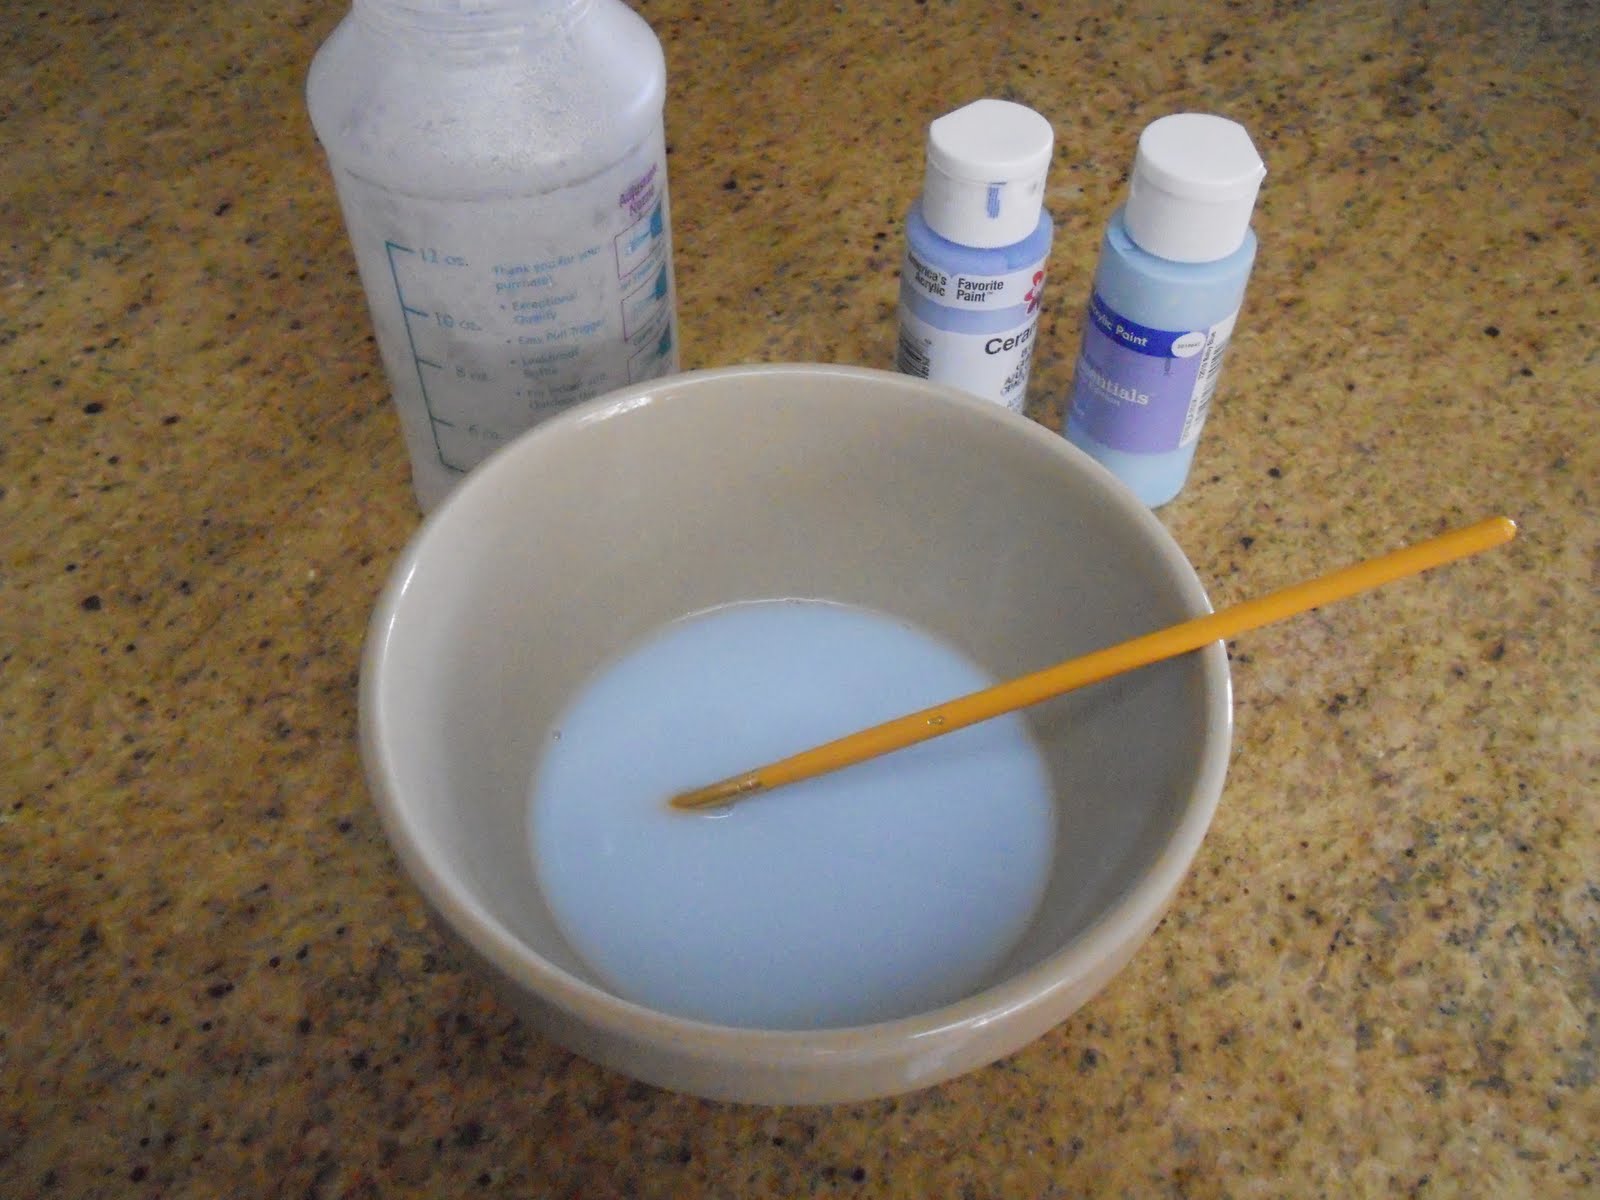
Water down some paint. This is tricky. You don’t want it too watery, but you don’t want it too thick either. It is going to need to be thin enough to be sprayed but thick enough not to run.
Back to the eggs.
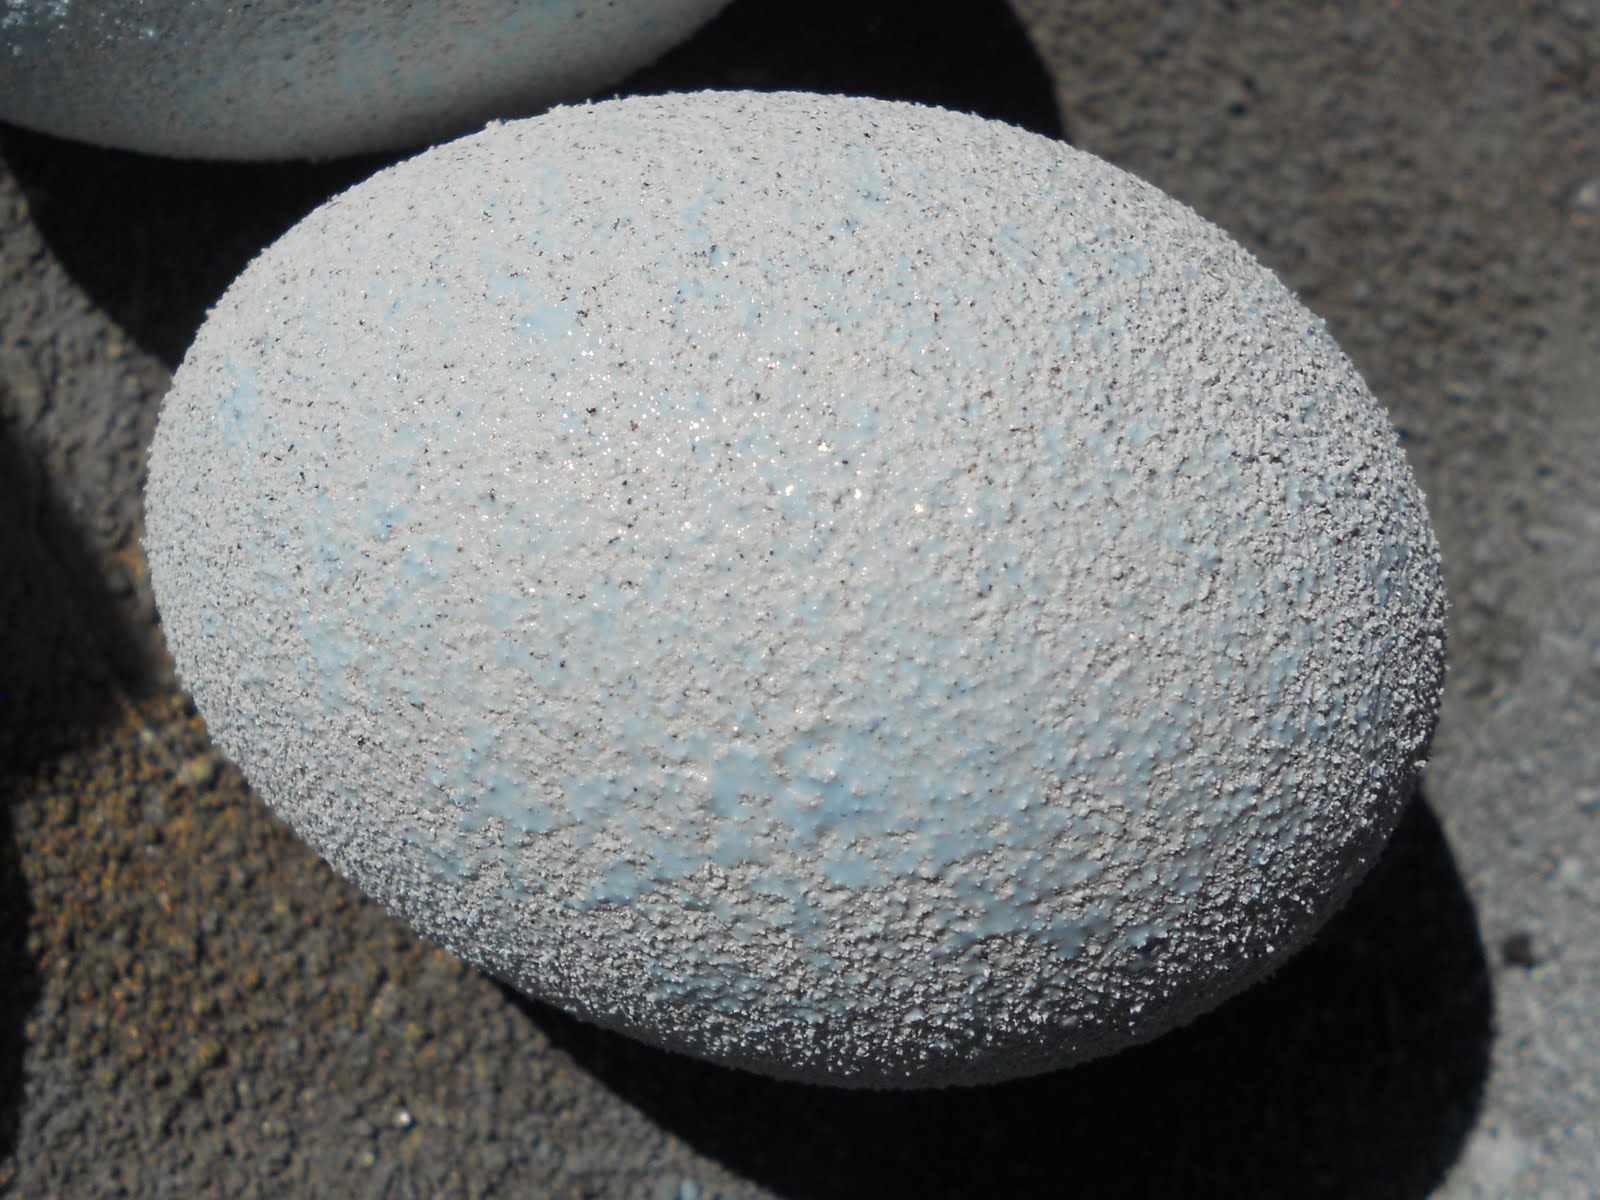
By the way, this is the Rustoleum Hammered Finish Egg:

This is the Fleck-Stone egg:
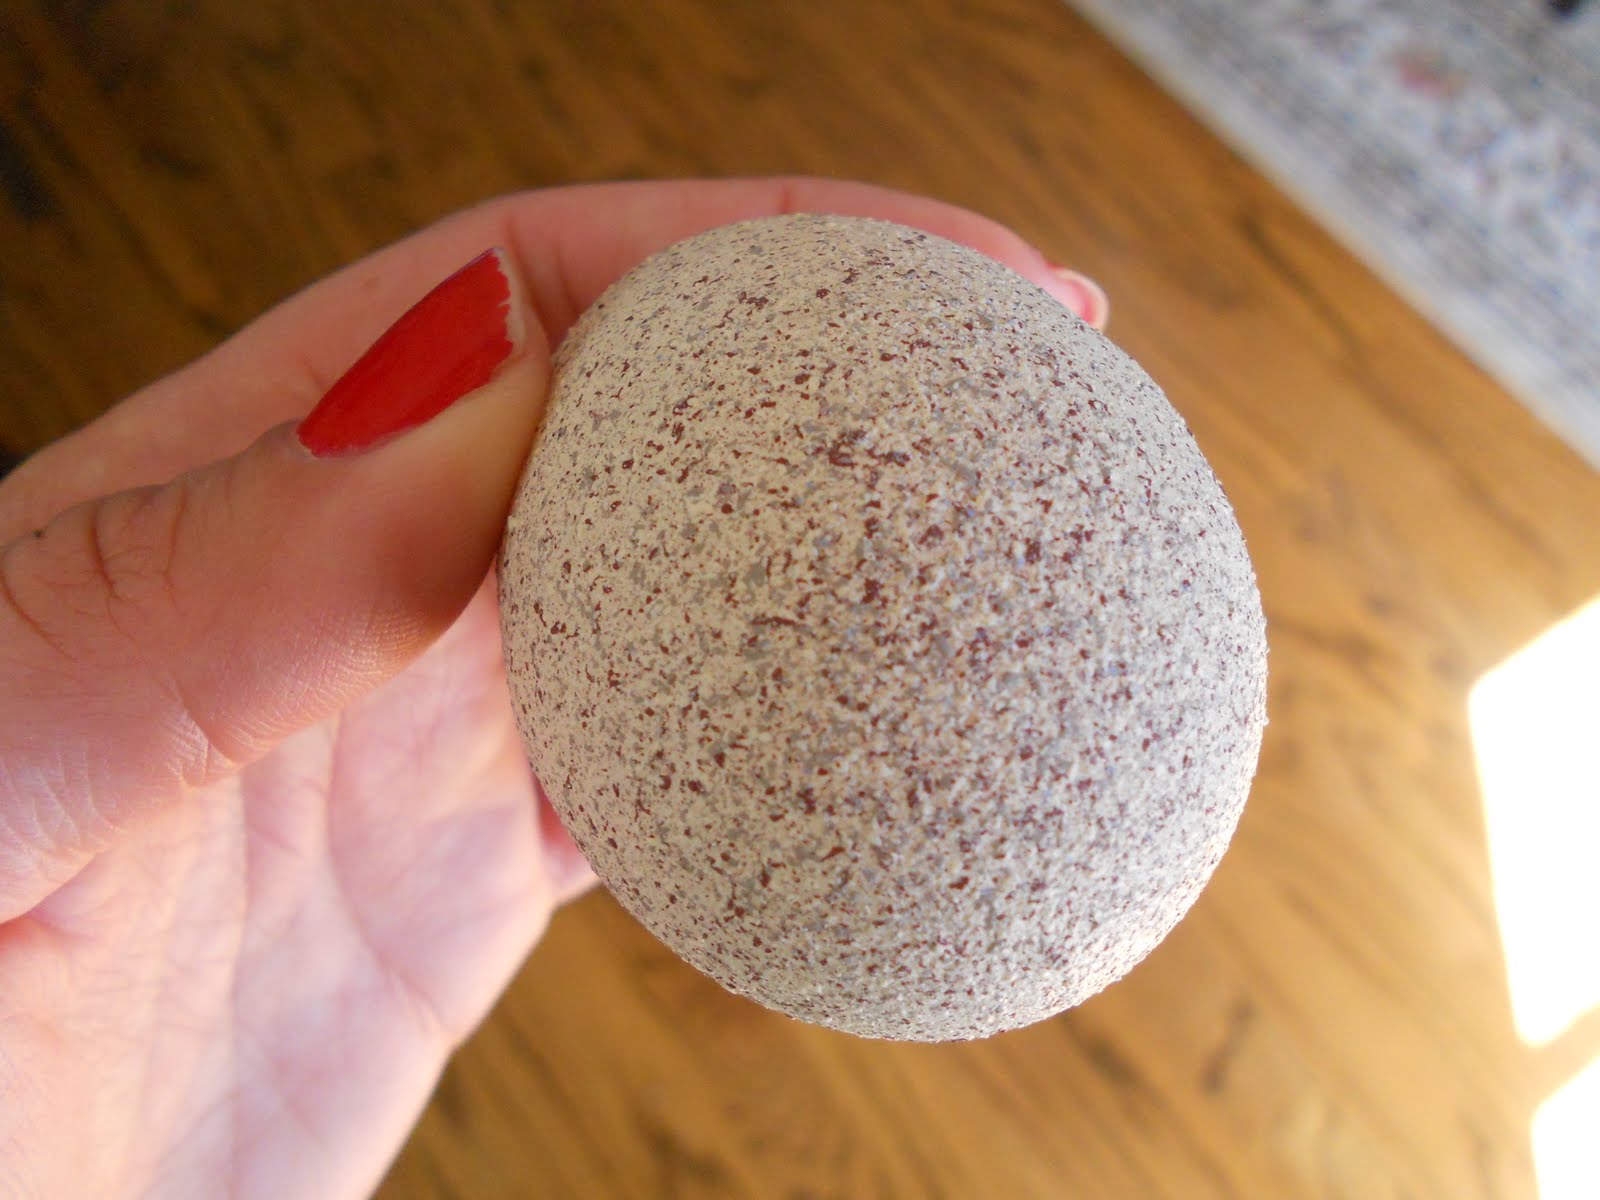
I just like the Fleck-Stone finish better.
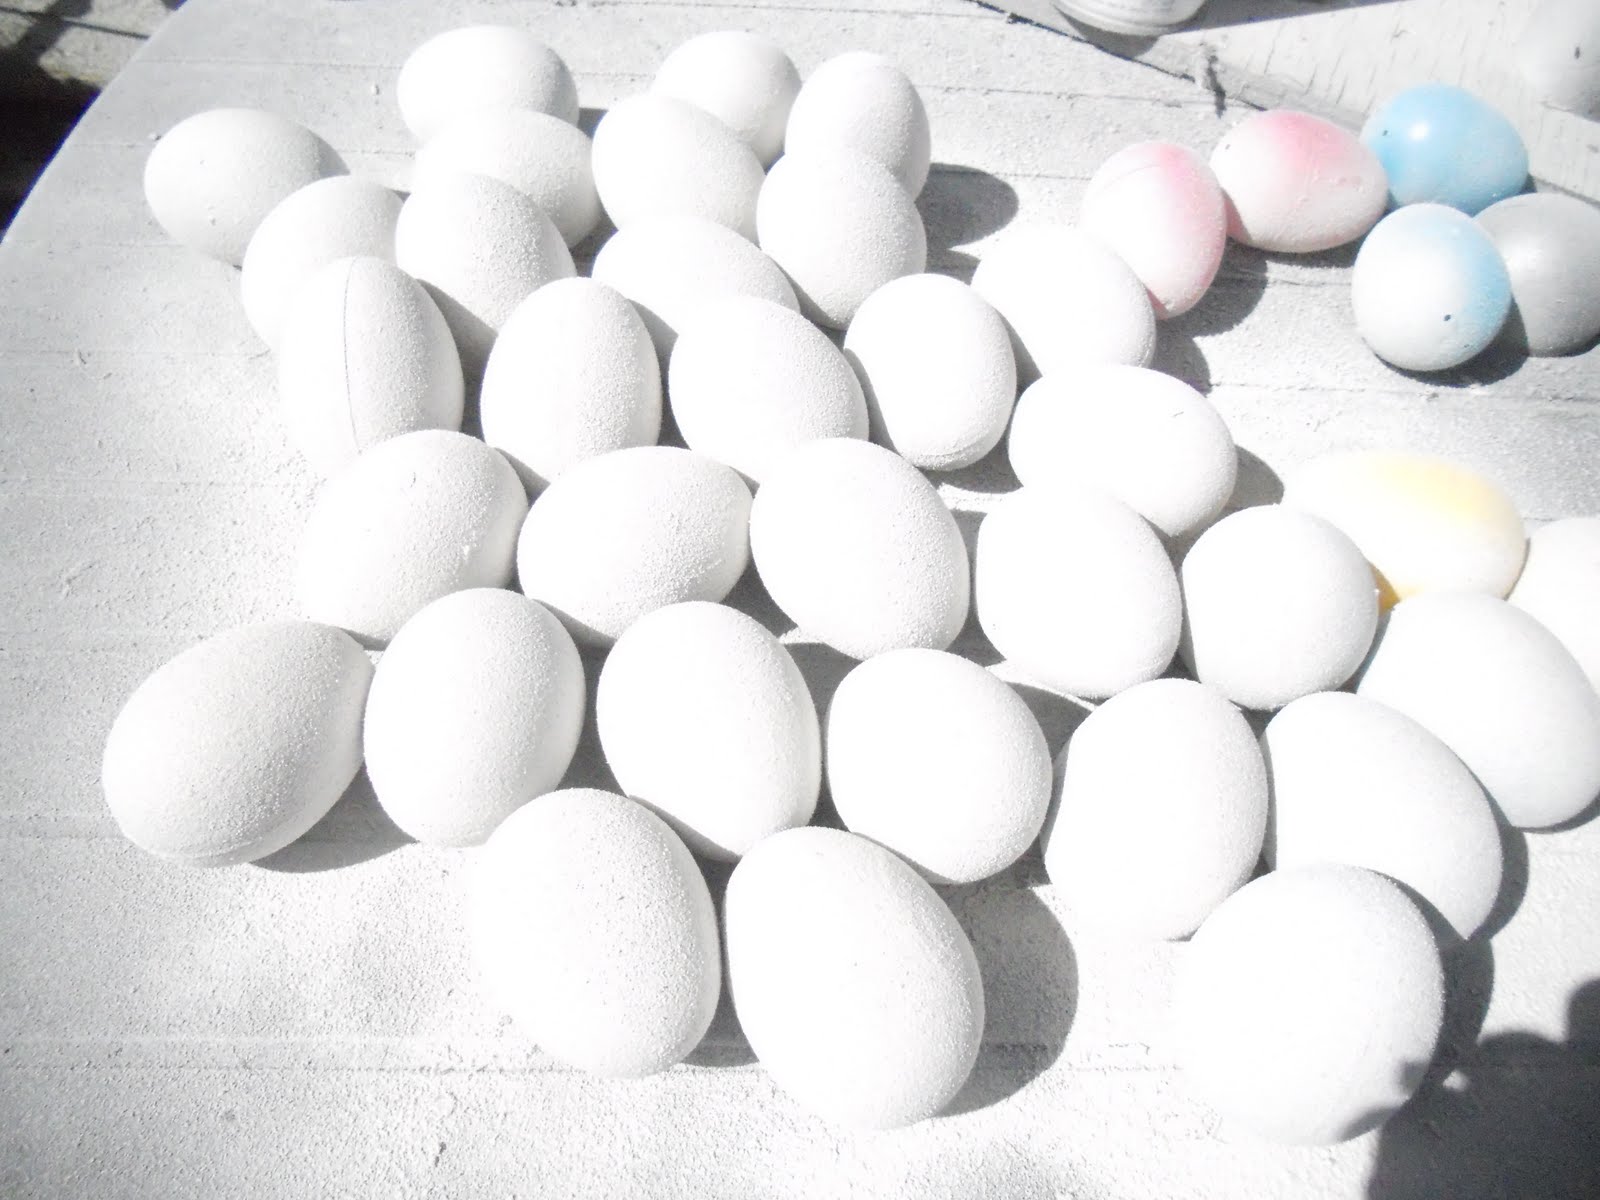
Anyhow, back to adding the Robin’s egg blue. Lightly mist the watered down blue paint over the eggs.
It will take several coats, allowing the misted paint to dry in between coats.
If you get all jumpy and impatient because you’re trying to rush the process in order to get a blog post done, this will happen.

Don’t be impatient. (By the way, this can be fixed by getting a little of the watered down paint on a Q-tip and dabbing away at the drips.) I don’t paint all of the eggs blue. Some of them I leave only barely misted with the blue.
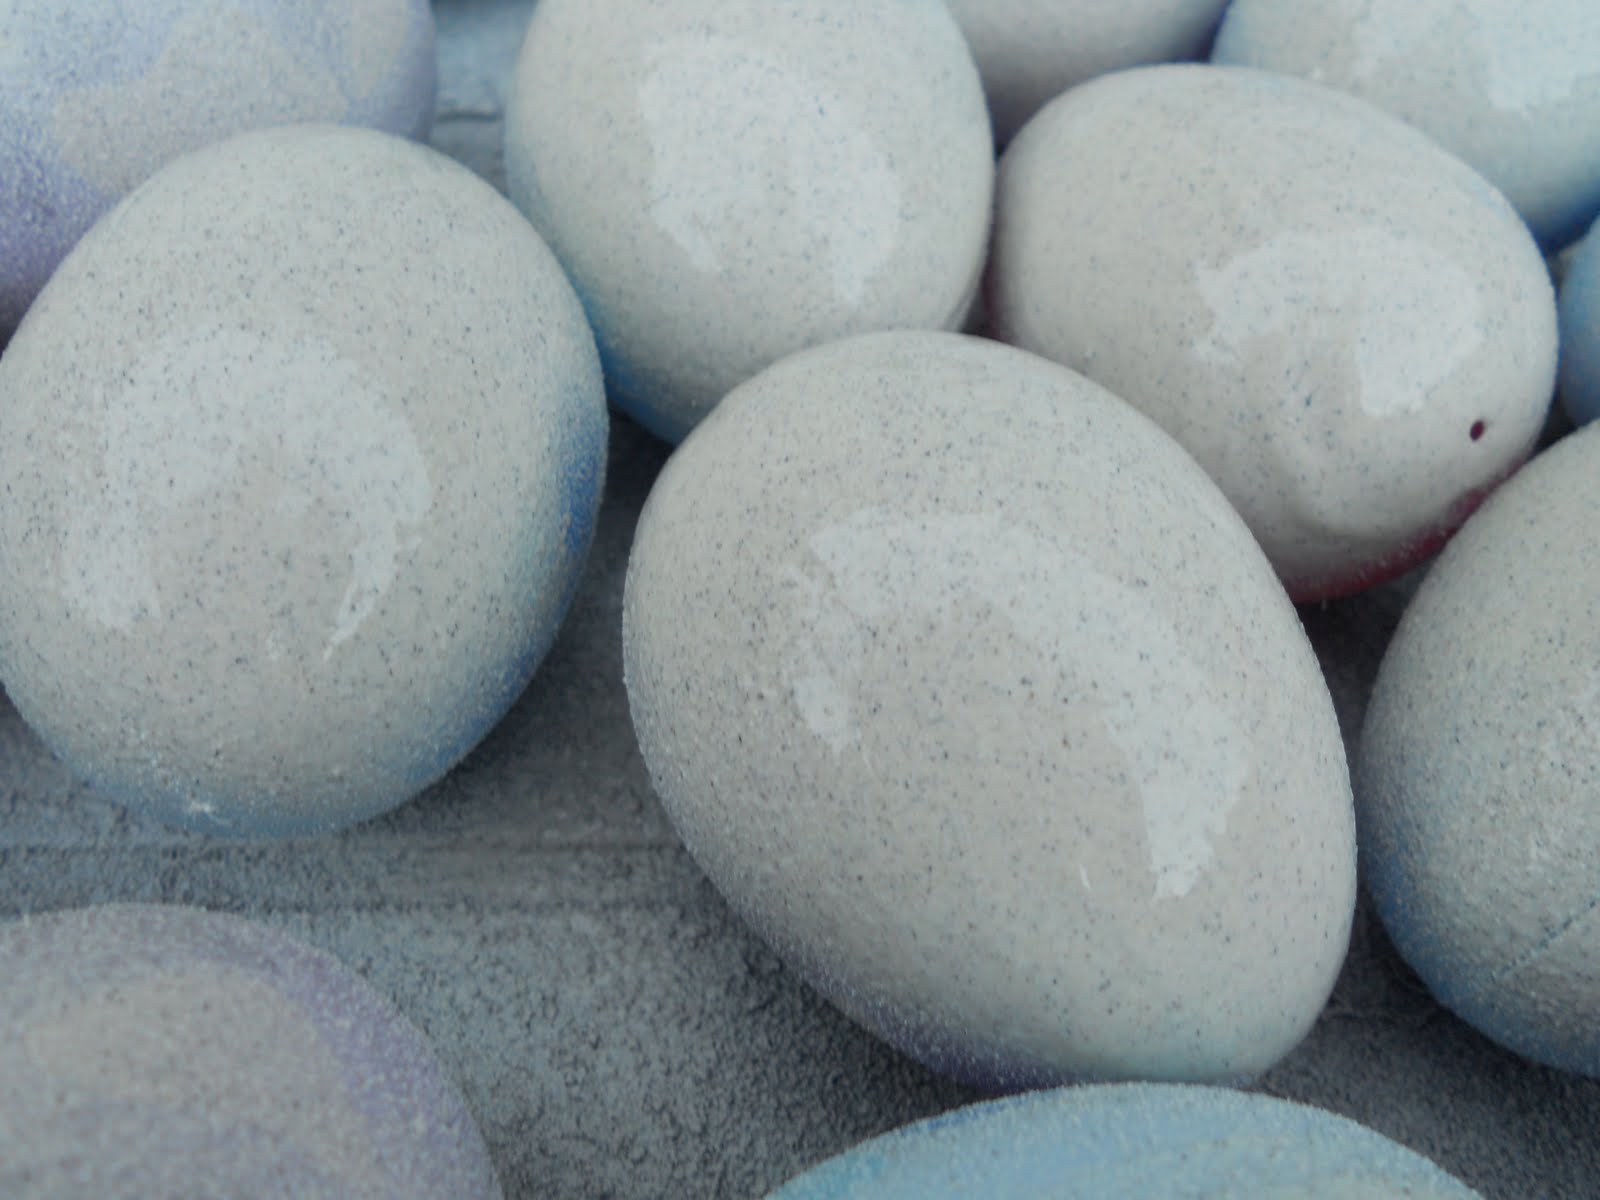
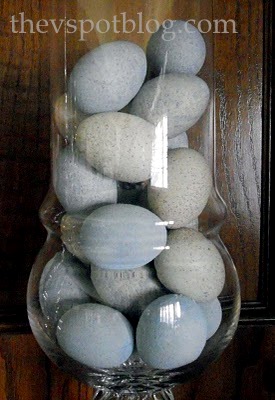
When they’re done, they should look like this.

I love this old bird’s nest!

I put them in apothecary jars too….
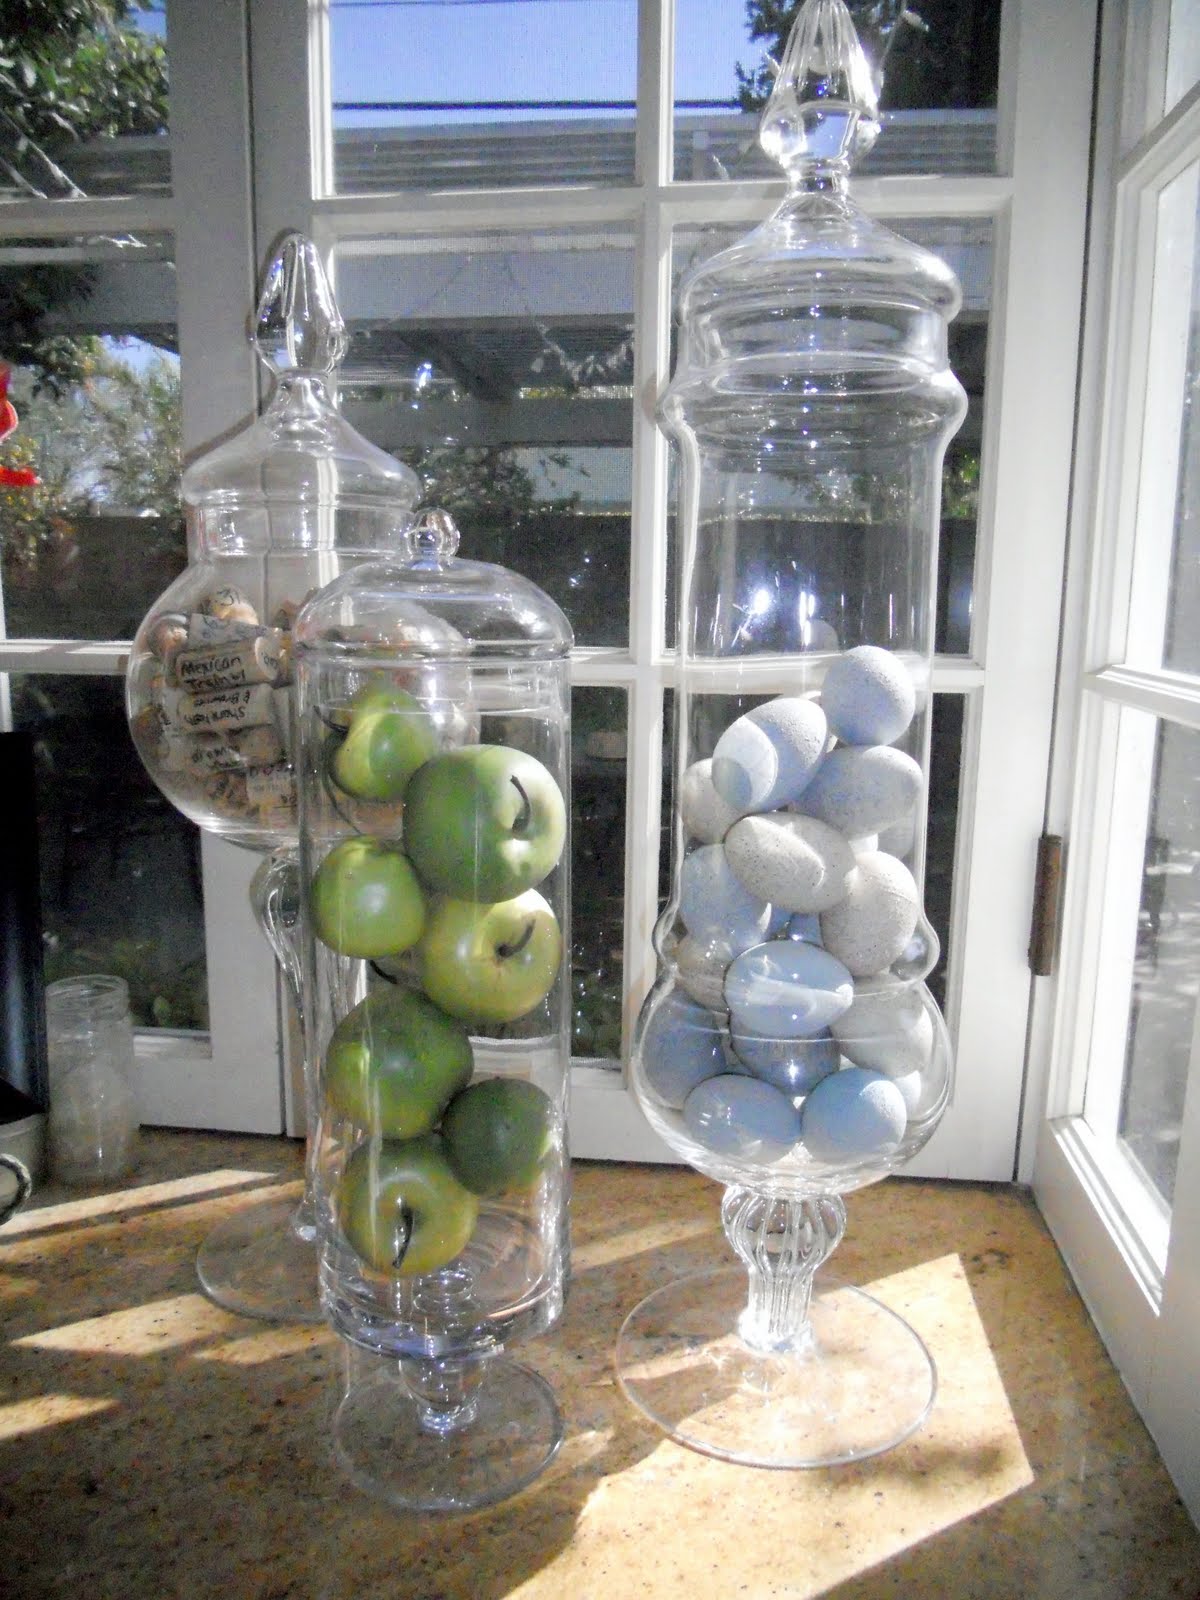
TIP OF THE DAY: The jars in my kitchen window get a lot of the afternoon sun which could turn them into little greenhouses and get them all steamed up.

To prevent the build up of moisture, I open up those little packets of silica gel and pour them in. (You know the ones that come in new handbags or in shoe boxes? Do Not Eat.)
They’re clear and tiny and no one can see them at the bottom of the glass jars, but they absorb all of the moisture. Fabulous.
Anyway, that’s how you turn a fluorescent plastic egg into a Robin’s egg. Ta-da!
The Math: (and yes, I did break out the calculator for the fractions. shut up, shut up, shut up.)
The plastic eggs can be purchased at the Dollar Store ($1) I used 1/8 of a can of plastic primer (approx 60 cents) half a can of fleck stone paint (approx $3) and about a tsp of acrylic paint I already had (20 cents) So basically, a dozen eggs cost me $4.80
