
Hi, it’s me again, the Fun On A Dime Lady from Fun On A Dime. Today I wanted to share a creative gifting idea that was a real success.
I made this snake for my 4 year old son’s birthday a few months ago and was surprised how much he liked it. In fact, my 2 year old daughter immediately started begging for one. When friends come over to play it is such a hit with them that I decided we couldn’t wait until my daughter’s birthday for her snake. This snake is so easy to make and it is a fun project that all ages can be involved in making it. If you have a 10 or 11 year old, they could sew it, with supervision, of course!

What You Need:
- Scrap Fabric
- Needle
- Thread
- Buttons
- Sewing Machine (Optional)
- Stuffing 16 oz + (for a large, 6ft snake)
Directions:
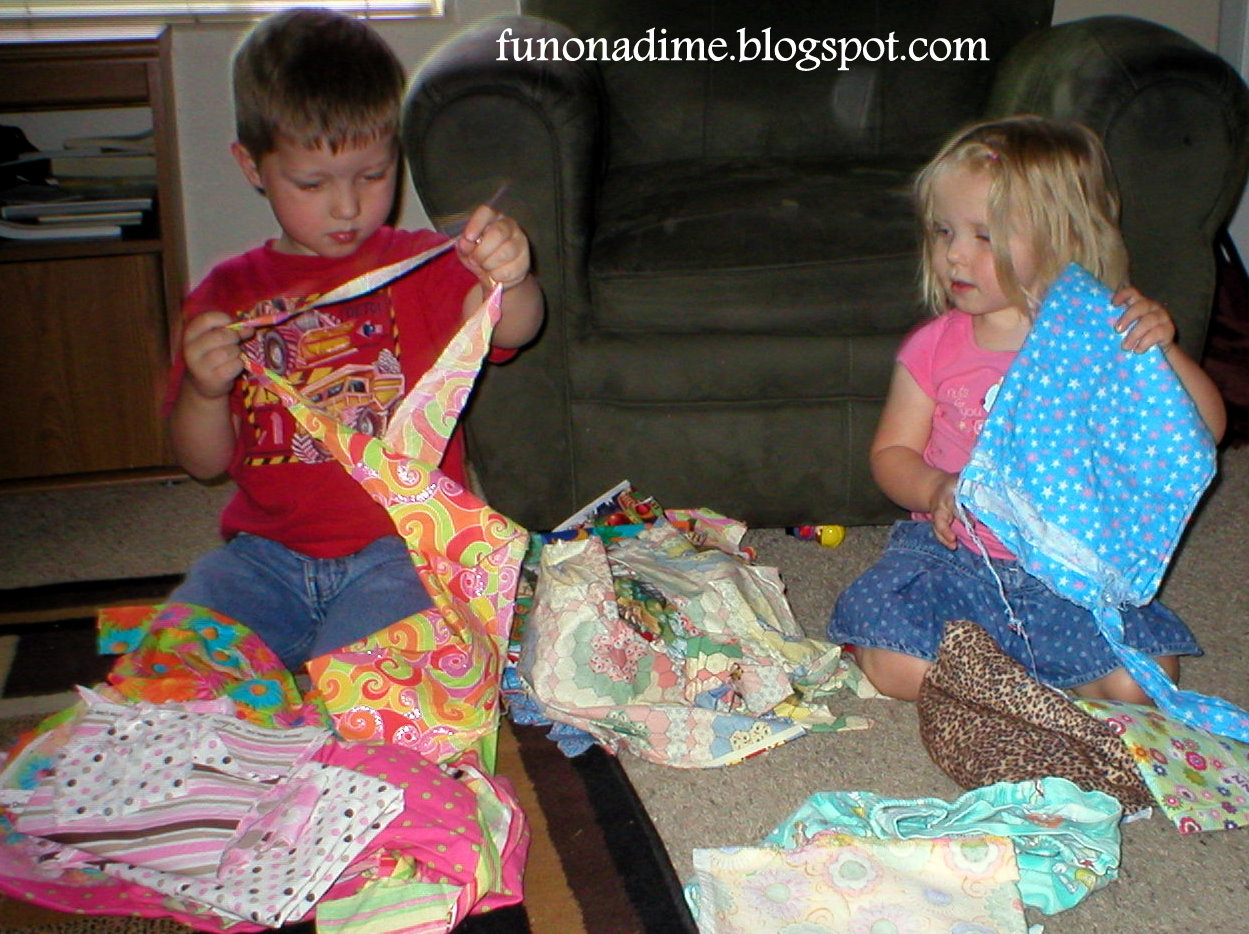
Step 1: Get out your scrap fabric and pick which pieces you would like to make the snake out of. They do not have to be color coordinated (unless you want it that way) and you can use a variety of textures. This is a step that younger children can definitely participate in. I did not realize how picky my daughter was going to be…she said “no thank you” to all the really girly fabric!
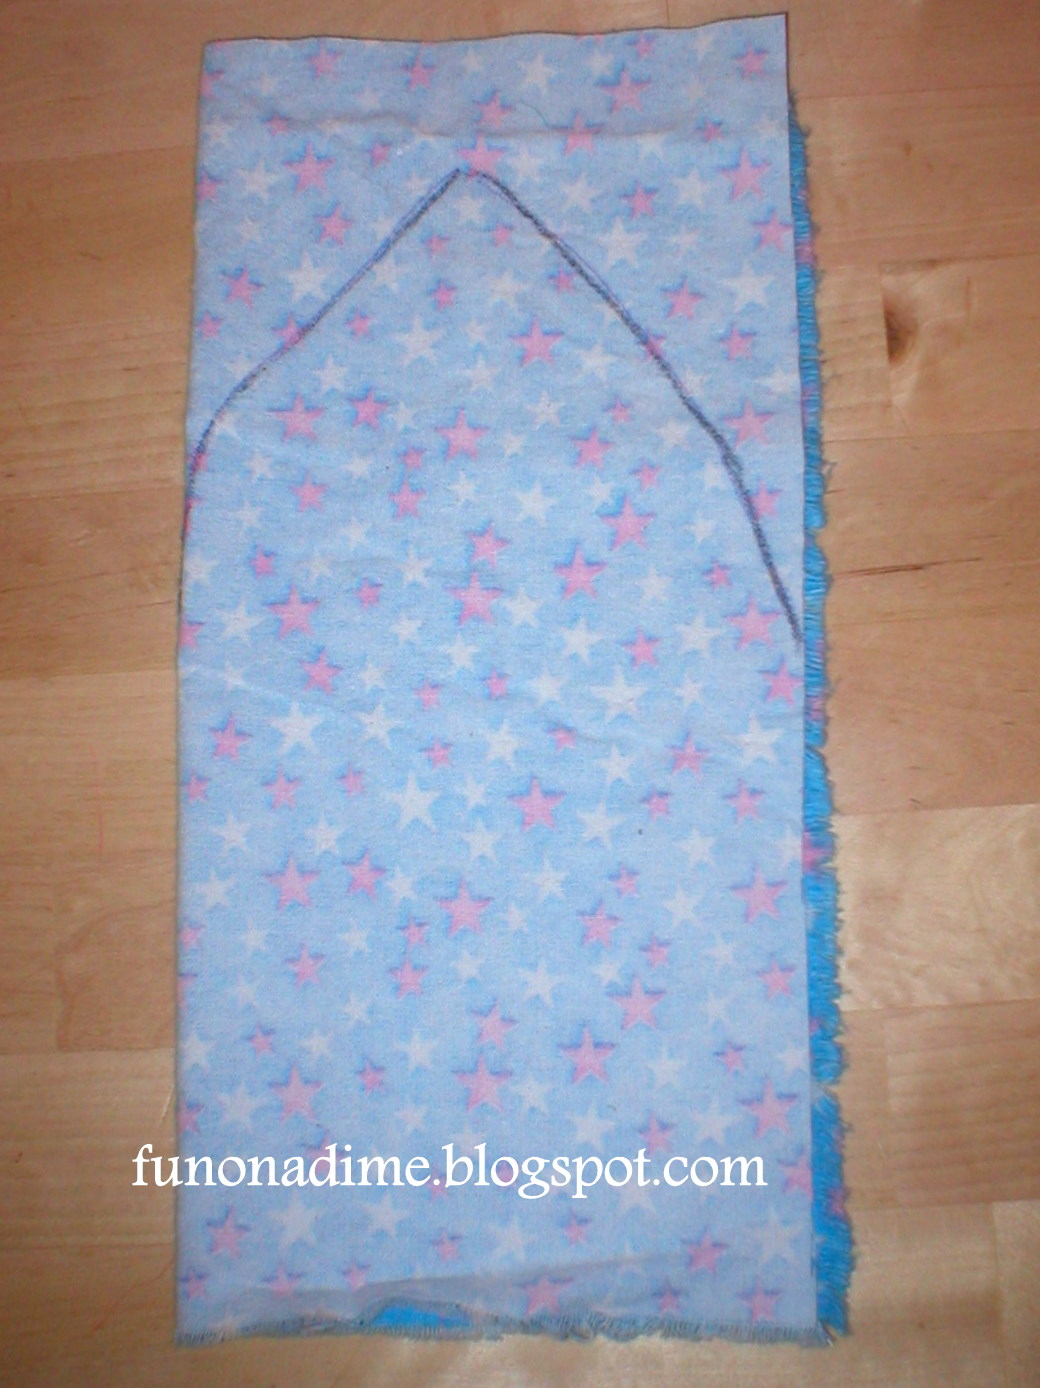
Step 2: Cut your fabric. Once your fabric is chosen, cut them into strips about 9 – 11 inches wide and however long you want. My strips were between 4 – 12 inches long. The width will be how round the snake is. A good idea is to aim for the width of your forearm. You can combine scraps together to create the desired width to make a cute patchwork look, but it is definately easier to just keep it one fabric for the width and make each strip 6-12 inches long…but it is up to you how much time you want to spend!For the snake’s head, cut desired fabric to width and length. Fold it in half (pattern side in) and trace a tear drop on one side. Then cut.
Step 3: Time to create the length of your snake. Pin all your fabric together pattern sides facing each other (so your seams will be on the inside of the snake when you are done.) Then sew. A basic stitch is all you need.
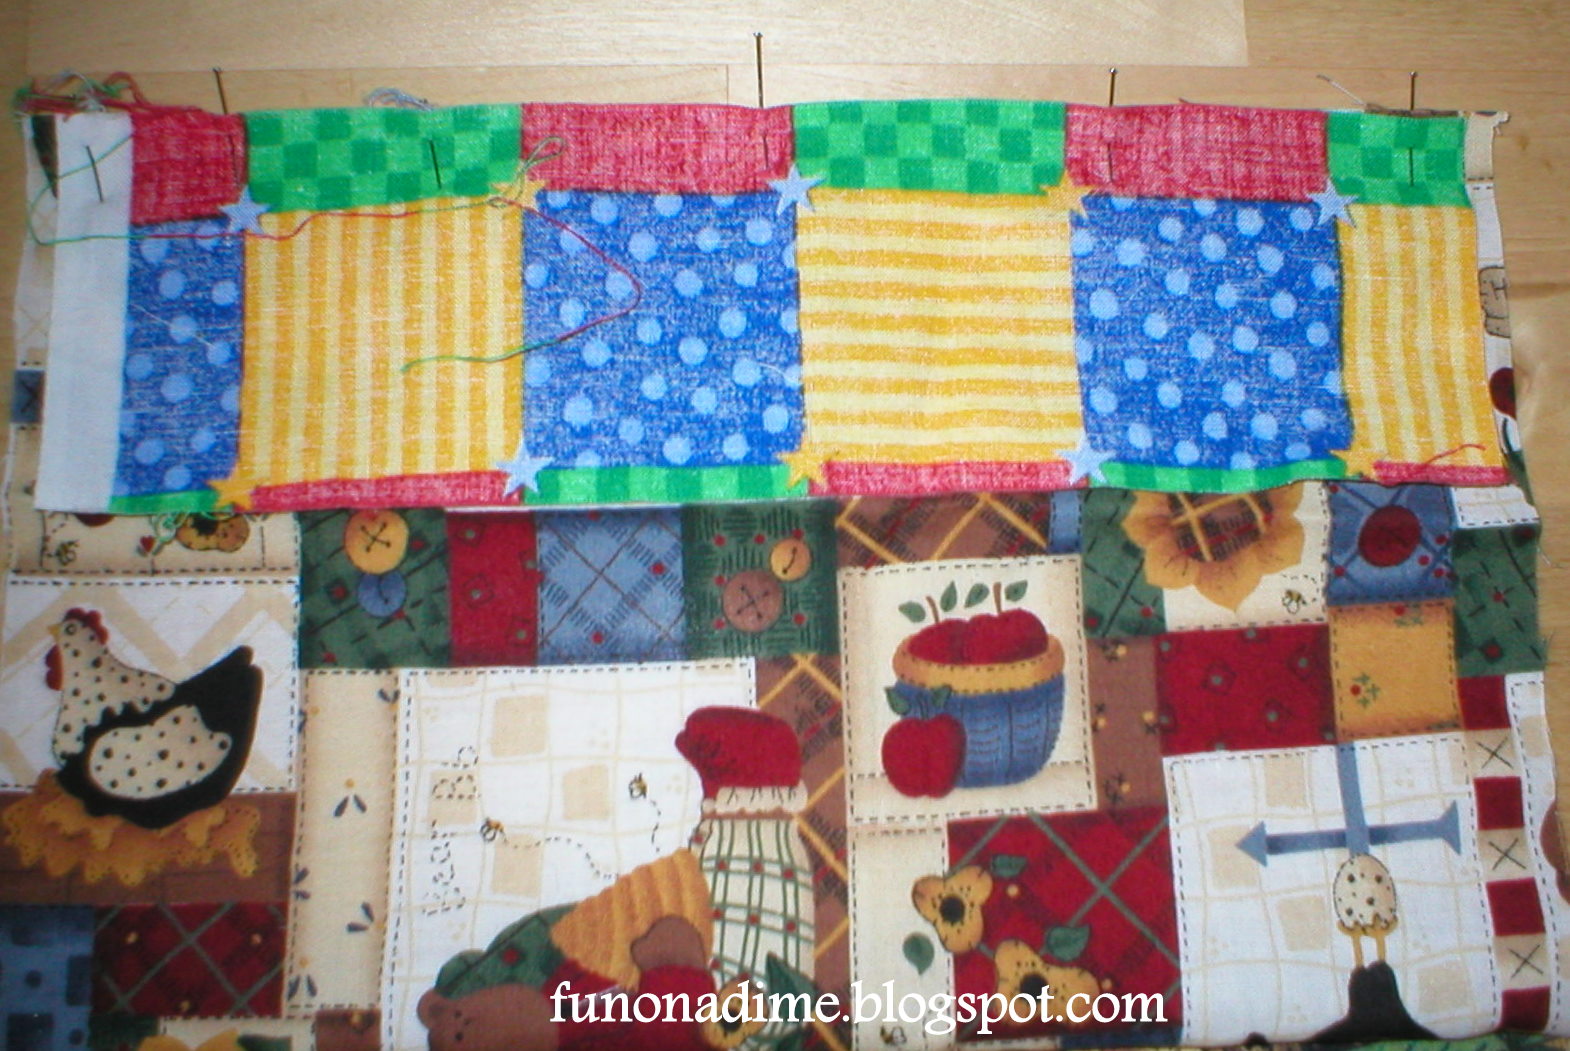
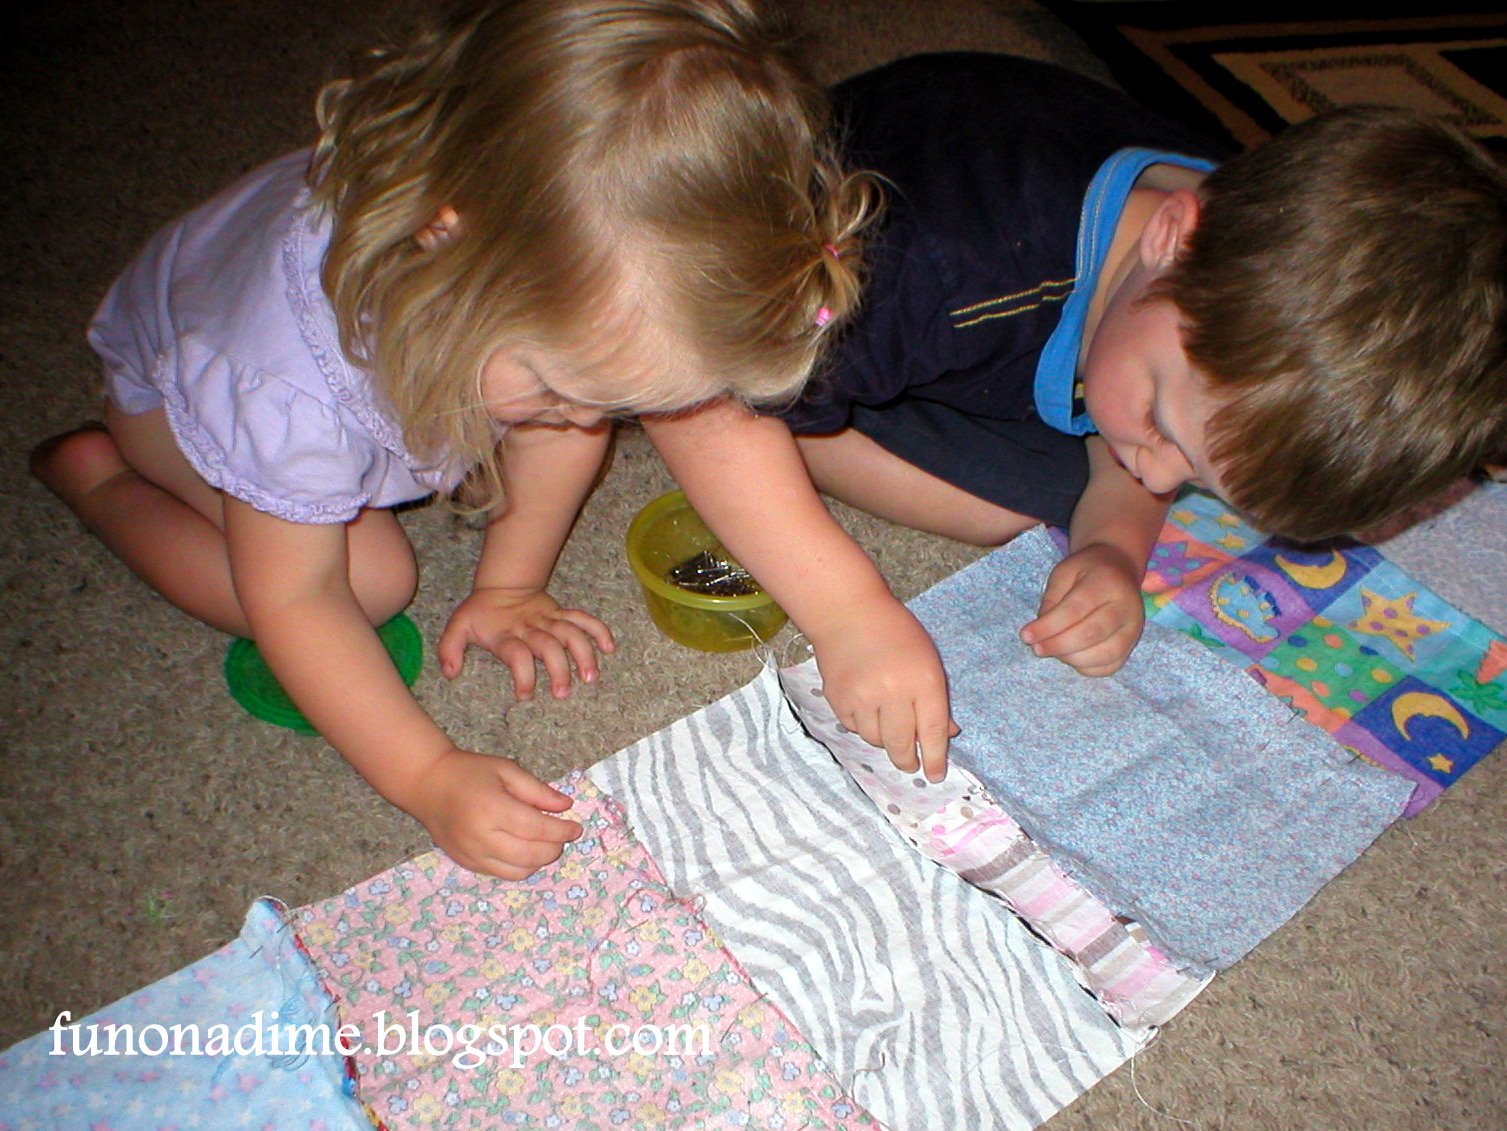
Step 4: Pull all your pins out. Little helpers are great for this, too. And once done you should have your length of your snake. You can still add more length if you decide you want it longer.
Step 5: To create the body of the snake, pin the fabric edges together, pattern side in, to create one long tube.
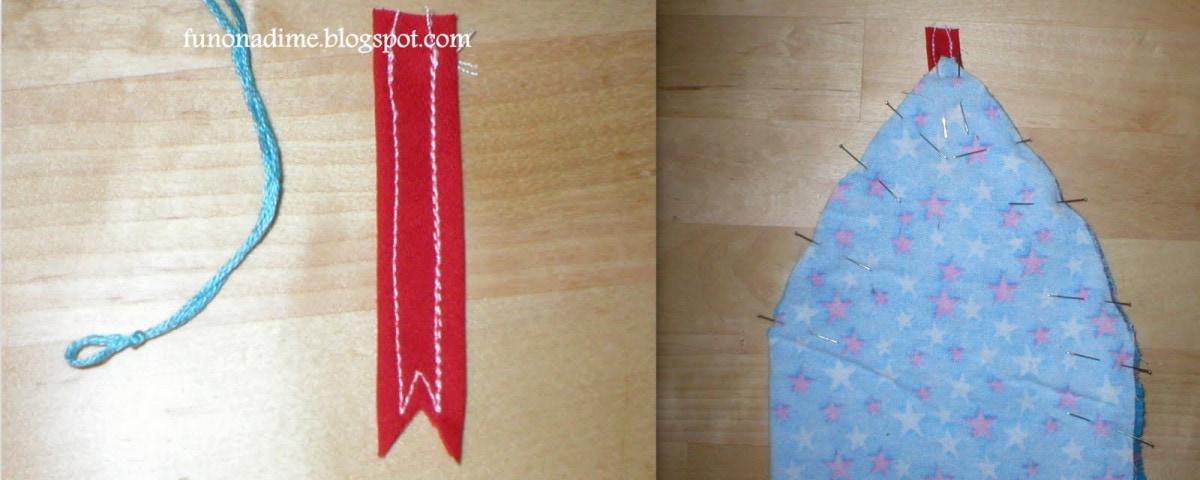
Step 6: Prepare a tongue. Thread used for cross-stitching makes a great tongue (see below). Just loop it (usually it is 6-8 threads), so that it is 3 inches long. Tie it in a knot on the end that will be exposed. You can also use anything else you have to create the togue. Get creative! I used some leftover binding, but debated on using a velcro strip I had.
Once the tongue is ready pin it so the knot or snake tongue V and the majority of the tongue length is on the pattern side of the snake. Leave 1/2 inch exposed (see below) so you can sew threw it and secure it.
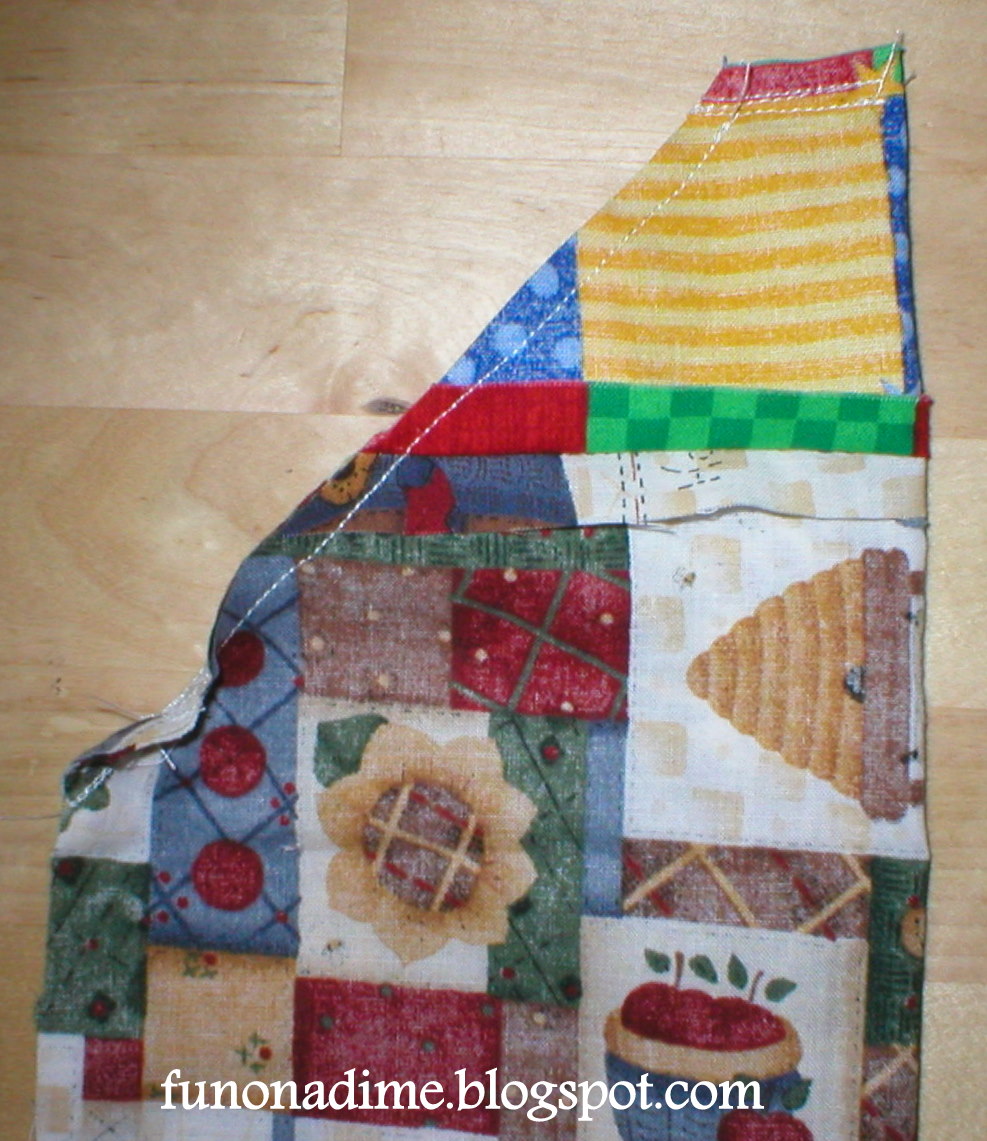
Step 7: Sew your snake. BUT, make sure to leave a 6-8 inch gap every 1.5 feet or so. This will allow you to stuff your snake easier in the next step. I had 4 gaps on my snake. Be sure to sew the tail up before you turn it inside out. I tapered mine off, but I probably could have made a V and it would look better (but the kids don’t notice!)
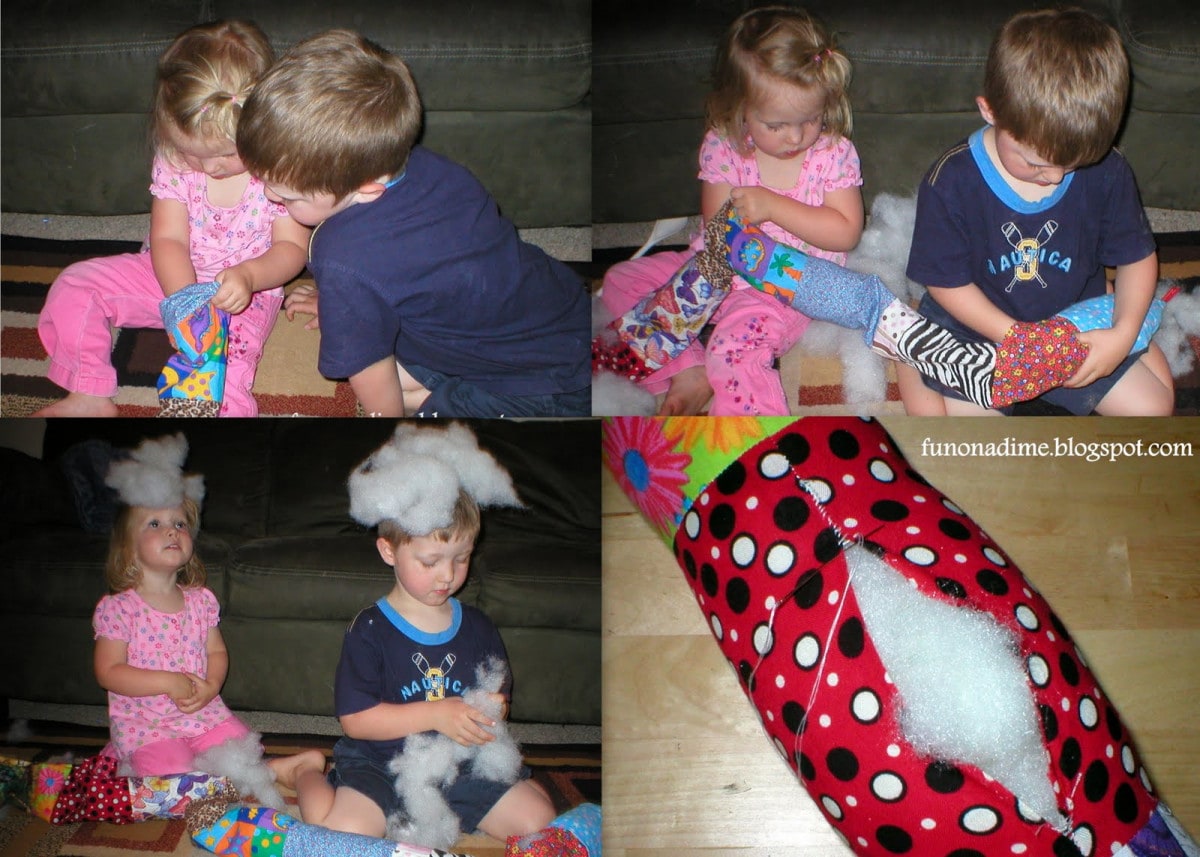
Step 8: Turn the snake inside out, stuff, play with the stuffing ( of course!), and then stitch up your holes by hand. Use the end of a long wooden spoon to push stuffing in to places you can’t reach (like the nose and tail). Stuff the snake until you have desired thickness. 16 oz of stuffing makes a very soft snake. I used about 25 oz, so that it was a bit thicker. Make sure you stitch the holes with a tight stitch.
Step 9: Sew your button eyes on good and tight. I like to use a pencil to mark where I want them prior to sewing them on. Helpers do a great job at pulling the thread up!
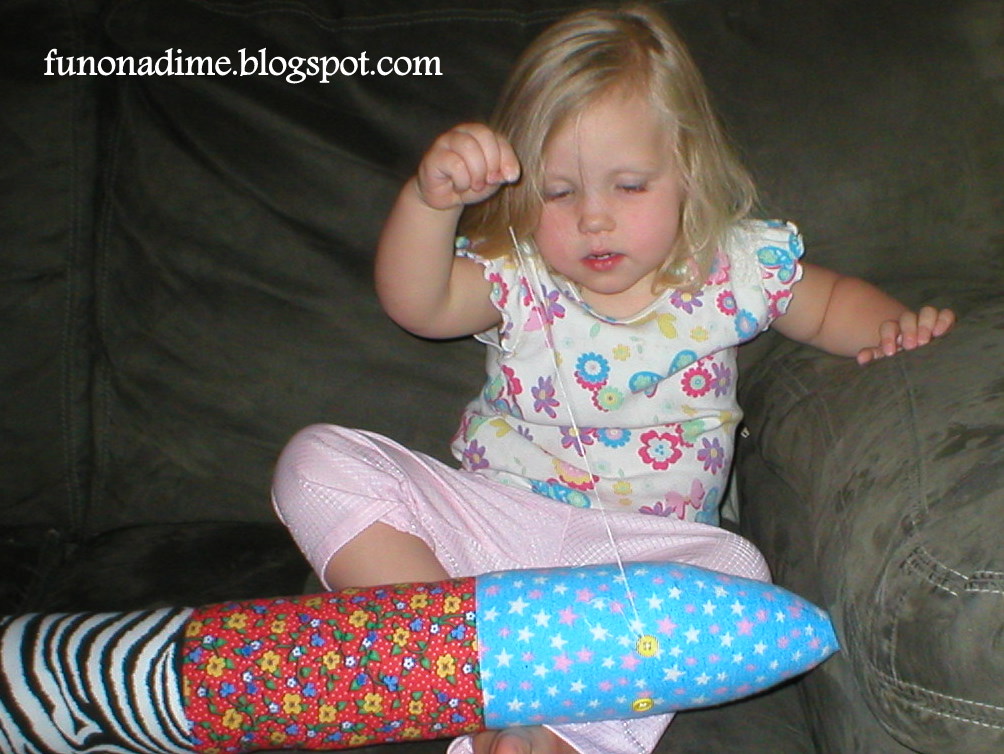
Step 10: Enjoy and have fun!
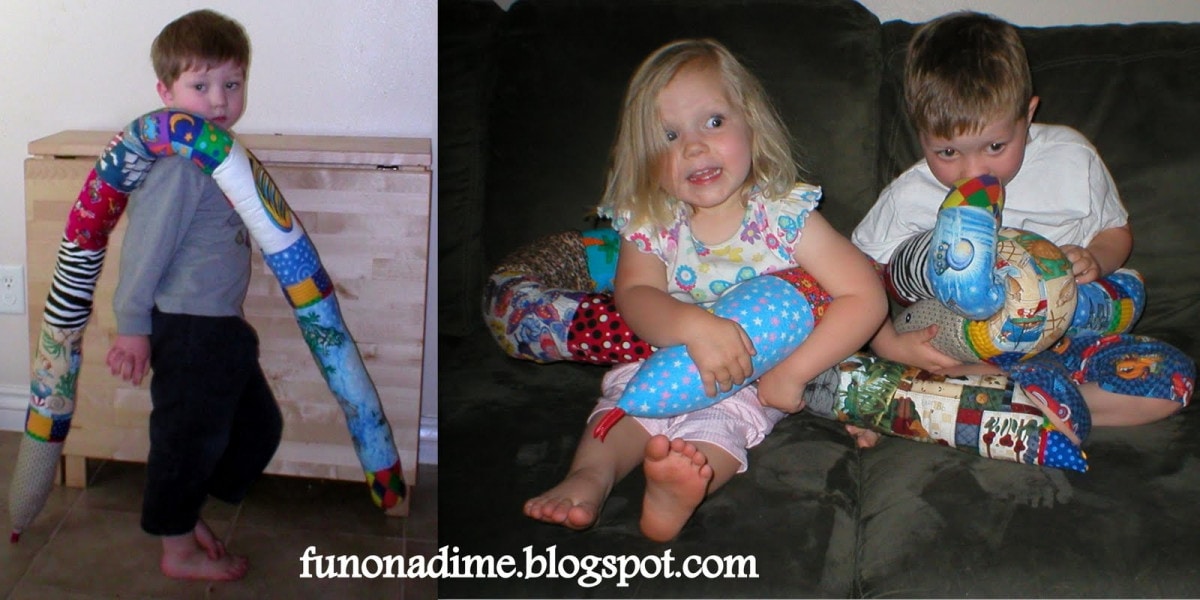
They were so busy playing, it was hard to get them to sit still and make a normal face!
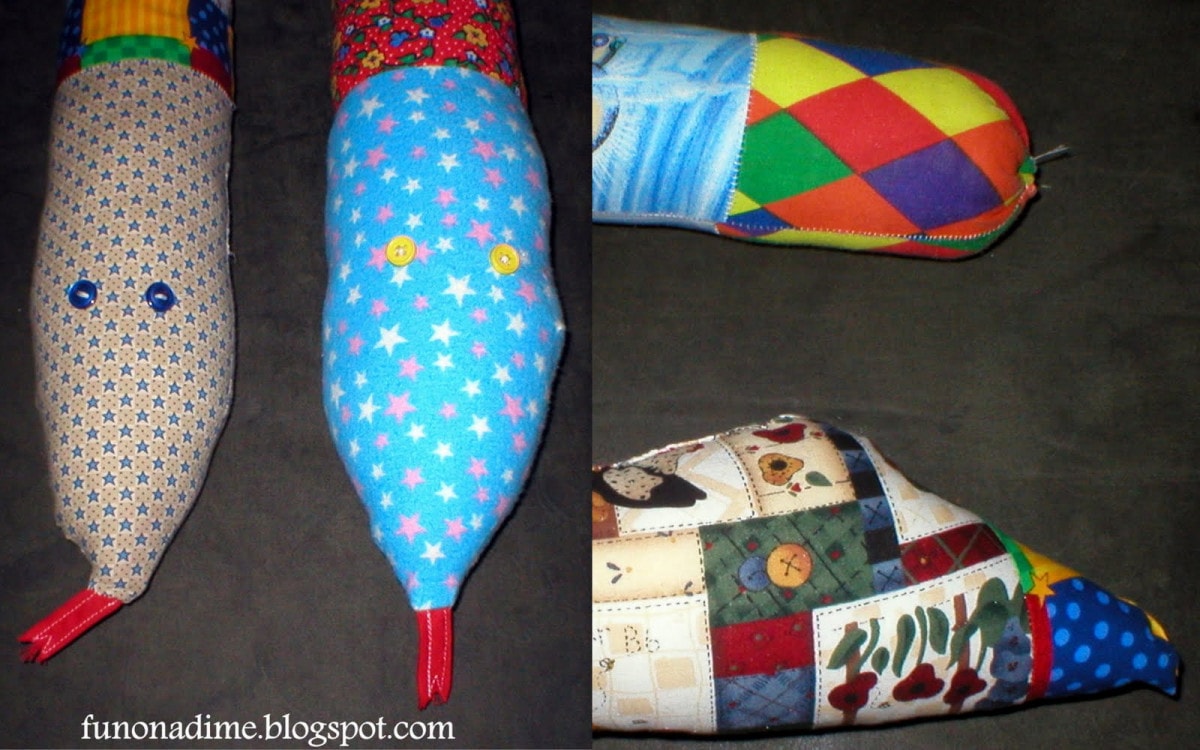
This is a close up of the head and the tail. The top tail is what happened when I forgot to sew up the tail and did not realize it until it was stuffed!
Have fun!
~ Fun on a Dime Lady