
Hi Everybody! I am so excited to be one of the new contributors here! I’m Maria, it’s nice to meet you all! I love to cook, bake, make things and do anything creative. I also write the blog Shopgirl where I share my favorite recipes and creations, so come on over to visit me sometime! Since Valentine’s Day is coming up soon, I thought I would share this fun and easy (and so delicious!) sweet treat with you today! These little heart shaped puff pastry pockets would make for a great special breakfast or snack, and a box of these would make for a tasty gift, on Valentine’s Day, or any other day! And the great thing is, you can fill these with any kind of filling you like, or do a whole variety! Mine were filled with cherries, but you could use apples, peaches, any kind of preserves, Nutella or chocolate! Since you can use ready-made ingreidents for these pastries, it’s a lot easier than you may think. Here’s how you can make these…

HEART SHAPED PUFF PASTRY POCKETS

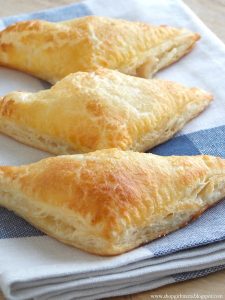
Heart shaped puff pastry pockets
Ingredients
- Store-bought puff pastry 1 sheet
- Filling: cherry apple, chocolate, Nutella, peaches
- Egg wash: 1 egg + 1 tbs water
Instructions
-
Begin by thawing out your puff pastry.
-
Once it's ready for you to work with, roll it out on a floured surface, until it's about 12x12 inches big.
-
Using a heart shaped cookie cutter, cut out shapes out of the puff pastry (I got about 12 hearts out of one sheet, to make 6 pockets).
-
Preheat your oven to 400 degrees and line a baking sheet with parchment paper.
-
Prepare your egg wash by whisking together one egg and a tablespoon of water. Set it aside.
-
Place about 1/2 tablespoon to 1 tablespoon of your filling in the middle of half of the hearts. Brush their sides with the egg wash, then top them with the second heart and press down the edges to seal, then secure them using a fork.
-
Carefully transfer them onto your baking sheet, brush them with the egg wash, and make a small slit in the top with a knife so that air can escape while they bake (you can also sprinkle them with sugar if you like).
-
Bake for about 10 - 15 minutes, depending on the size of the hearts and on your oven. They are done once they are golden brown! Let cool for a couple of minutes, then dust with some confectioner's sugar.
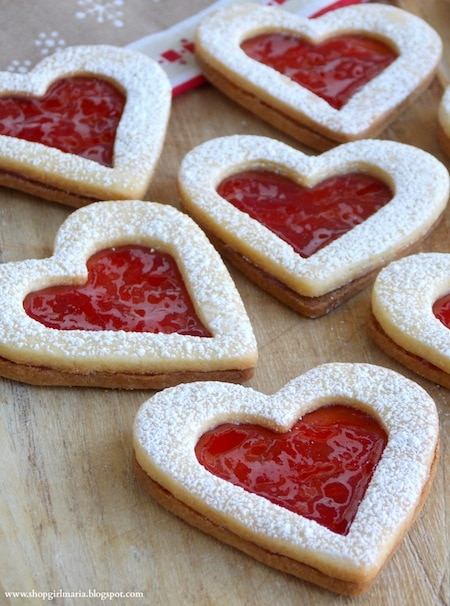
For another great Valentine’s Day recipe, try my Heart Shaped Linzer Cookies (find the recipe HERE!)
And for another delicious puff pastry recipe, try my Mini Apple Turnovers (find the recipe HERE!)
I hope you all have a wonderful week, and I’ll see you all again soon with some more tasty treats! Have a great day, Everybody!
~Maria
Come and visit me over at Shopgirl, or find me on Twitter and Pinterest!