Or so she says...

Family Fun, Favorites, Food, and Faith

  • Home
  • Categories
    • Gift Ideas
    • Family
    • Recipes
    • Education
    • Faith & Inspiration
    • Holidays
    • Vacation
    • Crafts
    • Health
    • Home & Garden
  • About
    • OSSS Team
    • Media & Partners

July 29, 2011 by Mariel

Magnetic Chalkboard Tutorial (she: Jesseca)

This post may contain affiliate links. For more information, see the disclosure policy.
  • Facebook
  • Twitter
  • Email

My name is Jesseca, from Sweet Treats By Jesseca! It’s great to be back at “Or so she says…” to share another fun craft!

I’ve wanted to do something like this for a LONG time, but honestly, didn’t want to pay the big bucks for a nice frame.
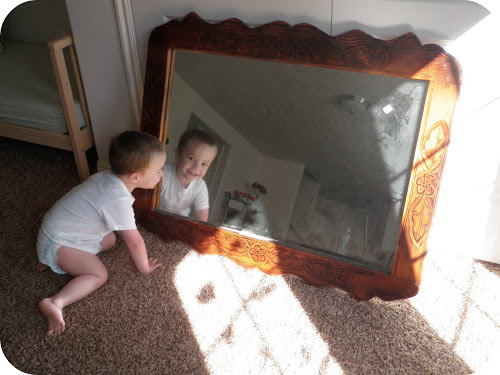
Finally, after months and months of DI searches, I came across this wonderful piece!
This overly lacquered mirror used to be part of a headboard set. Luckily for me, someone bought the rest of the bed, but didn’t want the mirror! I did a little happy dance in the aisle when I found this baby! So, we brought it home, and I got ready to make Dax a chalkboard.
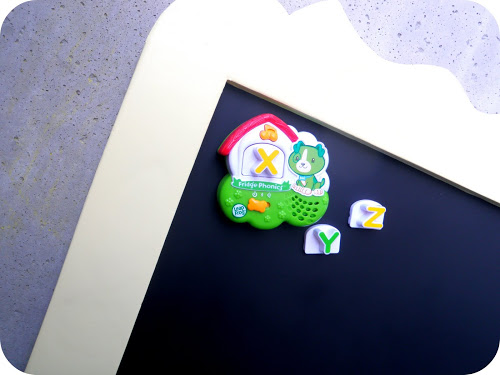
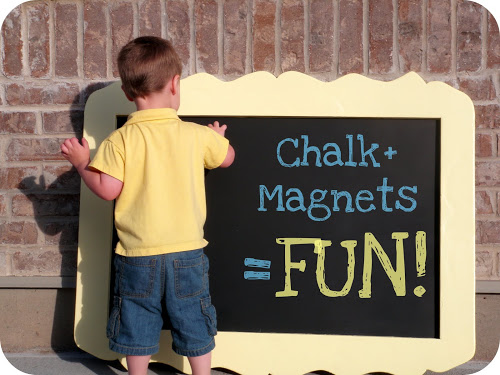
But, not just ANY chalkboard… He has hundreds of magnets floating around, and I wanted somewhere, other then the kitchen, where he could put them to good use. I’m sick of using the vacuum hose to hunt down missing magnets that have been pushed under our refrigerator!

Here is what you’ll need to make the magnet chalkboard:

Large frame
One piece of sheet metal, large enough to fit the frame
Paint for your frame
Chalkboard paint
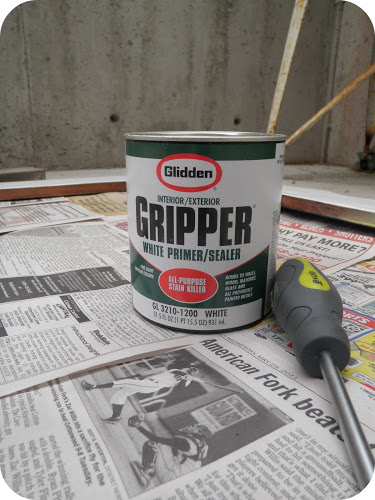
– First things first, I gave the frame a good ol’ cleaning. It was pretty dirty, and I didn’t really want to paint over all that gunk. I disassembled the frame, and set the mirror aside. I assumed I could paint right over that lacquer, but boy was I wrong. . . Half a can of spray paint later, I headed to the store, and came back with this:
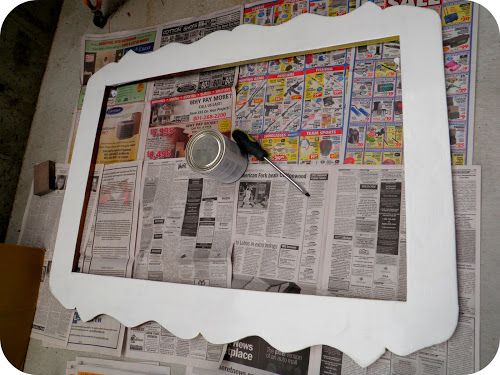
– Glidden Gripper. Amazing stuff. I took sand paper and roughed up the frame a bit. After using a rag to whipe it down, I added a nice layer of the gripper. It takes a while to dry, so I set it aside for the night.
– While that was drying, I brought out my piece of sheet metal, and gave it a good spray of chalkboard paint.

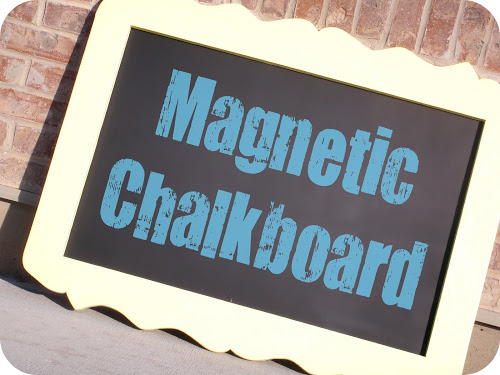
– The next morning I painted the frame a nice yellow color {leftover from painting Dax’s room}, and let it dry for a few hours. I reassembled the frame, replacing the mirror with the new chalkboard, and voila! One awesome magnetic chalkboard!

Tip: You could always paint directly onto the mirror. No need for a metal sheet if you won’t utalize it. ALSO, read the directions of the chalkboard paint!!

~ Jesseca

  • Facebook
  • Twitter
  • Email
❮❮ Previous Post
Next Post ❯ ❯

Categories

Topics

The Rare Newsletter

It doesn't happen very often, but when it does... it's good!! Favorite things, great ideas, and all things "FAMILY."

My Beliefs

Free Book of Mormon Offer

10 Reasons I Love Being a Latter-day Saint

The Church of Jesus Christ of Latter-day Saints

Affiliate Disclosure

‘Or so she says…’ is a participant in a variety of affiliate programs, including the Amazon Services LLC Associates Program, an affiliate advertising program designed to provide a means for sites to earn advertising fees by advertising and linking to amazon.com. Read more in the Disclosure, including info on Adthrive, the publishing network for this blog.

10 Most Popular Posts

  • 16 Teenage Birthday Party Ideas
  • 26 Camping Hacks You Need to Know
  • Best Products for Thinning Hair
  • Swiss cheese Chicken Easy Dinner
  • Would You Rather ~ Scripture Edition Game
  • Cute Bun Hairstyles for Girls
  • Over 100 Family Movie Ideas
  • The Ultimate Collection of Scriptures on Faith
  • Foods to Freeze Dry ~ Ultimate List
  • 30 Books to Read Out Loud to Older Kids


  • Disclosure Policy
  • Privacy Policy

© 2018 Or So She Says... By: Pretty Darn Cute Design