

My name is Jill and I blog at Creating my way to Success. My creative medium, and my hobby is sewing. On my blog I share my growing sewing knowledge and abilities – and their practical applications via many free and easy to follow tutorials; together with my journey to learn about blogging and methods to “Create my Success!”
My 2 daughters, and ages 6 and 8 are both learning their times tables. I’ve been helping them along the way – and learning too about the best ways to teach them. My dad was a math teacher – and I remember doing lots of work with my times tables at home as a kid. So I have lots of experience to draw upon!

One thing I’ve found that works really well, and they love doing, is playing ‘Memory’ or ‘Pairs’ – the card game where you have to match 2 cards and pair them off.

So as we’ve worked our way through the tables, I’ve been making them sets of Memory cards.
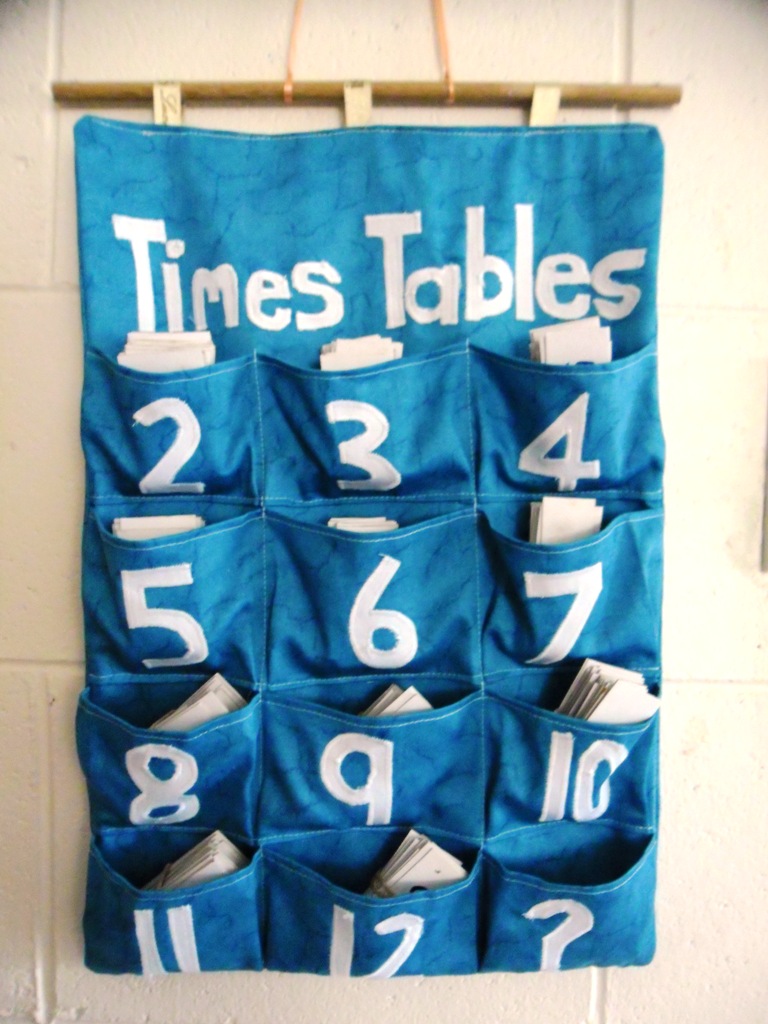
It then seemed important to make something to keep these sets of game cards in. Something that they could easily find the set they’re looking for and so play them by themselves whenever they want!

I’ve also written an ebook on how to teach your kids their times tables in 5 minutes a day. The book includes templates to make all the times tables memory cards.
I’m offering this book free to all subscribers to my other blog – Be Our Best, which is about all aspects of education and parenting and trying to bring our kids up to be the best people they can be.
So if you have kids who are learning or soon to learn their times tables – then please do head on over and sign up for a free copy of my book. This is what has worked with my kids – and I would love any feedback on how it works with yours.
Now back to the Times Tables Hanging Pockets Tutorial for your Multiplication Memory Game.
First – gather your materials.
You will need:
2 rectangles of fabric for front and back 47cm x 32 cm (18.5″ x 12.5″)
1 rectangle of interfacing 47cm x 32cm (18.5″ x 12.5″)
4 rectangles of fabric for pockets 38cm x 10cm (15″ x 4″)
Vlisoflex (bondaweb) – double sided fusible webbing and chosen material for number and letter applique 76cm x 6cm (30″ x 2.5″)
Dowel rod 30cm (12″)
Ribbon 30cm (12″) for loops, plus length for hanging.

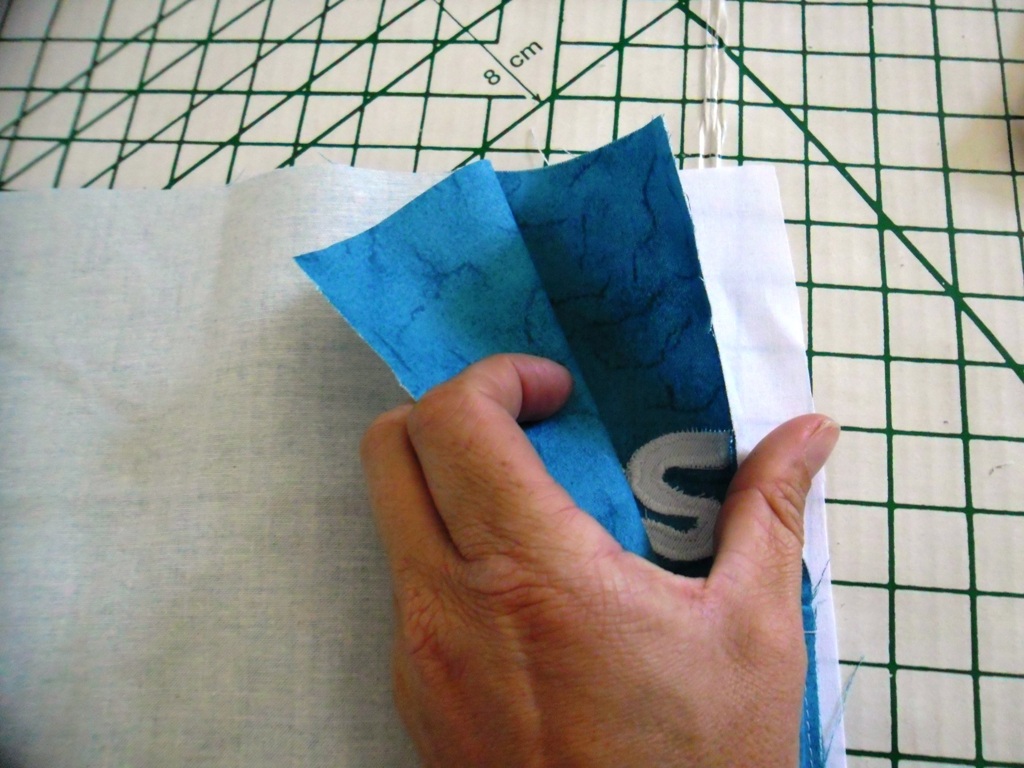
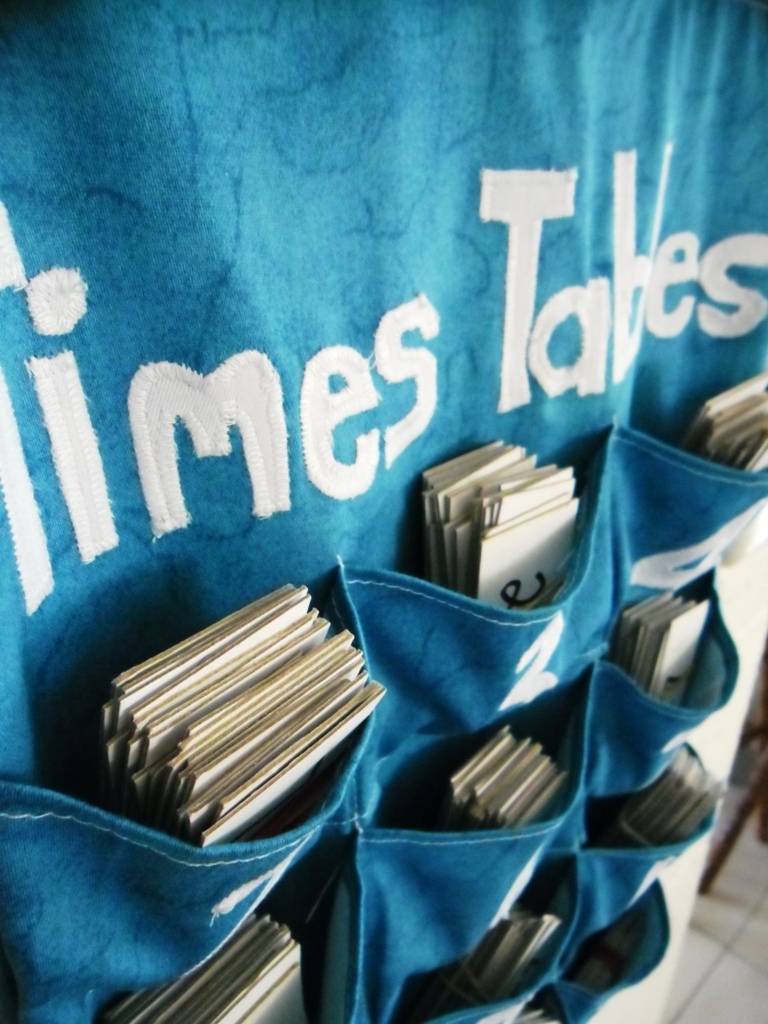
First do the applique numbers and letters.
Follow the manufacturer’s instruction for your fusible webbing. For vlisoflex, iron one side of the webbing onto the back of the fabric you’re using for your numbers and letters. Then write on the paper side all your letters and numbers – BACKWARDS:
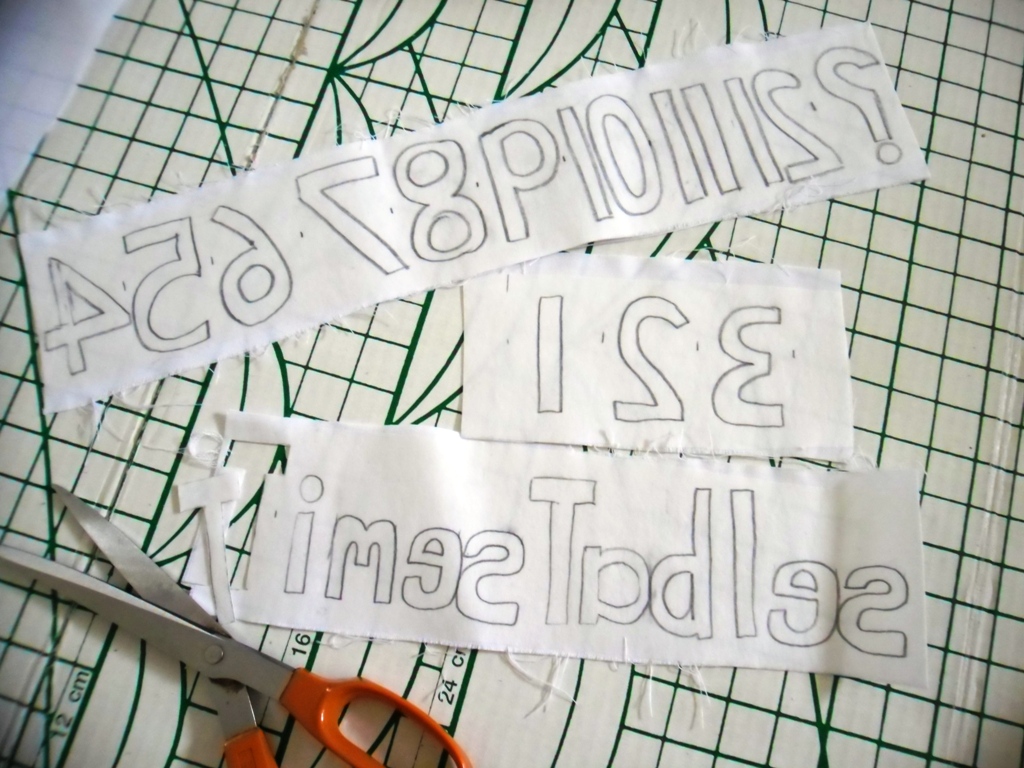
Then cut all your letters and numbers out:

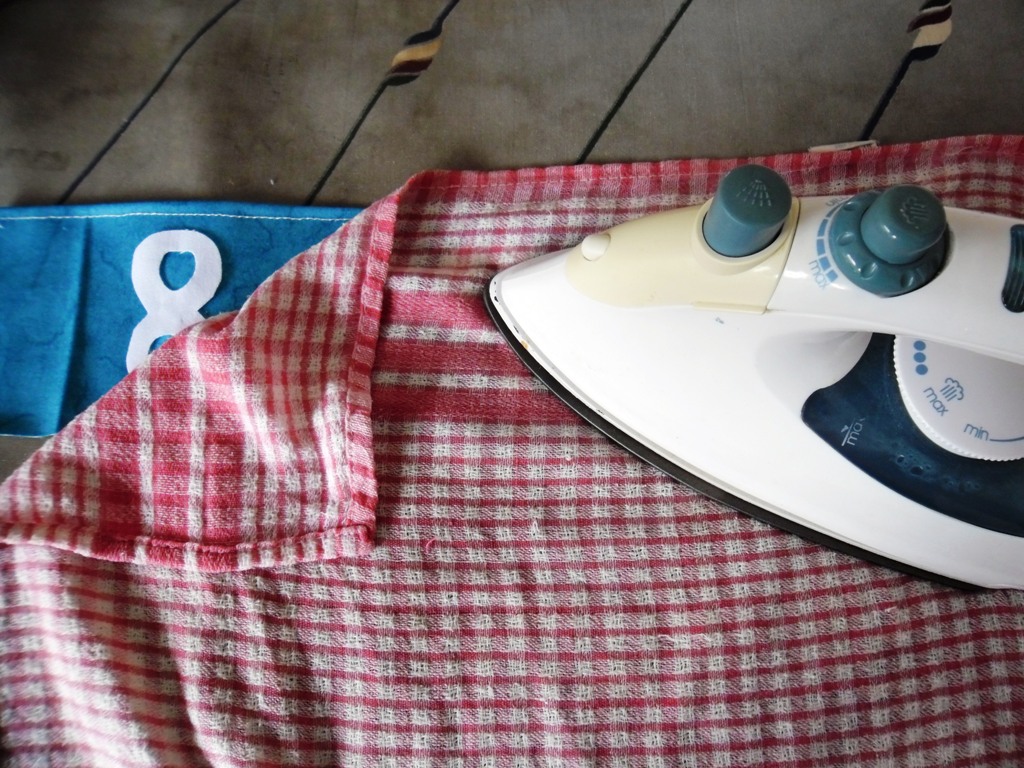
Now take the 4 rectangles of fabric you have for your pockets. Take the long side of each pocket – this will be the top of the pocket. Single turn and stitch to hide the raw edge. If your fabric is one that frays, then double turn and stitch:

Now it’s time to add your applique letters and numbers.
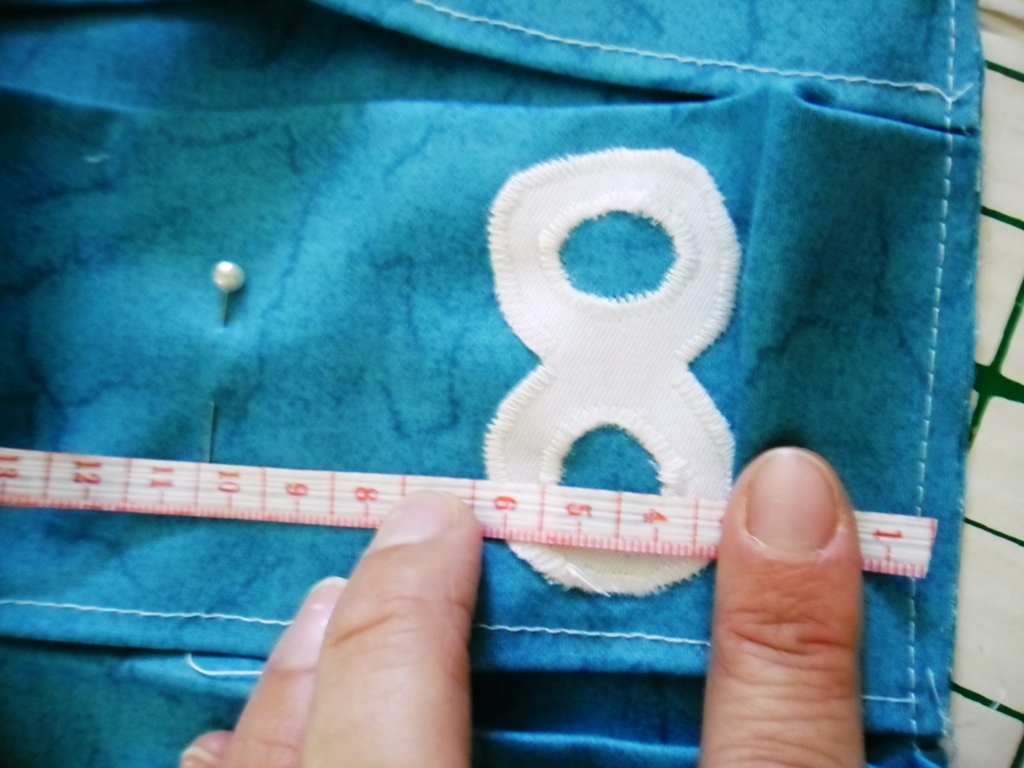
Place the letters for Times Tables 6cm (2.5″) down from the top of the main front rectangle.
The numbers should be evenly spaced 3 on each pocket strip.
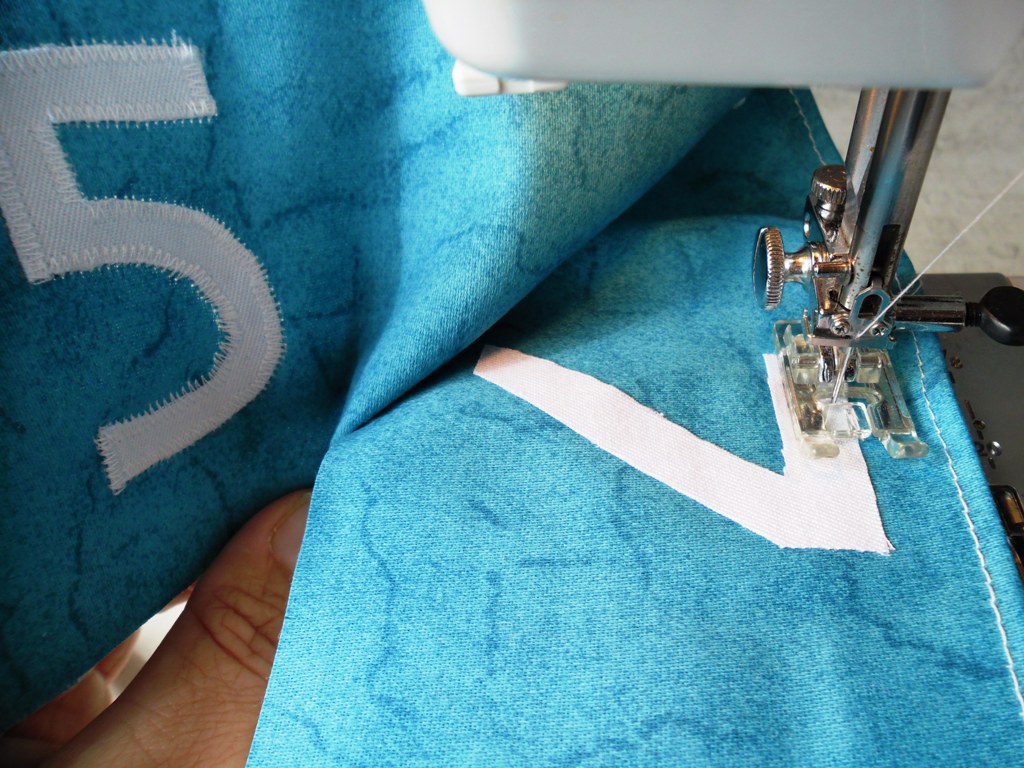
Make sure you peel the paper backing off each letter and number before laying them on the fabric!

Using a damp cloth, iron each number and letter into place:
Then using a wide zig-zag stitch or the applique setting on your machine, stitch around each number and letter:
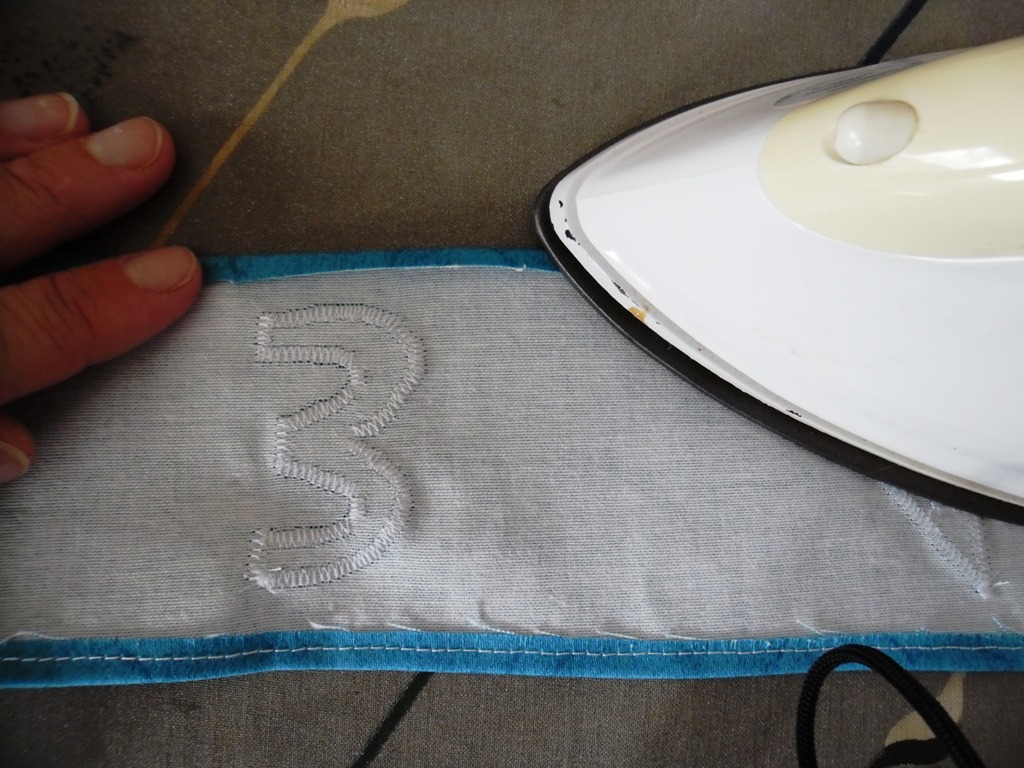
Now turn over the bottom of each pocket strip and press.
Now you need to pin the pockets to the main front rectangle.
First pin the sides of each pocket in place, then stitch:

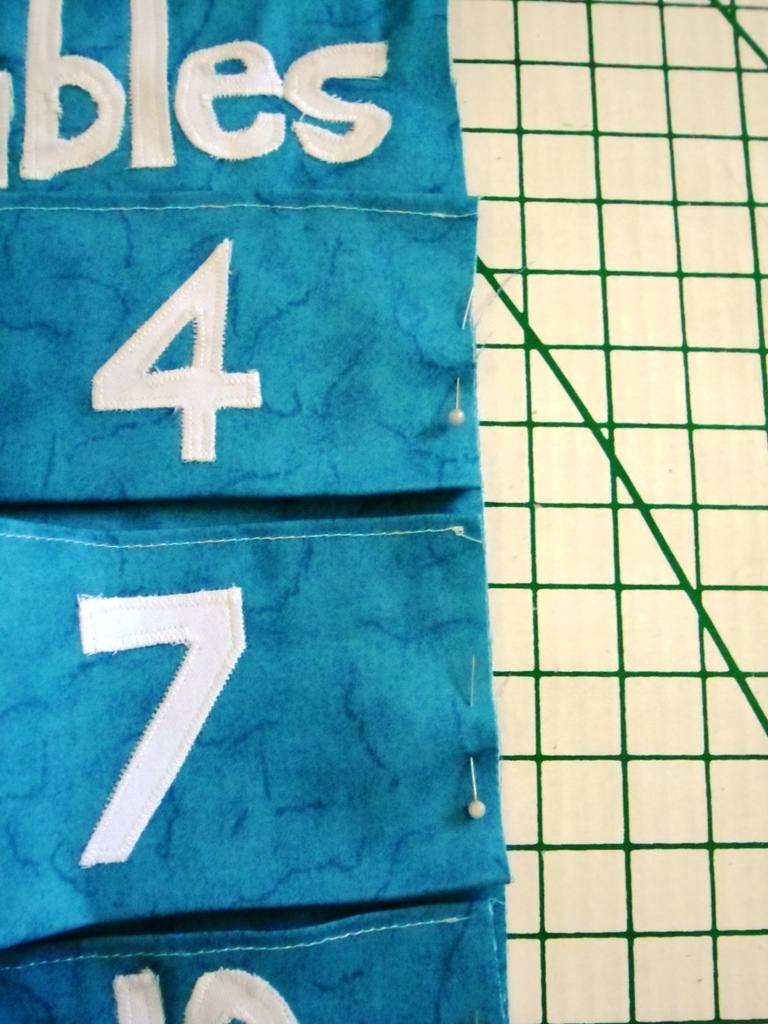
Then to pin the rest of the pockets – measure 10 cm increments along the MAIN fabric – folding the fabric so each number is in the middle of that 10cm. and pin the pockets at that 10cm mark:
Do this for all the pockets, then stitch down the pin lines:

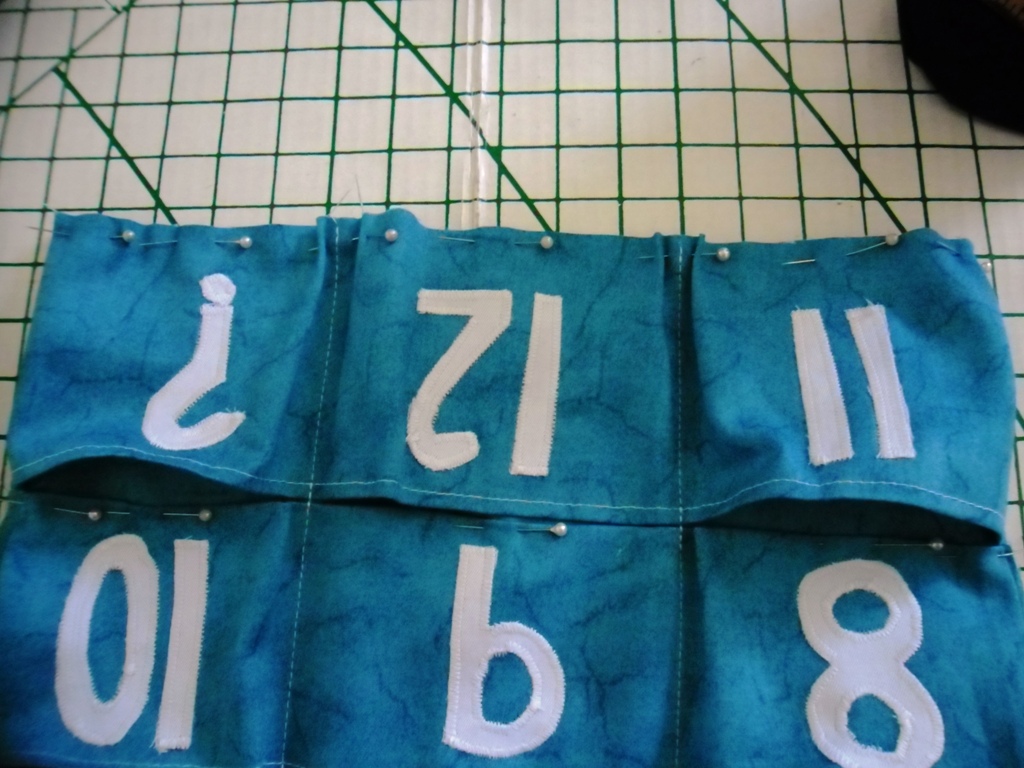
Next you need to pin and stitch along the base line of each row of pockets – folding the edges of the pockets as you go:
Now you’re ready to put it all together!

Lay down first the interfacing, then the front pocket part you just made, then the backing rectangle face down on top:
Pin and stitch around all 4 edges – leaving a gap along the top edge to turn it all right sides out afterwards:
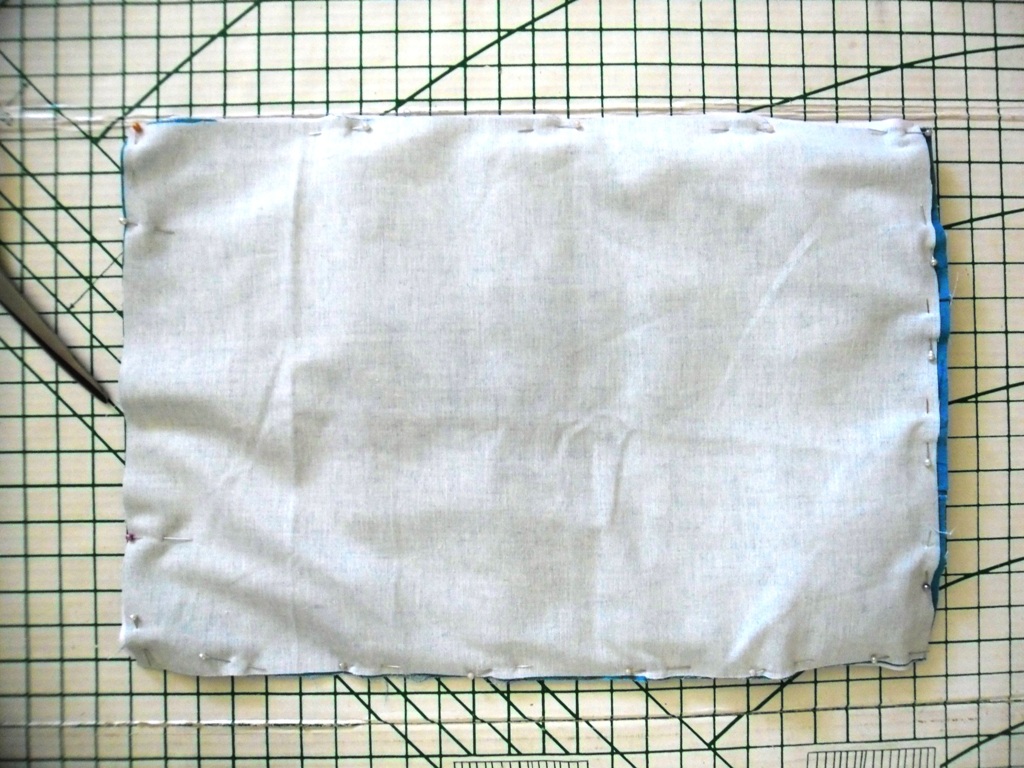
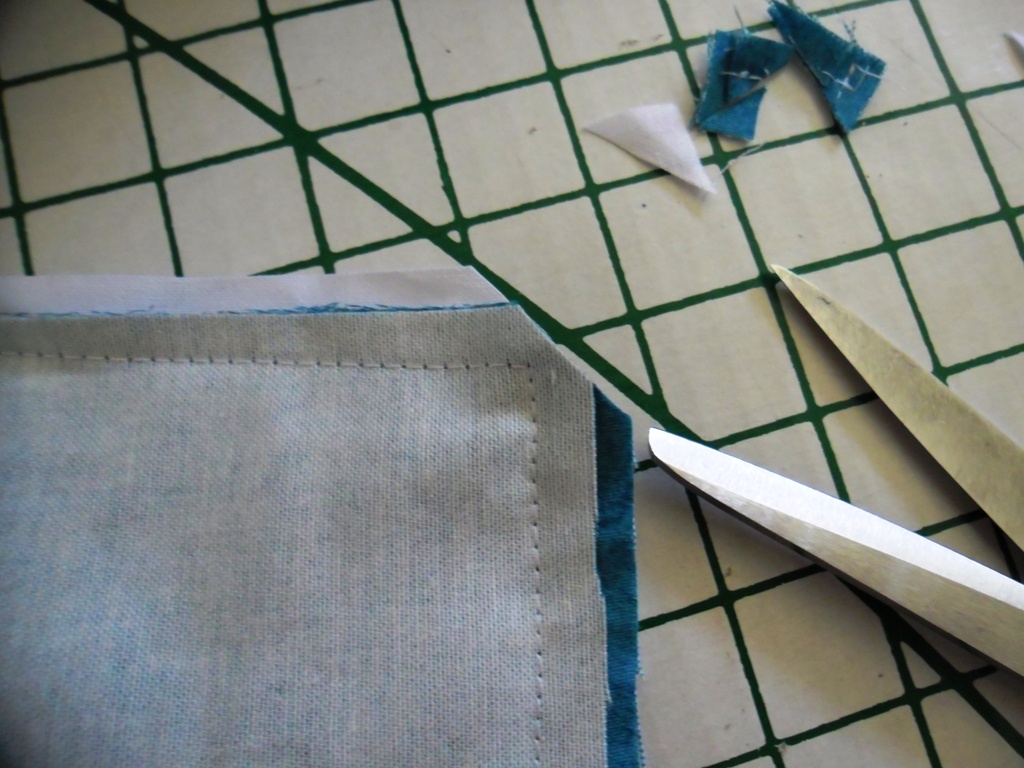
Trim all four corners:
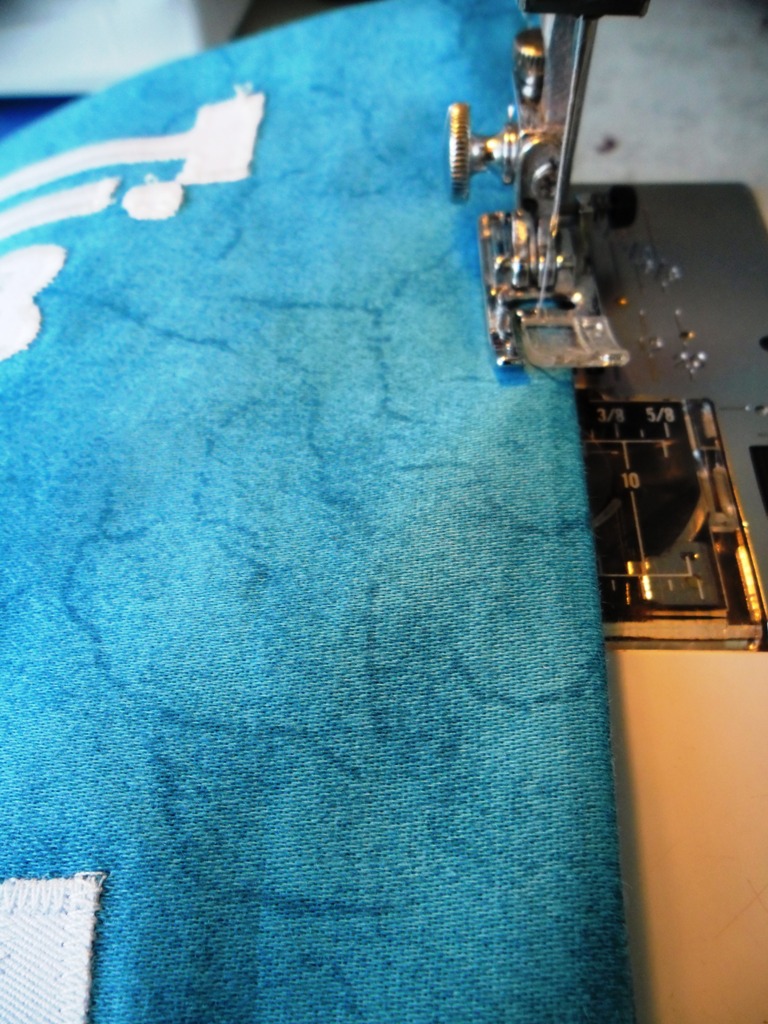
Then with the 3 ribbon loops tucked into the top seam
(sorry forgot to show the ribbon loops on the photo), topstitch closed.
Then all that remains is to thread the dowel rod through your ribbon loops, and tie the rest of your ribbon to the length required to hang the pockets:
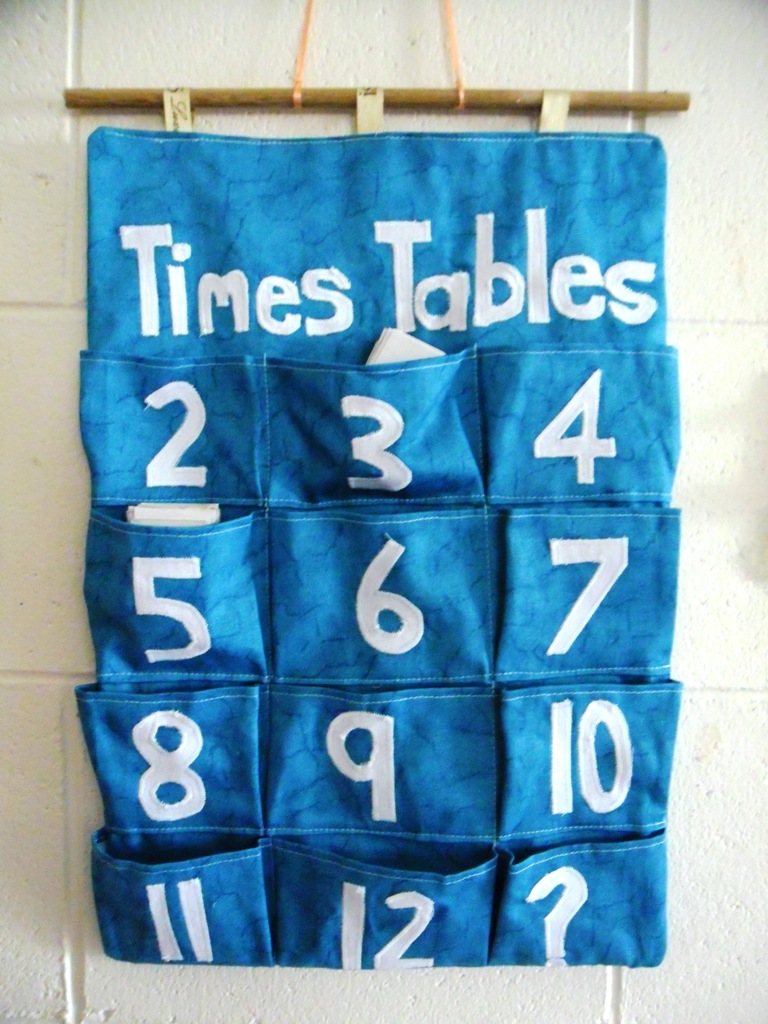
Then fill the pockets with your memory cards:

In case anyone is wondering – the pocket with the “?’ just has some random pairs in from all of the times tables!
My 2 girls manage to play these memory games well together – even though the elder one knows her tables better, the younger one is better at the memory side of the game!!
I hope you enjoyed this tutorial – don’t forget to sign up for my free ebook on how to teach your kids their times tables – complete with templates for all the memory cards – click here
