
Hi everyone, it’s Gina visiting again from Kleinworth & Co.! Are you excited to be kicking off the Holiday Season? I know that I have a whole lot of baking to do in the next couple months & I’m sure you do too. Which is probably why October 10th is Cake Decoration Day. So to help celebrate that, I thought I would share with you all a cake decorating tutorial today.
You see, my mom was an expert cake decorator & did it professionally for most of her adult life. I grew up watching her & picking up a few things here & there along the way. I so wish I had paid more attention to the finer details because now that I have all her tools I feel like I have so much to learn. There is a lot to know about cake decorating!! One thing I remember her doing ALL THE TIME was creating these Parchment Decorating Bags. When you are piping icing – these simple little disposable bags are the easiest way to draw or write on whatever you are decorating. Because they are small it makes them so much easier to handle. Let me show you just how to make your own.
**A special “Thank you” to my son. He provided the hands that helped me photograph these steps.
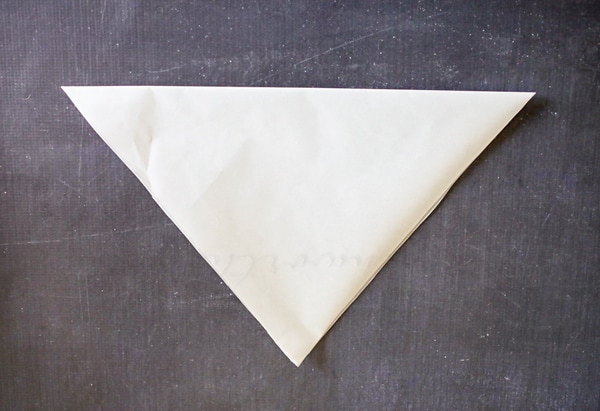
Place the triangle on a flat surface with the point facing you. Longest edge on top.
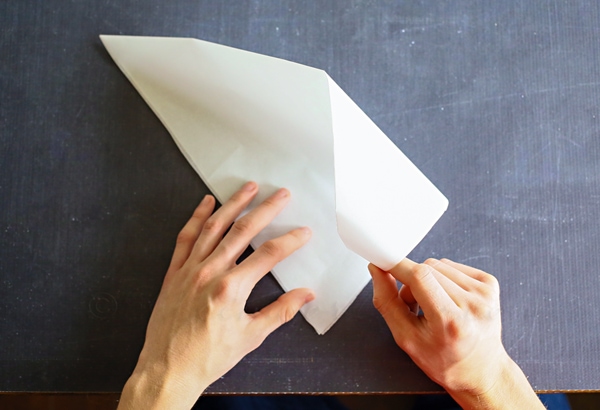
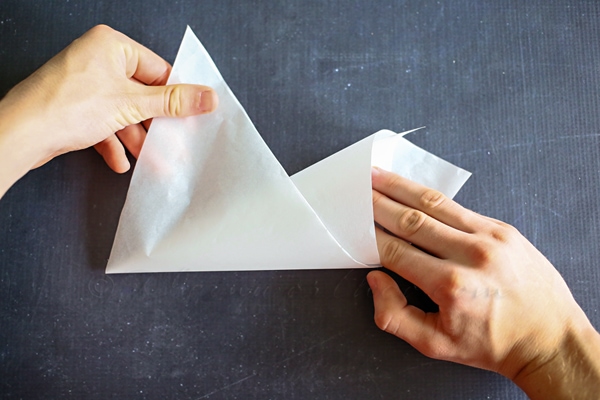
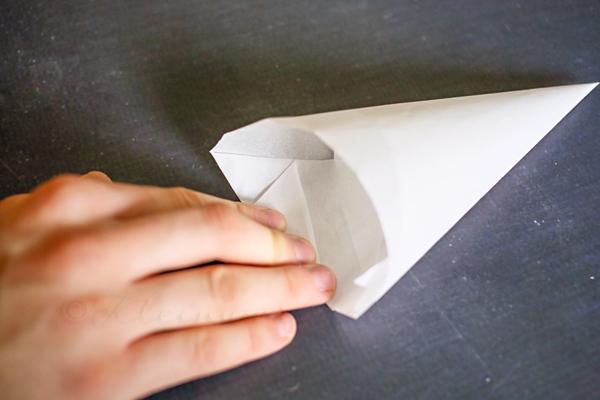
Curl the right point up and under, bringing it toward you until that point & the one nearest you meet. The curled edge from the right point should lie on top.
Wrap the third point around to meet the other points in back. All 3 points align to form 1 sharp point.

You now have the bag’s cone.
Fold the points of the bag down into the bag.
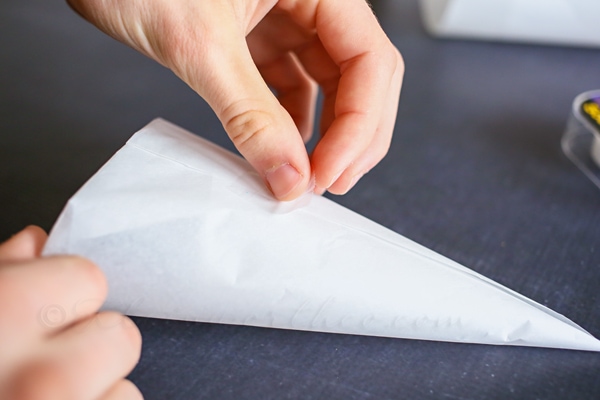
You can add a little tape on the seam if desired – but this is not necessary.
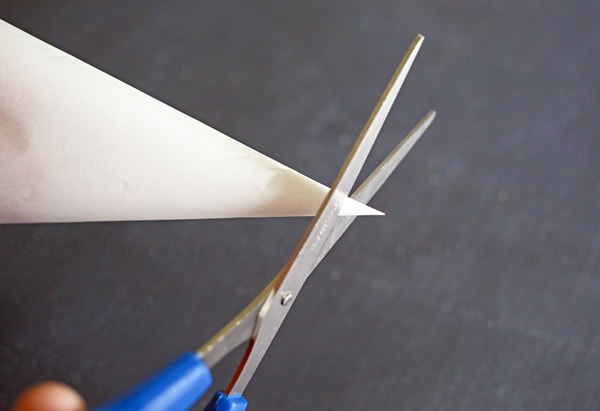
At this point you can use a decorating tip without a coupler if you like. Just cut 3/4 in. off the end of the bag. Then drop the tip in, narrow end first.
The icing will hold it in place once filled.
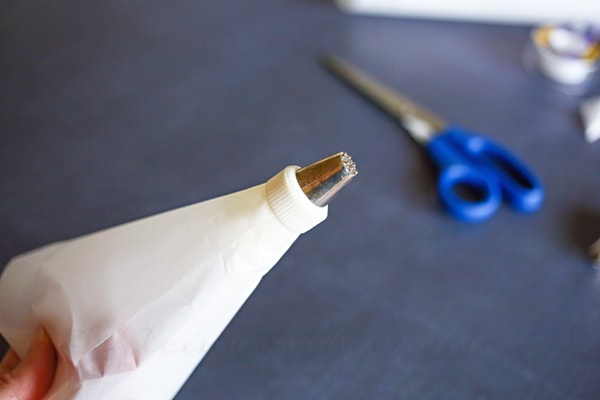
Or you can slip your coupler in the end & snip. Then add your tip of choice.
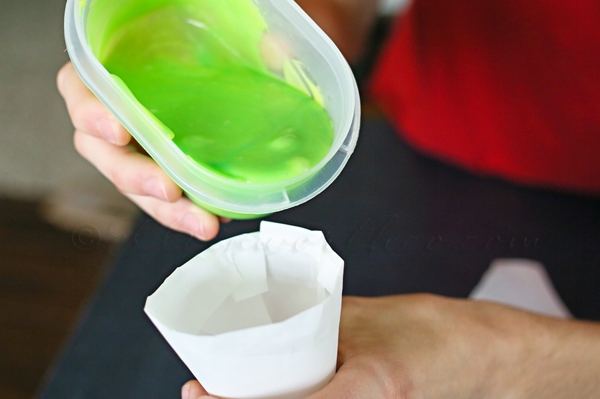
Fill with icing – only about 1/2 way full.
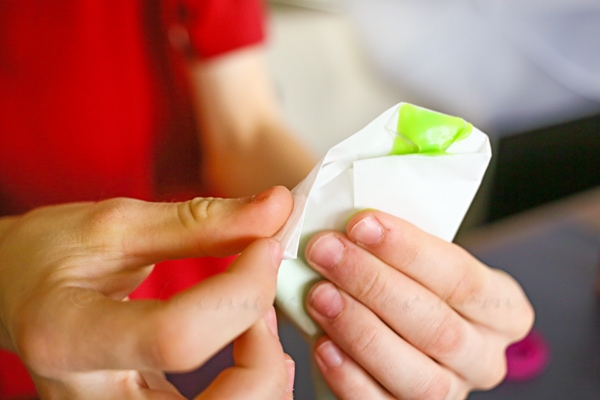
Fold over ends – each corner & then fold over at the top & keep rolling it down until it’s sealed.
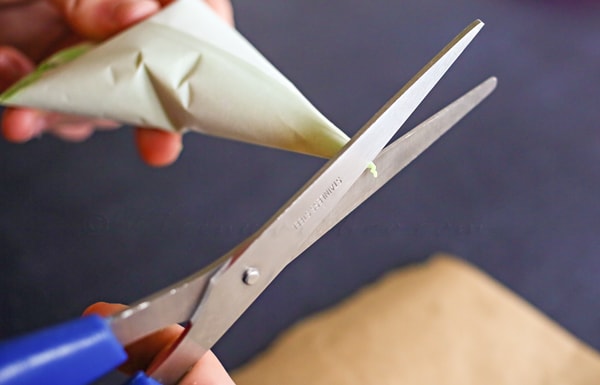
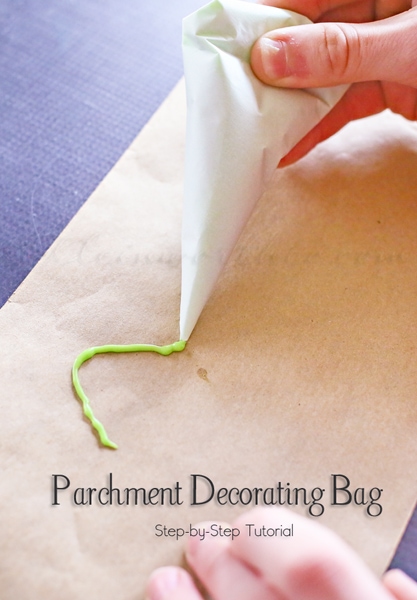
For this I chose to use the simplest way – no coupler, no tip. I just snipped the very tip of the parchment off to create a small hole.
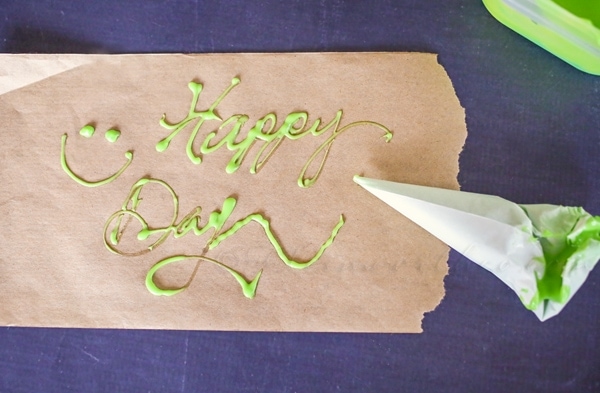
Pipe your desired design or words – it’s that easy! When you are done- it’s disposable.
No mess!
Now wasn’t that so simple? I love this method & will use these more often than a plastic baggie because it’s more durable. I tend to bust the seam of the plastic bags – so this works much better for me. Plus it keeps the tip stiff where the plastic will stretch with pressure. Now you can make your own parchment decorating bags whenever you need one.
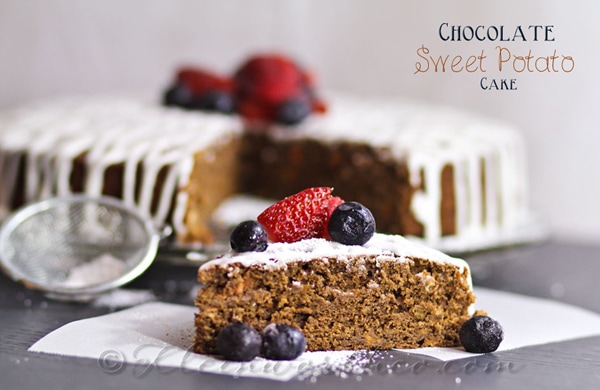
Want my favorite frosting recipe?
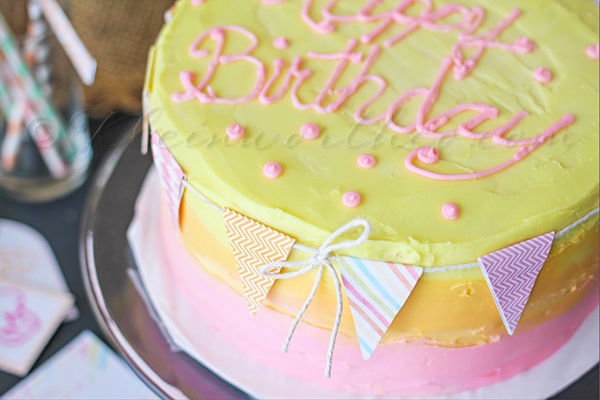
How about a cake idea?
It was great spending time with you all today!
You can connect with me at… Blog, Twitter, Google+, Instagram & Pinterest