
My name is Allison and I started my blog little lovelies in February of this year. As a full time employee and full time mom, I needed something for myself. Having a blog has given me the motivation to make time for me while doing something that I love. I share all sorts of things on my blog: crafts, shopping finds, and bits of our family life – all the little lovelies that make my life so wonderful.

I like to leave sweet little notes for my husband every once in a while. Usually they are scribbled on the back of a target receipt and say something along the lines of “Please take out the trash – it smells like dirty diaper in the kitchen. Love you! :)” See, what makes that a love note is the “Love you, smiley face.” I nailed it with the smiley face.
I think it is time for an upgrade from the receipt/trash/smiley face notes. Which is why I made these:
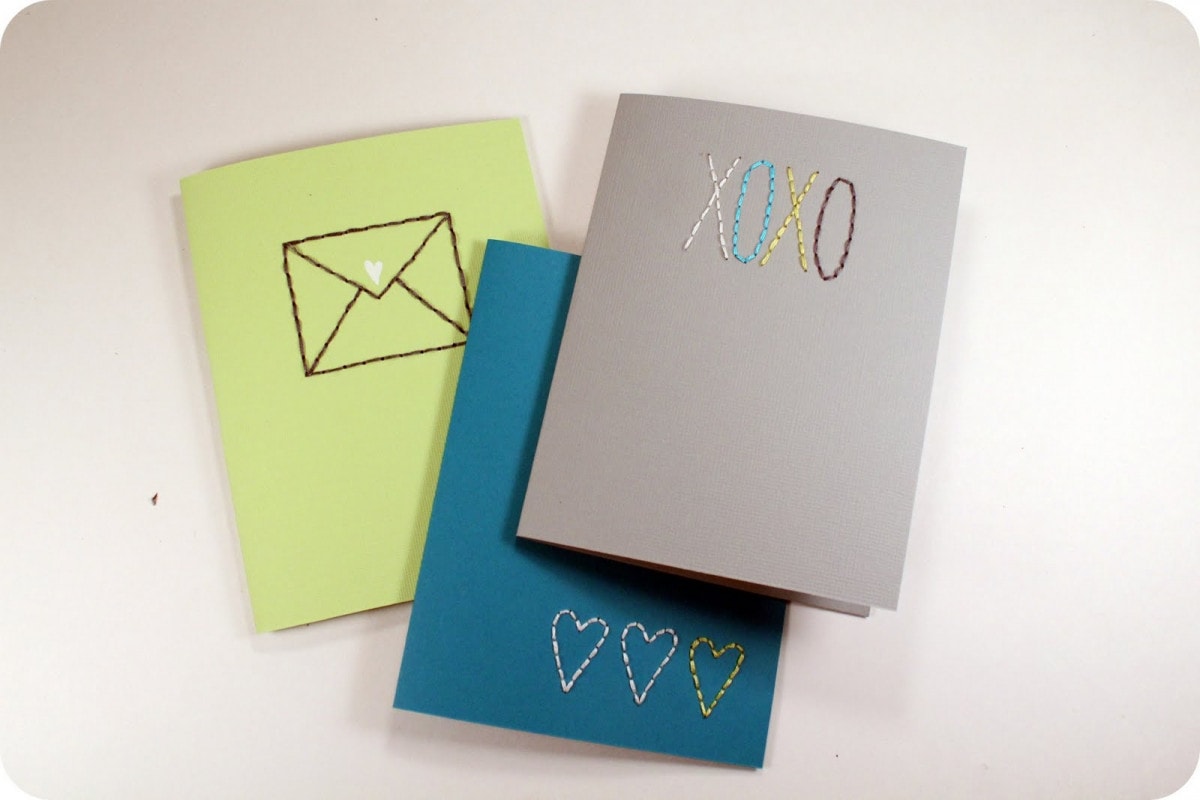
Much better.
Here is what you’ll need:
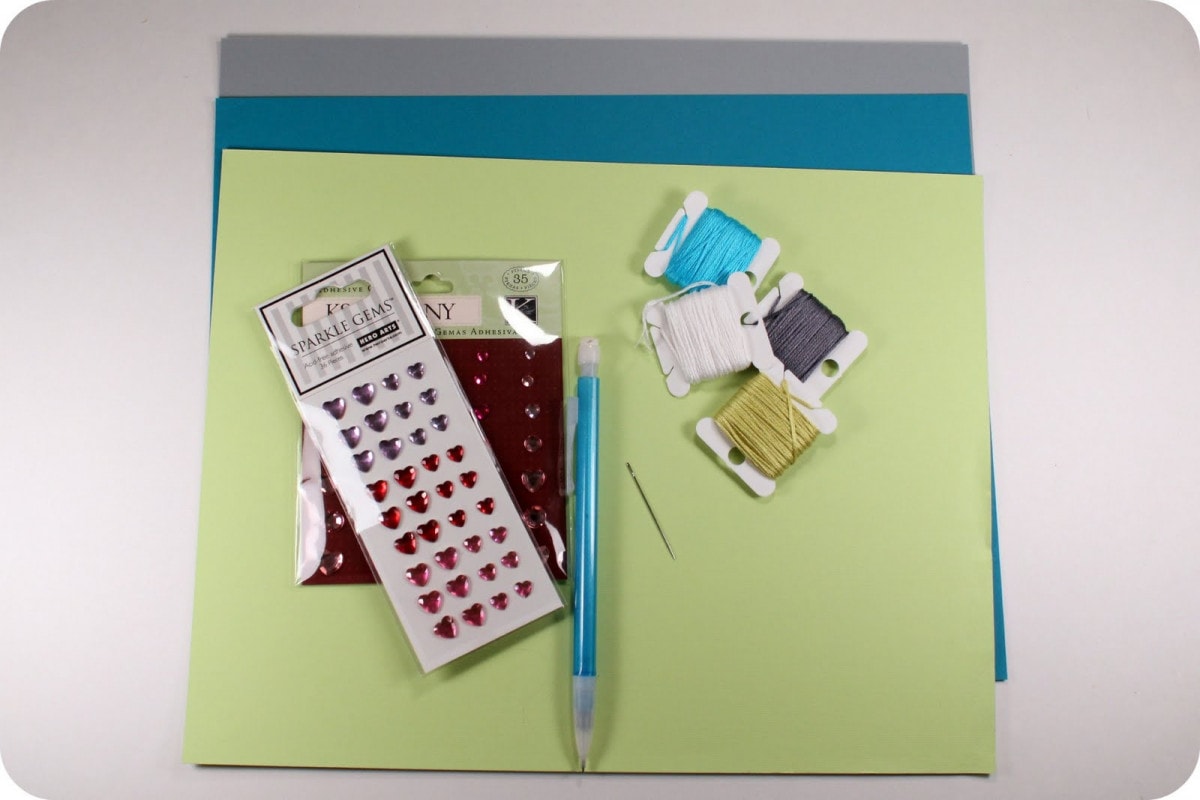
paper
embroidery floss/needle
something to pierce your paper with
pencil
white gel pen
(You see the jewels in the picture? Didn’t use them. I will explain.)
Start by making a pattern on the front of your card.

For this card, I traced a rectangle onto the paper and drew in the envelope lines.
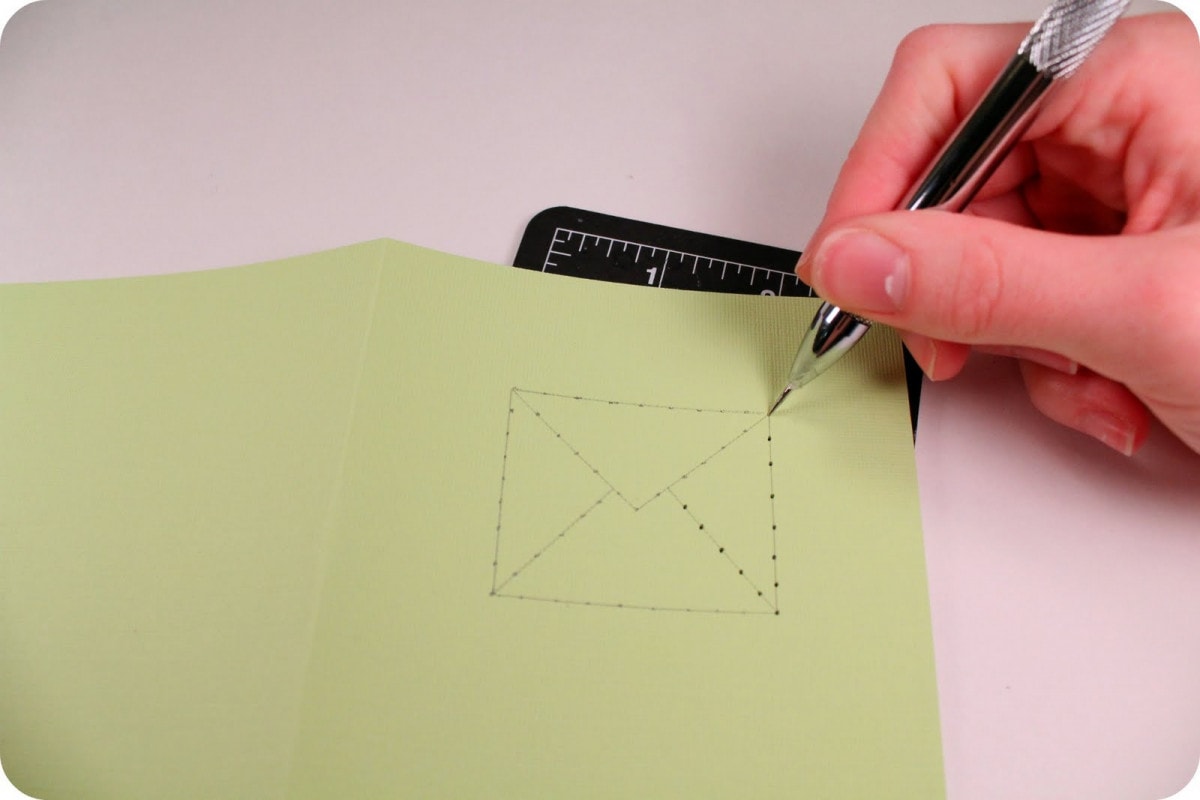
I used a paper piercing tool to punch holes on the envelope outline.
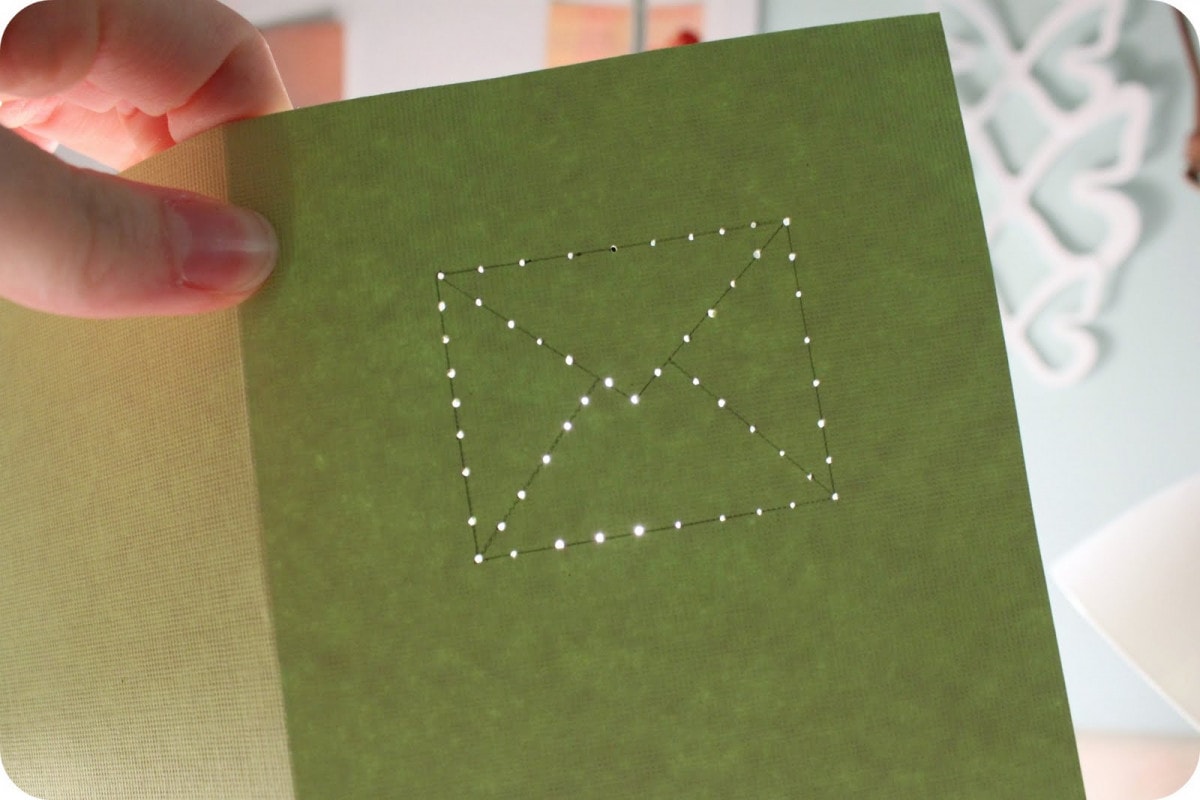
All punched and ready to stitch. I used a simple back stitch around the outline.

My original idea was to put a little heart jewel on the stitched envelope. I tried it and didn’t like it, so I used a white gel pen to draw a little heart on instead.
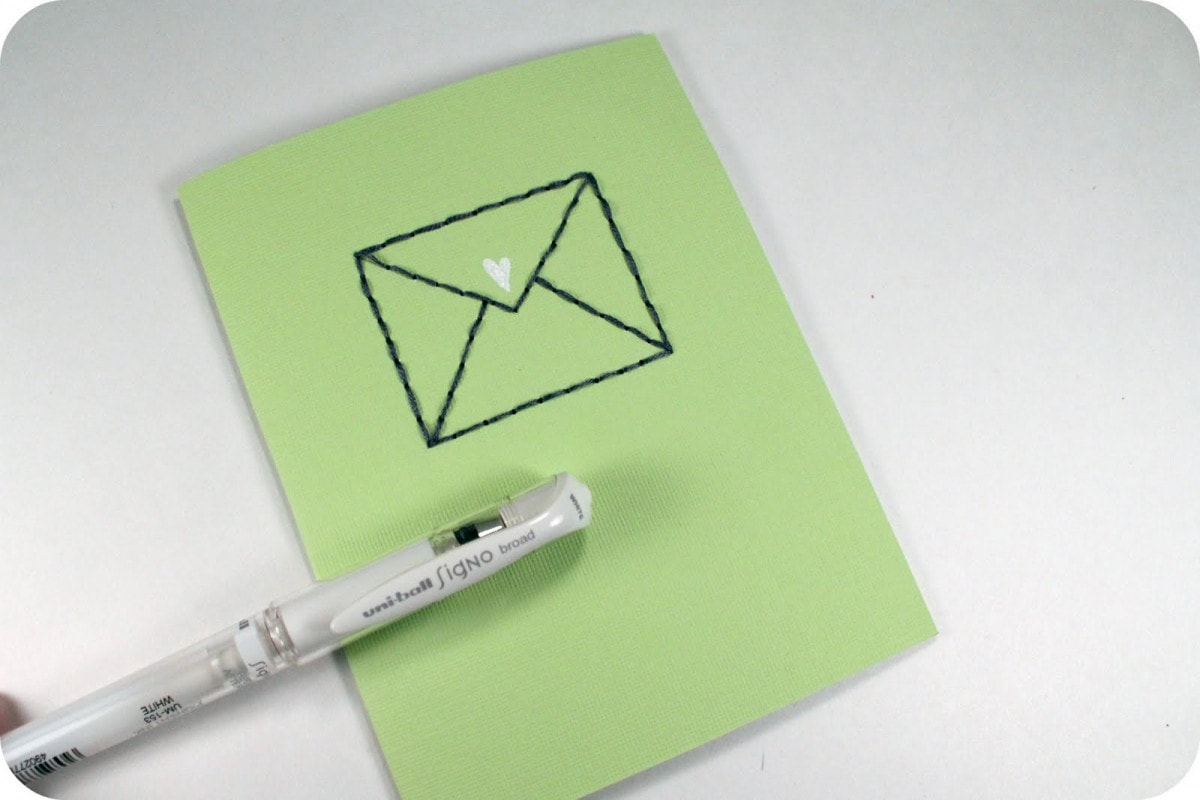
I think it was just the touch this card needed.
I followed the same process for the heart card.

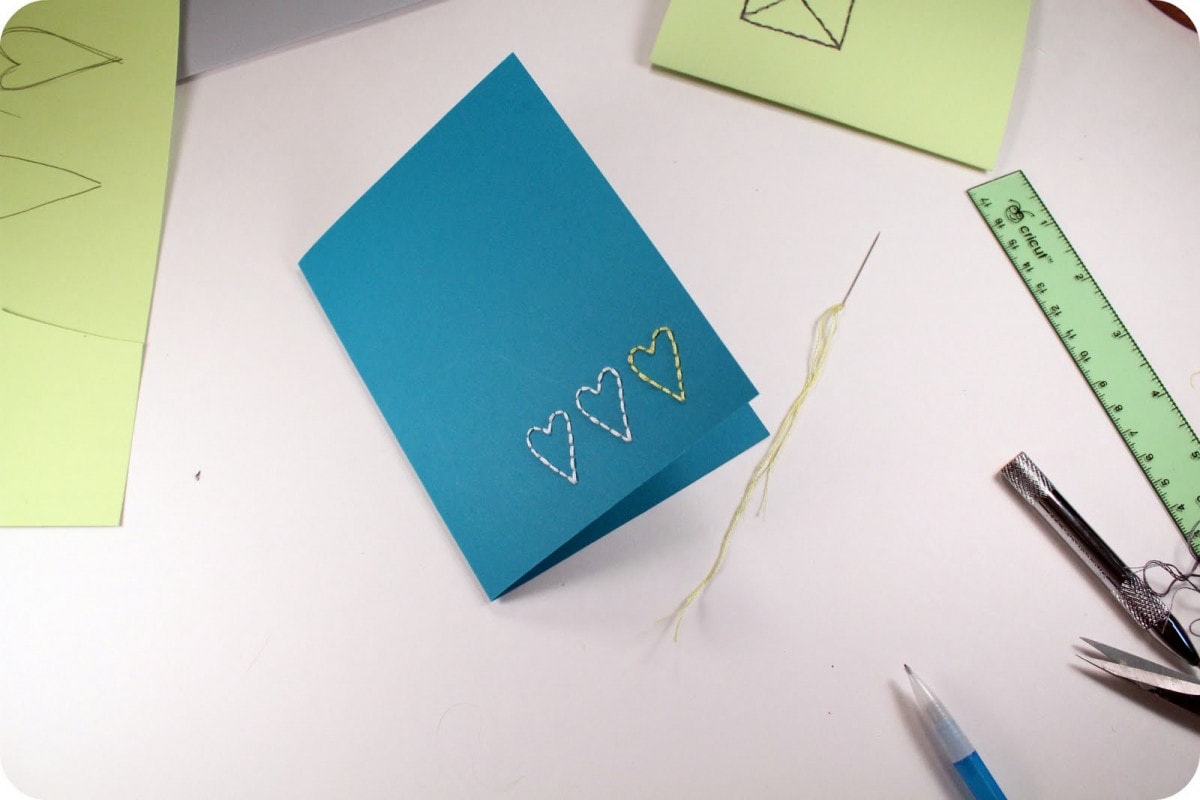
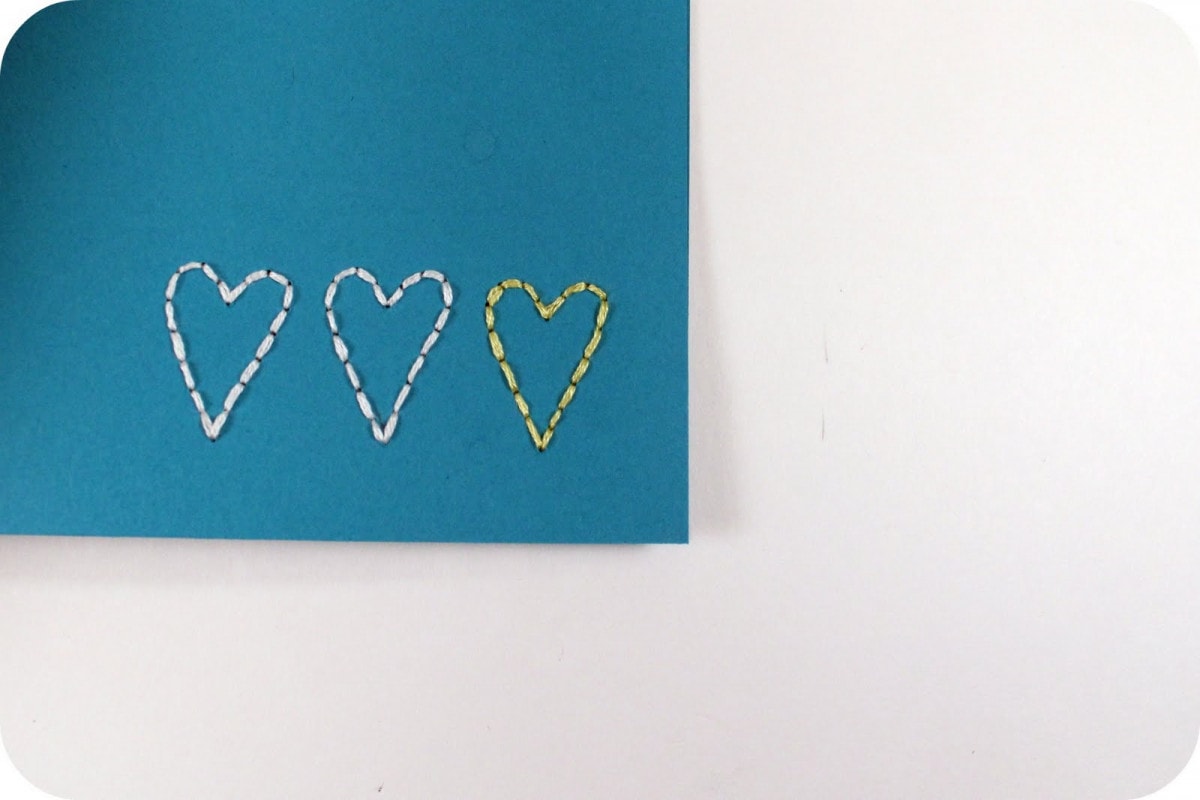
I love the three hearts with one being a different color.
Since I have already shown you the process a couple of times, I didn’t photograph the process for the XOXO card. However, I think it is my favorite. I love the grey with the mutli-colored letters.
This kind of card can be done by anyone! No expensive tools and minimal supplies. Hate love notes? Prefer Target receipts? Fine with me – try a simple hello card. I would love to see some of you take this idea and make it your own!
~ Allison