
Hi there. This is Jill from Homemade by Jill, visiting today to share a bit of crafty happiness.
Do you love vintage books like I do? Recently my husband, Jared, and I rescued some Golden Books from his parent’s garage. Not only are they classically cool, they have little boy Jared’s handwriting in the front covers. Love it. Anyway, I thought the best book of the bunch was Colors Are Nice, by Adelaide Hall, circa 1962:

I couldn’t agree more … colors are nice! This book has some really lovely illustrations, so I decided to use them to make a wood tile memory game.
Supplies needed:
- vintage book
- scanner and printer
- photo paper
- x-acto knife
- 2 inch square wood tiles (I order mine from Casey’s Wood Products)
- mod podge
- foam brush
First, scan all the images you want to use. Crop them down to a square shape using a photo editor (I like to use Picnik.com – it’s free!).
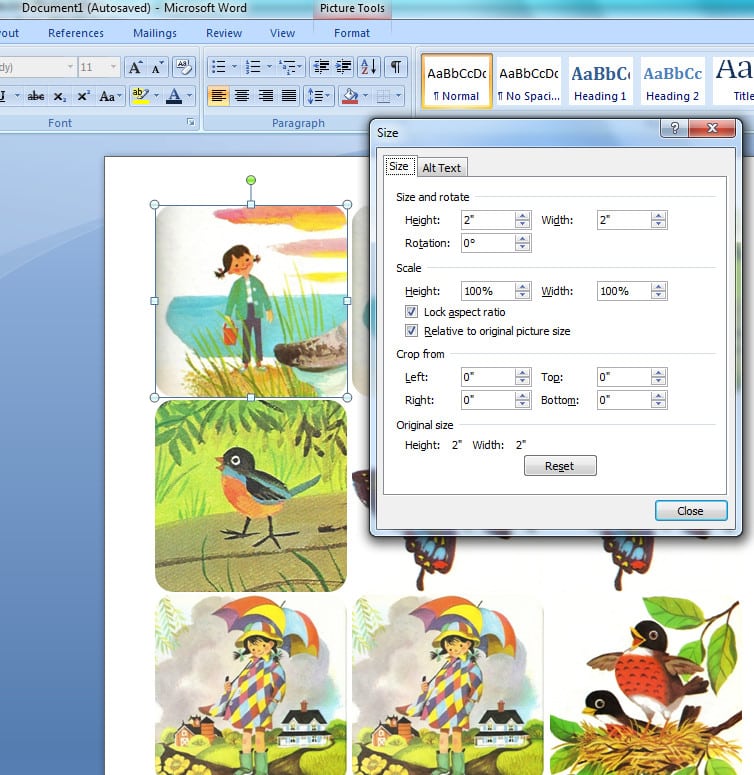
Insert your images into a Word Document. Resize the image to 2 square inches. You will need two copies of each image.
Choose another image for the decorative back of the tile. I like to use fabric sample images from fabric websites for this. You can also use scrapbook or other decorative paper for the backing, as long as the pattern has a consistent repeat. All the tiles should look exactly the same.

Print and cut out all the images. I like to use a ruler and x-acto knife so they are nice and straight. Grab your Mod Podge and let’s get gluing!

Paint a generous layer of Mod Podge on the back of your photo paper.

Press the photo paper firmly to the wood tile.

Repeat, repeat. When you have attached all the matching images to the tiles, flip them over and glue on the decorative backing. Set them aside to dry.

Now paint a generous layer of Mod Podge on TOP of the image. This will seal it and keep the images safe from sticky fingers and slobbery babies.

Repeat, repeat. When all tiles have been sealed, set them aside to dry. When they are completely dry (I give mine a few hours to cure), flip them over and add a sealing coat of Mod Podge to the backs.
And that’s it! Grab a kid and start working that brain.


Thanks for letting me stop by! Come on over to Homemade by Jill for more crafts and sewing projects.