
Hi, I’m Andi and I’m a stay-at-home momma, a put-on-hold elementary teacher, wannabe photographer, crafter, and adorer of all things vintage antique. I’m a country girl at heart, but live in the big city burbs with my husband and two young[] kids. We love Jesus and love life! Come visit us at The Hollie Rogue and don’t forget to say “hello!”

I’m crafty, by “crafty” I simply mean, I like to do crafts. I do NOT mean that I do crafts well all the time or
that I am some creative mastermind. Actually, the opposite is quite true– I don’t know how to sew, never took an art class, hated making bulletin boards as an elementary teacher, and didn’t own a decent camera until a few months ago. Even so, thanks to a little thing I discovered through this blog world, I, too, can put myself in the “crafty” column.
What is this magical discovery, you ask? Read my lips—TU.TOR.IALS. God bless them, they are everywhere, and boy, do they make the creative side in everyone pop out of places you didn’t even know where there!
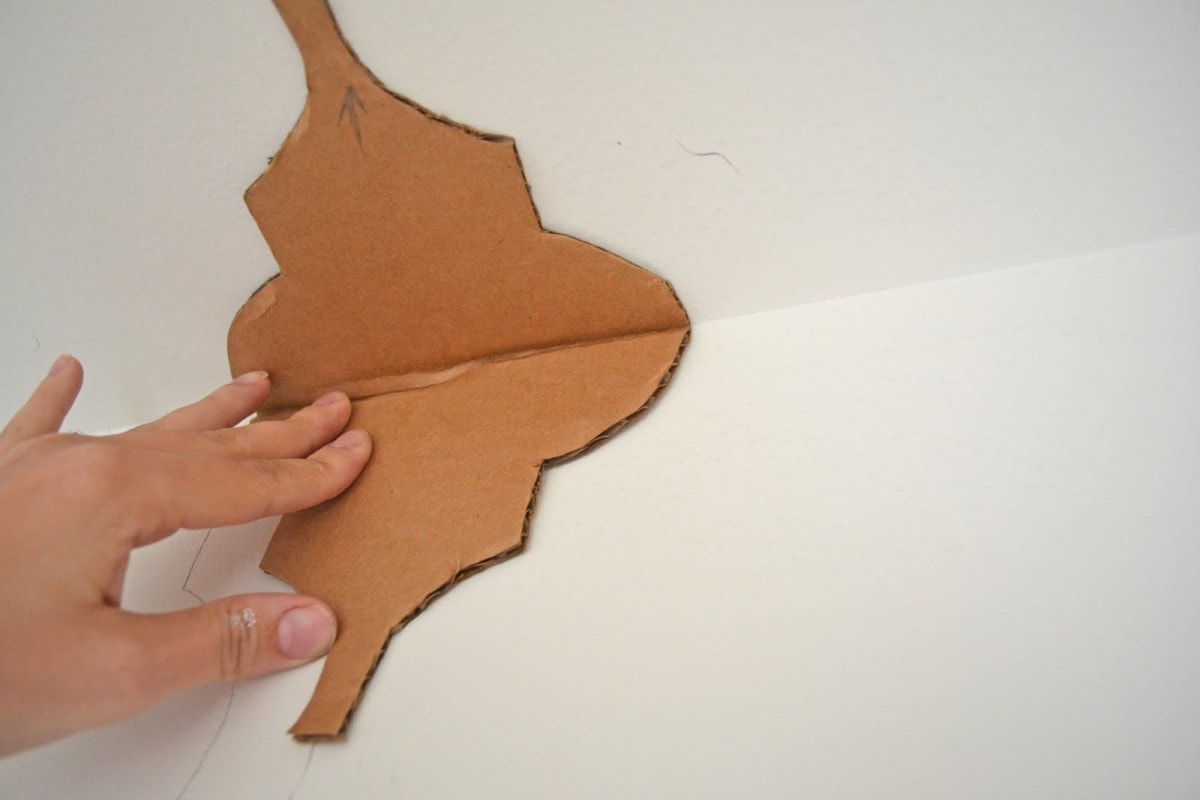
Case and point: I don’t know how to sew, but I made this using this tutorial:

I never took an art class, but I painted/stenciled a whole wall using this tutorial:
I didn’t even know there was a manual mode on cameras, but I took these using multiple tutorials. What’s my point? There is creativity and craftiness in us all, we just have to be willing to try something new….
learn from others, and be gracious to ourselves if every project doesn’t turn out like we wish they would.
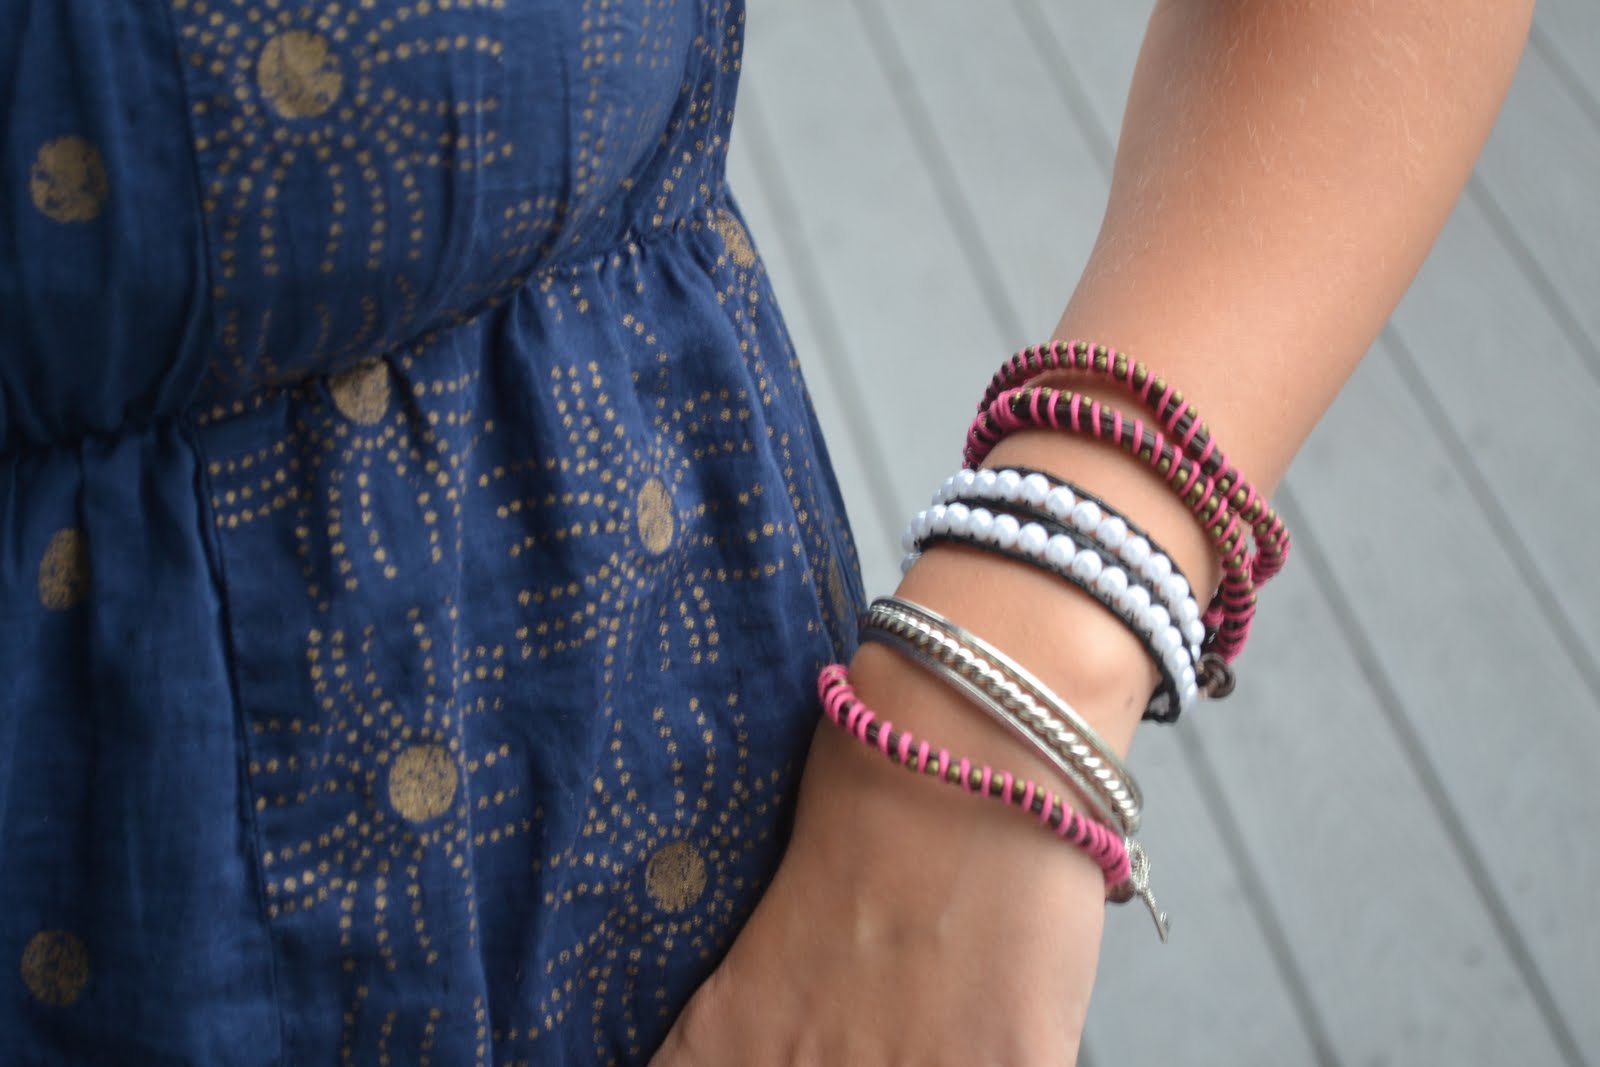
Today, I’m going to help you on your path to being crafty with a wrap bracelet tutorial. They seem to be all the rage these days.
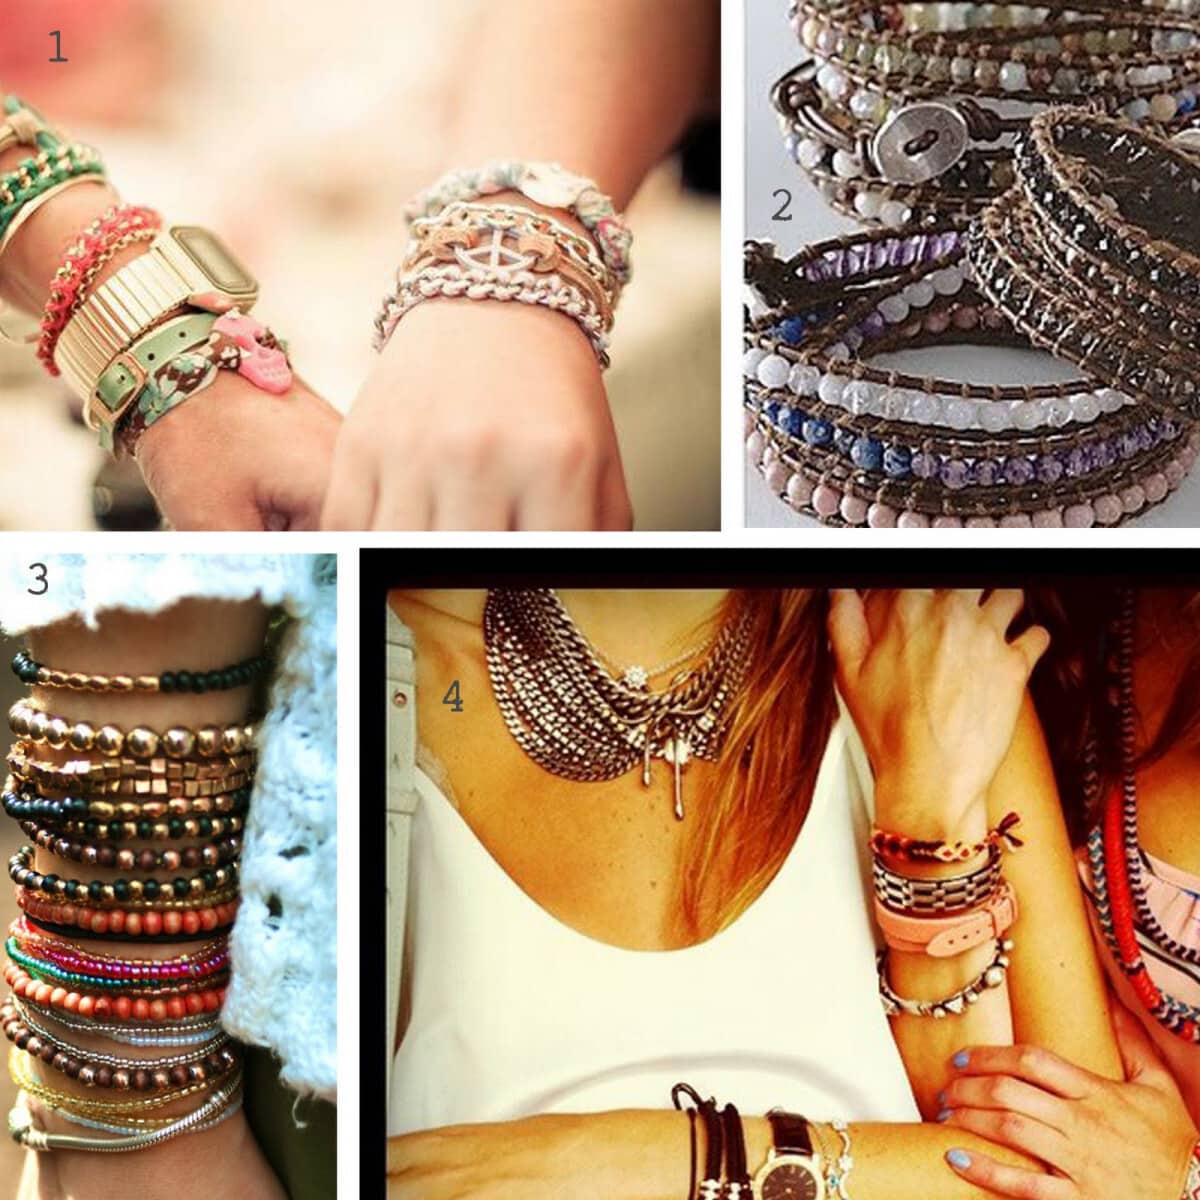 |
| 1, 2, 3, 4 |
Here’s what you need to make your own: (i got everything from joann fabrics)
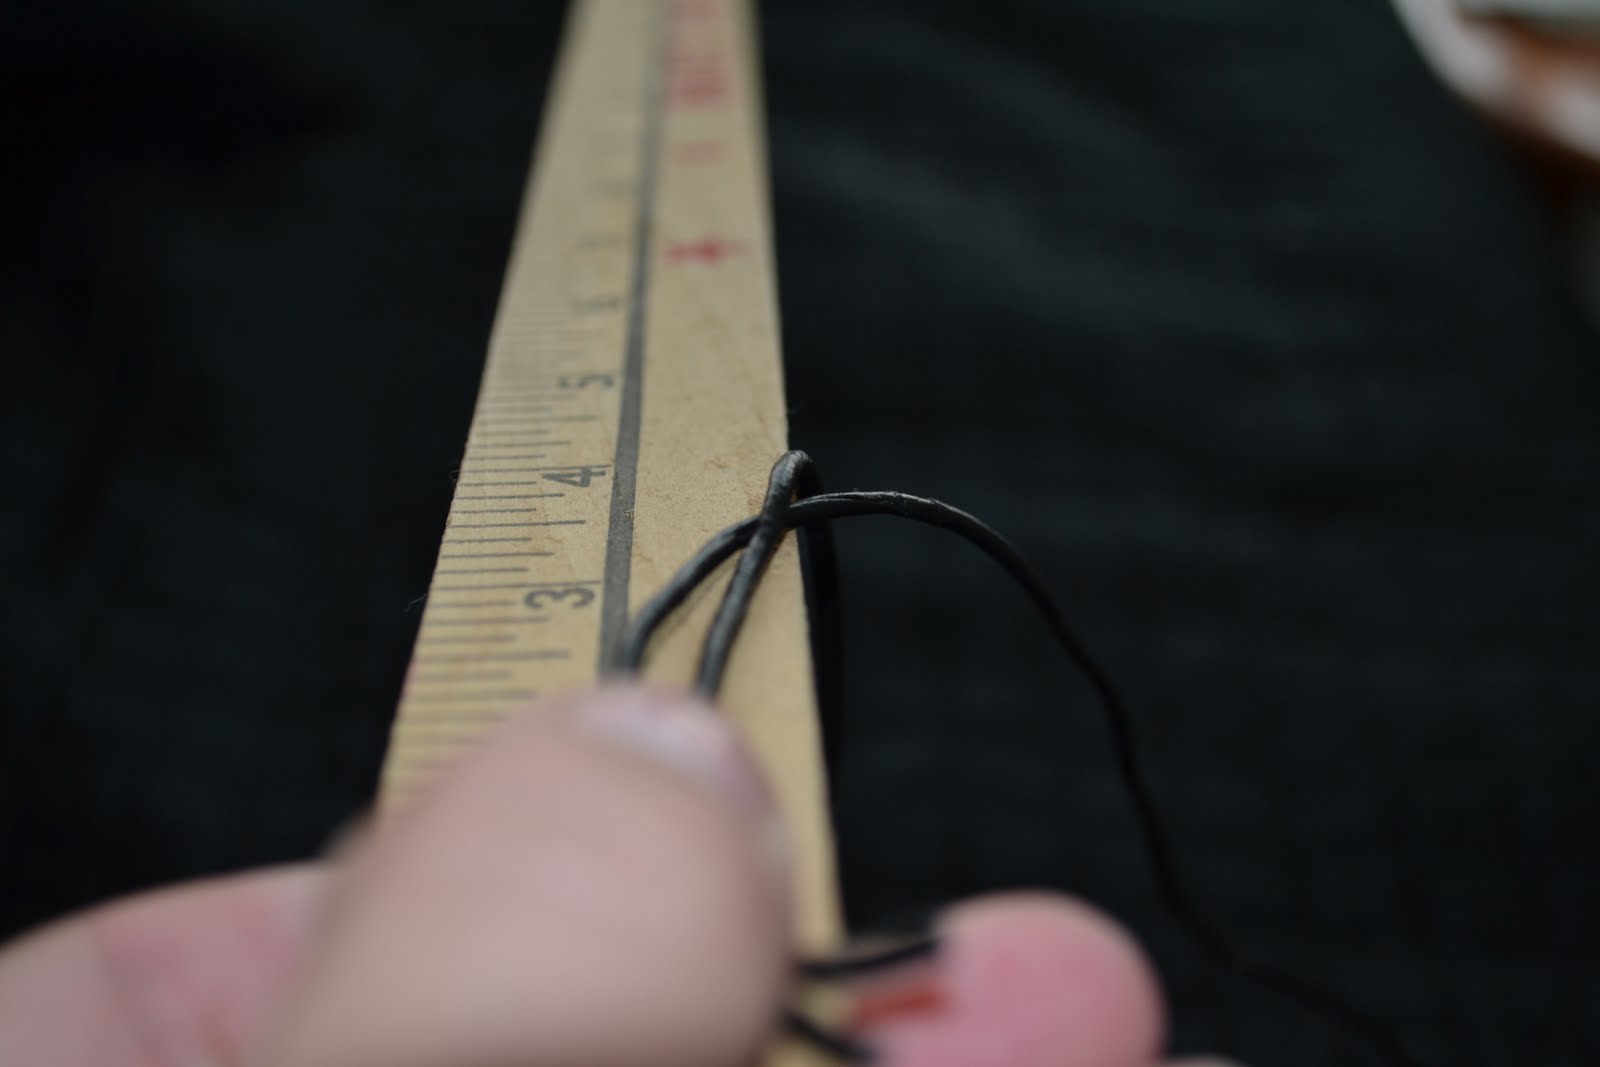
1. 1 piece of leather string (length of wrist x 3 for a double wrap OR x 7 for a triple)
2. beads
3. thread (around 10 feet)
4. needle
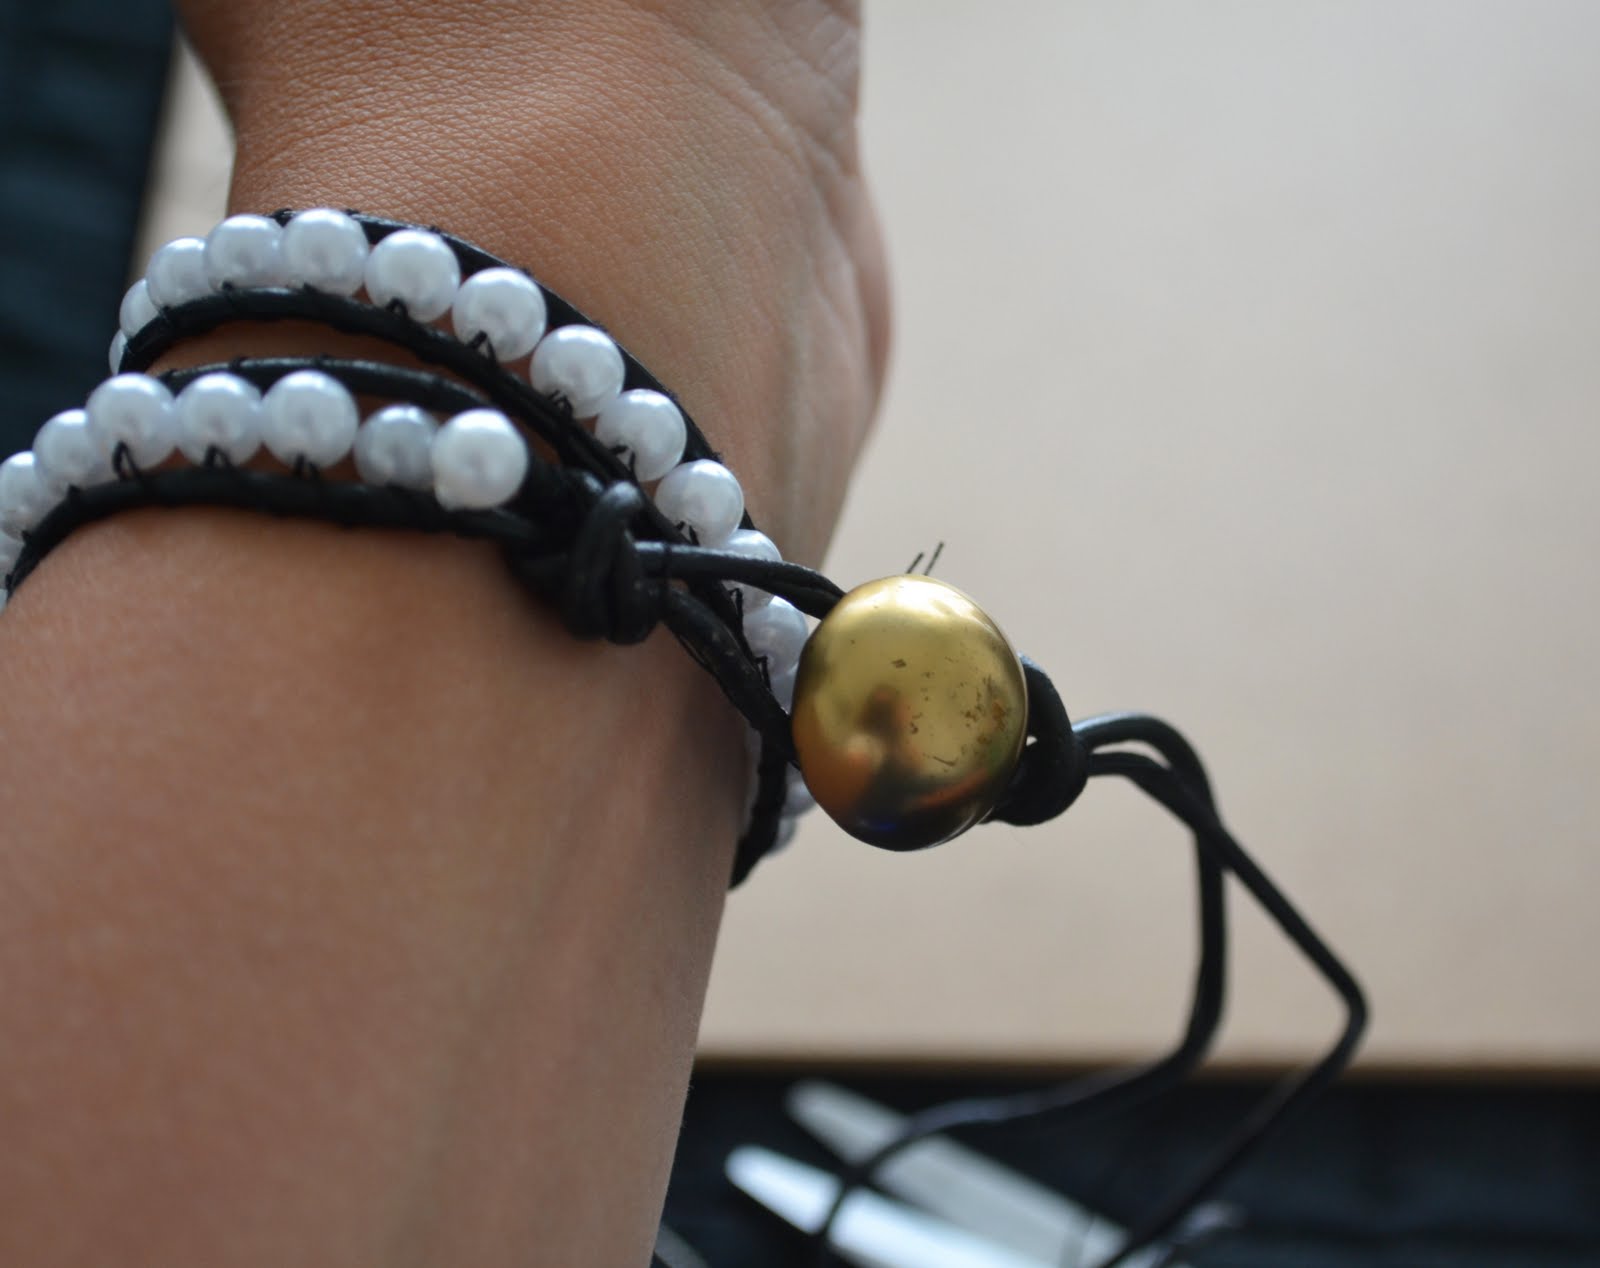
5. button or other closure bead
6. clear jewelry glue (optional)
7. clip board and additional clips or tape
Directions:
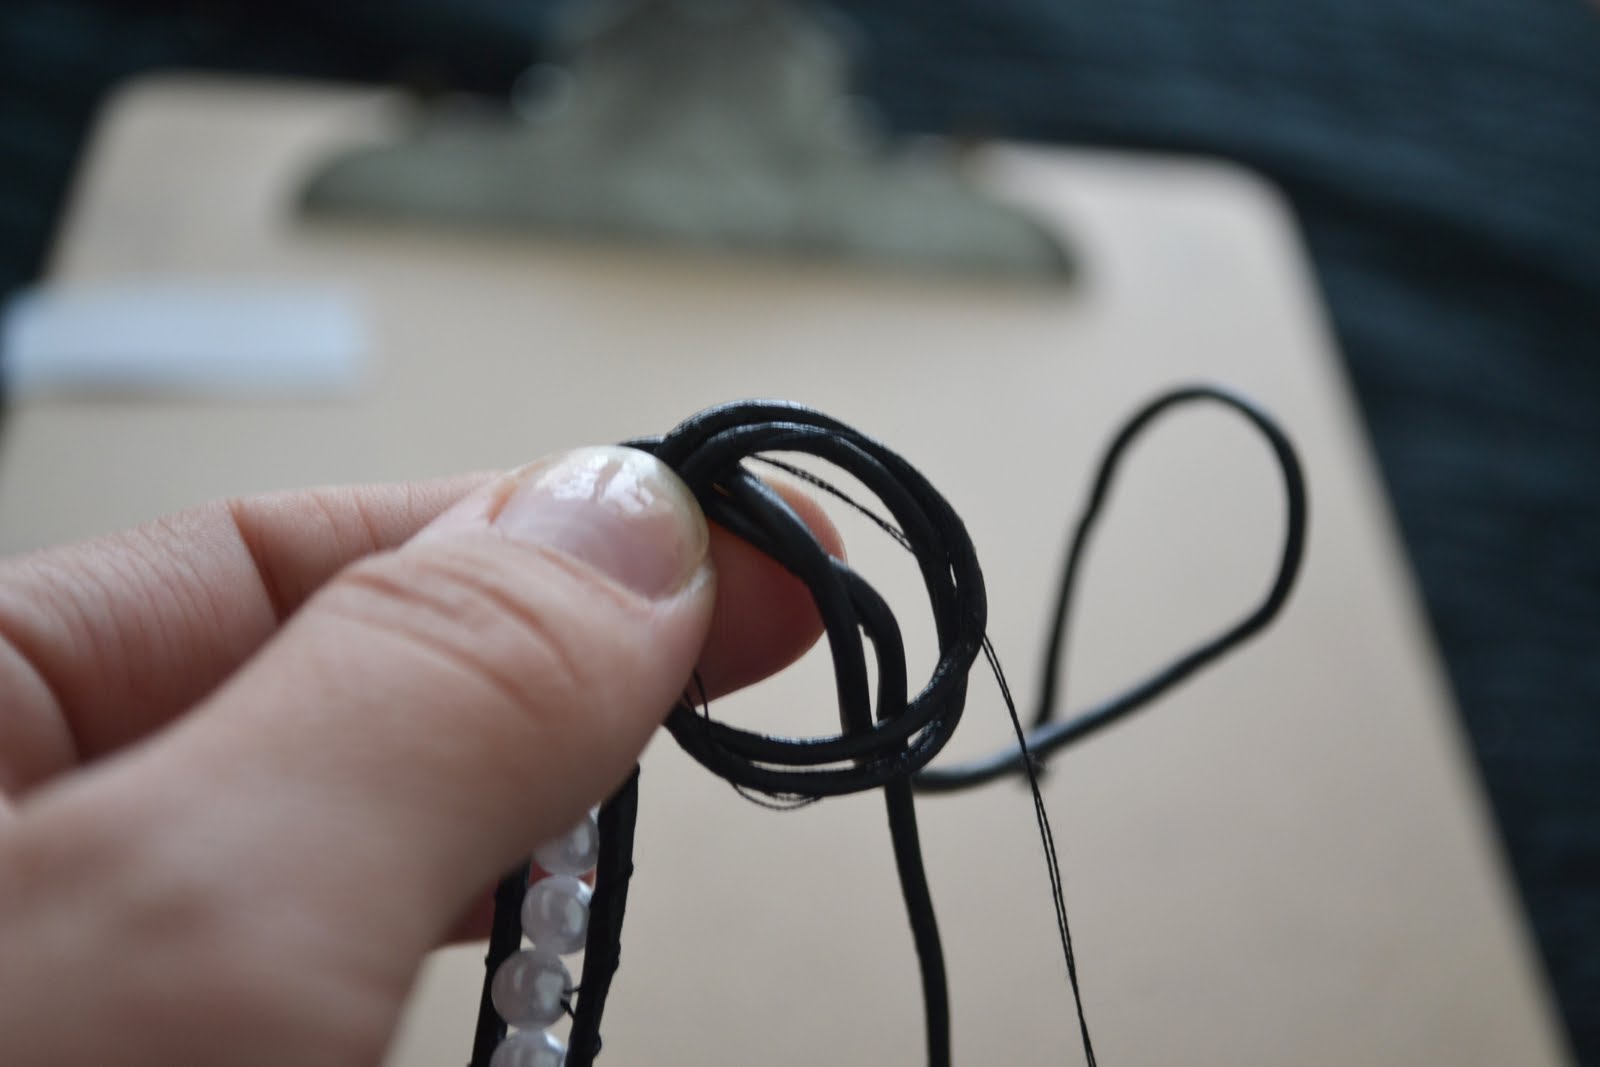
- Measure the leather,
- Thread the needle (pull through and line up ends–tie a knot in the bottom of the thread) .
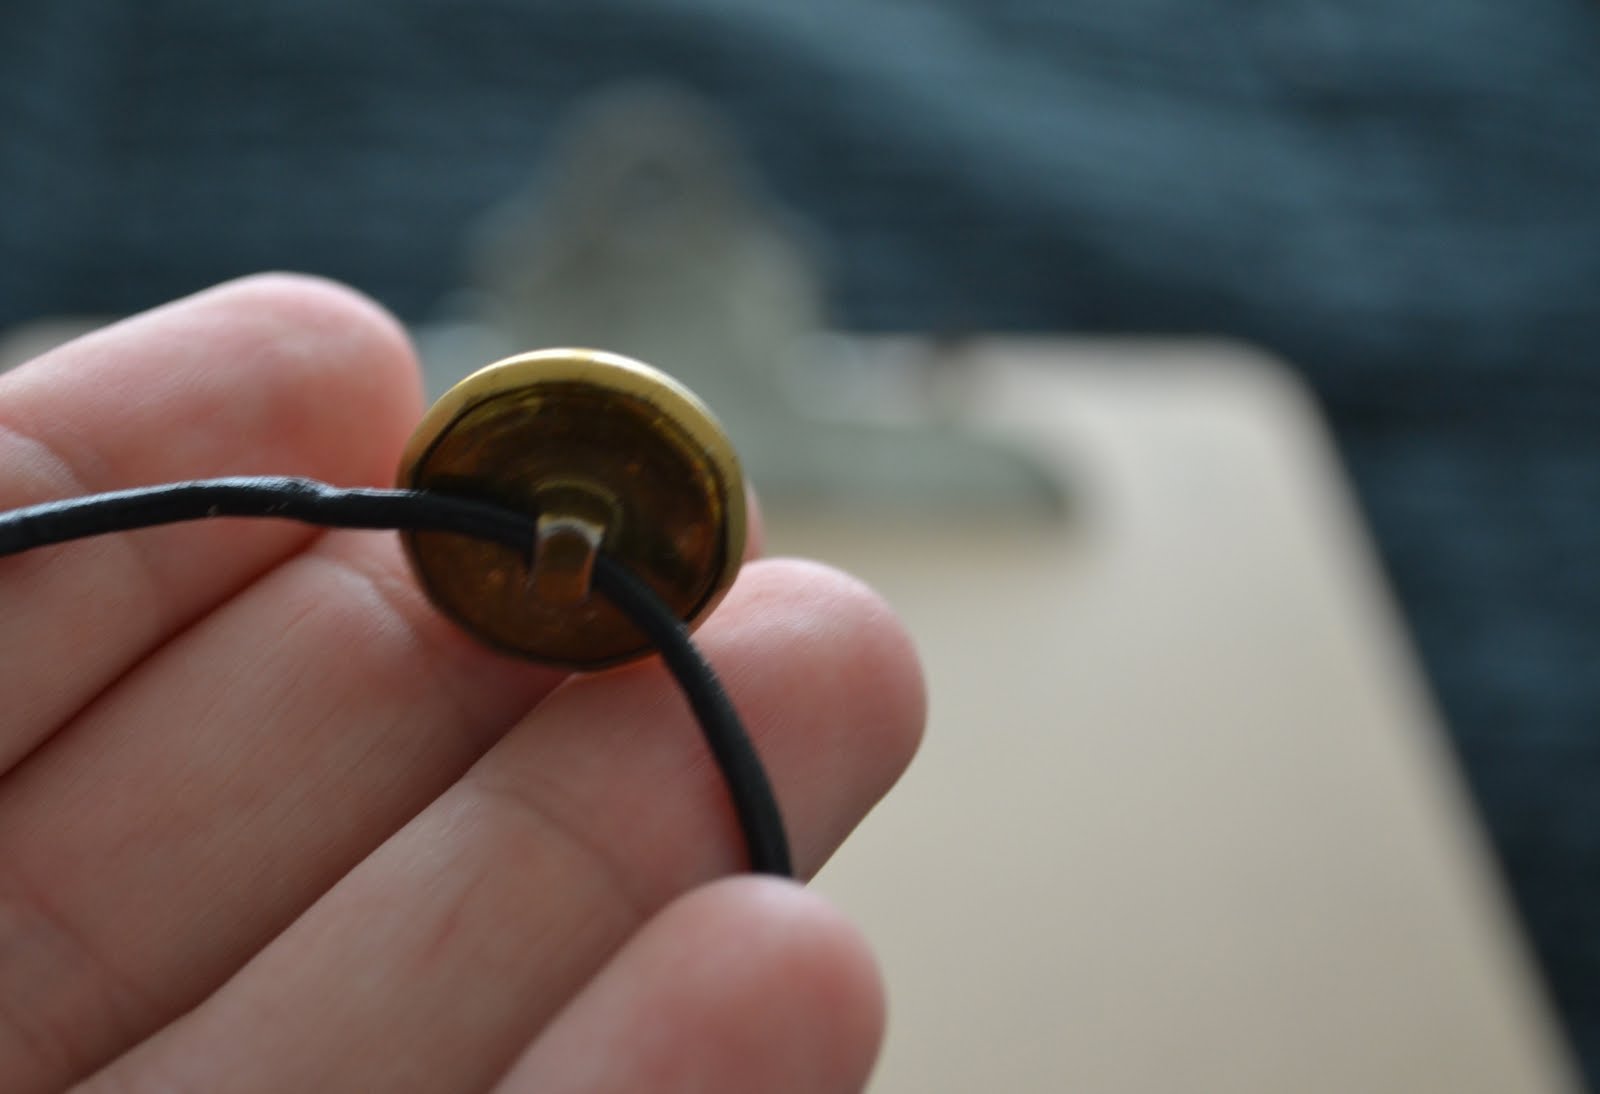
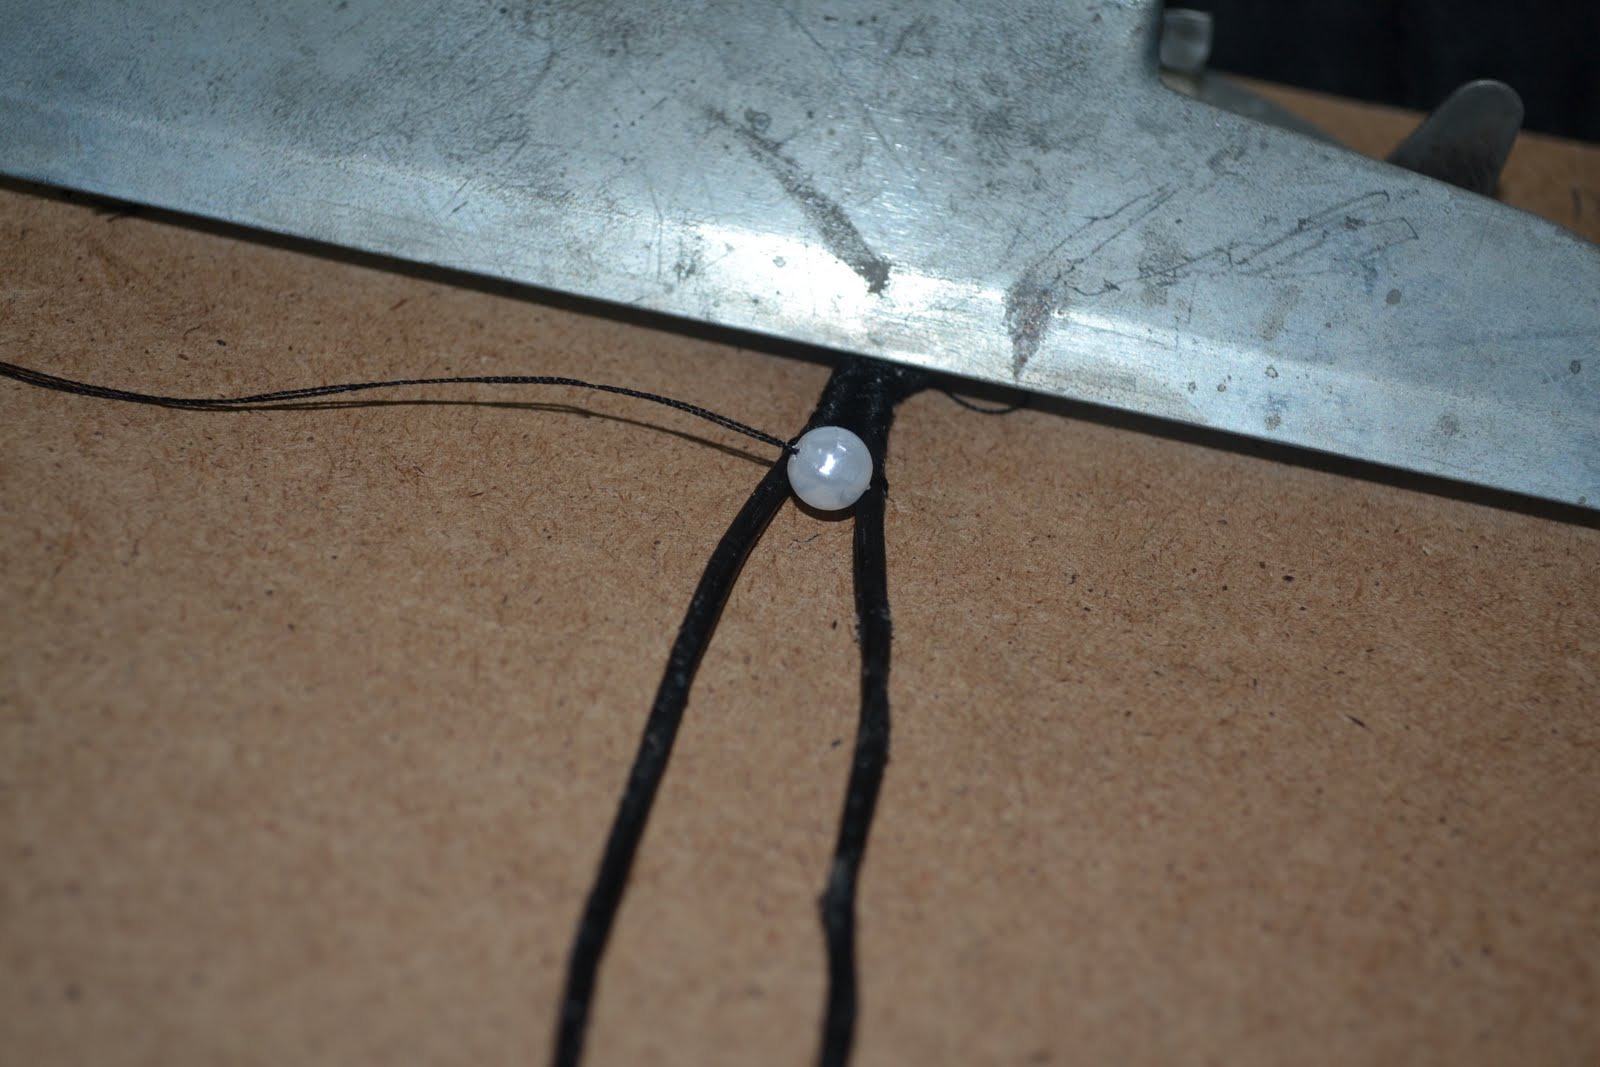
- Thread leather through button and line up ends so that they are even lengths
- Add the knotted end of the thread with the leather and tie a knot with all three strands.
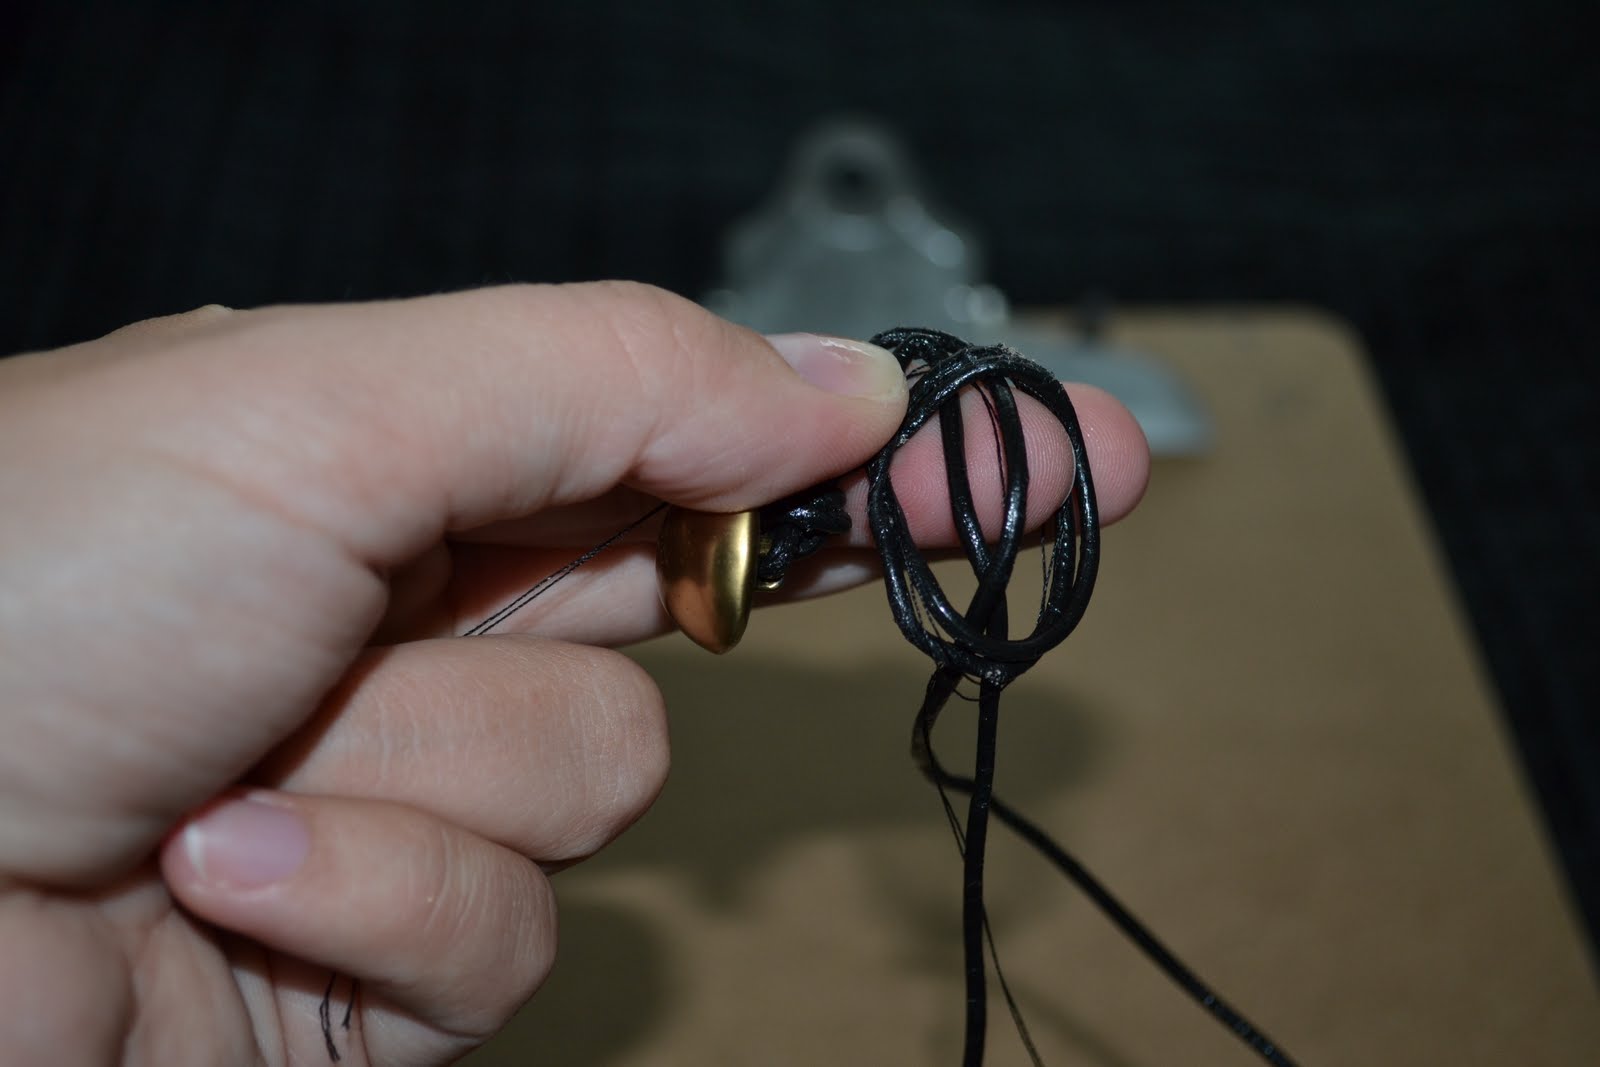
- Pull the knot close to the button.

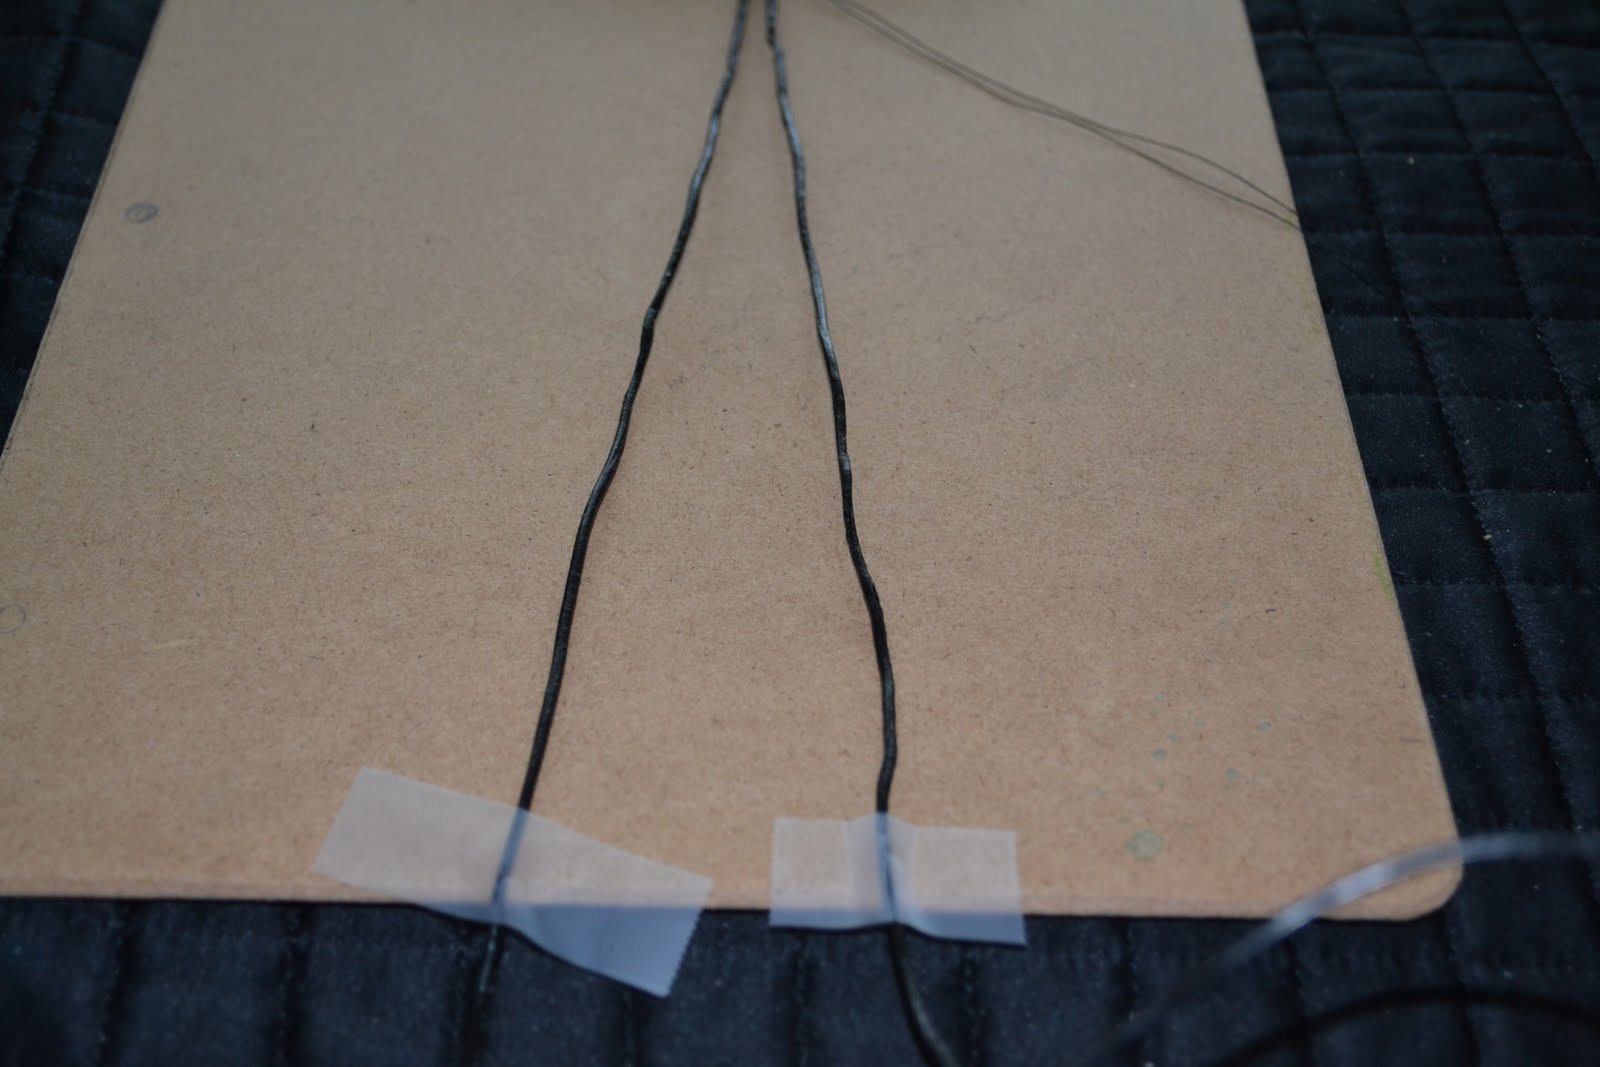
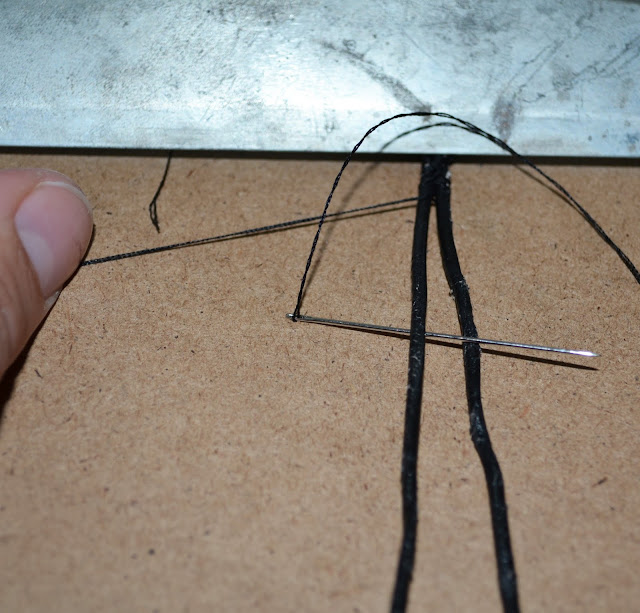
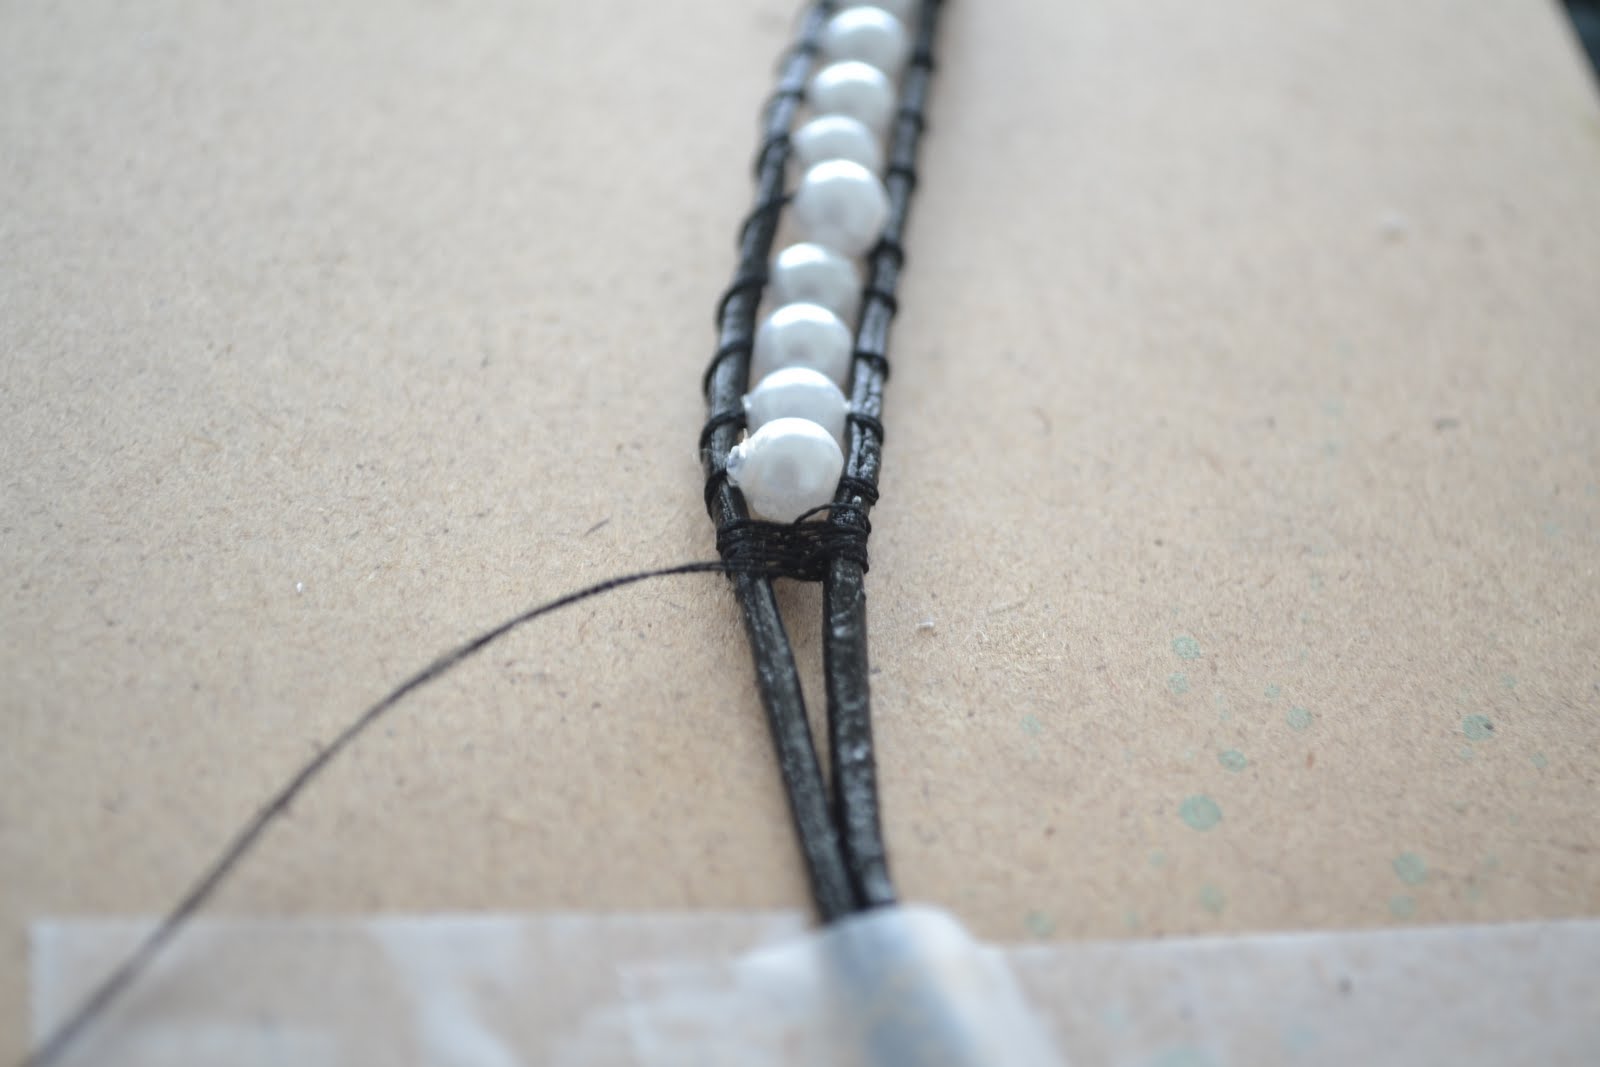
- Put the knot under the clip on the clipboard and separate the three strands (2 leather, 1 thread)
- Also tape or clip the bottom of the leather strands (leave the thread free)

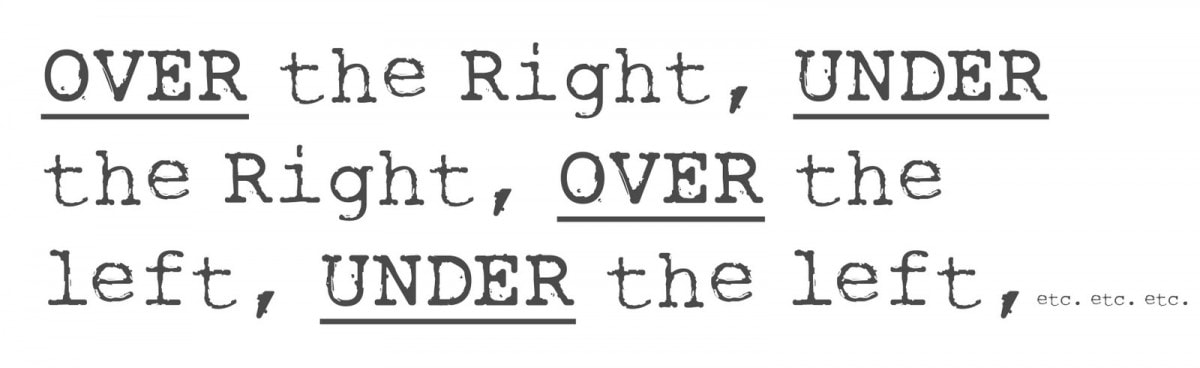
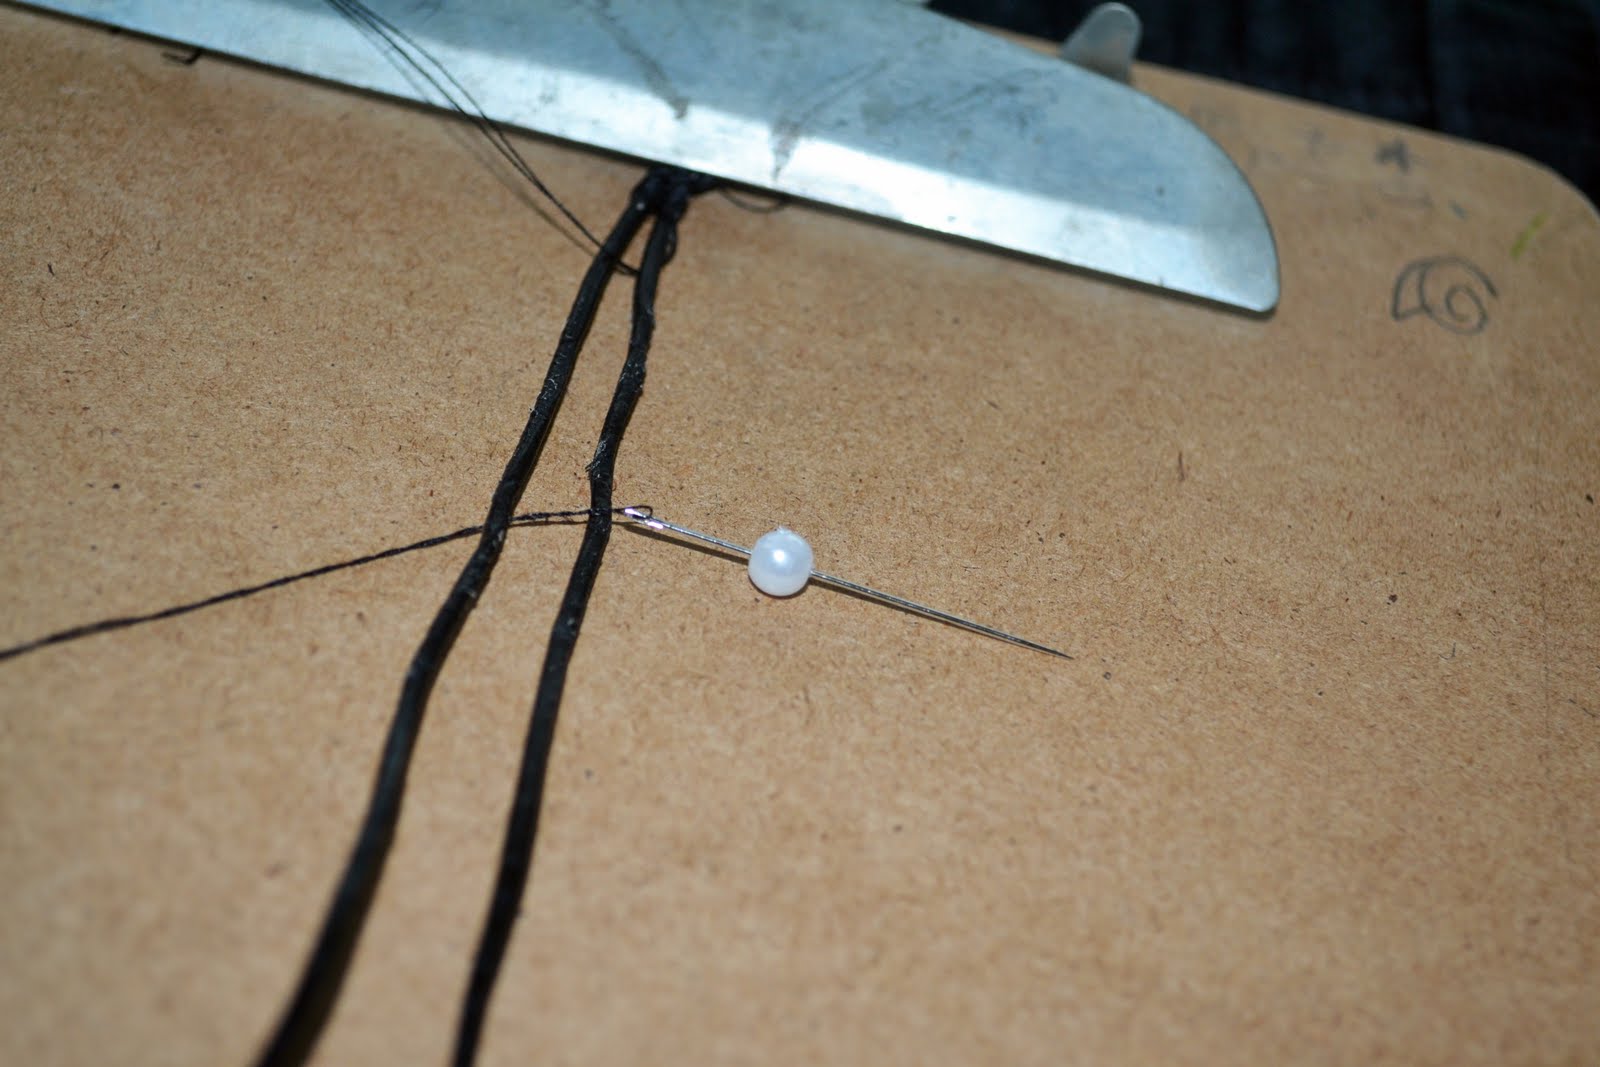
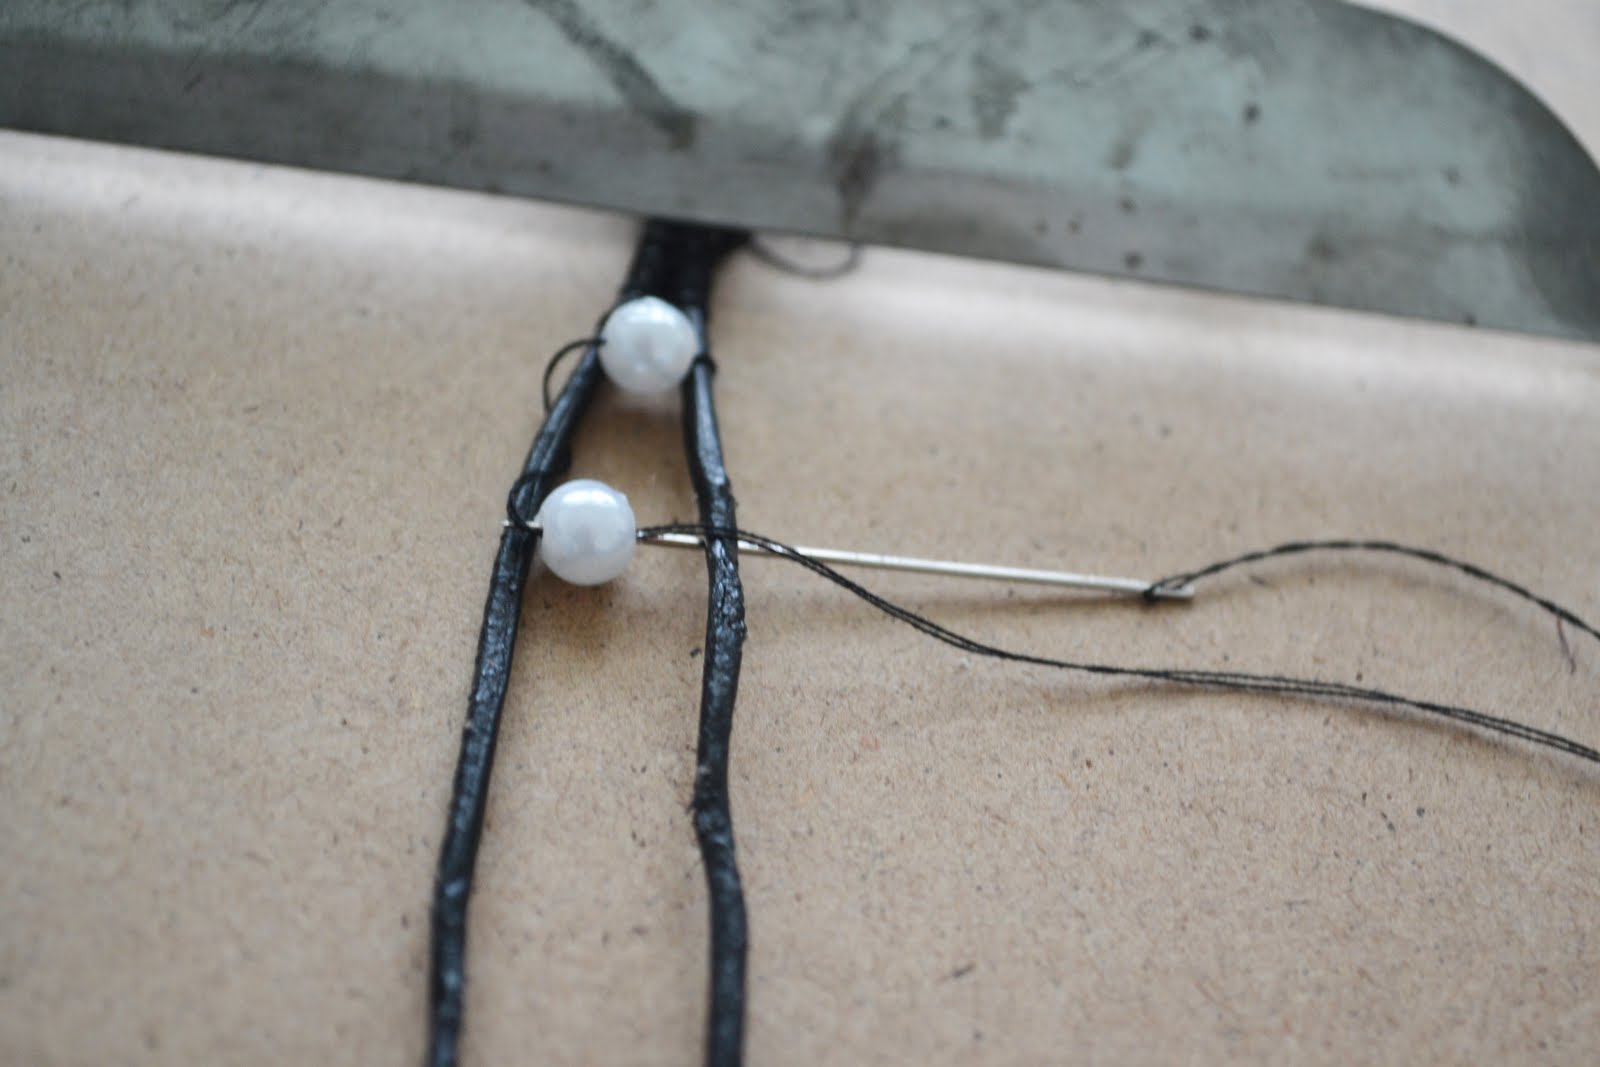
- Start by weaving the needle/thread OVER the right strand of leather, then UNDER the right strand, then OVER the left strand, and back UNDER the left strand. It is a basic figure 8. Don’t use any beads and just do that pattern for a good 7-10 times. Make sure the thread is nice and tight to secure the ends of the beads.
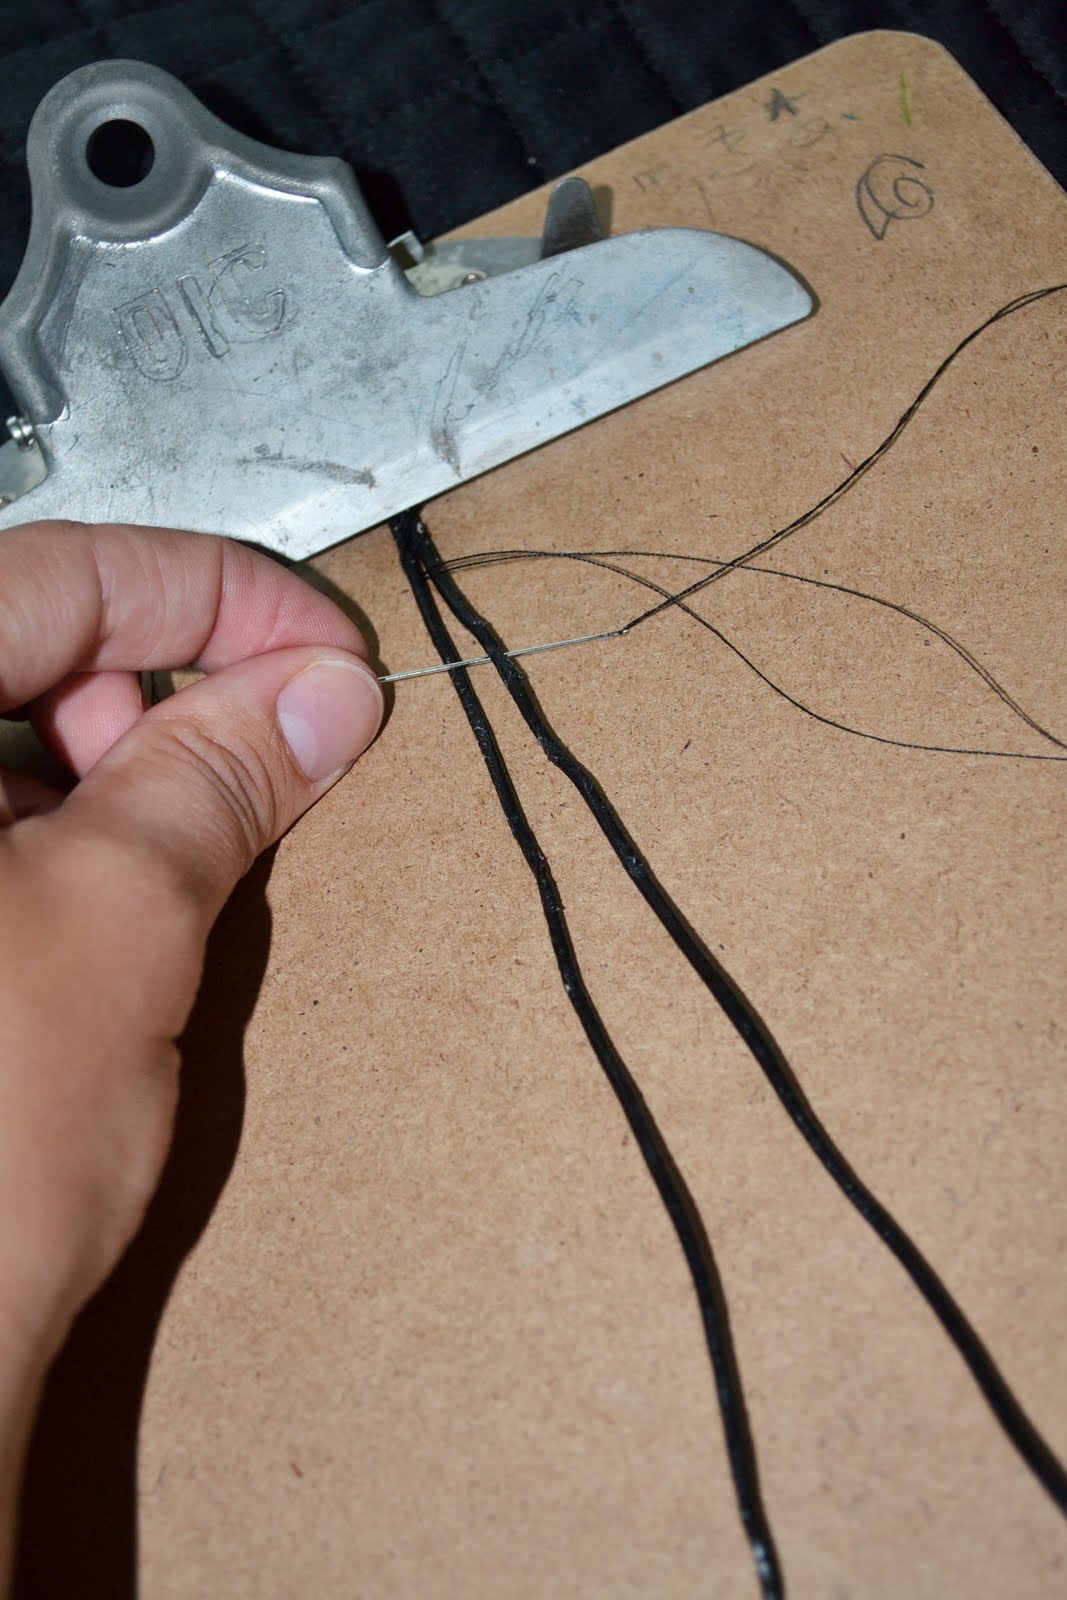
- Make sure you always hold the non-needle portion of the thread out and up so that the needle (new stitch) goes “under” the old stitch–do this for both sides
 |


~ Andi
|

For gift ideas for everyone on your list, check out the Gift Ideas tab and be sure to pin Gift Idea Central, to keep the whole collection in one place.