Or so she says...

Family Fun, Favorites, Food, and Faith

  • Home
  • Categories
    • Gift Ideas
    • Family
    • Recipes
    • Education
    • Faith & Inspiration
    • Holidays
    • Vacation
    • Crafts
    • Health
    • Home & Garden
  • About
    • OSSS Team
    • Media & Partners

August 5, 2014 by Anne

Back-to-School Book Page Wreath (she: Anne)

This post may contain affiliate links. For more information, see the disclosure policy.
187 shares
  • Facebook
  • Twitter
  • Email

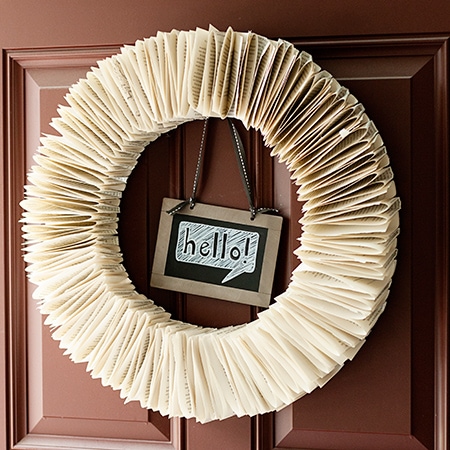
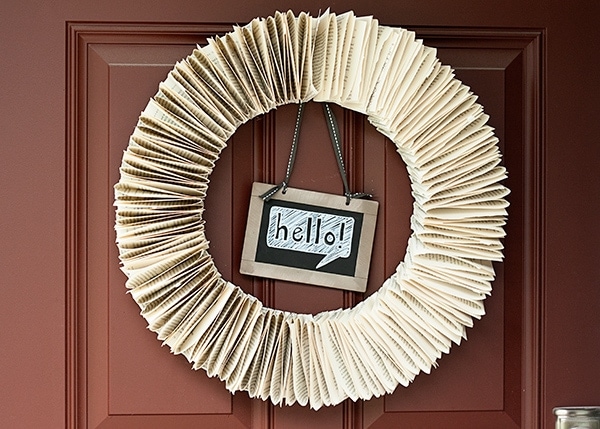
Hello again, it’s Anne from Circus Berry.  I am here this fine Tuesday to bring you some new decor for your front door.  With school starting up soon all over the country (sooner in some places than others…we don’t go back until after Labor Day here in WNY), I decided to deck out my front door with some back-to-school flair.  I figured I would change it up a little bit before the real fall decor goes up! This book page wreath seemed like the perfect transitional piece from summer to fall in the meantime.
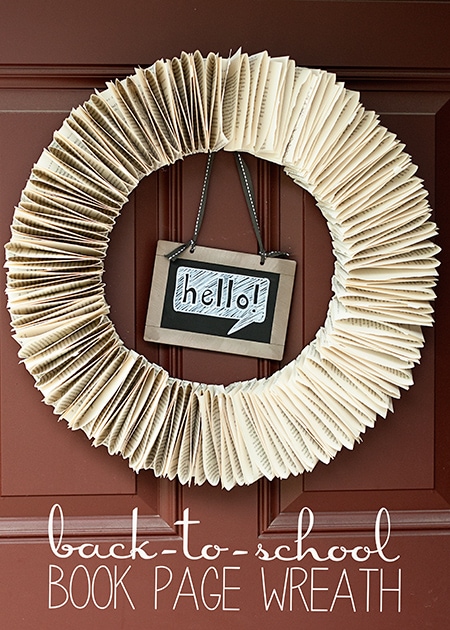
Back-to-School-Book page-Wreath

This one is super easy and depending on what supplies you use, meaning what you might have on hand vs. what you might have to purchase, it is super inexpensive as well.  Mine came together for a couple of bucks!
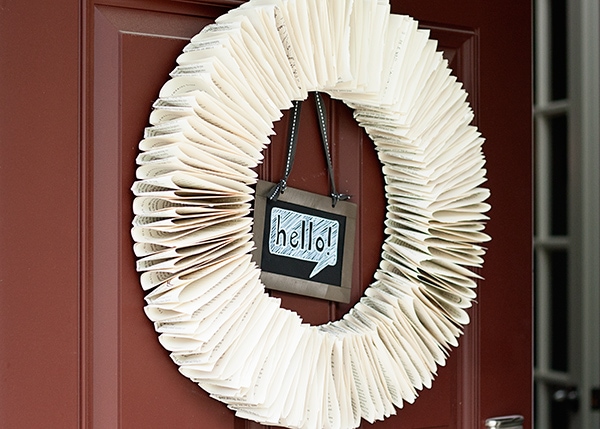
Bookpage-Wreath

You’ll need:

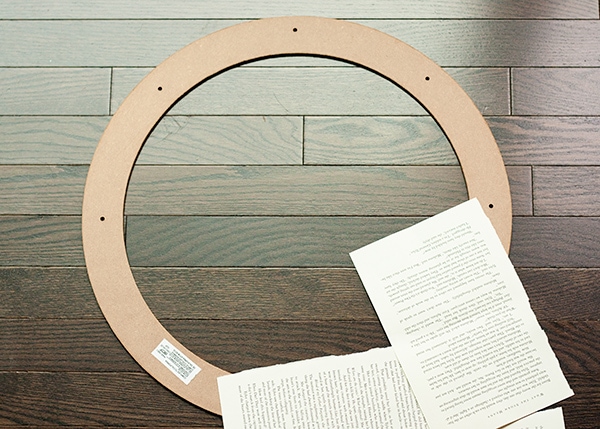
  • A wreath form of some sort.  I used the prefab cardboard one from Michael’s, but you could easily cut your own cardboard/foam board shape.
  • Book pages.  I grabbed the biggest book I could find from the Dollar Tree
  • Hot Glue
  • Chalkboard Sign
  • White Paint Pen

assemble-a-book-page-wreath

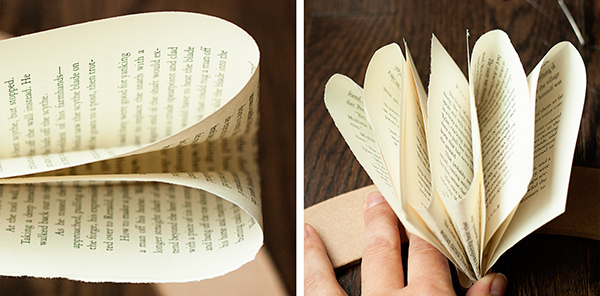
Working one at a time, gently fold the book page in quarters.  Don’t crease the folds.  Hot glue onto your wreath form.
book-page

Continue folding and gluing pages all the way around the wreath.  I alternated the folds pointing out and the folds pointing in.

book-page-wreath

Sketch your greeting on your chalkboard sign, then paint it on with the white paint pen.  I decided to go with a simple “hello” because I can use it again someday on another wreath if I want.  Thinking ahead, ya know!?!?  I also went ahead and changed the twine to ribbon.  Whatever tickles your fancy.

Chalkboard-Sign

Hang it up!

DIY-Bookpage-Wreath

Now were are all set until Halloween!
Bookpage-Wreath-DIY

Have a great month and a Happy Back to School.  See you soon! *Anne

187 shares
  • Facebook
  • Twitter
  • Email
❮❮ Previous Post
Next Post ❯ ❯

Comments

  1. Crystal says

    August 5, 2014 at 11:16 pm

    Super cute!! Love it!!

    • Anne says

      August 18, 2014 at 7:10 am

      Thank You!

  2. Allison says

    August 16, 2014 at 8:15 pm

    I love and would actually use this. Any ideas for waterproofing it?

    • Anne says

      August 18, 2014 at 7:09 am

      I am not sure how it would workout but you could try a finishing spray (Krylon) or sealer (Deco Art). They are sometimes used on florals so it might be what you need…Good Luck!!!

Categories

Topics

The Rare Newsletter

It doesn't happen very often, but when it does... it's good!! Favorite things, great ideas, and all things "FAMILY."

My Beliefs

Free Book of Mormon Offer

10 Reasons I Love Being a Latter-day Saint

The Church of Jesus Christ of Latter-day Saints

Affiliate Disclosure

‘Or so she says…’ is a participant in a variety of affiliate programs, including the Amazon Services LLC Associates Program, an affiliate advertising program designed to provide a means for sites to earn advertising fees by advertising and linking to amazon.com. Read more in the Disclosure, including info on Adthrive, the publishing network for this blog.

10 Most Popular Posts

  • 16 Teenage Birthday Party Ideas
  • 26 Camping Hacks You Need to Know
  • Best Products for Thinning Hair
  • Swiss cheese Chicken Easy Dinner
  • Would You Rather ~ Scripture Edition Game
  • Cute Bun Hairstyles for Girls
  • Over 100 Family Movie Ideas
  • The Ultimate Collection of Scriptures on Faith
  • Foods to Freeze Dry ~ Ultimate List
  • 30 Books to Read Out Loud to Older Kids


  • Disclosure Policy
  • Privacy Policy

© 2018 Or So She Says... By: Pretty Darn Cute Design