
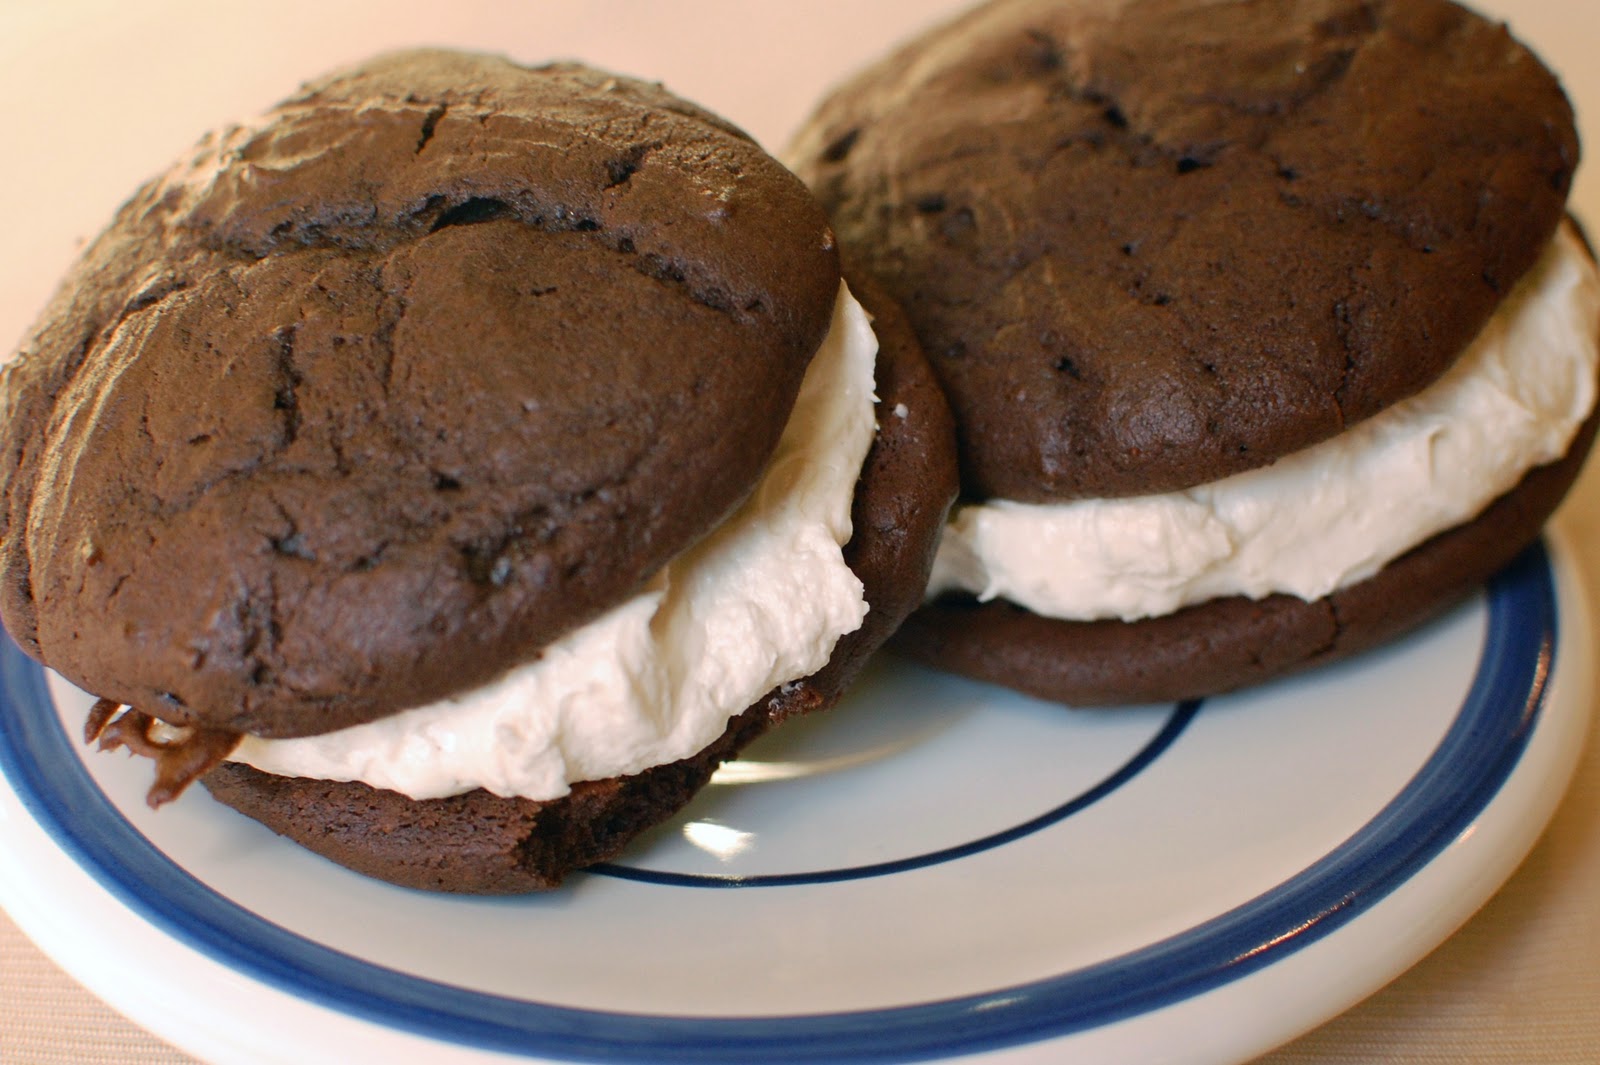
So, I’ve tried a few whoopie pies in my life, sometimes known as “homemade oreos”. But, this recipe is my favorite, by far! No yucky-mucky shortening is used in it and no funky-monkey aftertaste from who knows what. These are way good! But, I can’t take credit. They’re probably good because they’ve been put through rigorous testing to achieve perfection at America’s Test Kitchen. That’s right, picked up their magazine at Costco the other day, “Best Ever Recipes from America’s Test Kitchen”. Out of the whole magazine, I had to try this one. It’s totally been accepted to my personal “Recipes I Love” recipe binder.
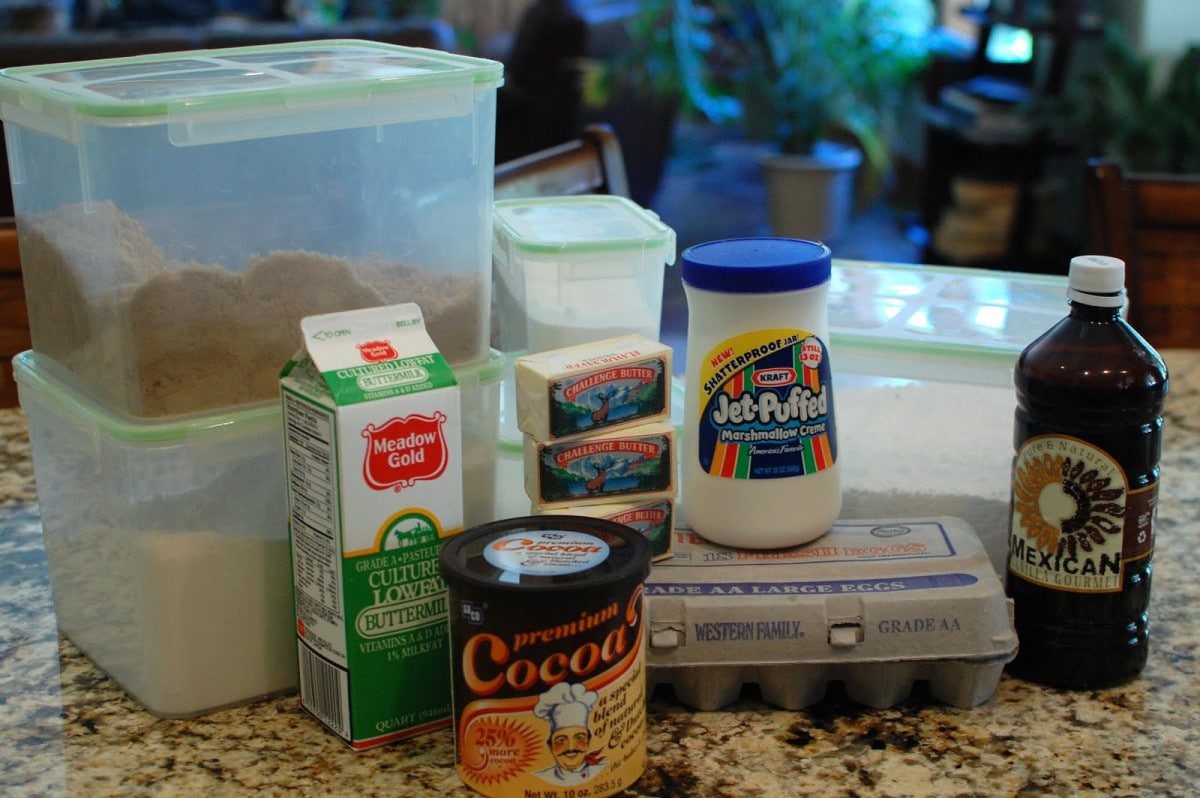
Here’s what you need: flour, cocoa powder (ATK suggests Dutch processed, I was obedient…but, I’m sure it’s okay if you’re not), baking soda, salt, light brown sugar, butter, eggs, vanilla, buttermilk, powdered sugar, marshmallow creme.
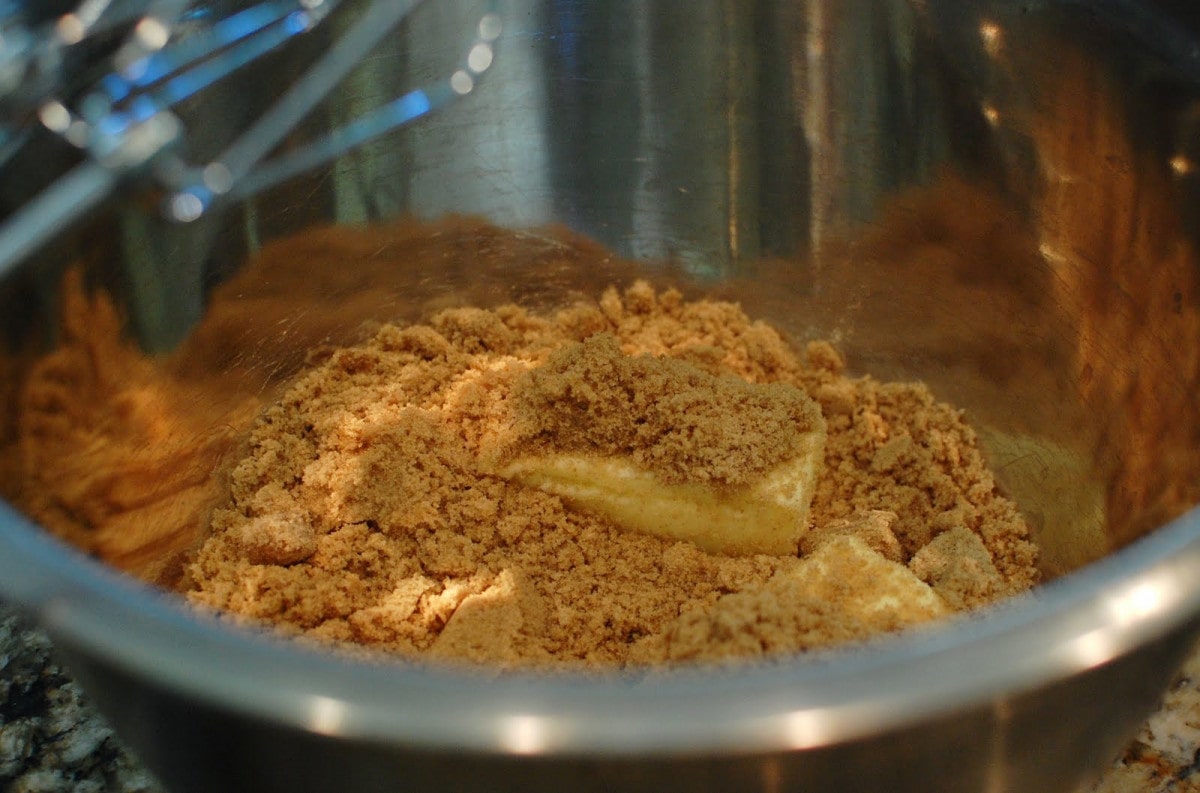
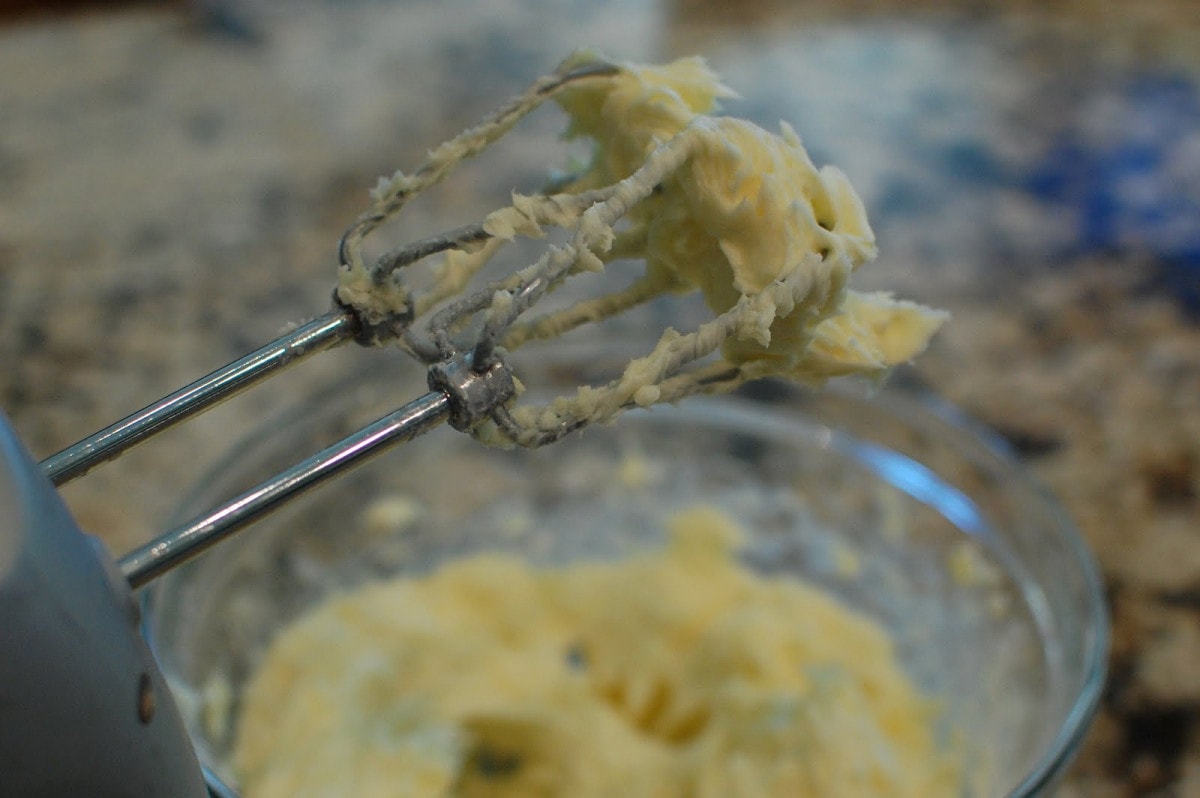
Okay, this recipe will make about 12 whoopie pies…and, I already doubled the recipe! Remember it takes 2 cookies to make one whoopie pie. They’re a good size, but if you want enough to share with friends…I would triple or quadruple the recipe. Just make sure you get a huge bowl. Anyway, so in a large bowl, cream 2 sticks butter (softened, but still cool) and 2 cups packed brown sugar in a bowl for about 4 minutes.
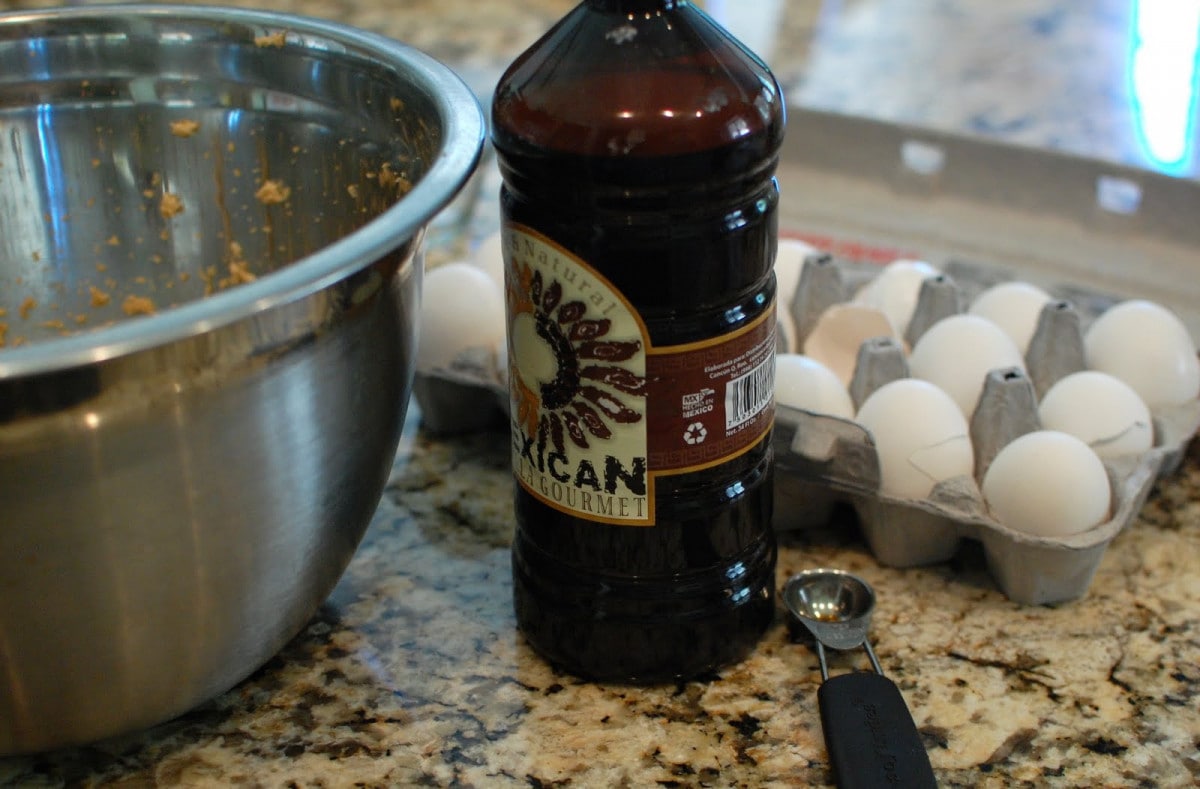
Beat in 2 eggs and 2 tsp. vanilla.
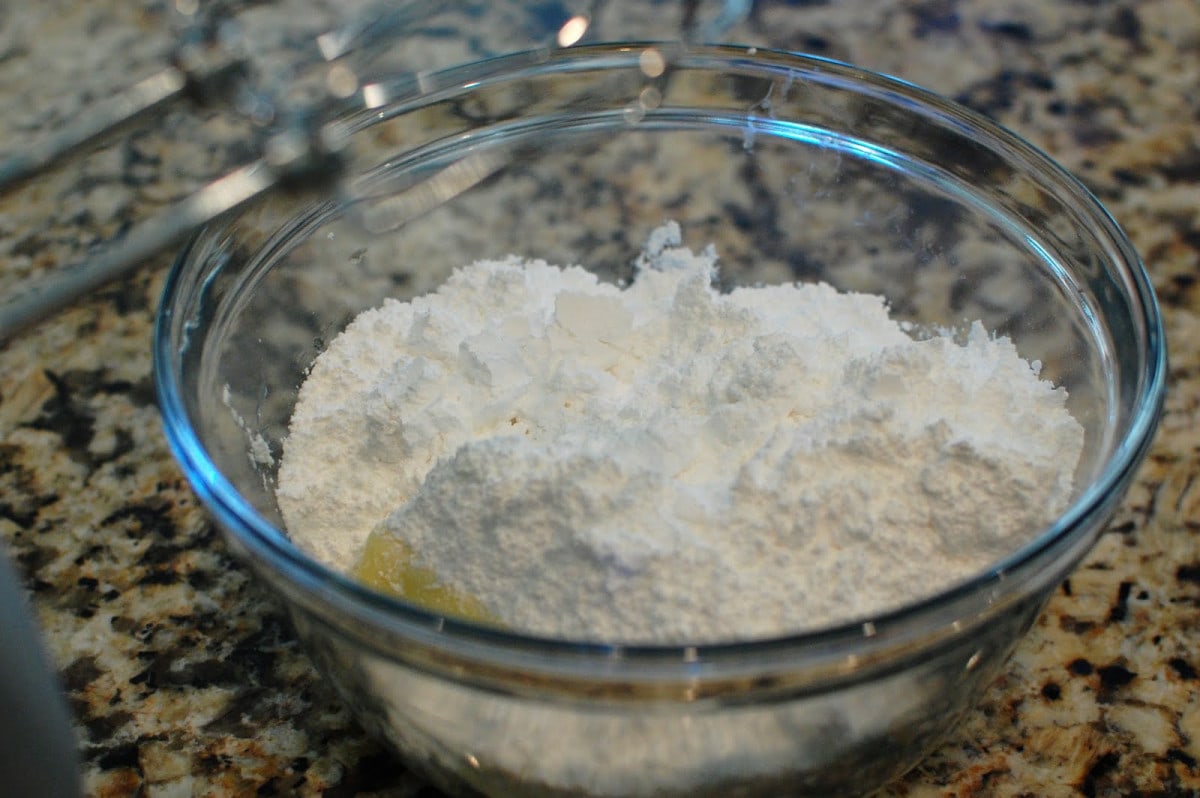
In a separate bowl, combine 4 cups flour, 1 cup cocoa, 2 tsp. baking soda, and 1 tsp. salt.

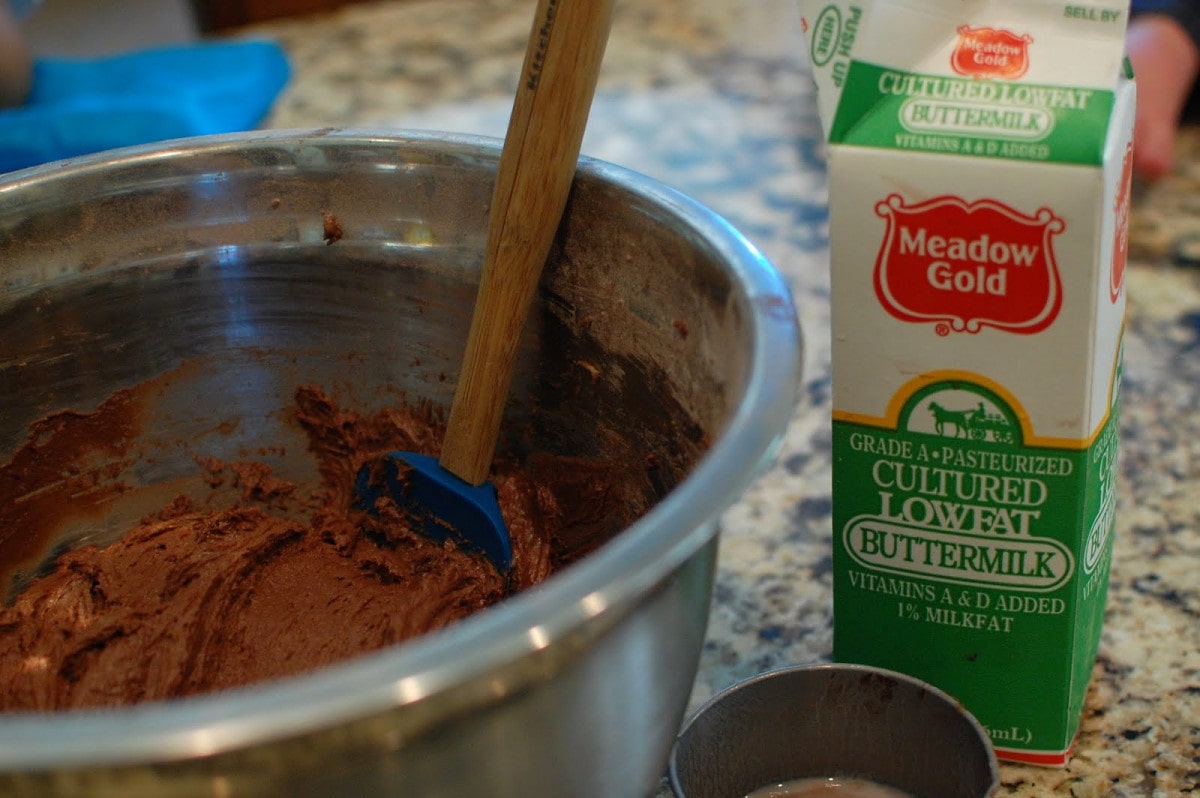
Alternate pouring the flour mixture into your butter/sugar bowl with 2 cups buttermilk…a little dry mixture, a little buttermilk, a little dry mixture, a little buttermilk…
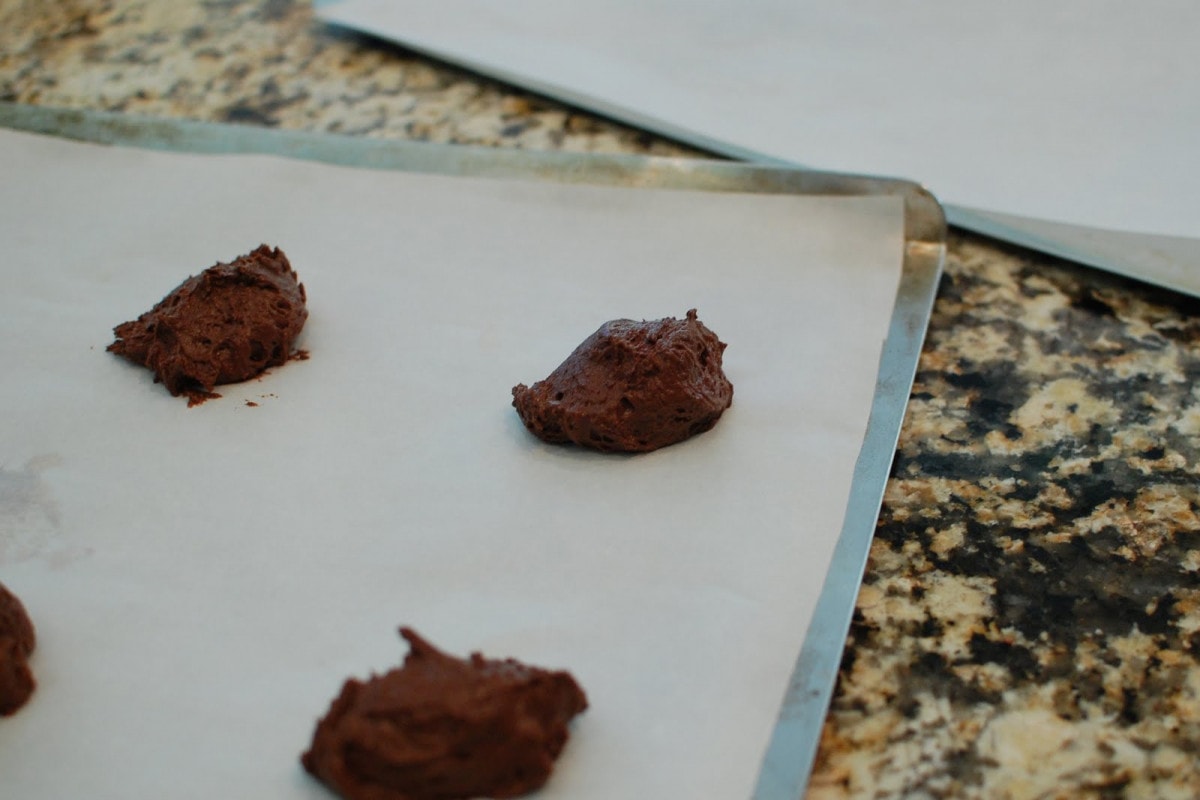
Cover baking sheets with parchment paper. Drop the batter into globs on the paper. Remember they spread quite a bit, so keep them spaced apart. Put them in a 350 degree oven for about 7 minutes, then rotate the pan, bake about 7 minutes more…OR until you touch the center of the cookie and it rises back to place (as opposed to leaving a finger impression).
While they’re baking, go ahead and start on the frosting. Take 3 sticks of softened butter and cream together with 2 1/2 cups of powdered sugar.
Add 3 tsp. vanilla and 1/4 tsp. salt. Mix well.
Add 5 cups (you need more than 1 jar for 5 cups) of marshmallow creme. This stuff tastes divine, but I must say…I may have ruined my mixer after making this! The marshmallow goo kept creeping up the beaters into the motor part…I haven’t gotten around to trying to clean it out. This was literally one of the messiest things I have ever made…it was all over the counter, all over my kids…who kept swiping their fingers in it…and all over…

…my belly! Yes, that’s marshmallow frosting all over my 8 month prego belly. If you’re prego, watch out for this stuff. Your belly is like a magnet.
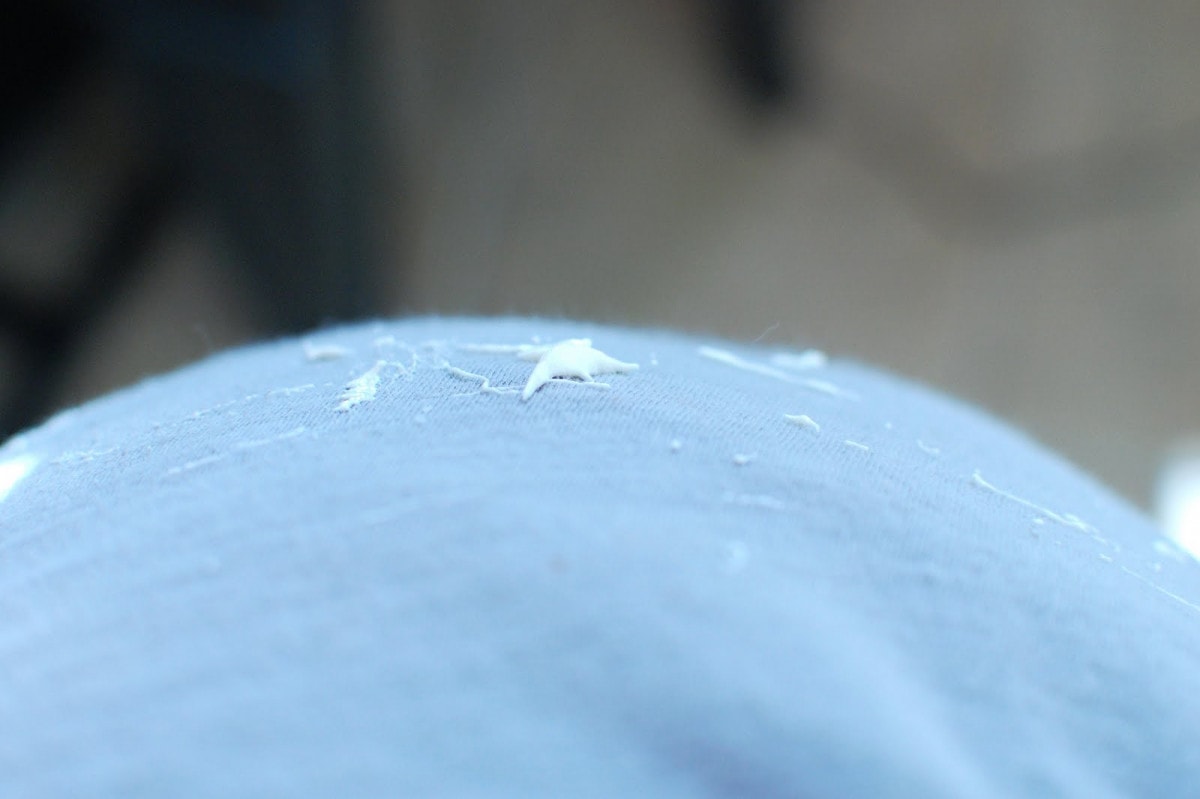
But, the marshmallow mess is worth it. Totally.
Whoopie Pies
(America’s Test Kitchen)
(America’s Test Kitchen)

Better Than Whoopie…Pies
Ingredients
- serves 12...big whoopie pies
- Cookies:
- 4 cups flour
- 1 cup cocoa preferably Dutch processed
- 2 tsp. baking soda
- 1 tsp. salt
- 2 cups packed brown sugar
- 2 sticks butter softened but still cool
- 2 large eggs room temp
- 2 tsp. vanilla
- 2 cups buttermilk
- Filling:
- 3 sticks butter softened but still cool
- 2 1/2 cups powdered sugar
- 3 tsp. vanilla
- 1/4 tsp. salt
- 5 cups marshmallow creme
Instructions
-
Heat oven to 350 degrees.
-
In a large bowl, cream together the butter and sugar with a hand mixer...about 4 minutes.
-
Add the egg and vanilla.
-
In a separate bowl, mix together the dry ingredients: flour, cocoa, baking soda, and salt.
-
Pour some of it into the butter/sugar mixture, alternating with the buttermilk..dry mix, buttermilk, dry mix, buttermilk, etc.
-
Drop the batter onto sheet pans covered in parchment paper. Give the cookies plenty of room to spread.
-
Bake for about 7 minutes, rotate the pan in the oven and bake for 7 minutes more OR until the cookies "spring bag" when lightly pressed with your finger.
-
For the filling, beat the softened butter and sugar until fluffy.
-
Add the vanilla and salt.
-
Beat in the marshmallow creme. Mix well.
-
Refrigerate for about 30 minutes.
-
Dollop on a cookie, take another cookie on top and press together until the filling spreads to the edges.

