

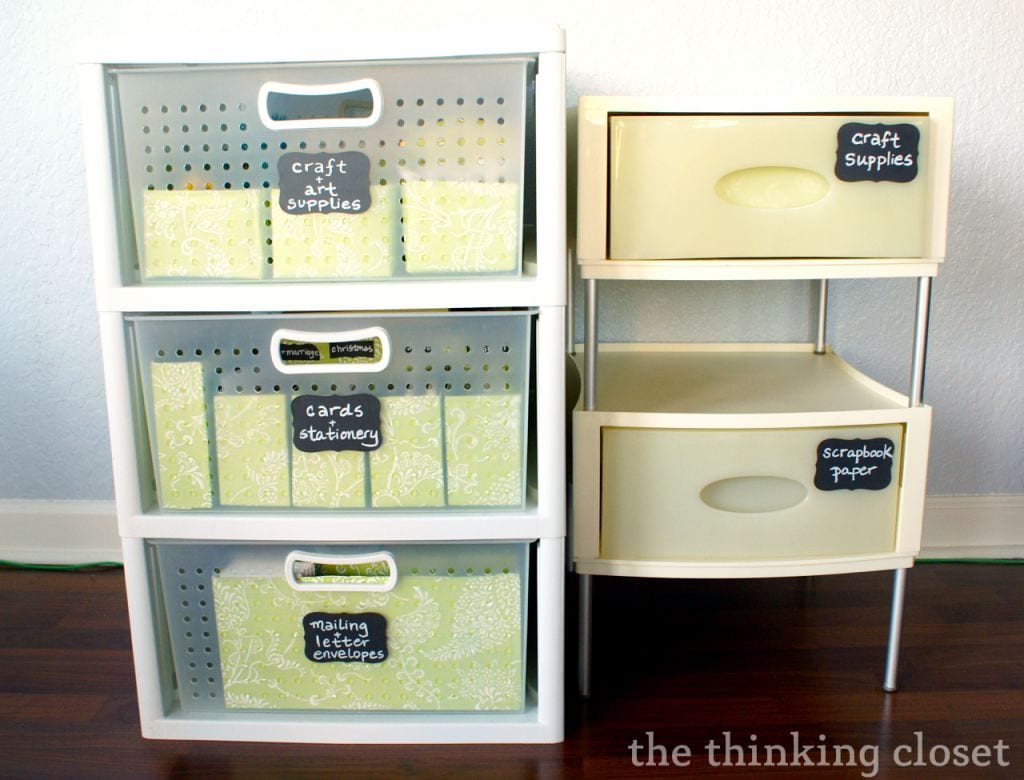
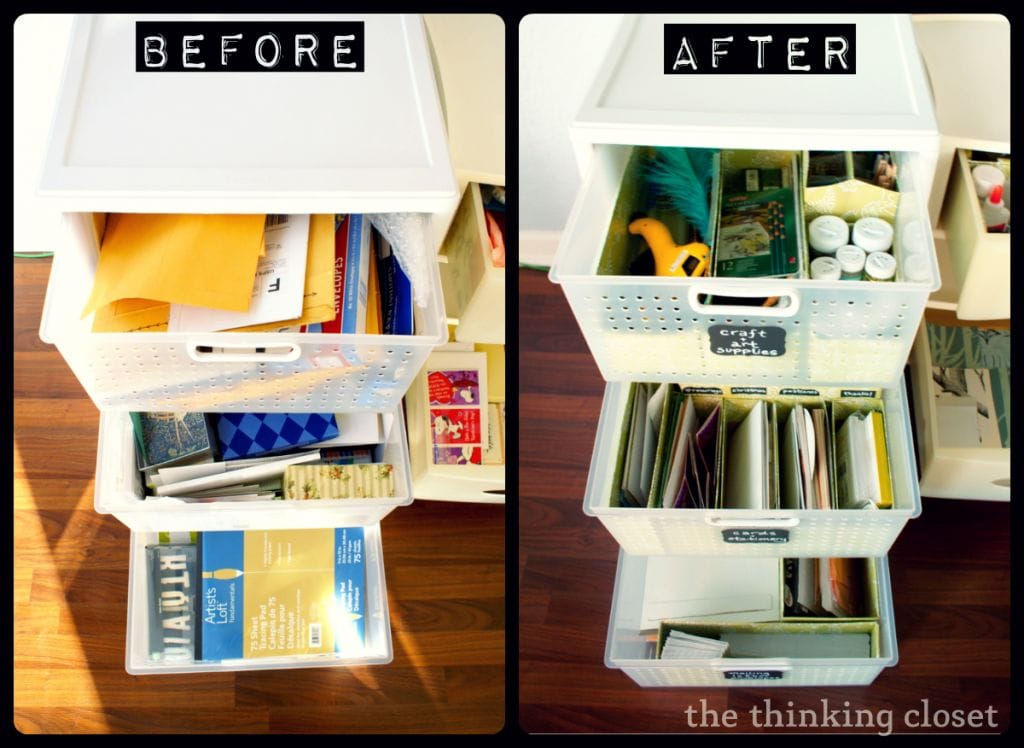
Hi friends! I just finished giving my craft drawers a major organization overhaul, and wanted to share it with you. Here’s an “after” picture:
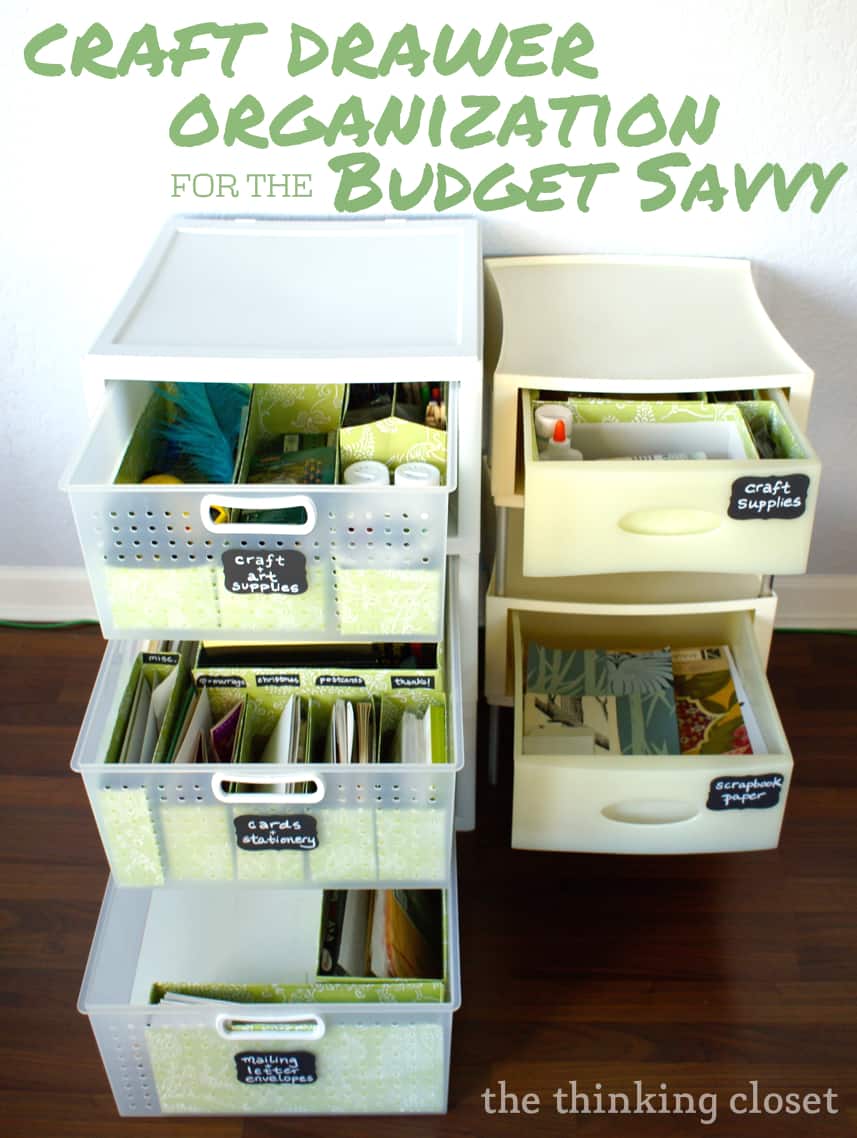
They’ve undergone quite the change. For way too long, my craft storage drawers were in a sad state of disorganization and in desperate need of some purging and a bit of structure. They were becoming more like junk drawers than craft drawers, and it became a constant struggle to find things I knew I had…somewhere. Finding something as simple as a glue stick or scrapbook scissors? I’d have better luck spear fishing while blindfolded.
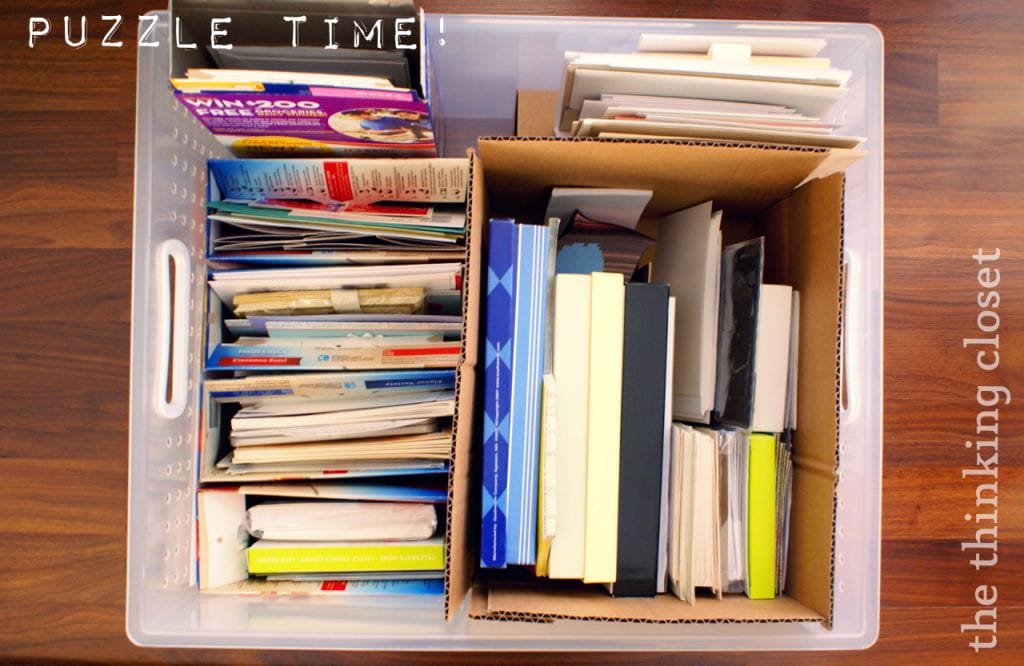
Here’s evidence in photo form:
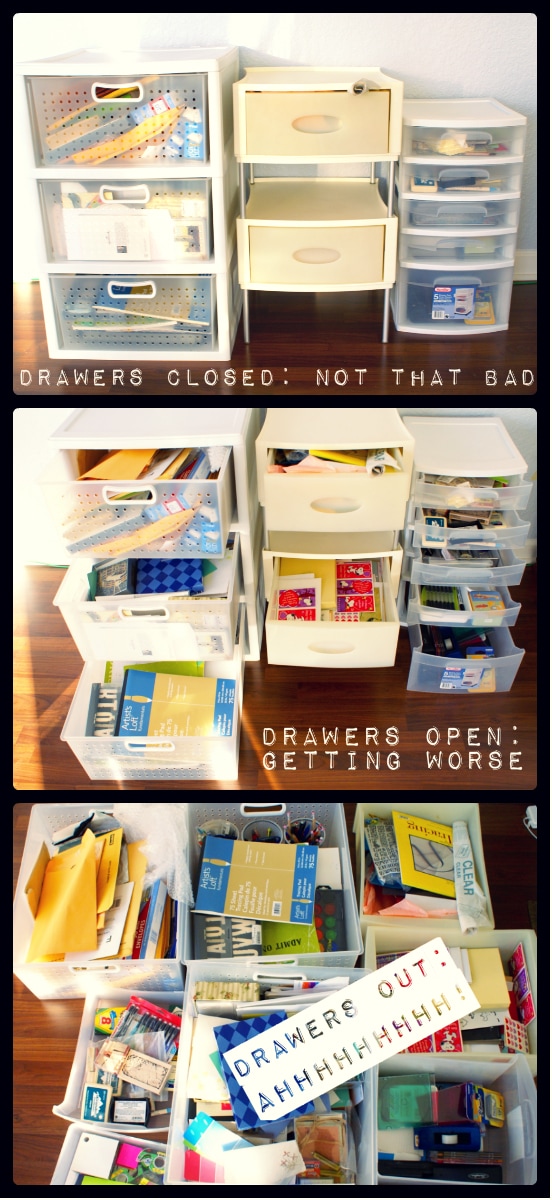
Suffice it to say, things were getting pretty scary; something needed to be done. Rather than spend money on expensive drawer organizers, I decided to go the budget savvy route and make my own! Here’s the how-to, in case I’m not alone in my craft drawer chaos and love of a good d.i.y. project.
Craft Drawer Organization for the Budget Savvy:
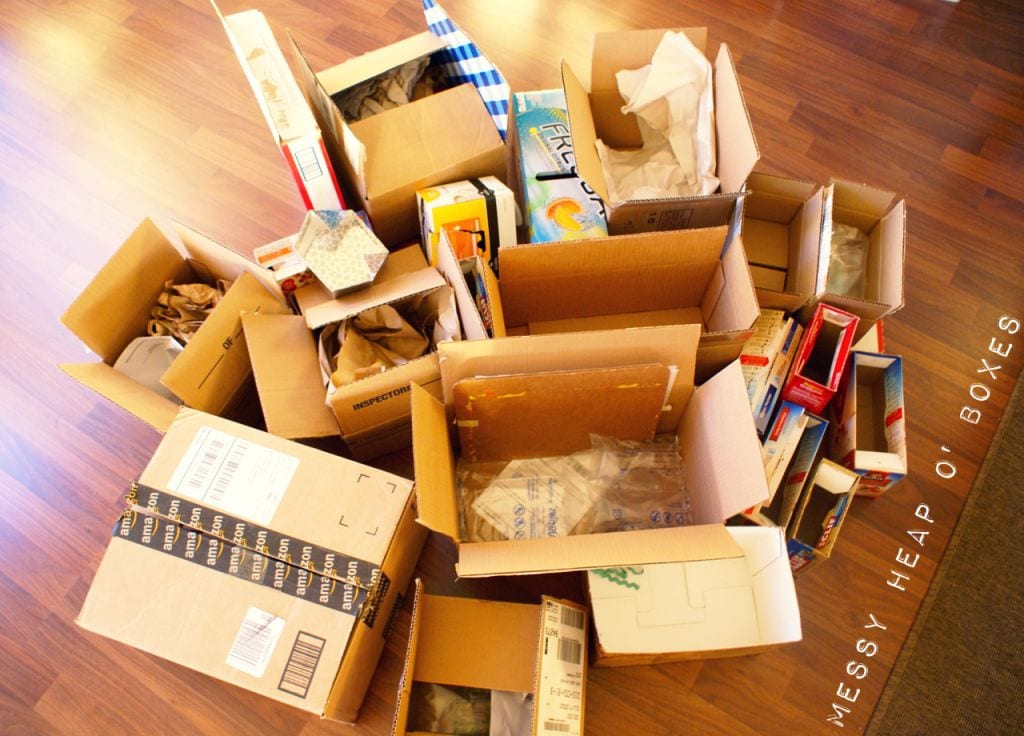
1. Gather supplies. I had been saving boxes of all sizes for a few months now with this project in mind. So, I piled them together in one messy heap. I love projects where I can incorporate recycled materials!
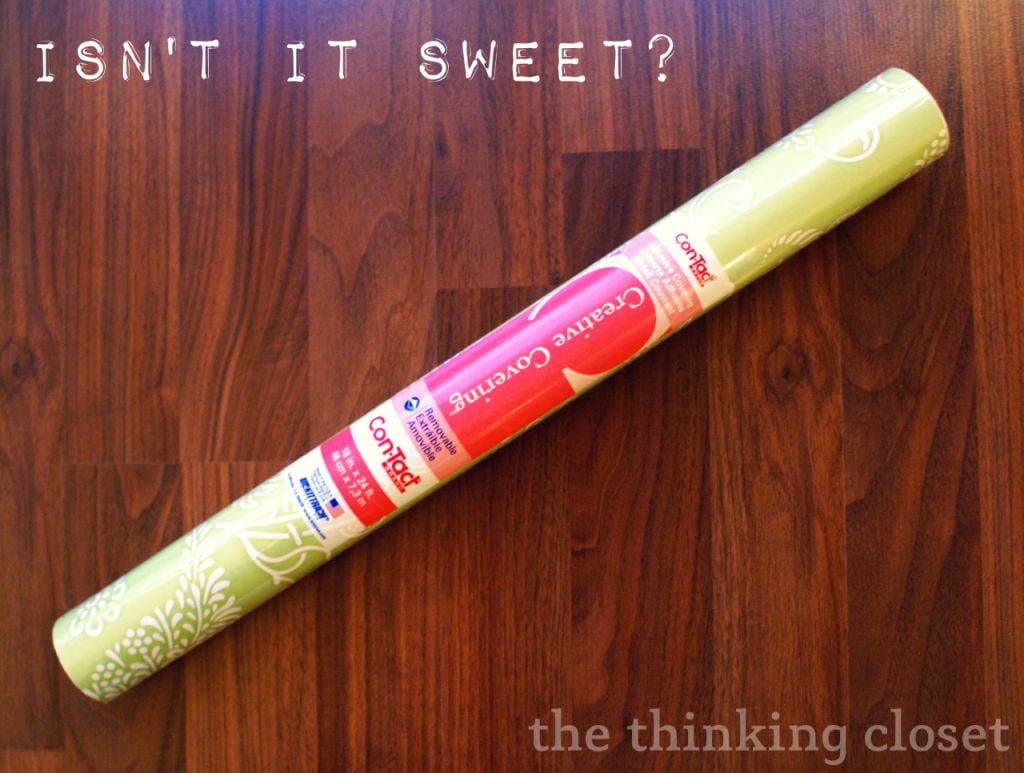
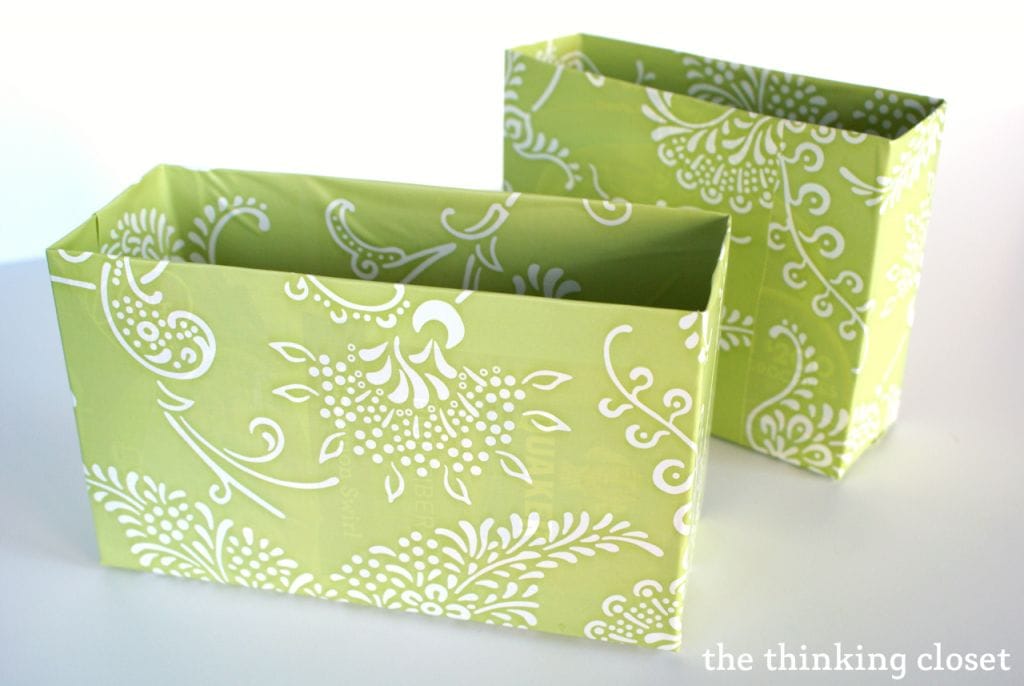
I had received some inspiration from one of my pins of a project by Lori from The Stonybrook House; she had covered cereal boxes in wrapping paper and mod podge to create a desk drawer organizer. I decided to put my own spin on the project, using contact paper instead, which definitely saved me a lot of mess and time in the end! I picked up this roll of light green floral contact paper at Target for just a few bucks.
2. Sort and purge. This is the hardest part, and I’ll be honest here: I let the messy heap of boxes just chill in the middle of our living room for a few days while I mustered up the courage to begin this process. But once I dove in, I was surprised with how quickly I was able to sort, as well as purge a bunch of items to the recycle bin and trash can. Like those bottles of dried up acrylic paint from days of old? Or the hundreds of address labels with my maiden name…from middle school? Yeah. It was high time.
3. Arrange the boxes in your drawers. Arranging the boxes is the fun part for those of you who enjoy puzzles. I found I had just the right amount of boxes to fit the items I had. My use of space was considerably more economical than it was before; I was able to fit three storage units’ worth of items into two!
4. Cover your boxes in contact paper. Contact paper worked wonderfully for this project because there was no mess; also, if the paper didn’t lay smooth the first time, I could easily remove it and re-stick it. One roll was just enough for me to cover my boxes for 3 large and 2 medium drawers.
5. Assemble your newly organized drawers and add labels! I had some Martha Stewart Home Office™ with Avery™ Chalkboard Labels on hand from a previous project, so I slapped a few of those on my drawers and labeled them with a white chalkboard marker to finish the project.
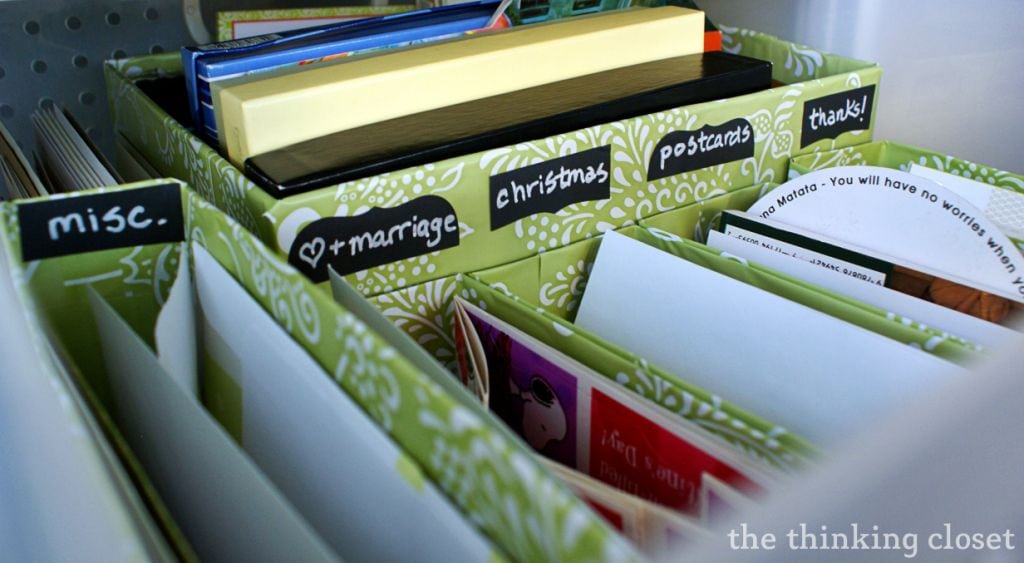
I also decided to cut up one label to create five mini-labels to help identify categories in my stationery drawer.
I’m really excited about my new system…for several reasons:
1. With this new method, each item has a “home,” making organization much easier to maintain.
2. Drawers can be easily removed, so I can grab my glitter box for a craft project and quickly return it to the drawer when I’m finished. Clean-up will be much faster.
3. It’s cute! The contact paper helps give a unified look to my drawers. You’d never know those are oatmeal and cereal and K-cup boxes under there.
4. It’s budget savvy and earth-friendly! It only cost me a few buckeroons, and gave my messy heap o’ boxes a second life.
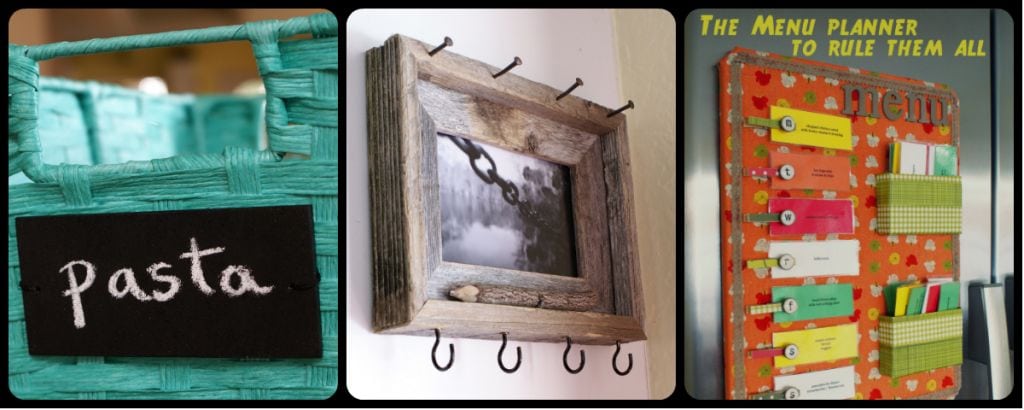
Craving more organization projects?
I’d love to have you visit me over at my blog, The Thinking Closet, where you can check out more organization goodness with these tutorials: D.I.Y. Wooden Chalkboard Labels, Rustic Key & Sunglasses Holder, and The Menu Planner to Rule Them All.
It was a delight to be able to share this project with y’all here at Or So She Says today. Happy organizing!
