Hello ladies! I am excited/nervous to be doing a guest post today but feel privileged to have been asked. My name is Jessica, a wife to Jesse and new mom to Kendyl. I just want to state, for the record, that I am not a crafty person but, luckily I have been blessed with relatives and friends that are very crafty and are willing to share their talents with me!
So, here is the “situation” (not to be confused with that dufus from “Jersey Shore”). How many of you, upon finding out that you were “with child” immediately began browsing the internet and stores for all kinds of baby goods? You know the fun stuff like bedding, clothing, shoes, and car seat covers…it’s all fun and games until you notice the prices and realize that having a baby is not cheap!! The solution for me was to look into making some of the items myself. With some help, I was able to make all of my bedding with bumper pads, as well as a car seat cover. I found that it not only saved me money but was a good expression of who I am. I like being unique and not having something that looks like what everyone else has. The easiest (and cheapest, only $30) to make for me, by far, was the car seat cover so I thought I would give a little demonstration…
The first thing (and the hardest for me) is to pick your material. I got mine from My Heritage Fabrics, they have the best selection of fabrics that are all super cute! You will need two different materials, one for the top and one for the bottom…You need 1 yard and 1/8 of each material.
You must then cut off the edge where the pattern runs out (how’s that for a technical term?) on each piece of material.
Then fold the materials in half width-wise and cut of 4 1/2 inches (these will be used later for the straps).
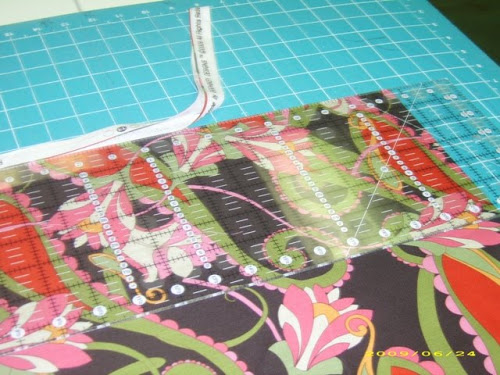
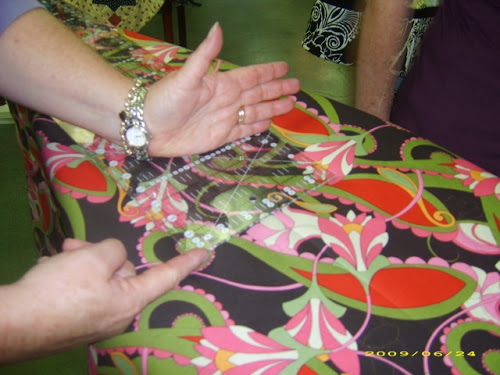
Leaving the material in it’s hamburger-folded state you must find something with a rounded edge.. we couldn’t find a plate so we used the top of a candy jar, you can use whatever you find lying around! You will trace the outline of the plate on the material and using scissors round your edges. NOTE: do not attempt to round the inner edges where there is a seam- your project will be ruined before it’s begun which is no bueno.
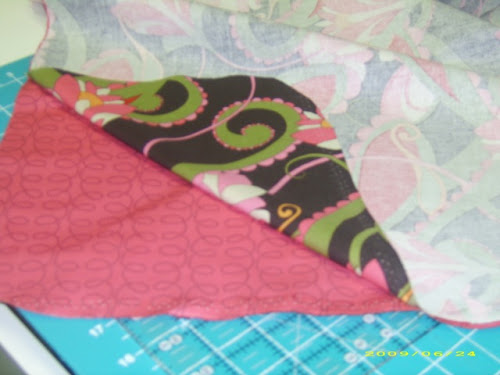
Now that you have rounded the edges for both materials you must face them “right-sides facing”. This means, for all you non-crafters like me, that you face the sides with the patterns together so that the non-patterned sides are facing out. It is easy if you lie it on a flat surface and pin the two together.. if one material is larger that the other you can just trim off the excess once they are matched up and pinned together.
With your materials pinned together, you are now ready to sew! You must leave 1/2 an inch around the edge and sew all the way around.. you must leave approximately a 6-inch whole somewhere along the edge (preferably in the middle of one side) so that you can turn the material from the inside out. It’s easiest to turn it inside out by grabbing a corner and pulling it through the hole first. Once you have turned the fabric inside out you need to iron the material, concentrating on the outer edges and seams.
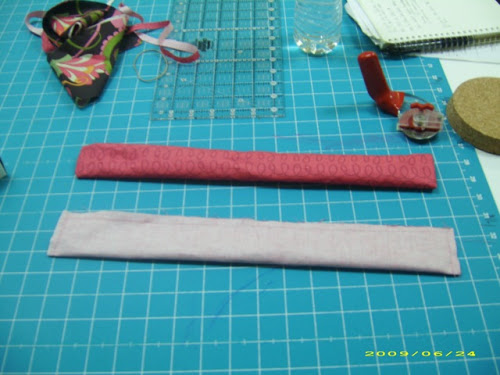
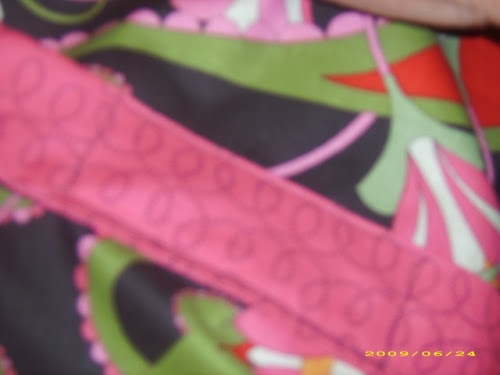
Now it’s on to the straps, you need a good pair of straps to keep them in place (your car seat covers, that is!) Decide which material you are going to use for the straps, we used the underside material, you will then cut two 16-inch pieces and fold them length-wise with the patterned side in.
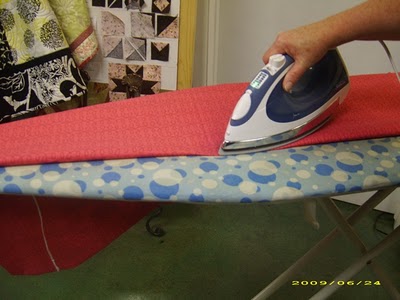
Then, leaving just a little material around the edge you will sew around the outside edge (similar to what you did with the cover). Again you will need to leave a small opening so that you can turn in right-side out. Once you have sewed both straps and turned them right side out you will press the seams.
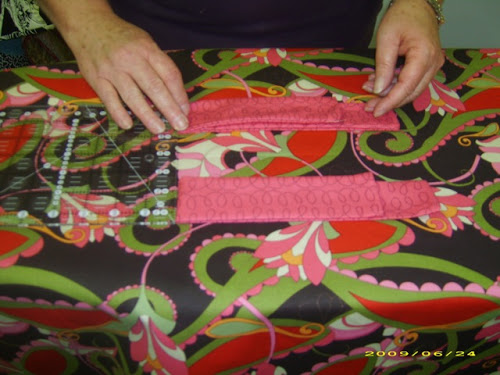
Now it’s time to attach them. First you must find the center of your cover, you can make a little seam with an iron so that you can easily identify the center of your fabric.
From the center measure 4 inches up, you need to do this because you want the front longer than the back of the cover.
So you are 4 inches from the center and you need to measure approximately 6 inches space between the straps.
Pin the straps in the place that you want them to be and sew a small rectangle in the center of the straps.
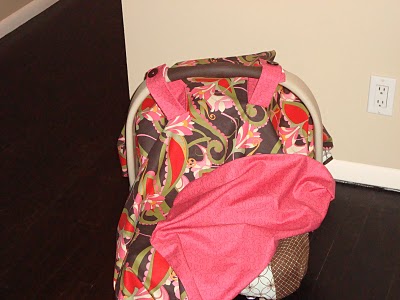
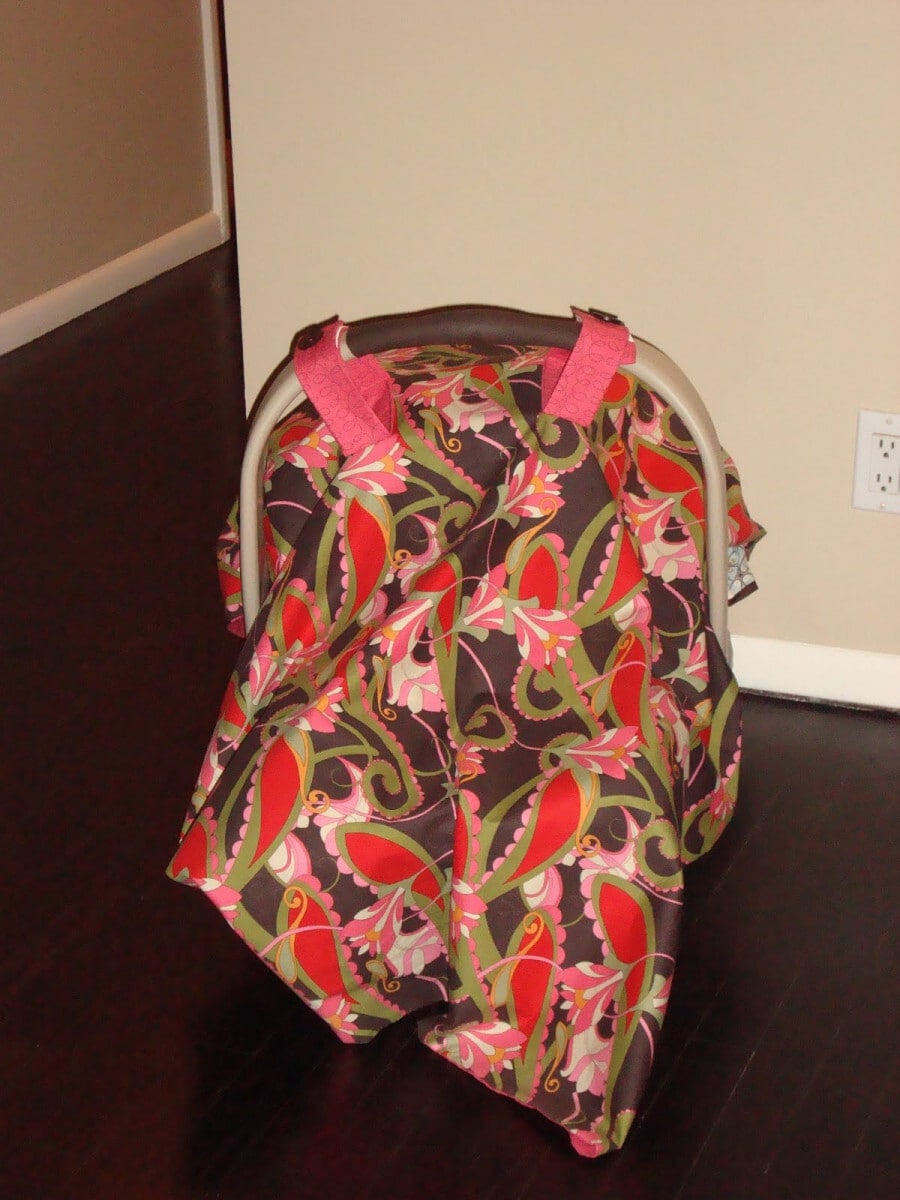
Once they are both attached you can attach Velcro to the inside of each of the straps to hold them in place. You can leave the straps as they are at this point but we attached a button on the very top for an added detail.. Last is enjoy your cover and the bragging rights that you made it yourself!!


