


I’m Becky – “The Mom @ Babes in Hairland” and I have 3 beautiful daughters – we call them Goose, Bug & Bee. Over 3 years ago I was looking for more fun things to do with their hair but couldn’t find a whole lot online in the way of little girl styles. If I found anything it was always just written instructions w/o pictures. So we decided to start being more creative and share step-by-step pictures of our styles for everyone to see. You can find ‘dos for babies & toddlers to tween styles clear up to styles for prom and those special occasions on our blog. With today’s world & the crazy busy schedules we all lead, the best part of it all is the time I get to spend with each of my girls one on one each day. In the end it’s not about the hairstyles – it’s about that special time with each of them. Thanks for checking out our blog!
Clear back when I came up with THIS style, doing what I call a feather braid or cascading braid, I’ve had it in mind to do the style I’m posting today. It’s been ages, and I finally go around to doing it the other day on Bee. It turned out quite pretty I think, and could be used for a little flower girl at a wedding, or probably just about any special occasion you’re attending. It really is quite simple but looks rather fancy, I thought!
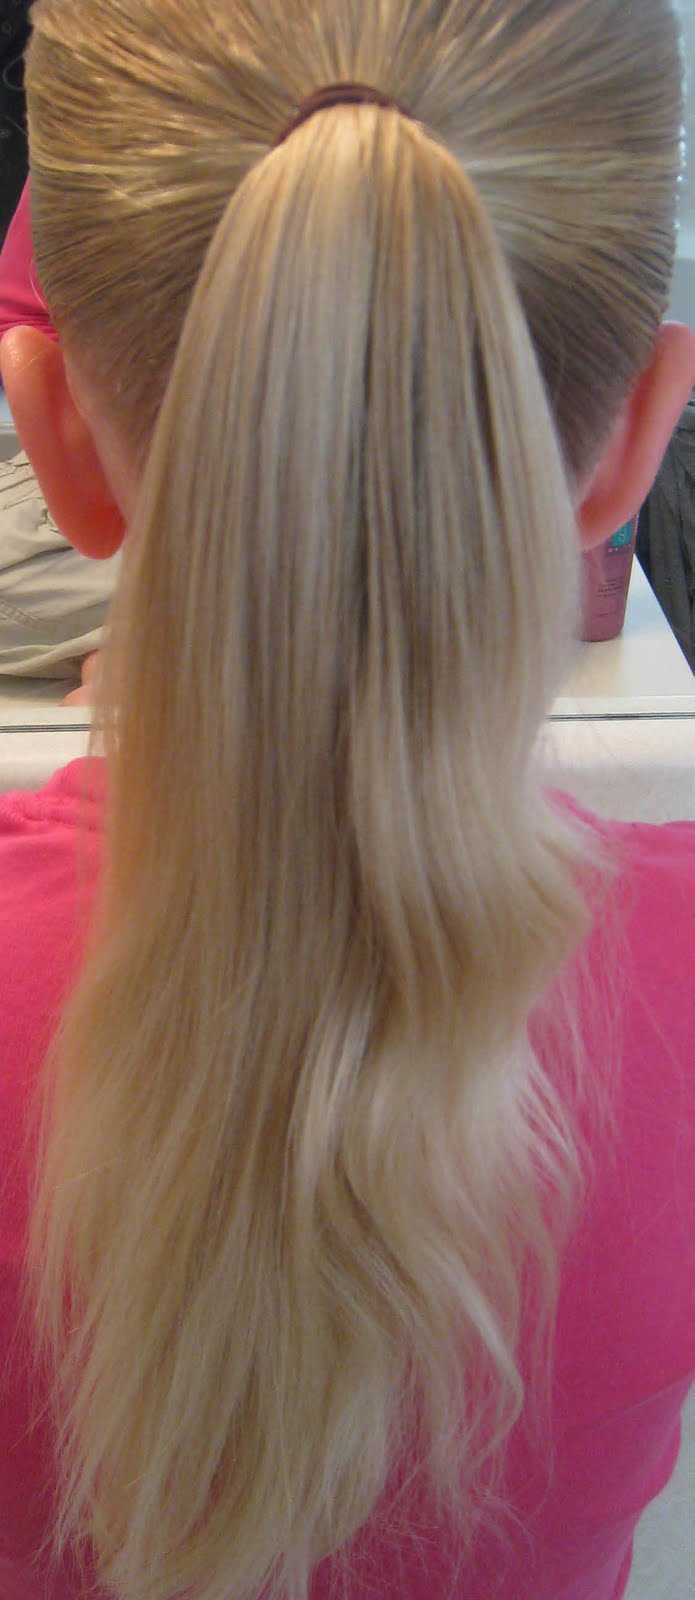
Make a basic ponytail wherever you want on the head, and secure with a rubber band.
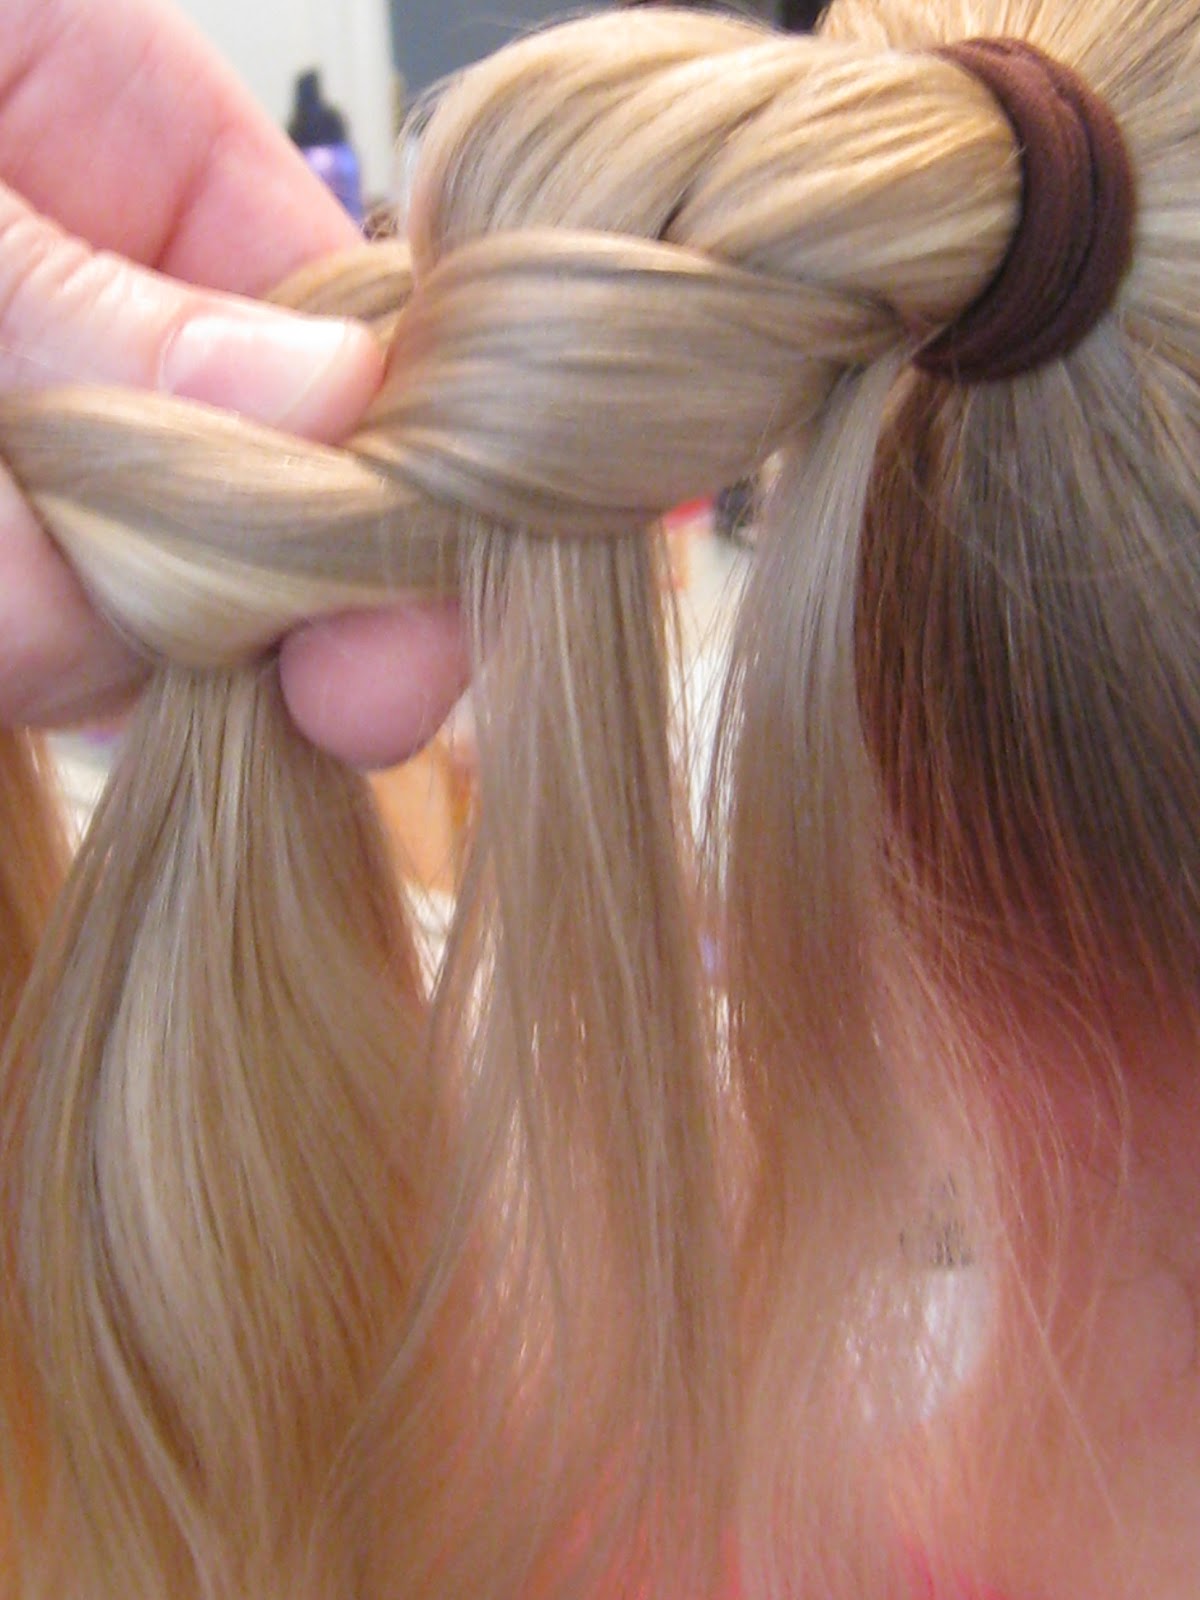
Begin making a basic 3 strand braid – but pulling sections out, as shown in my video HERE for a Cascading or Feather Braid. In the video I use wet hair, which is a bit easier, but you’ll want dry hair for this style, since you’re curling the sections you pull out.
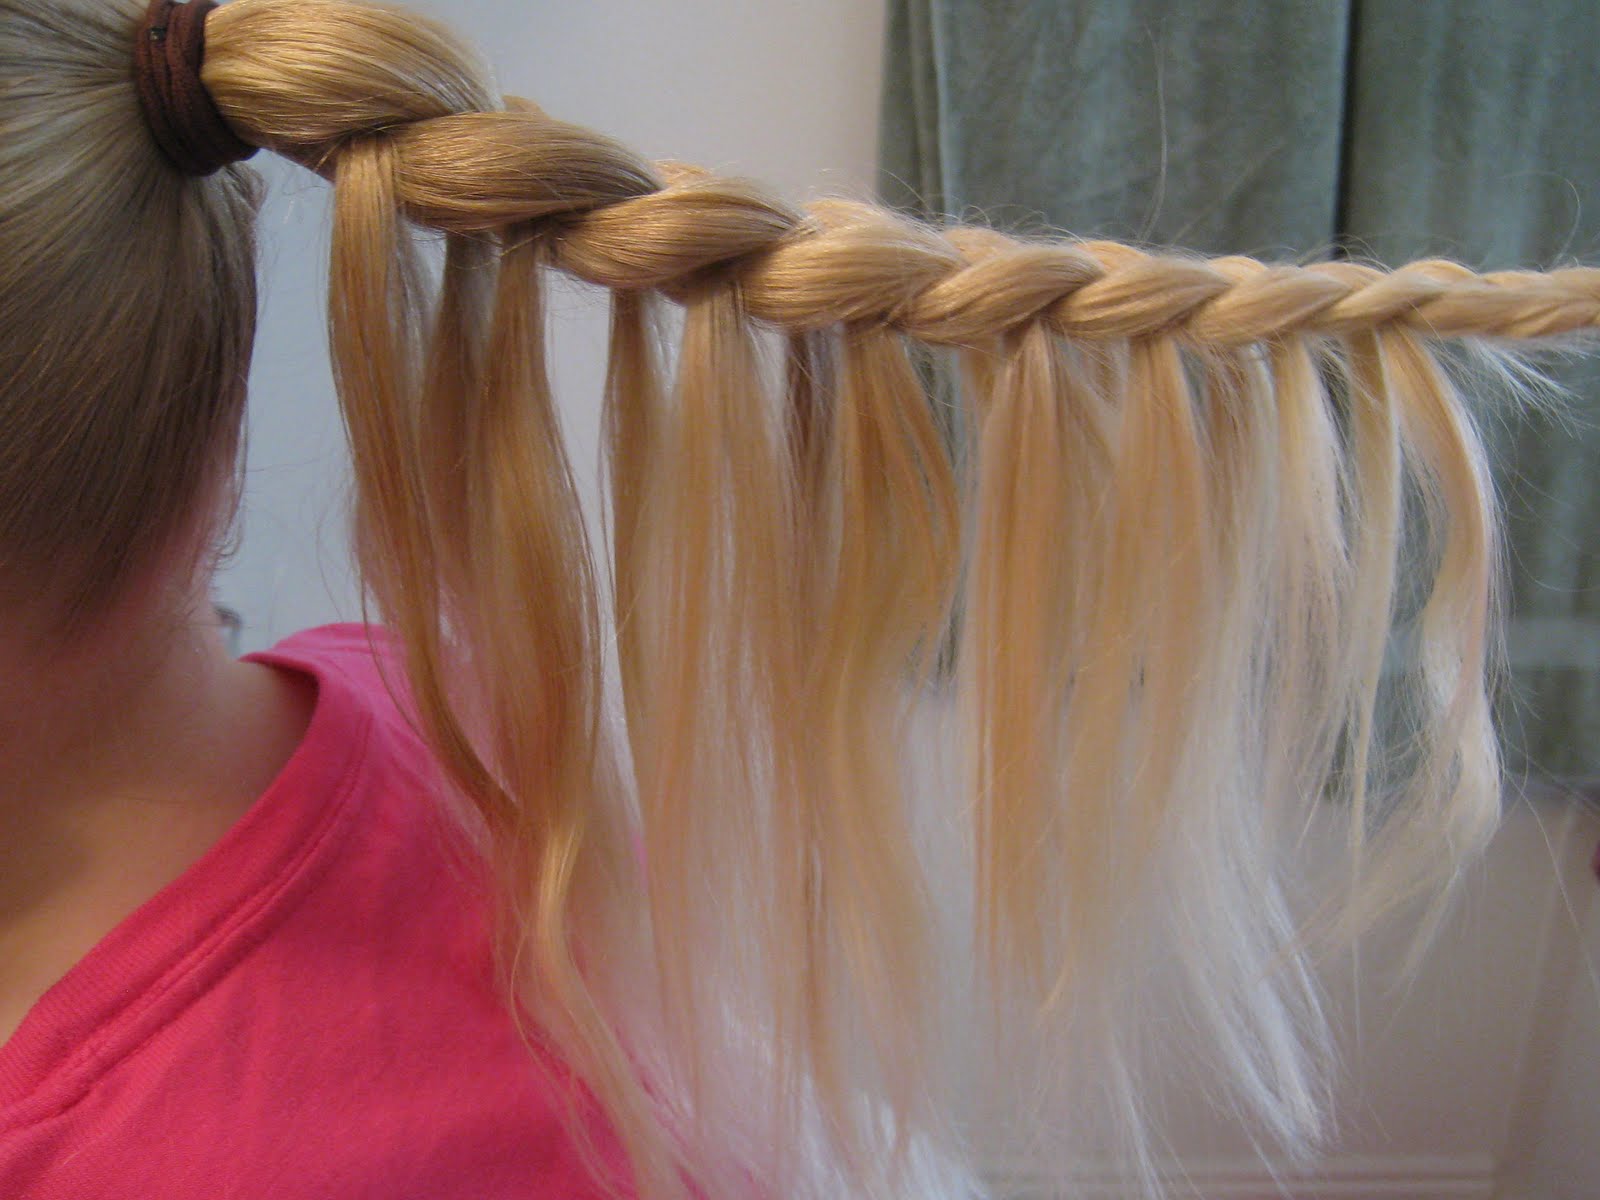
Braid all the way down to the ends of the hair. I pulled hair out from each side of the braid as I worked my way down. Secure the end of the feather braid with a little rubber band.

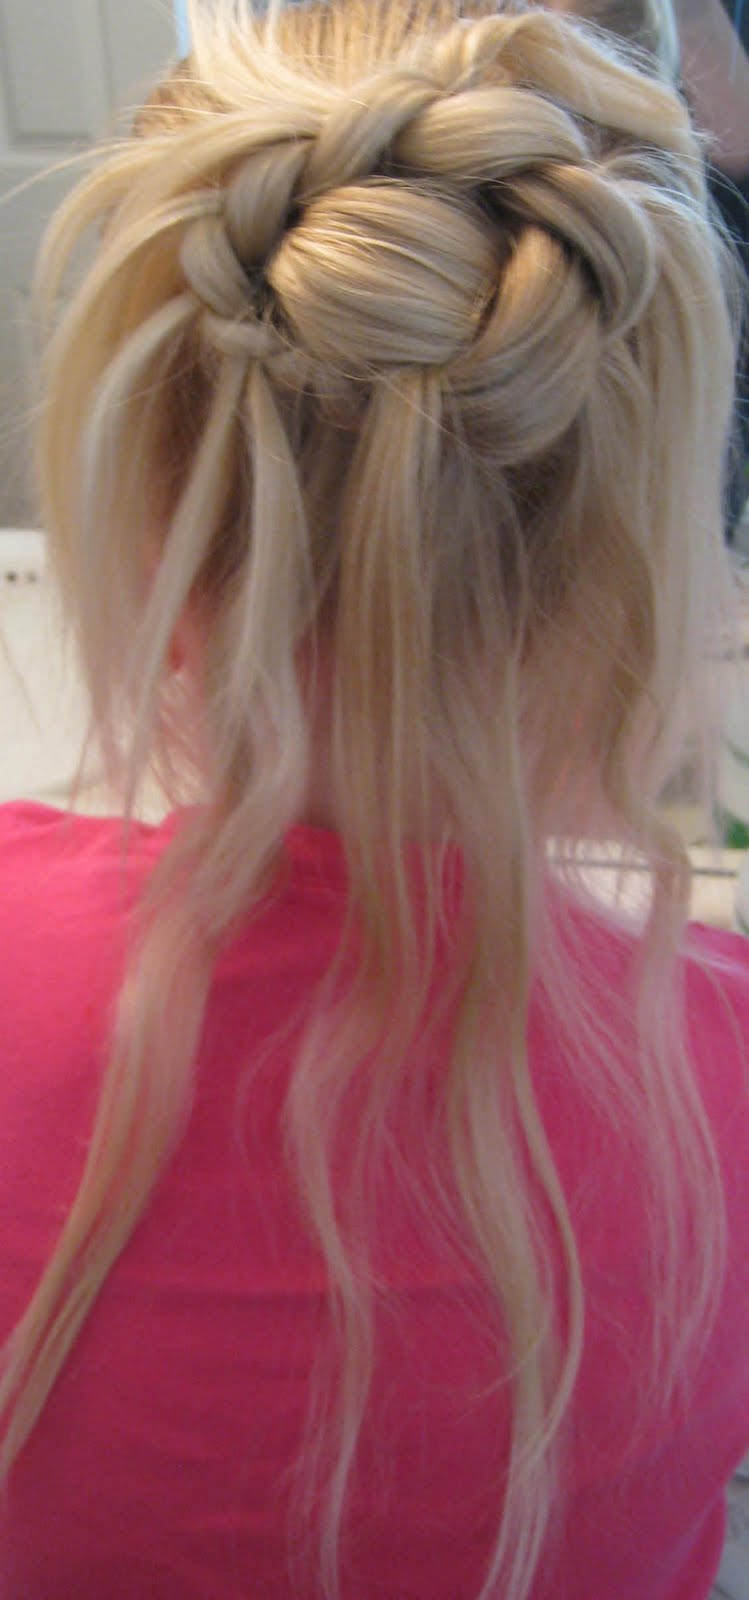
Then wrap the hair to make a basic bun. I wrapped mine to the left. Secure the bun with a few bobby pins as needed. Be sure not to push bobby pins in anywhere where you have the loose sections of hair hanging out. You want those to be free.
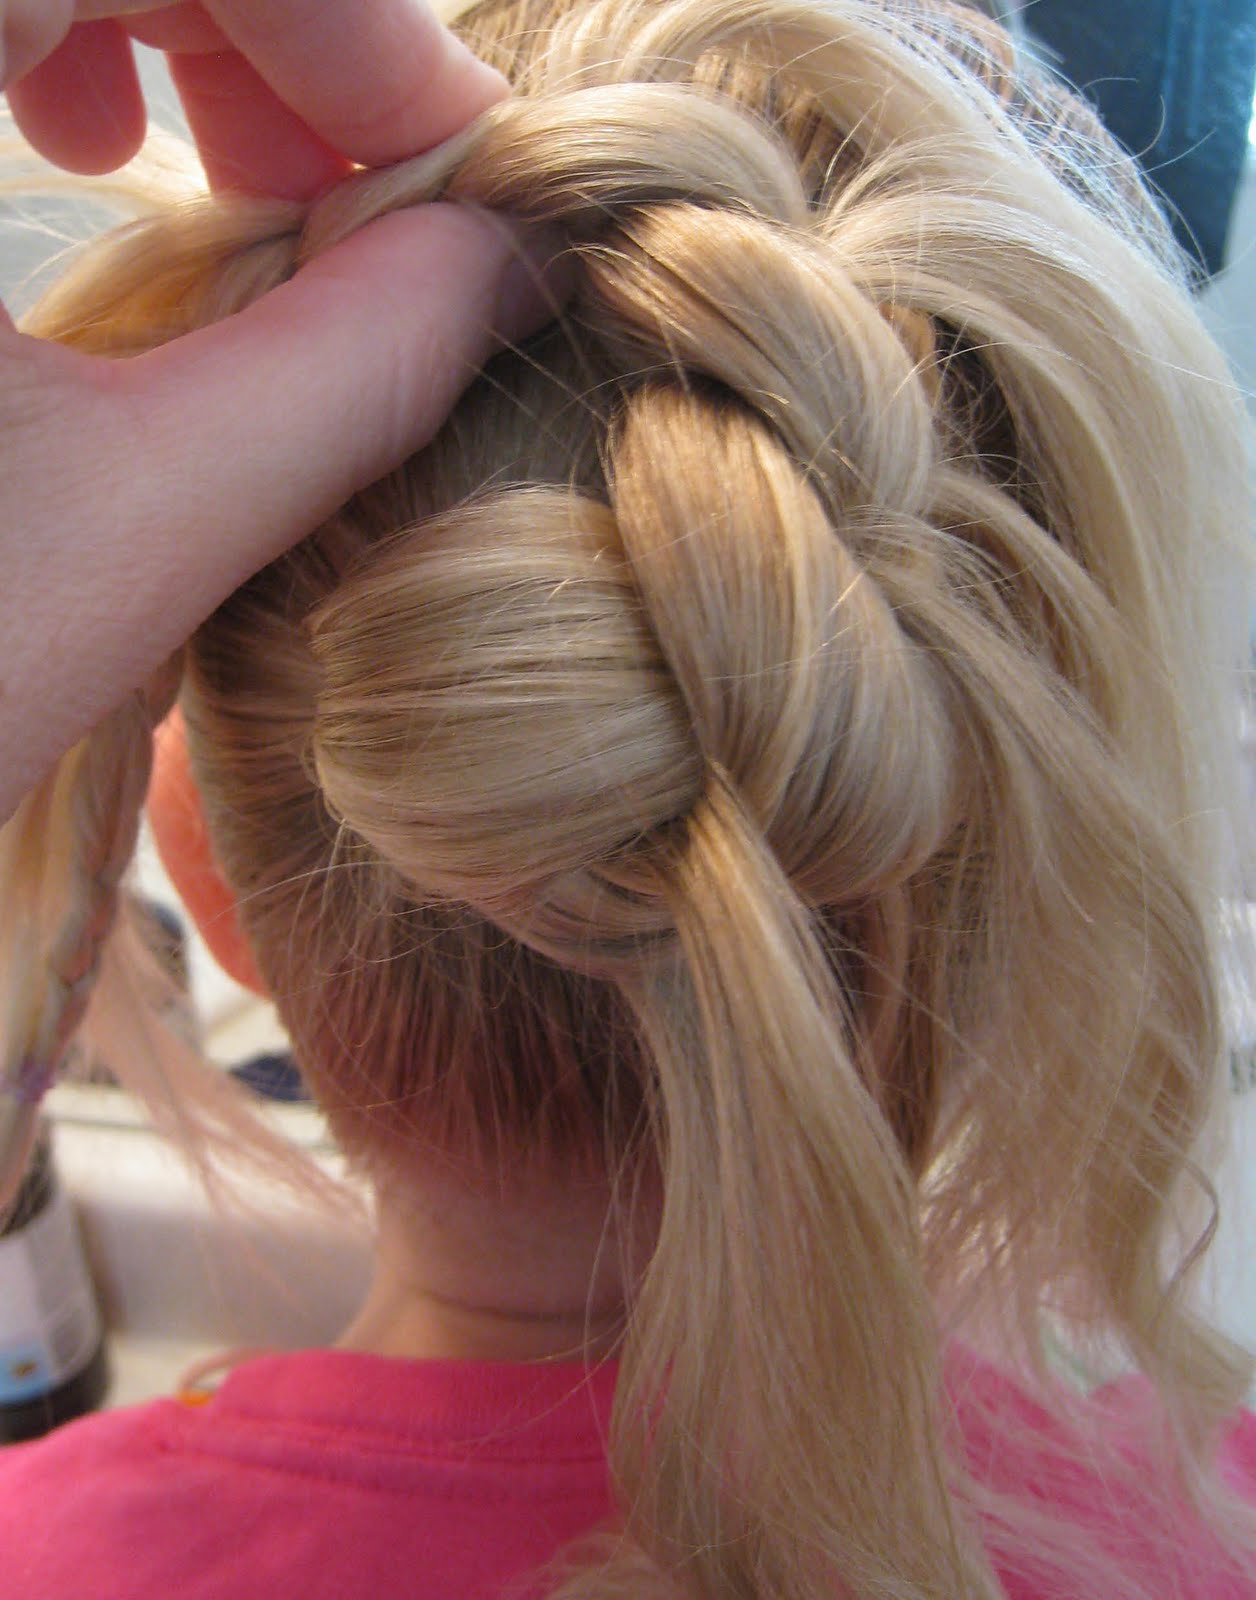
Once you’ve secured it, it’ll look something like this. Kind of crazy.

Take a small curling iron & start curling all the sections of hair that hang off the bun. Be sure to curl them in opposite directions sometimes so you don’t end out with one big ringlet.
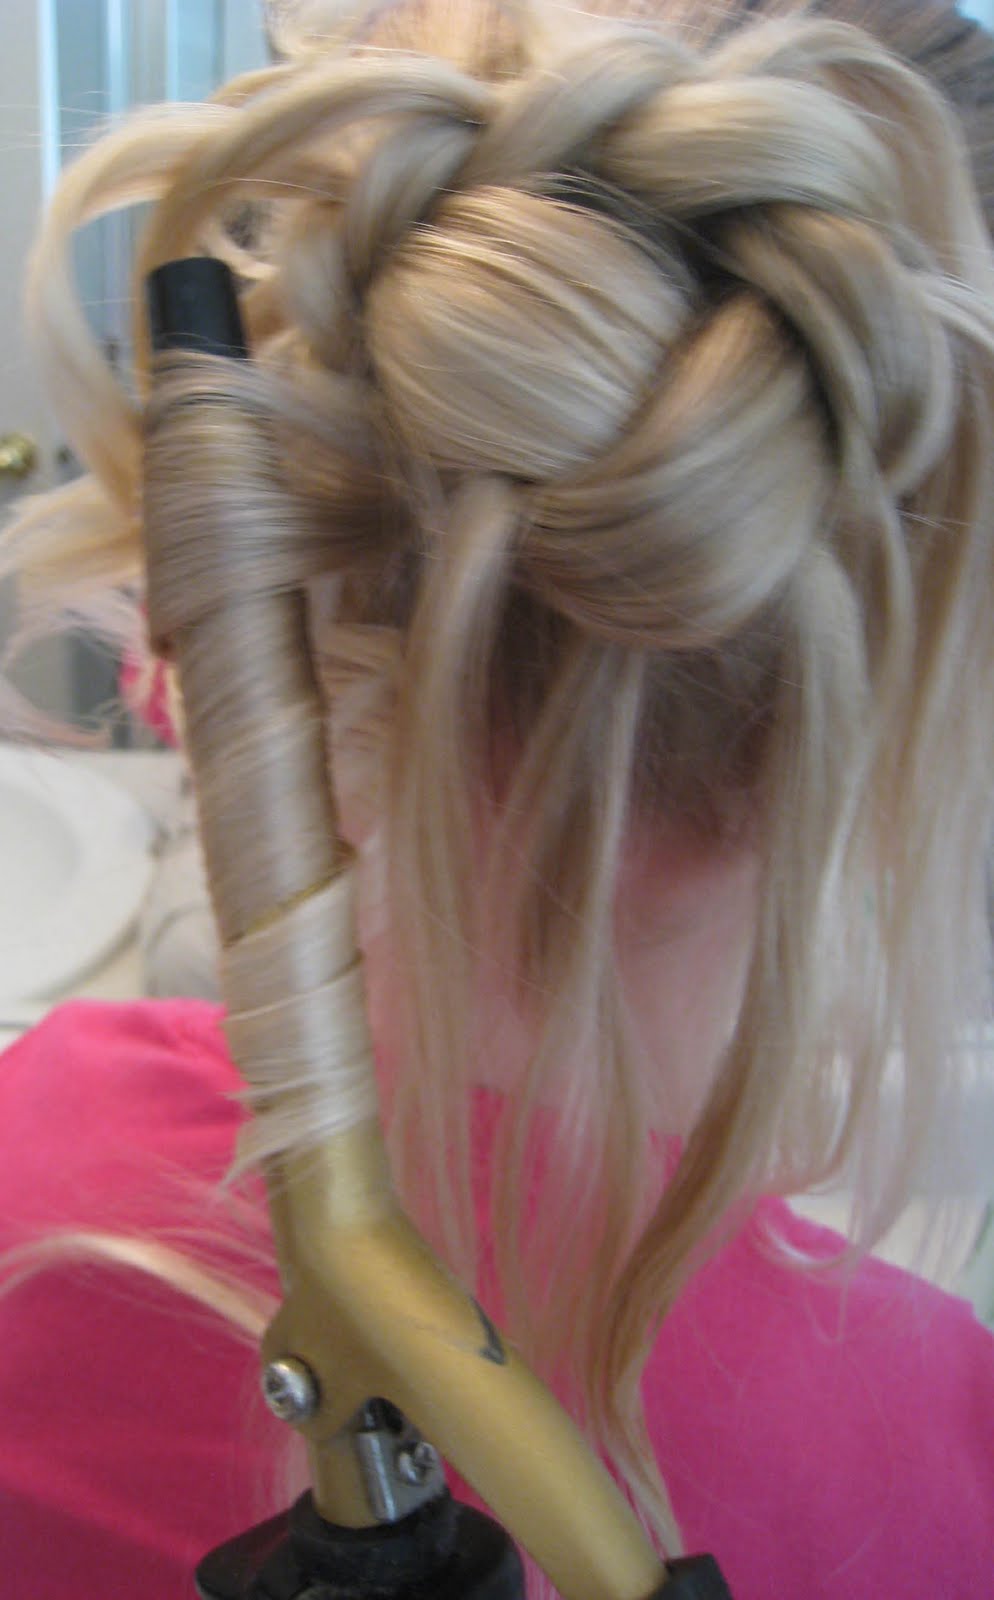
I lightly sprayed each section of hair with hairspray before I curled it too. Once I’d curled each section, I separated a few of the longer ones that hung down in back & pinned them up onto the bun randomly. I forgot to take a picture of that. You can omit that step if you want, but I wanted it to look a bit fuller so I did that.

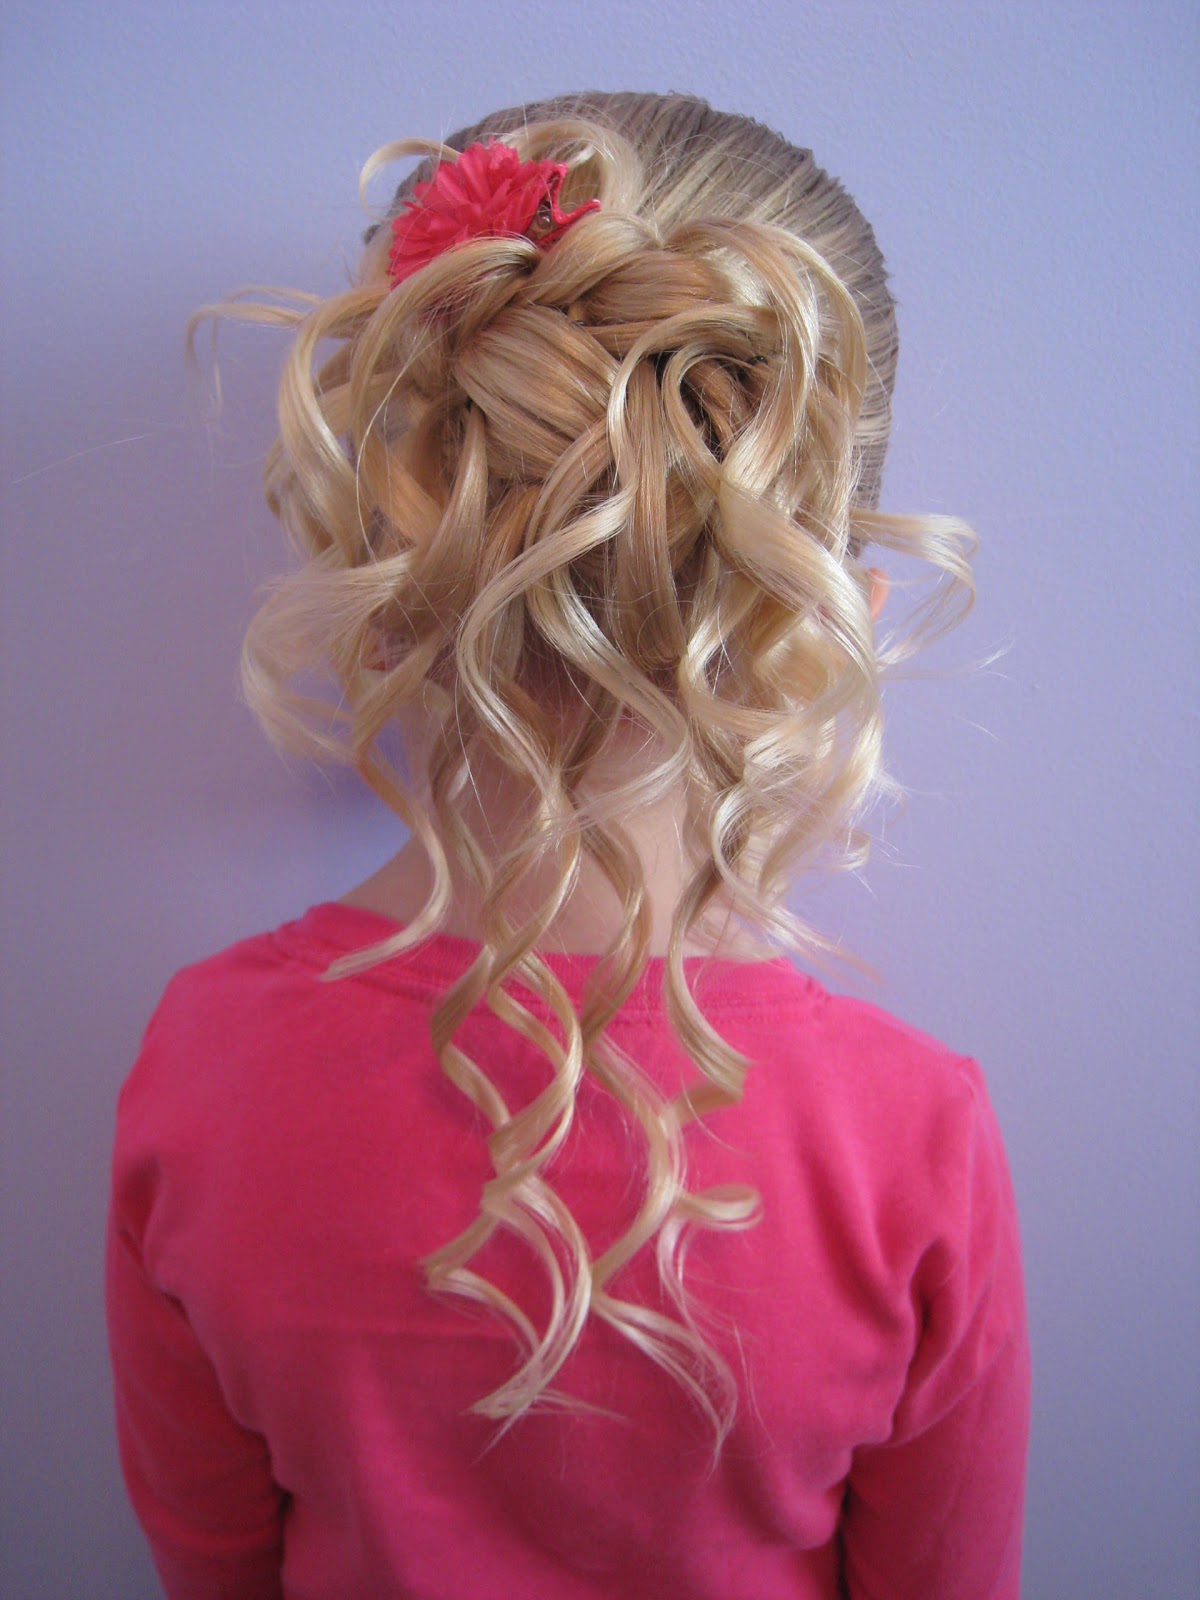
And here is the finished product — you’d never guess there is a regular ol’ bun in there, huh?! I added a sweet little flower clip from Gimme Clips that matched her shirt perfectly. You could dress this up with bobby pins with bling, or any fancy accessory for your special day.


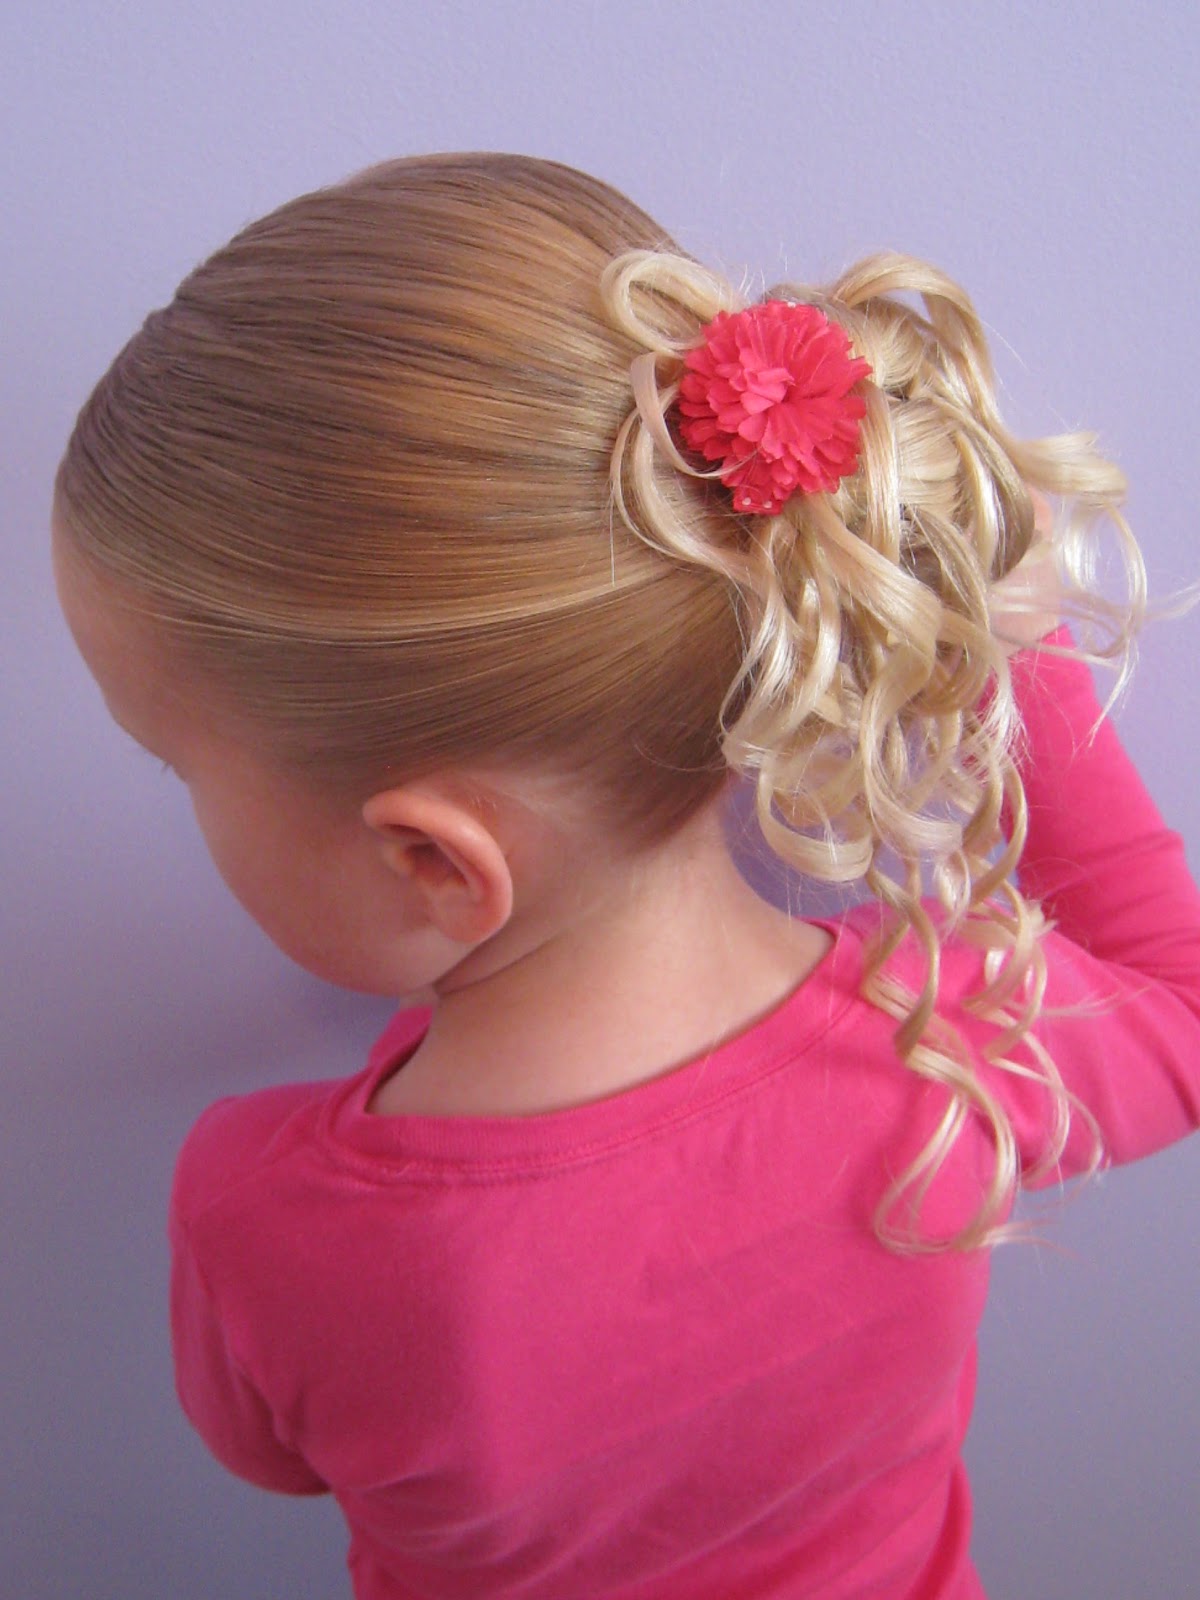

I really liked how it made her bun look so much fuller & added so much to a regular basic bun. In a way, it almost reminded me of those “fake hair pieces” you can buy that people put around buns to enhance them — but this looks WAY better!!! Now you can do this & not worry about the hair matching yours or people wondering if you’re wearing fake hair! 🙂
Anyway, hope you like it.
~ Becky