
Good morning, Or So She Says readers! And happy Labor Day! I’m really excited to share today’s project with you, but first, a little backstory.
I’m a messy person by nature. In fact, let me describe to you my surroundings right now.
I’m on the living room couch, half-sitting on some slippers. To my right is a bowl of grapes, a random hanger, a pair of shorts, and half of a throw. The other half is on the ground. In front of me, the coffee table is covered in mail (which has been there for days), a kitchen timer, a hair clip, a bottle cap, and oh yeah – – a bag of mozzarella cheese that really should be in the fridge. And that’s just the surrounding area. And I don’t even have kids yet.
Have I painted a vivid enough picture? Does it sound like your home, too? Oh, good.
As messy as I am, I’m a person who craves having organizational systems. If I do have a system in place, then I’m much more likely to keep a space organized over time. So, throughout the year, I’ve been working my way through various messes to bring some order to the chaos. My craft storage, fabric stash, and front hall closet have all undergone major transformations in the past few months. My latest victim has been my necklaces!

For a whole year, my poor necklaces have been dangling precariously from our bathroom light fixture. That might not be so bad except there’s a tiny necklace-sized gap behind our vanity that is otherwise known as no-man’s-land. I’ve already had one earring casualty back there, and every time I reach for a necklace, it’s a bit of a rush. Necklaces are risking their lives here, people.
As a result, I don’t really wear necklaces very often. Not only is it risky business, but it’s hard to see what you have when everything is all clumped together in a tangled mess. Clearly, something had to be done!
And something was done. I give to you…my rake necklace hanger:

And here’s the run-down of how to make it…in case you want to get out of raking leaves this fall. {Smile.}
Rake Necklace Hanger Tutorial
Step 1. Get your hands on a rake. I’ve had my eyes peeled for a rusty, old rake ever since I first saw this pin many moons ago. I scoured garage sales. Thrift stores. My neighbor’s garage. But no dice! So, I gave in and bought a new one at Home Depot for $9.97. Done.

Step 2. Chop off the handle. Mark loves it when I invite him to help me with DIY projects, especially when they involve power tools! And he’s happiest when cutting with his new favorite tool, his RIGID reciprocating saw.

First, we secured the rake to Mark’s workbench using his IRWIN Quick-Grip Clamp. Then, he chopped off the handle just above the metal cuff. Since I wanted to eliminate the handle entirely, he cut a slice straight down the open face of the handle, careful to stop when he struck metal inside. After, he carefully worked his way through the metal cuff until it was cut through on one side.
{Fun fact: If you didn’t already guess, the magic of a reciprocating saw is that it can cut through metal…which makes it awesome for disassembling pallet boards because it can cut right through the nails.}

Then, we used needle-nosed pliers to pry off the metal cuff…and…presto! From there, the rest of the wood was easy to remove.

Step 3. Lightly sand the metal. I knew I wanted to paint my rake, so I just took some fine grit sandpaper to the metal surfaces as prep before painting.

Step 4. Spray paint time! Luckily, I had exactly the spray paint on hand that I needed. It was the same spray paint I used on my DIY Subway Art Canvas: Rust-oleum Painter’s Touch Primer in Gray and then Semi-Gloss in White. Just two thin coats of the primer covered it, followed by four thin coats of the white!


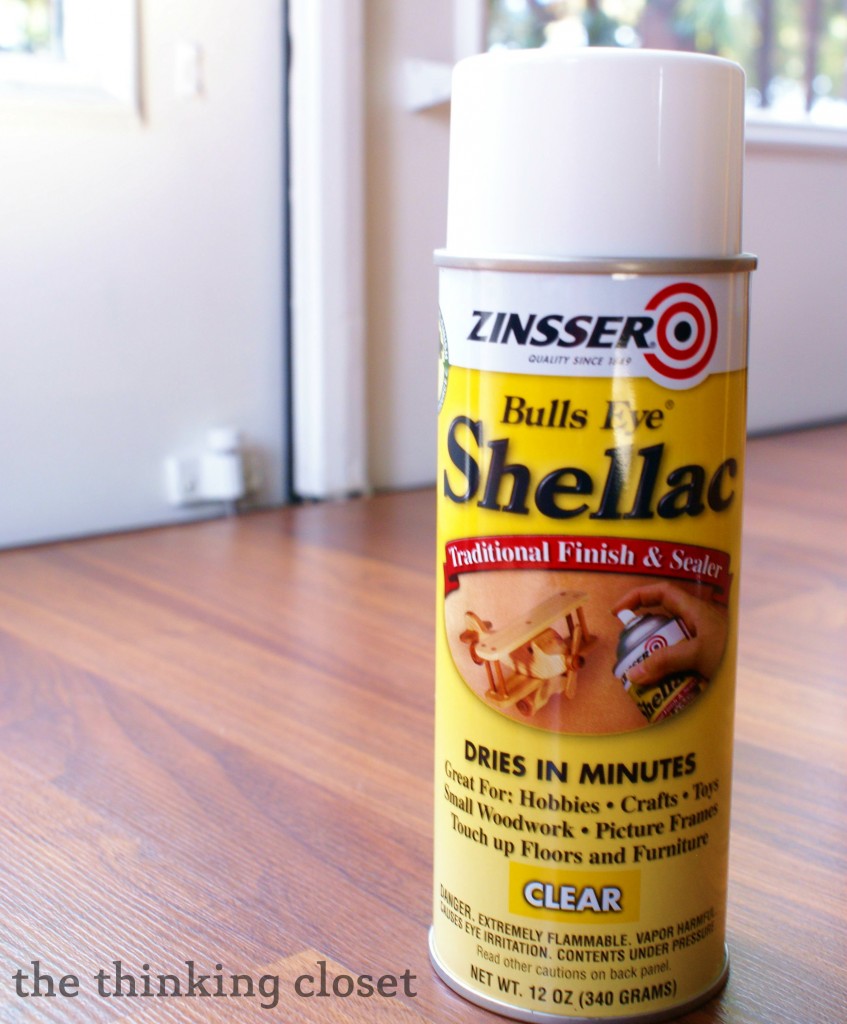
Step 5. Seal it. We had some Zinsser Bulls Eye Shellac Spray on hand, so I used that to seal the project. Keep it mind that shellac can add a slight yellow tint to your paint, which is a good thing if you’re going for a more “aged” look.
Step 6. Add twine or other embellishments. I decided to wrap some twine around the top of the metal, just to add some texture to it (and because I really heart twine). I remembered from my forays on Pinterest that Sarahndipities came up with the clever idea to run a line of twine across the rake for some earrings. Earrings are my jam, and I can never get enough earring storage, so I made that addition.

Step 7. Drill a drywall screw into your wall, hang your rake necklace organizer on said screw, and call it a day!
Here she is, hanging up in our bathroom. Our Office calendar will have to find a new home because this rake is here to stay. And now, I can actually see what I have and access it with ease. It’s almost like rakes were meant to display necklaces or something!


I’m preparing to rake in the compliments on all the necklaces I’ll be rocking now! {Sorry, I couldn’t help myself with that one.}
Craving more necklace organization ideas?
Be sure to check out my round-up of 25 Creative Solutions to Necklace Organization, which I’m sharing over at my blog, The Thinking Closet…today! It’s chock full of clever organization ideas that you can easily DIY, just like this one.

Well, friends, I hope your Labor Day is relaxing, restful, and rejuvenating! Until next time….