Donna here from Australia.I’m a mum (mom) of 6, 5 girls and 1 boy and yes he is in the middle poor soul. Also I’m homeschooling the three youngest girls aged 4, 7 & 9.I’m also the author of the blog flowers’n’plaid homeschooling. I would add a picture, but I’m currently on immunosuppressant therapy and you know the Tim Allen movie Santa Claus where he looks in the mirror every day and his face has swollen even more as he transforms into the size of Santa,and people say to him “what happened to you,” he answers “bee sting”. Well that’s me.
This is just a little activity that is not exclusive to homeschooling but any mum can do with their little people…
One of the fun suggestion that Sue Patrick,(homeschooling guru) of the workbox origin, mentioned is having various ‘centers’. While the use of centers ( areas set up with specific hands on activities) is not a unique idea as I did this with my now 21, 19 & 17 year old’s when they were little and while I was studying Early Childhood at University. they are part of the workbox system (a way of delivering set work for the day to each child)
The center that I’ve been focusing on now that I have our homeschooling room up and running ( I must say day one was a dream) is the poster centers. My kids love anything interactive. So here is how it works.
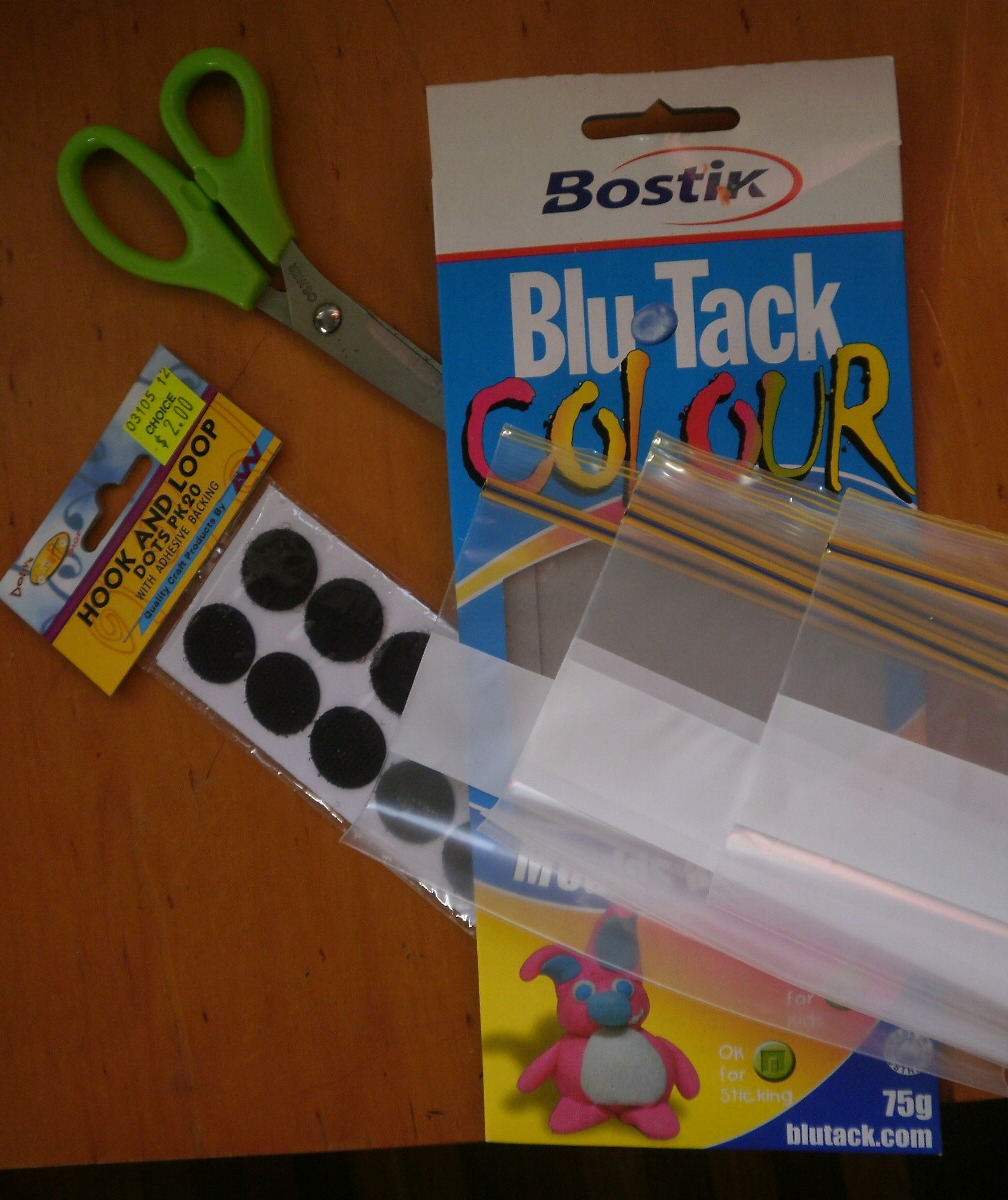
SUPPLIES
.2 posters of choice
.Scissors
.Velcro dots
.Ziploc bags
.stapler
.bluetac (only if you want to hang them on the wall)
STEP 1
Purchase 2 of a variety of posters from cheap shops, education stores even our post office has a large range. Where ever you come across them. Now buying 2 is the key.
STEP 2
Leave 1 poster as is and cut the other one up into whatever works best with the particular posters. I have include a few photos of some we have.
STEP 3
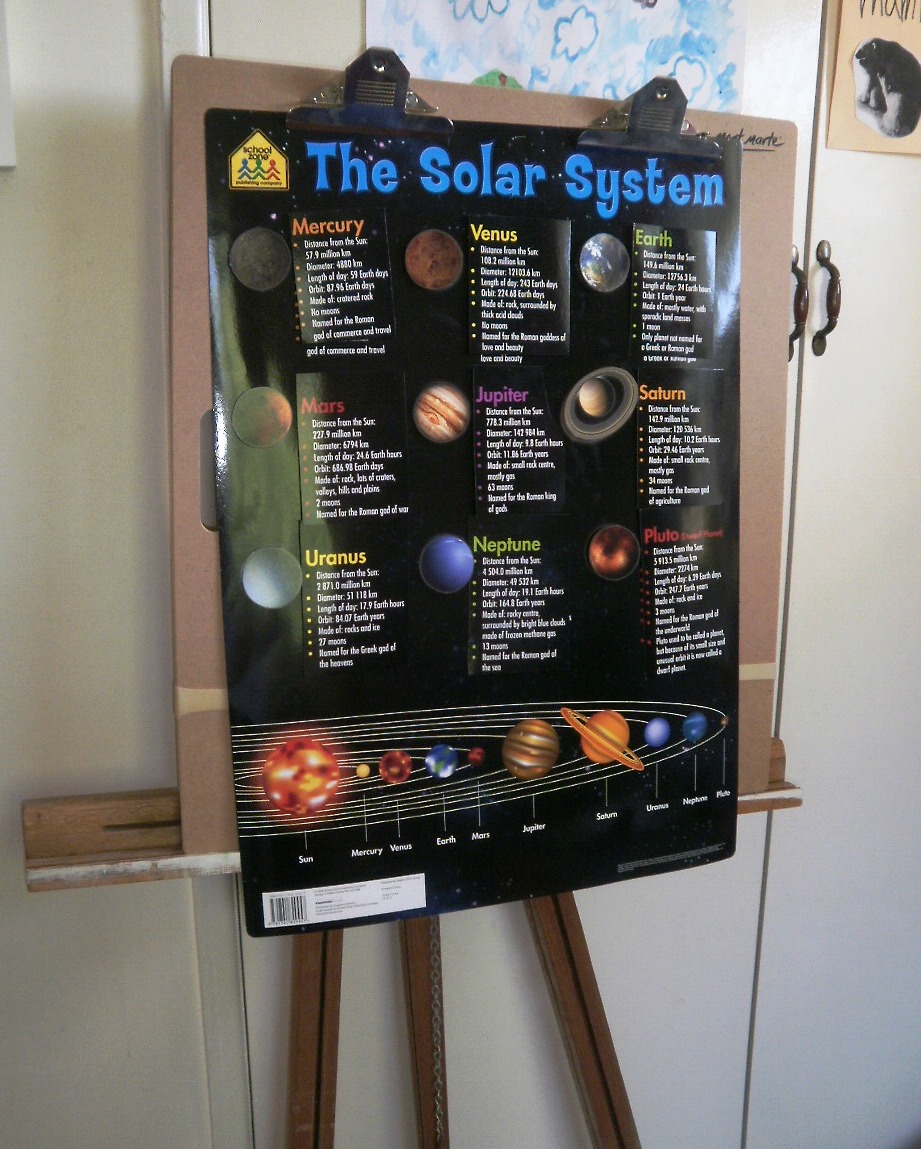
Strategically place Velcro dots, which are also available at your local cheap shop, onto the poster in appropriate spots so as not to hinder the actual picture as much as possible. Then place corresponding Velcro dots onto the ‘cut’ poster pieces.
STEP 4 Now where to put it? I use an artist easel and sketch board because that’s what I had and it’s easy to fold up and put away in the cupboard.Also we can take the sketch board outside as you can see in the first picture. Lucy wanted to work on the veranda in the warm sunshine. You could bluetac (not sure what the universal word is for that)it to the wall each time you want to use the poster center or a child’s painting easel would do. Really it’s what ever works best for you also taking into account the size of the poster.
STEP 5
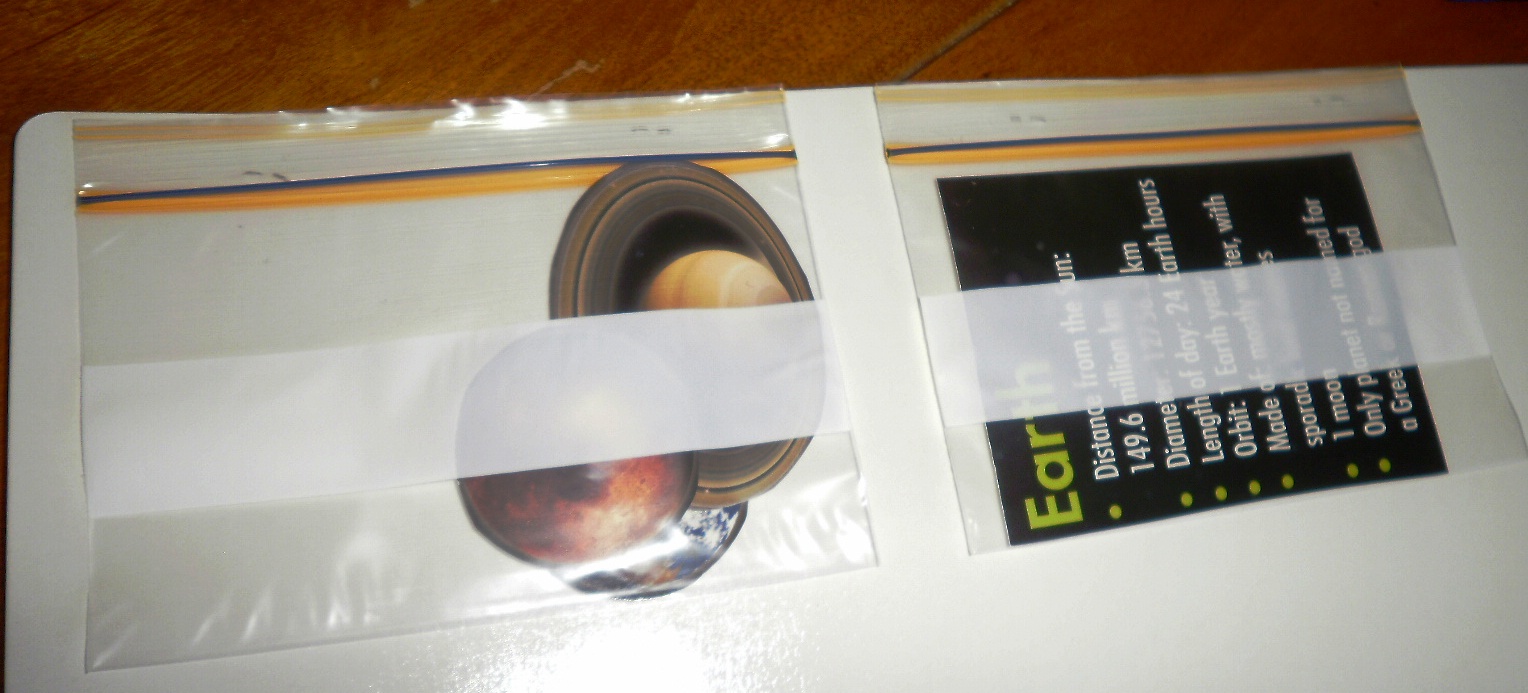
You provide the kids with the cutouts and they match them to the corresponding part of the poster. I staple a Ziploc bag to the back of the poster to store all the ‘parts’ in ready for the next time.
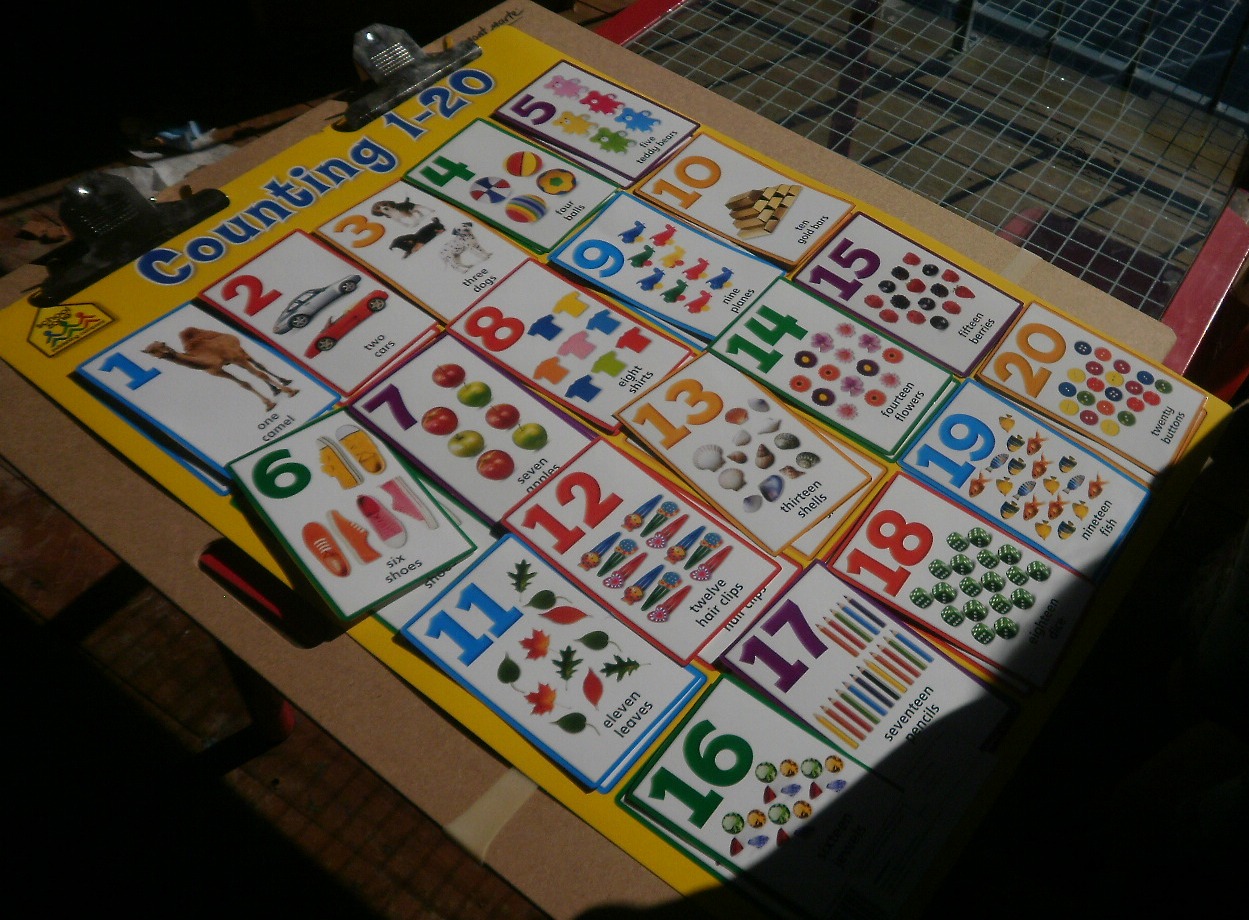
Easy as that! We have maths posters, world map and match the flag posters. You can see Lucy’s counting to 20 poster up top. We also have colours, shapes and really the options are endless and so easy, quick and fun to put together.
They are a great learning tool for your kids.
Best of all just have fun with your little people every second you can!