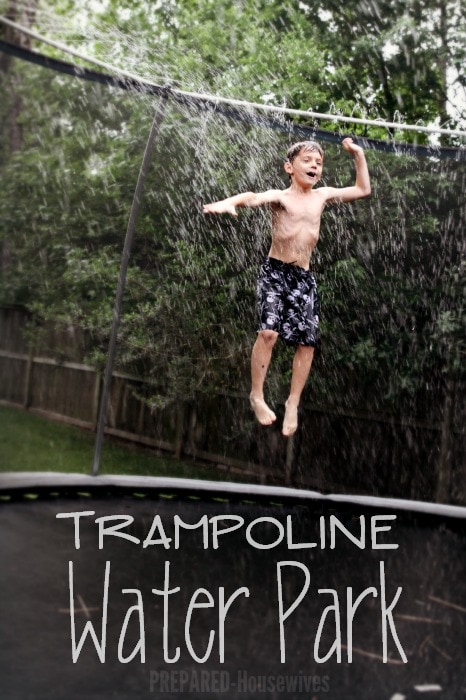
Hi, it’s Jamie, stopping by from Prepared Housewives to tell you about our trampoline water park project that will make you a super-hero in your kid’s eyes 😉
It’s hot, really hot (at least in Texas)! Which means sending the kids out to play only lasts a few minutes before they need drinks, Popsicles, & Band-Aids for their boo-boos.
I would love to fill our days with outings and fun trips to Disney, but the fact is bills need paid and laundry needs done. We’ve only been out of school a couple weeks, and already I’m about to admit myself to the crazy house if I have to watch one more way my kids can put underwear on their heads.
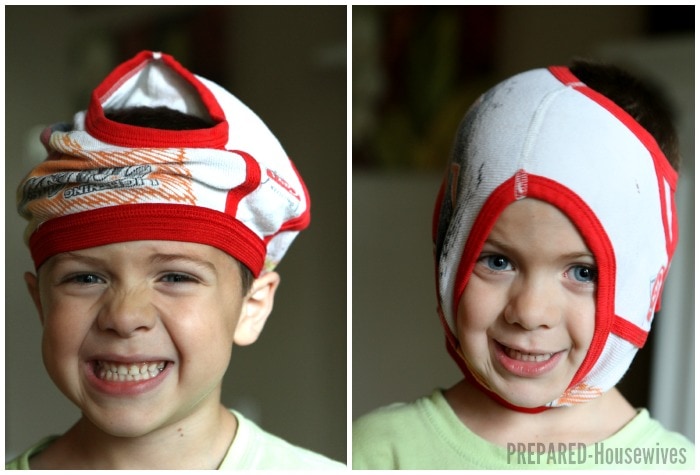
Luckily, my husband saved my sanity by deciding to turn our trampoline into our own personal water park. He still won’t admit he stole the idea from Pinterest, but it doesn’t matter – it has entertained our kids, the neighborhood kids, and even some adults for hours.
It’s super simple, and with just a little PVC pipe you can survive the heat and save your sanity too..
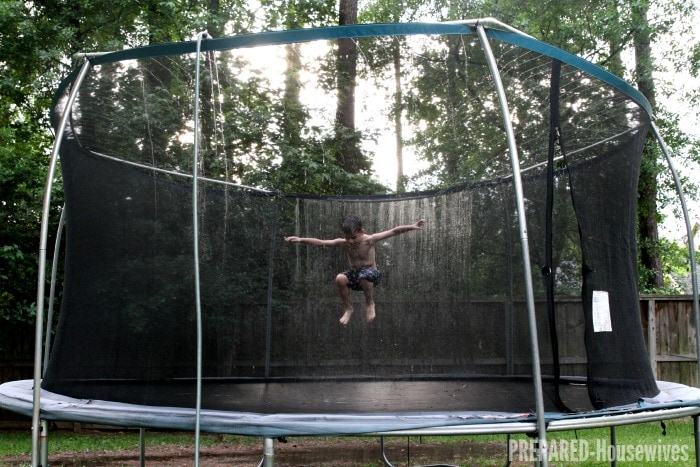
Trampoline Sprinkler Instructions
*Each trampoline is different so adjust the lengths and materials to work with yours.
Materials Needed:
- 6 – 3/4 inch PVC Pipes cut to fit the length of the sides of your trampoline.
- Also, keep 1 ft extra PVC pipe for the hose connection.
- 6 – Elbow Connectors (135 degree)
- 6 – Zip Ties – to secure the PVC pipe to the top of the trampoline.
- 1 – 3/4 Inch Pipe Tee
- 1 – Threaded Hose Connector
- #57 Drill Bits – After getting everything in place, mark and drill holes horizontally every 4 inches
- Other Helpful Items – Sharpie, Ruler, PVC Pipe Primer & Cement
Cut PVC Pipes
First go look at your trampoline and see how many sides it has and measure how long each one one is. Our trampoline net was a hexagon, so we measured out six pieces that would be long enough to fit each side.
Connect the PVC Pipes Together & Secure to Trampoline
- 6 – Elbow Connectors (135 degree)
- 6 – Zip Ties – to secure the PVC pipe to the top of the trampoline.
- PVC Pipe Primer & Cement
Connect each of the PVC pipes together with an elbow connector and use the PVC Pipe Primer and Cement to help keep them from coming apart.
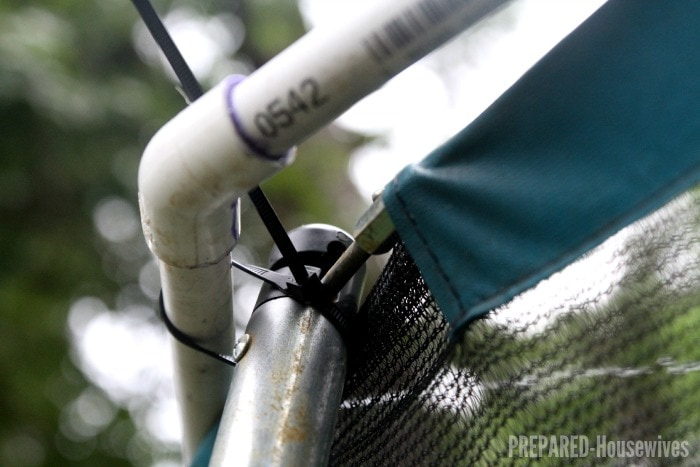
Once all the pipes are glued into place, fasten it to the top of the trampoline. We used zip ties to fasten ours, but that may not work with all trampoline nets, so find something that works for you.
Cut One PVC Pipe in Half and connect with Tee
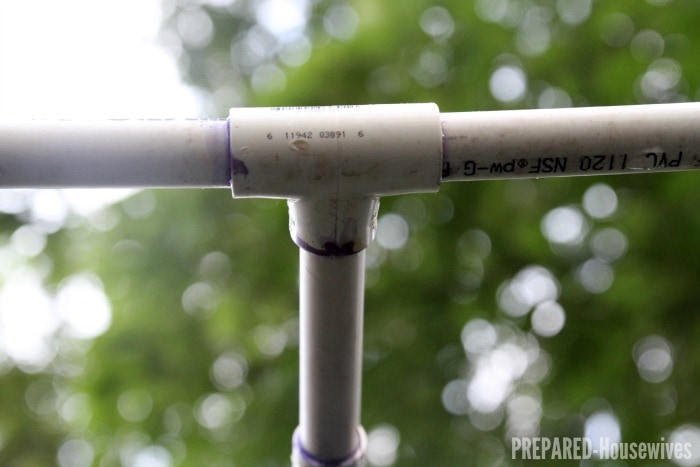
Figure out which side of the trampoline you want to connect the hose to (usually, the one closest to it), and cut that one in half.
Go ahead and connect the two pieces you cut with the T-connector.
Put the extra 1 ft or so of PVC pipe into the leftover opening.
Connect the Hose
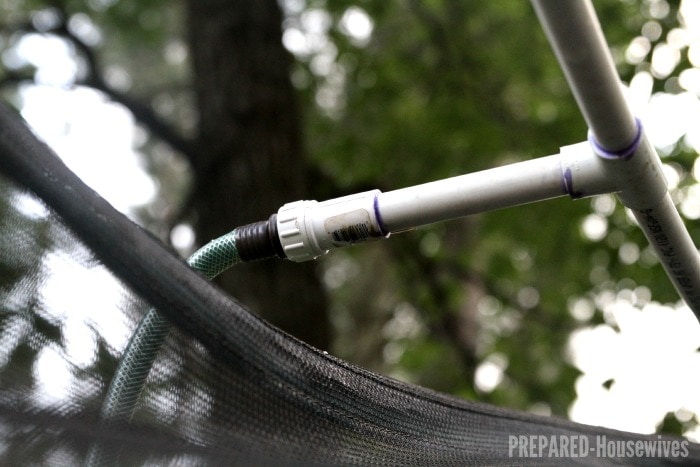
Once you have connected the extra PVC pipe to the T-connector, connect the threaded hose connector to the end of it.
You can go ahead and connect the hose if you like – it’s almost play time!
Mark & Drill Holes
- #57 Drill Bits
- Sharpie Marker & Ruler
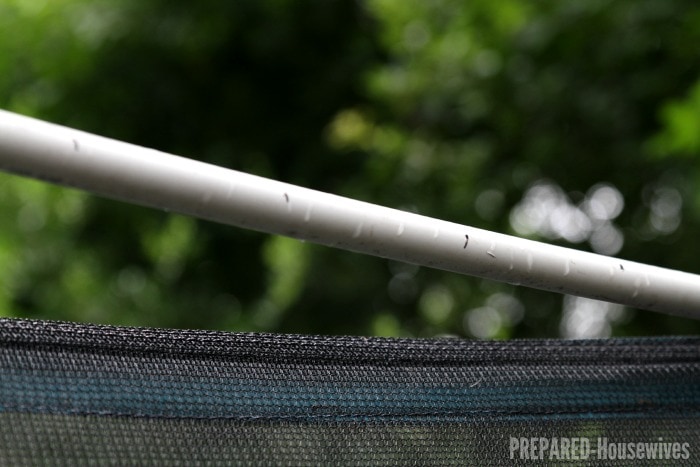
Now go around with a sharpie and make a mark every 4 inches. Once you finish, use the #57 drill bit to make small holes that are horizontal to the trampoline.
If you use a larger drill bit, spread out the holes and test it out before adding more. You want to make sure you aren’t losing too much water pressure.
Go ahead, give it a test run!
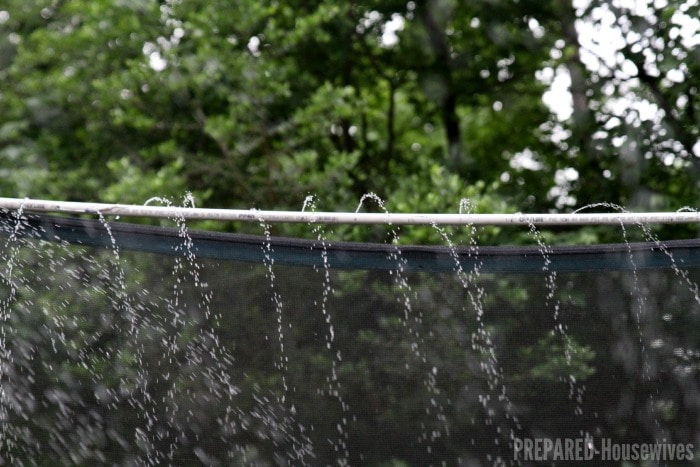
You are now the coolest parent on the block!
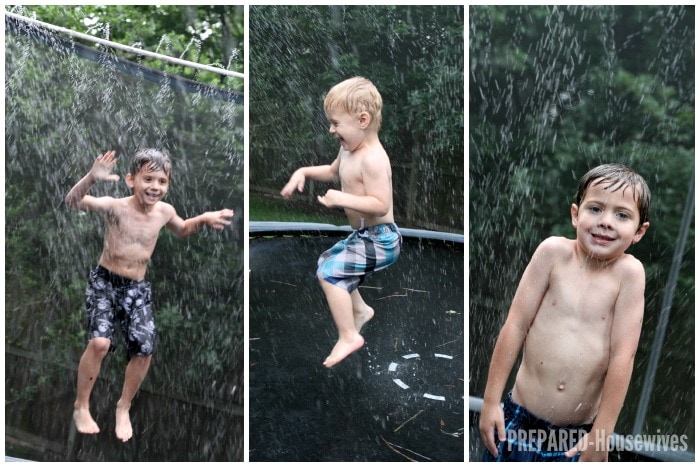
Have fun, and remember you are never to old to jump in (literally) and have a good time!
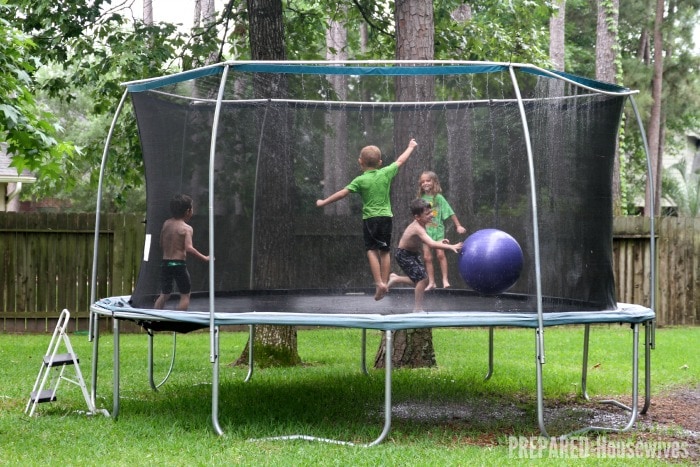
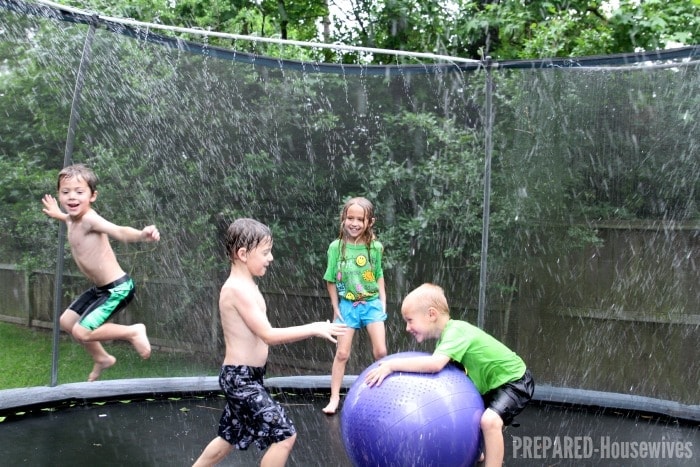
The kids favorite game so far is getting my exercise ball (that has never been used for exercise) and playing dodge-ball. It’s a blast, especially since they get drenched at the same time.
What are you doing this Summer to survive the heat?
Now that you know my secret for surviving the heat, what about you? Please share…
And FYI, Hurricane Season is here, so make sure you don’t make the same 7 mistakes I did! Also, see below for more ideas to be prepared in case of an emergency!
Dude. I LOVE this idea! My kids would go nuts. Thanks for the great post!!
It really has been fun. The first day we put it up they played outside on it with their cousins for over 6 hours! Best $ and time we’ve spent 😉
What a fun idea! I would have loved this a kid and my nieces and nephews will think I am the best aunt in the world!
Aunts are the best, I’m sure they probably already think that, but a cool trampoline with sprinklers will definitely take out any of the competition 😉
This does look like a lot of fun but I have to ask, doesn’t the water make the trampoline super slippery? I’m just wondering because that could obviously be rather dangerous.
It might depend on your trampoline, but the kids seem to do just fine on it. I haven’t noticed them slipping at all or getting hurt.