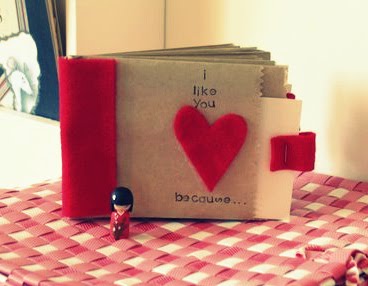
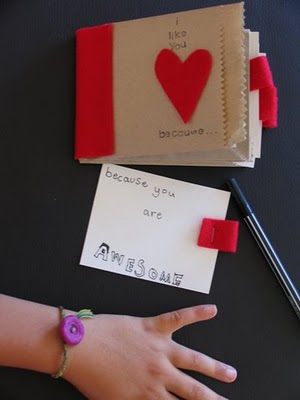
Create a Valentine Paper Bag Album for sharing family love notes!
Hello, my name is Melissa and I’ve been really looking forward to doing a guest blog post – thanks so much for having me Mariel!
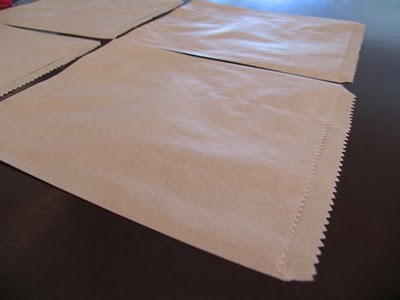
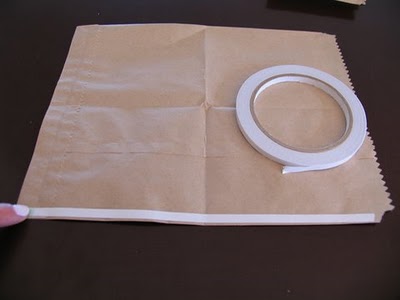
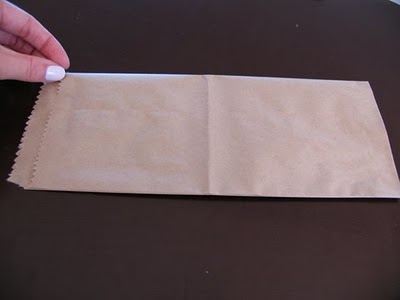
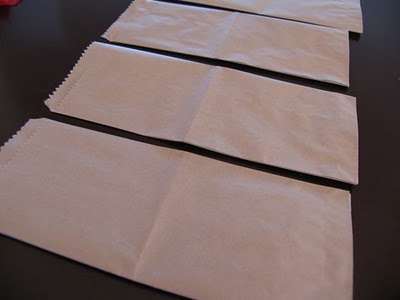
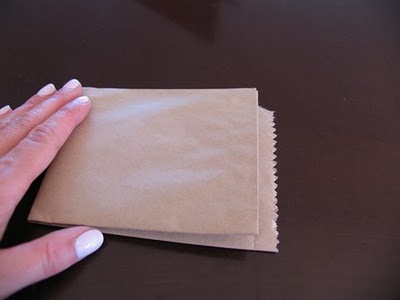
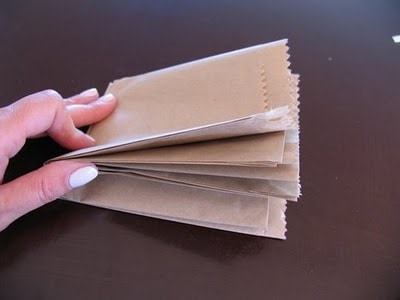
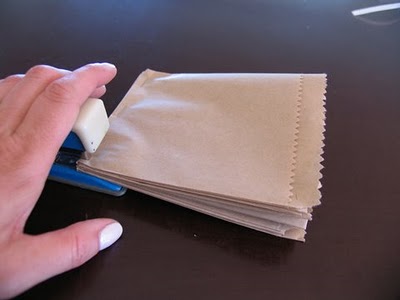
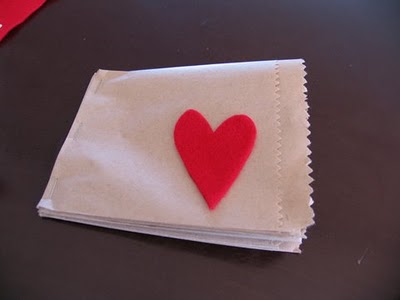
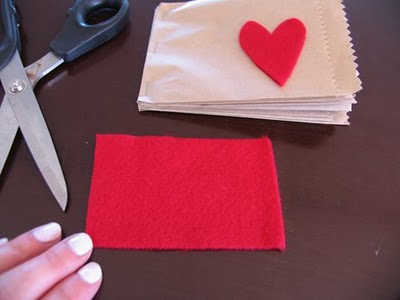
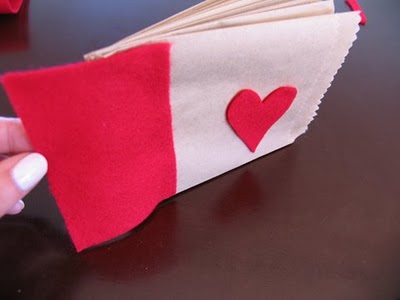
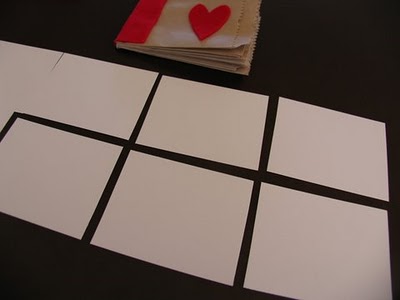
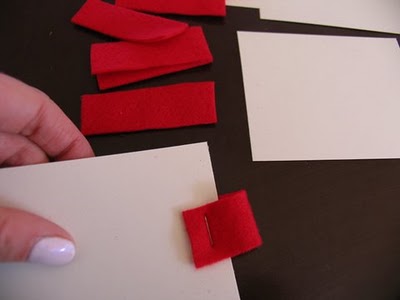
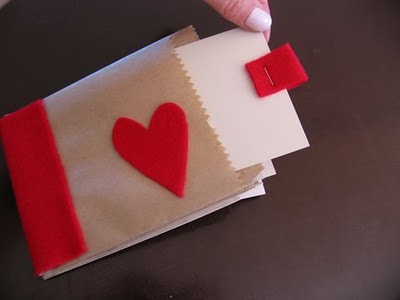
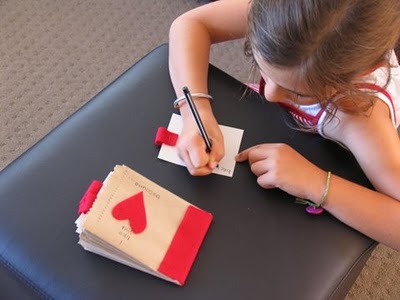
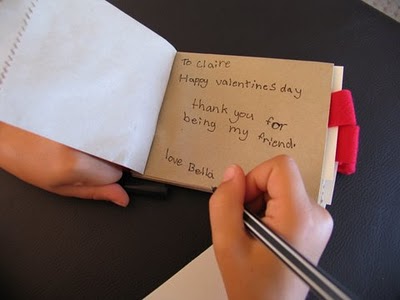
After you gather your supplies (x4 paper bags, adhesive, red felt, 1 sheet of plain cardstock, stapler and paper trimmer), begin by placing the paper bags on your work surface.




I LOVE this idea!! I think it’s great for kids to tell people why they love them and give them the opportunity to give someone else something, instead of them always getting something. Great Post!
That is so clever! I am always looking for low budget ideas for Activity Day (8-11)yr old girls. Thanks!
wow! that is so cuute and so simple. I will definately note thiis one.
It is sooooo great to see another Aussie here, thanks heaps.
WOW, this is the cutest idea EVER!!! I love it.
I am going to have my son make it for his Nina…Thank YOU!!! 🙂
This is just adorable. My daughter would love to make a special Valentine for her best friend and this would be just the thing.
Thanks for sharing all the way from Tasmania! Happy Valentine’s Day 😉
This is a wonderful idea. I know what the monkeys will be doing this weekend for the grandparents 🙂
Thankyou for all your lovely comments. I really enjoyed putting the tutorial together.
That would be cute for the hubby too!…even to put little “love coupons” in there.
Thanks for the great tutorial!
where do you get those paper bags?? i have been looking all over!!!
Thanks so much for the great idea! I just finished making this for my husband for Valentines Day, I’m sure he’ll love it!
Hi fantastic and easy idea!!!
I made this for my husband. I changed little things!!!
If you want see it this is link
http://lisannascrapcorner.blogspot.com/
thank you very much!!
Oh, this is SO sweet! I love idea… and it could be adapted for any holiday… or no holiday at all. Thanks for sharing!
wonderful idea!!
Thanks for the great idea. I am going to make one as a Valentines advent finding 14 bible veres that talk about God’s love for us!
So cute and simple thanks for sharing!
Wow! This is sooooooo fantastic idea! Thank you!
These are just darling! I’ve made one before- years ago- but never thought of making them for Valentine’s Day. Such a great idea!!