Or so she says...

Family Fun, Favorites, Food, and Faith

  • Home
  • Categories
    • Gift Ideas
    • Family
    • Recipes
    • Education
    • Faith & Inspiration
    • Holidays
    • Vacation
    • Crafts
    • Health
    • Home & Garden
  • About
    • OSSS Team
    • Media & Partners

February 4, 2014 by Anne

Valentine’s Day Flag Centerpiece DIY (she: Anne)

This post may contain affiliate links. For more information, see the disclosure policy.
51 shares
  • Facebook
  • Twitter
  • Email

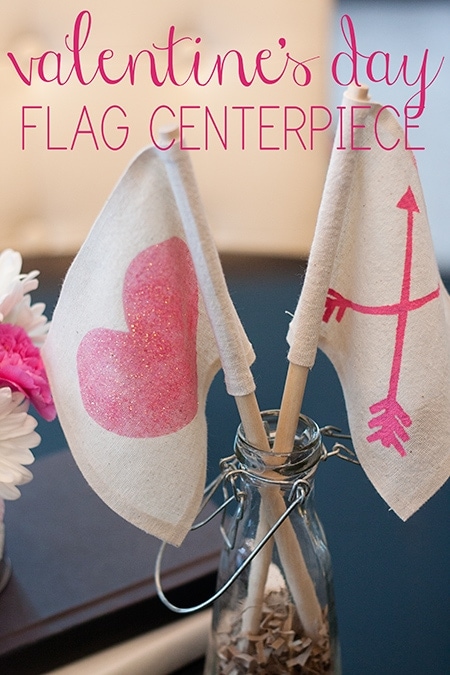
Happy Tuesday friends!  I can hardly believe it is already February, let alone almost Valentine’s Day!  I usually am not a huge decorator for the day of love…maybe a little thing here or there, but this year I have felt a little more inspired to do something.  I say it is for the kids, but it really brighten’s my work space to have some pretties around.  Besides, I know how much my daughter loves things to be a little fancy…a little special.   So, I thought a simple Valentine’s Day flag centerpiece would add some flair to our usual empty table, making it special for the holiday.

Valentine's-Day-Flag-Centerpiece

I used some of my scrap utility fabric for the flags, as well as some wooden dowels I had laying around.  No muss, no fuss.  Even better, this project was completely no-sew.  Sure you could sew your flag, but I personally didn’t feel like bringing out the machine.  Nothing a little Liquid Stitch can’t help!
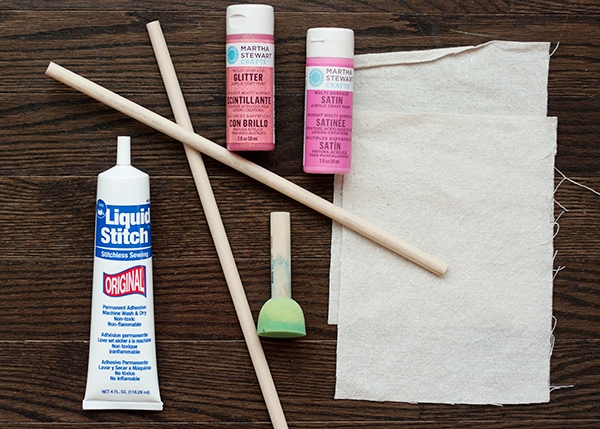
simple-valentine's-day-flags

So, you need:

  • Two pieces of fabric, each 8″x 5″
  • Two wood dowels
  • Liquid Stitch
  • Fabric paint
  • sponge applicator
  • freezer paper

valentines-day-flag-supplies

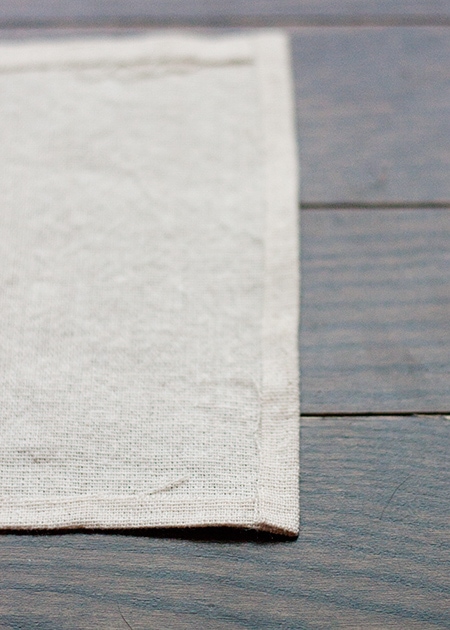
Create a 1/2″ seam on two of the long sides and one short side of the fabric using your Liquid Stitch.

flag-seam

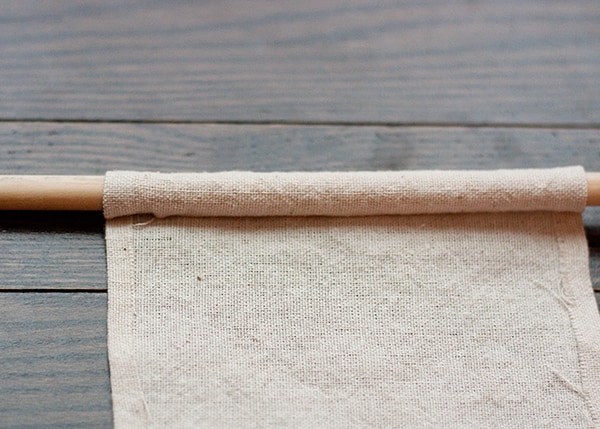
With the right side up, apply a strip of Liquid Stitch to the unfinished edge of fabric.  Flip the fabric over over, place a dowel and that  end with the glue on it, and carefully roll the fabric around the dowel to form a tube.  Allow to dry briefly, then gently remove the dowel, being sure not to pull apart your “stitch”.

flag-end

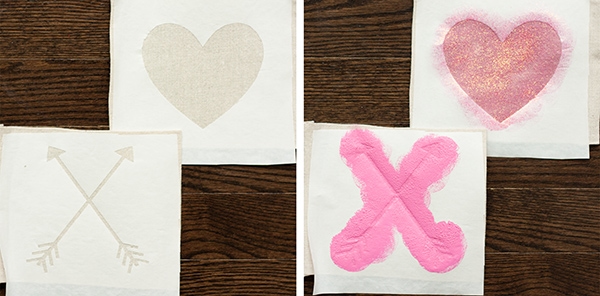
Cut your shapes from freezer paper and iron on the fabric, being sure to have one flag facing right, one facing left (otherwise you patten will be upside down once you put the dowel in).  I cut the heart by hand and the arrows using my Silhouette.  Dab on your paint using your sponge.  Allow the paint to dry and remove the freezer paper.

valentine-flag-freezer-paper-stencil

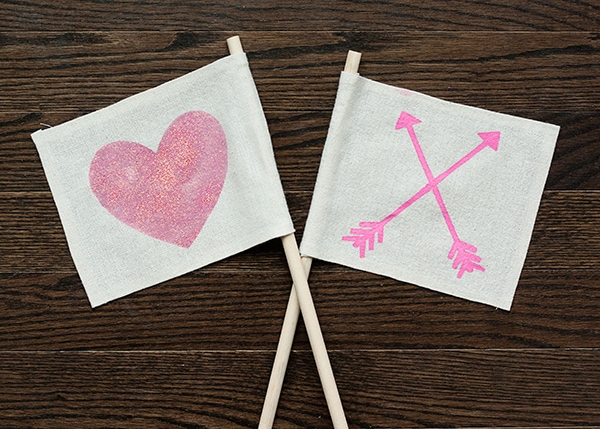
Put the flags back on the dowels and you are done!

valentine's-flagsValentine's-Day-Flags

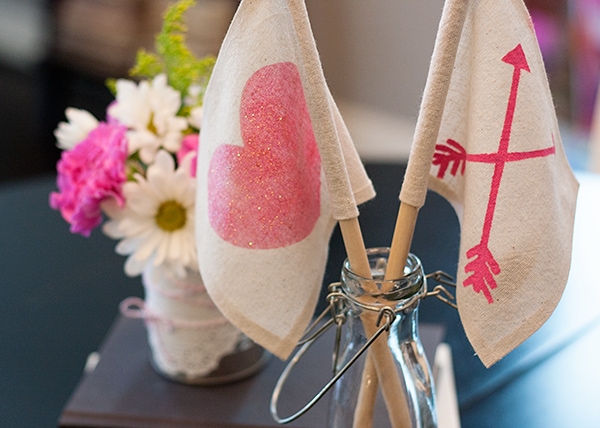
Stick them in the vessel of your choice for a lovely centerpiece!

valentines-day-centerpiece

Hope you have a fabulous Valentine’s Day…see you next month!

–Anne

51 shares
  • Facebook
  • Twitter
  • Email
❮❮ Previous Post
Next Post ❯ ❯

Comments

  1. Mariel says

    February 4, 2014 at 7:59 pm

    Very fun! I love it, Anne!

Categories

Topics

The Rare Newsletter

It doesn't happen very often, but when it does... it's good!! Favorite things, great ideas, and all things "FAMILY."

My Beliefs

Free Book of Mormon Offer

10 Reasons I Love Being a Latter-day Saint

The Church of Jesus Christ of Latter-day Saints

Affiliate Disclosure

‘Or so she says…’ is a participant in a variety of affiliate programs, including the Amazon Services LLC Associates Program, an affiliate advertising program designed to provide a means for sites to earn advertising fees by advertising and linking to amazon.com. Read more in the Disclosure, including info on Adthrive, the publishing network for this blog.

10 Most Popular Posts

  • 16 Teenage Birthday Party Ideas
  • 26 Camping Hacks You Need to Know
  • Best Products for Thinning Hair
  • Swiss cheese Chicken Easy Dinner
  • Would You Rather ~ Scripture Edition Game
  • Cute Bun Hairstyles for Girls
  • Over 100 Family Movie Ideas
  • The Ultimate Collection of Scriptures on Faith
  • Foods to Freeze Dry ~ Ultimate List
  • 30 Books to Read Out Loud to Older Kids


  • Disclosure Policy
  • Privacy Policy

© 2018 Or So She Says... By: Pretty Darn Cute Design