

Well hello there Or So She Says readers! I’m Emily and you can usually find me on my blog, Finding My Aloha, but today I am over-the-moon to be guest posting here! I am a blissfully happy young wife and mother. Interior design is my main passion but I love to design and create through just about any medium. I am a military spouse and we move around often, which gives me lots of blank “canvases” to work with. Today I am going to be sharing my laundry room makeover with you!
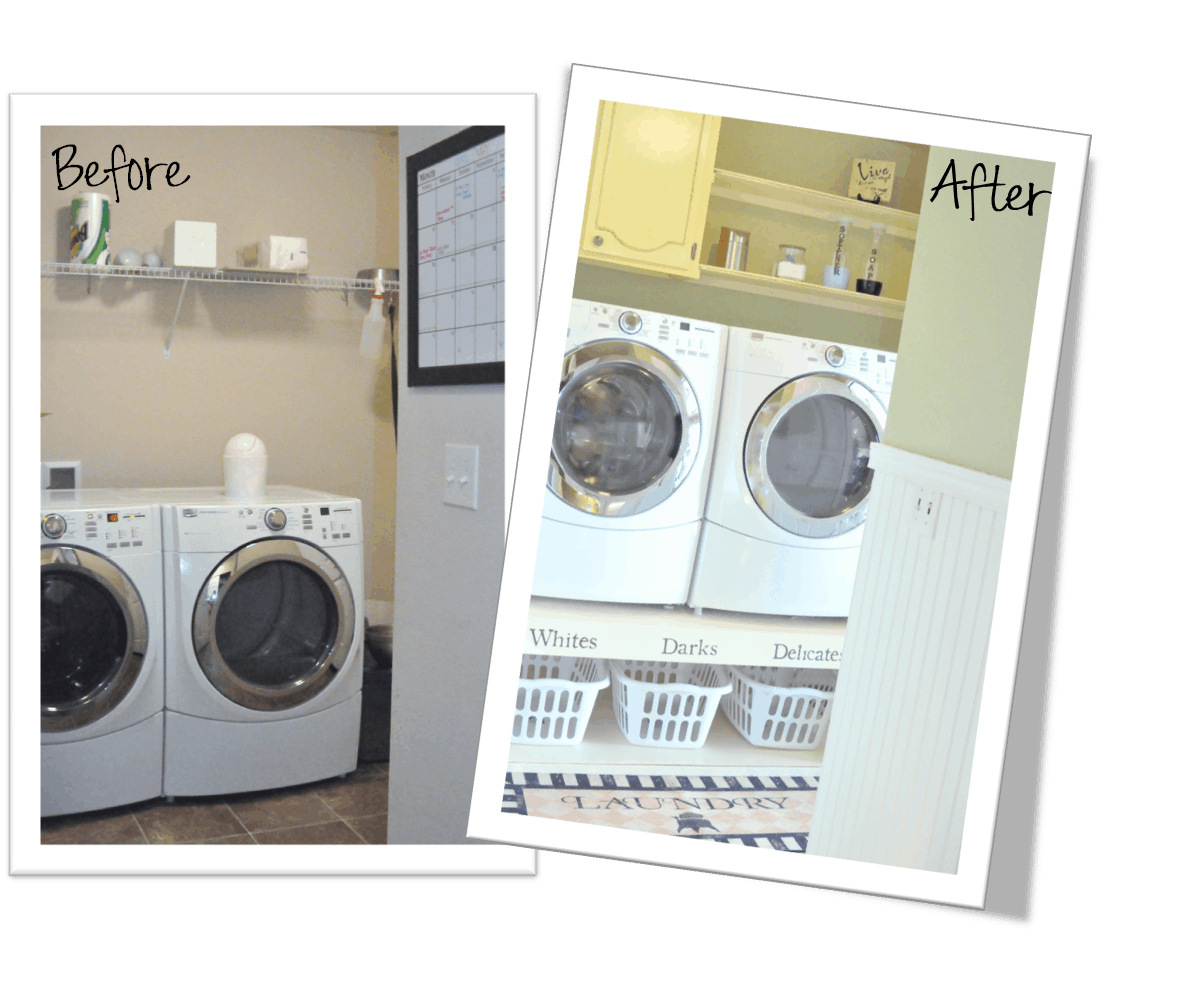
My laundry room was the saddest room in the house. There are no windows, it’s pretty small, and and it’s an entry from the garage. It was lacking any proper storage, so the top of my washer and dryer became a clutter magnet. Let’s be real here, laundry isn’t exactly an exotic chore and having a lack luster laundry room sure isn’t a motivating factor either.
First thing I did was start scouring Craigslist for cabinets. When a listing popped up for $5 cabinets from a gutted farmhouse, my heart fluttered and I rushed to bring those babies home! Next, I just had to paint and glaze them to look like my inspiration cabinet finish…
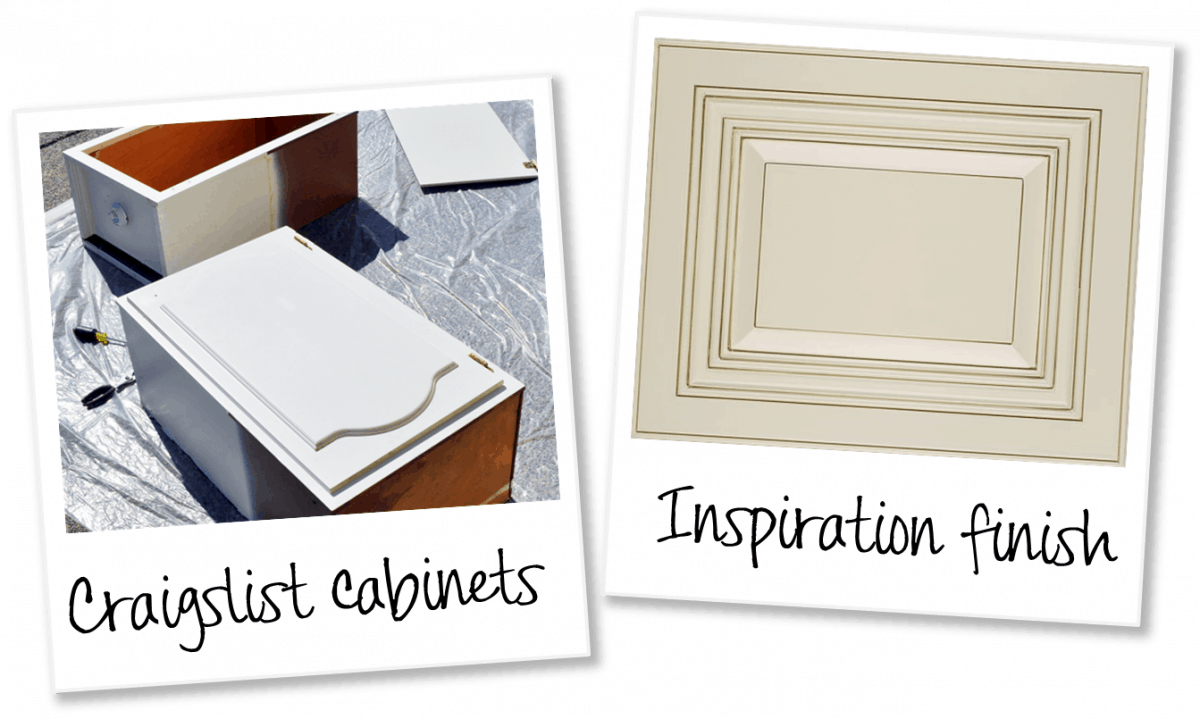
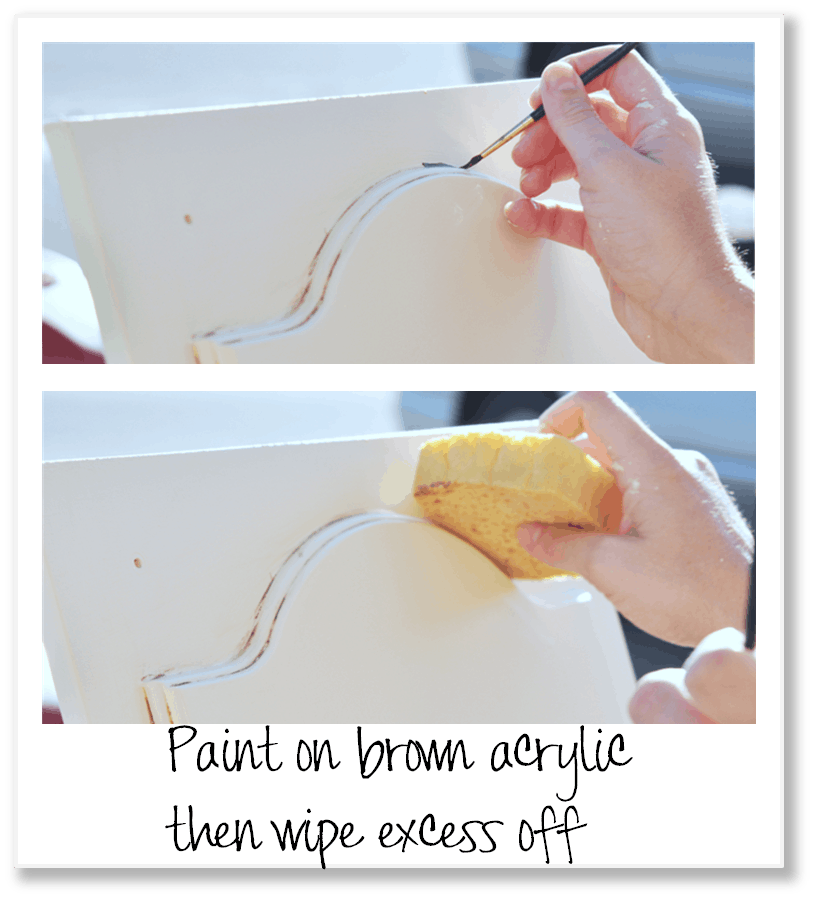
I cleaned the cabinets and removed all the hardware. I applied three coats of Glidden’s Cold Coast White and to create the glaze effect in the grooves I slathered on some brown acrylic paint and then gently wiped the excess off with a wet sponge. I finished off the cabinets with a coat of polycrylic.
After installing the cabinets and cutting, painting, and installing the shelves. I started work on my laundry riser. A year ago I bought my front loader laundry set but I told Joe Shmoe “NO!” when he tried to get me to drop a down payment on a Ford Focus to buy the riser drawers with the set! I just couldn’t justify paying that much when I knew we could build something even better. I knew what I wanted to do once I saw the riser Sausha at Show and Tell built for her front loaders. I used materials I had on hand and with a few modifications, a coat of Gold Coast White, and an acrylic glaze, I had my riser.

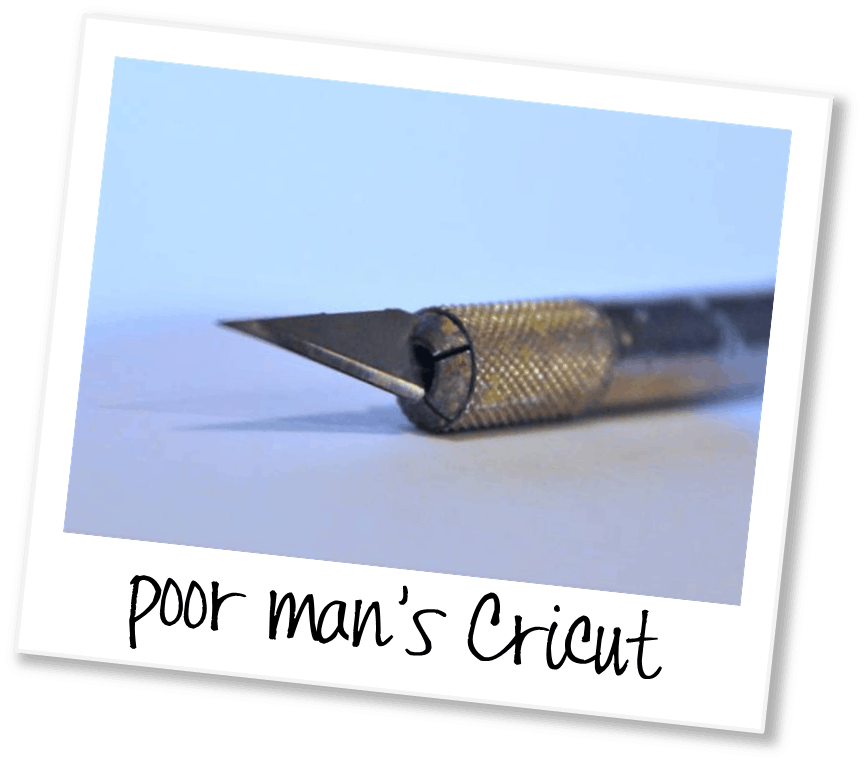
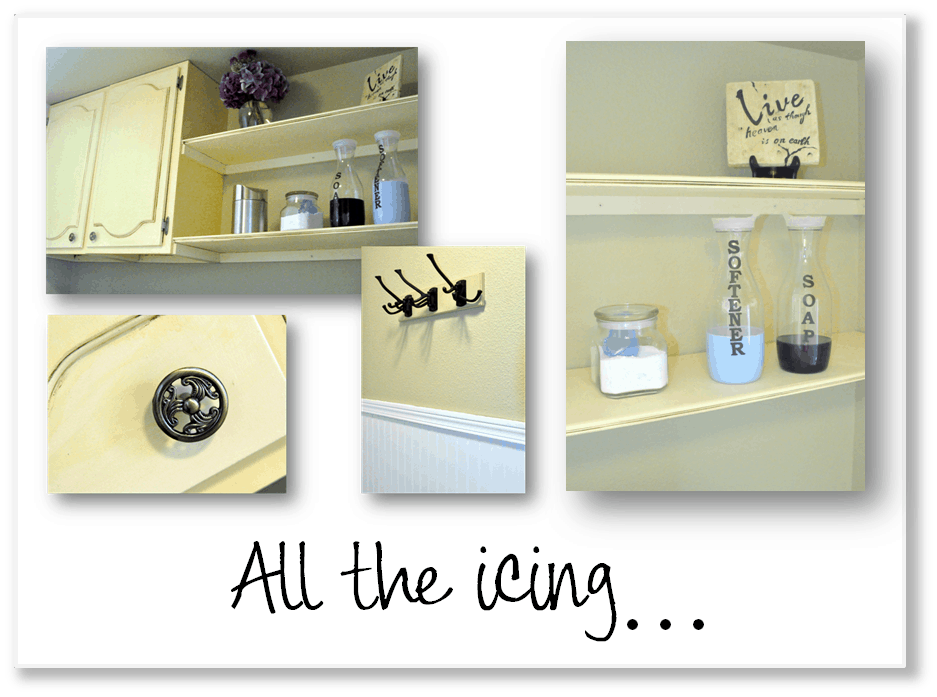
I created the vinyl wording using my Poor Man’s Cricut.
I painted the room, including the ceiling, a soft green (Glidden’s Beach Sand) and then worked on installing the beadboard. I hadn’t worked with wainscoting before so I was intimidated, but I had Home Depot make all the cuts for me. Luckily, I only had to cut out two holes for outlets by hand. Once the cuts were made, all I had to do is apply adhesive and press to the wall. All the rest is just icing. I created some pretty containers for my detergents and installed some farmhouse coat hooks.
I’m a sucker for Before and Afters, so here’s another angle…
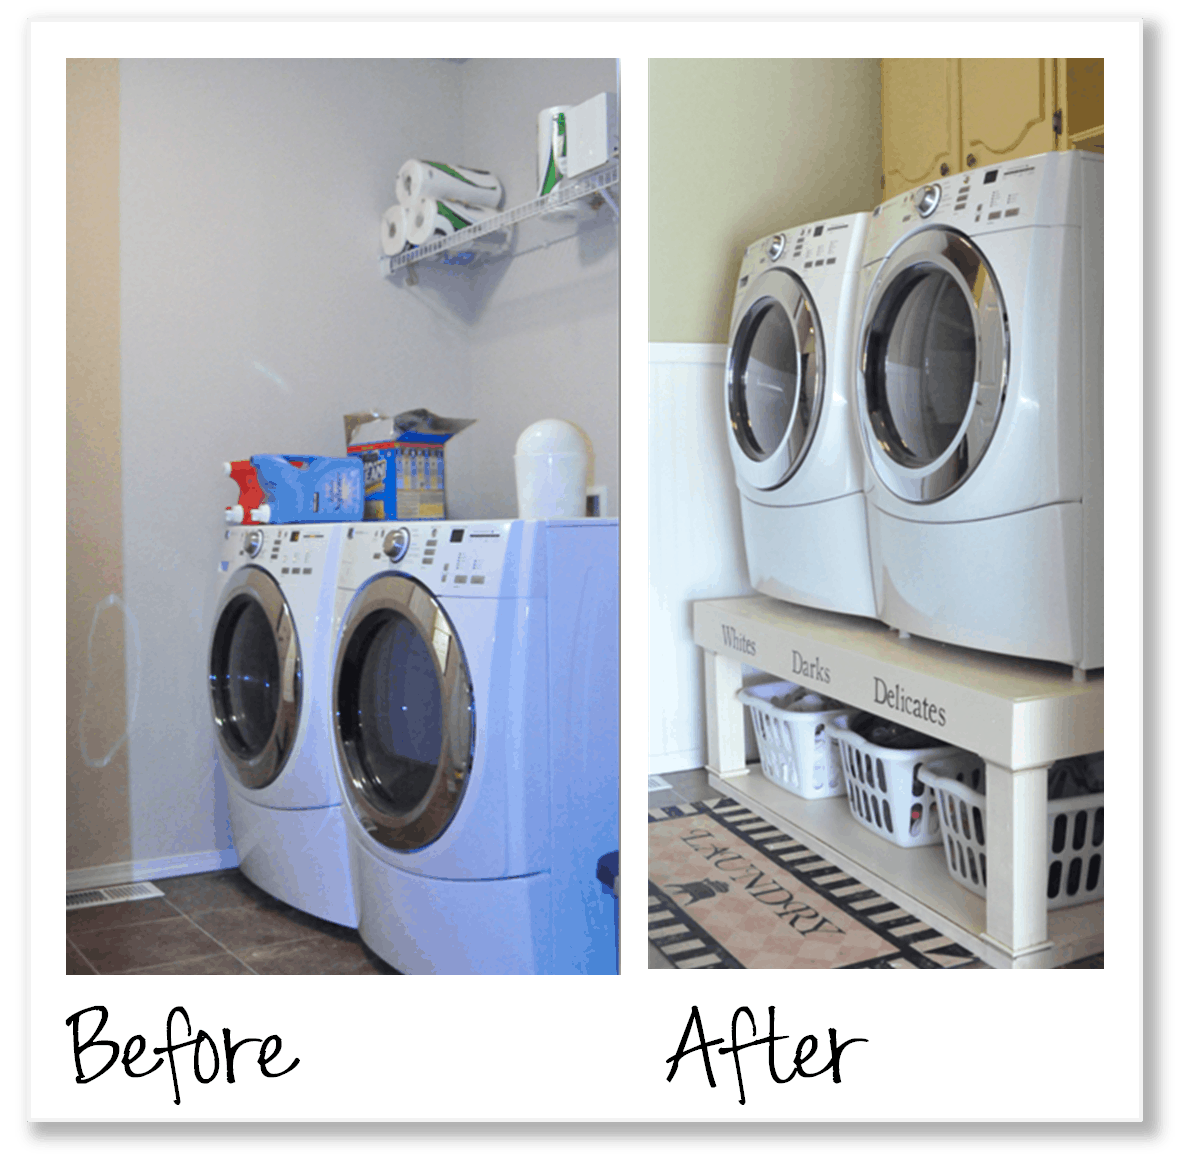
And that’s it folks! I absolutely LOVE my laundry room now. I don’t even mind doing laundry anymore, in fact, I almost look forward to it. Ok, ok so maybe that’s a little far fetched but do I love going in that room!
Thanks gals, its been a blast! I hope to see you over at Finding My Aloha!
~ Emily