
Growing up, when my parents hosted company, it was always my job to create place-cards for the dinner table. My favorite set were made using soft clam shells that we spray-painted gold and wrote on with paint-markers. However, in the four years since I’ve gotten hitched and moved out of my parents’ home, I’ve grown lazy on the job. Our household has been painfully lacking in the place-card department…until now, that is!
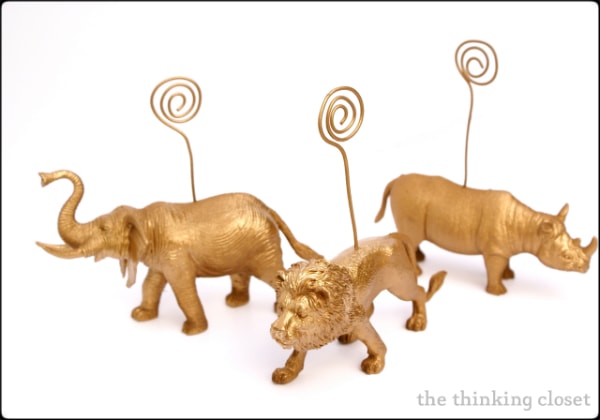
My inspiration came from the variety of projects I’ve seen out there in blogland involving plastic animals from the Dollar Store covered in spray paint. Do you know the ones? I’ve seen these animals become bookends, wall art, jar tops, even magnets. One day, it just struck me that some gold spray painted plastic animals would be the perfect bearers of place-cards. Some may call it kitschy. Some may call it cute. Or how about kitschy-and-cute? (Everyone needs a little kitschy in their lives.)
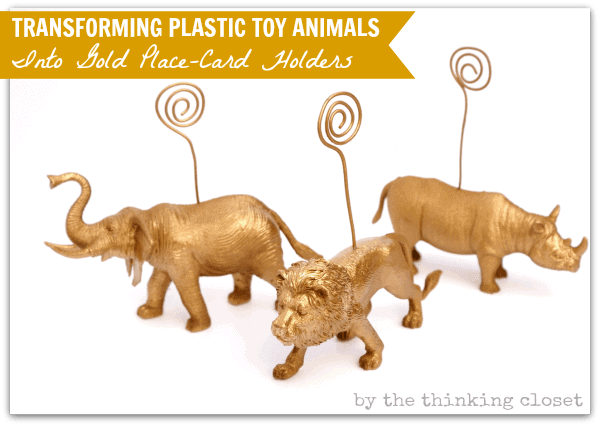
Come along for the ride and see how I transformed some kid toys into some goldified place-card holders bound to bring a smile to dinner guests of all ages.
Tutorial:
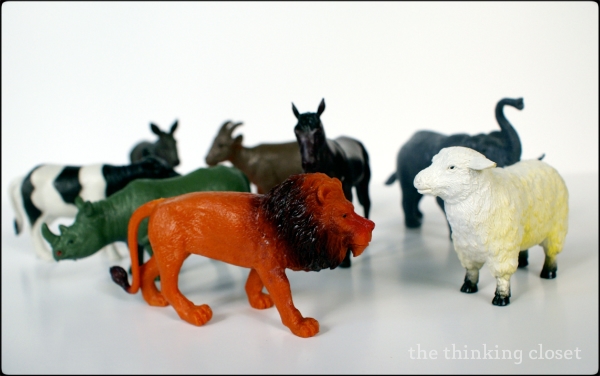
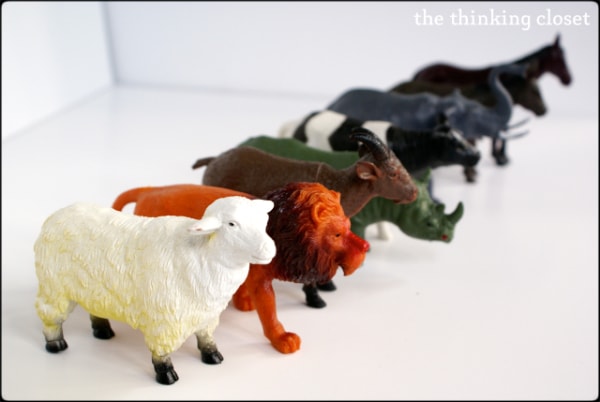
Step 1. Collect your plastic animals. I picked up an assortment of 8 plastic toy animals at the Dollar Tree here in Orlando for (no surprise here) $8! If you have kids of your own, you may need to walk no further than the toy box to gather your supplies. (Psst! They’ll never know they’re missing…especially when you spray paint them!)
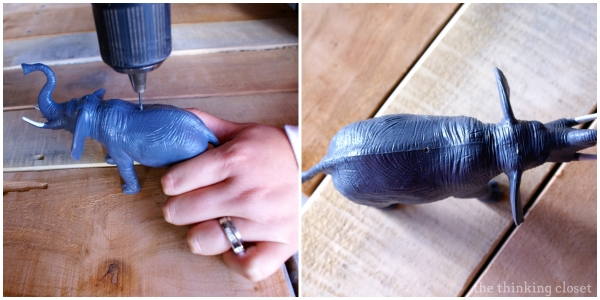
Step 2. Drill your holes. Using a 1/16th inch drill bit, put your drill on low-tork setting to keep the flimsy bit from snapping if it meets resistance (yes, I’ve done it before). Then, make a hole through top center of the toys’ backs. Be sure not to put too much pressure on it, and once you break through the plastic, keep the drill running and level as you pull the bit out, and you shouldn’t have any problems.
Step 3. Cut and twirl your wire. We have 16 gauge galvanized wire that you may recognize from my winter mason jar lanterns, which I used for this step. You can use needle-nosed pliers to help guide the wire into what I’ll call a “curly-Q.” I learned that most pliers have a wire-cutter built right in to the tool (in the nook at the base of the needle-nose section), so I used that to snip my wire.
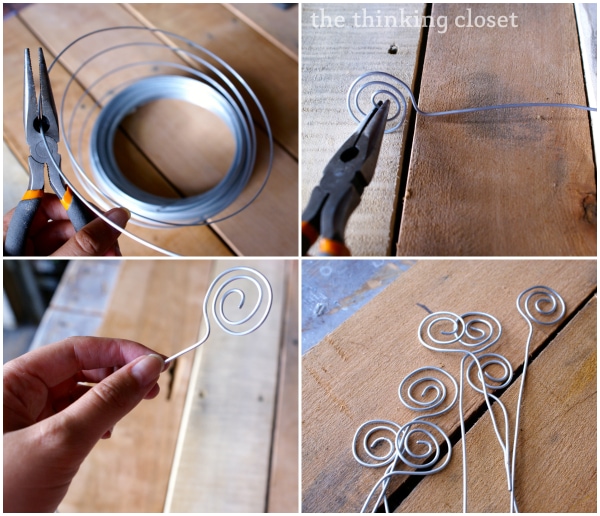
Step 4. Trim your wire. Once you’ve made a collection of curly-Qs, trim them so they all reach the same desired height.

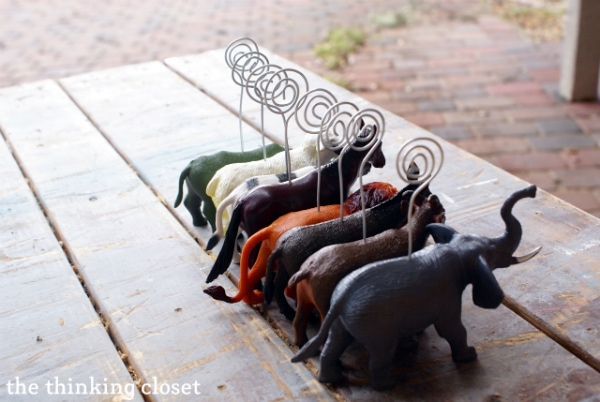
Then, you can place the wire into the holes you drilled earlier.
Initially I thought I’d have to glue the wire to the animals, but the hole I drilled was snug enough against the wire that it felt secure enough to me. But if you anticipate little hands grabbing for these goldies at the dinner table and you’d like to permanently glue the wire in a certain position, I’d recommend E-6000 glue. It’s insanely powerful stuff.
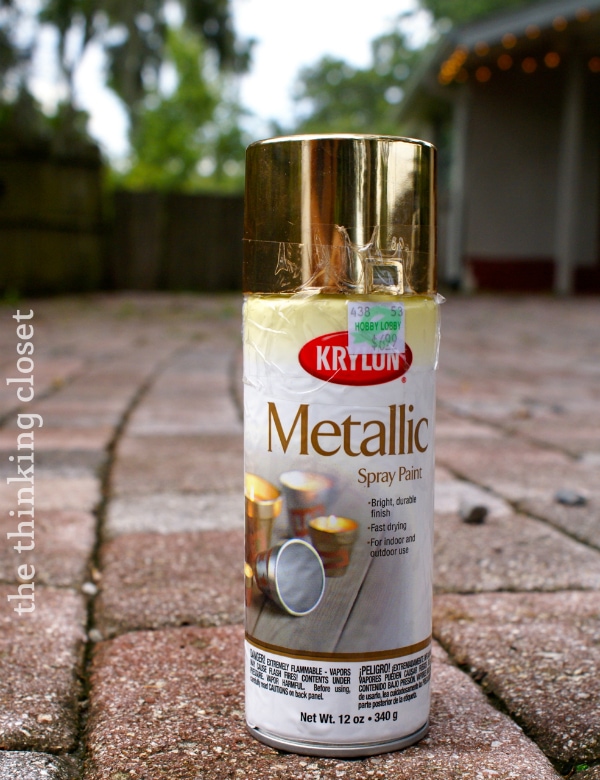
Step 5. Spray paint! I’ve had a bit of a crush on gold of late…so that was my spray paint of choice, but you certainly could go any route you wanted. In fact, a nice flat white or mint could be really cool to try.

Apply several thin coats of spray paint to the animals…rotating them to different sides to achieve an even cover. Mine got about 6 thin coats before I felt they were fully covered.
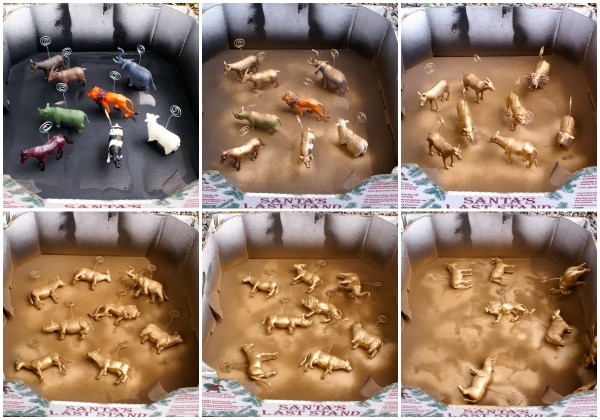
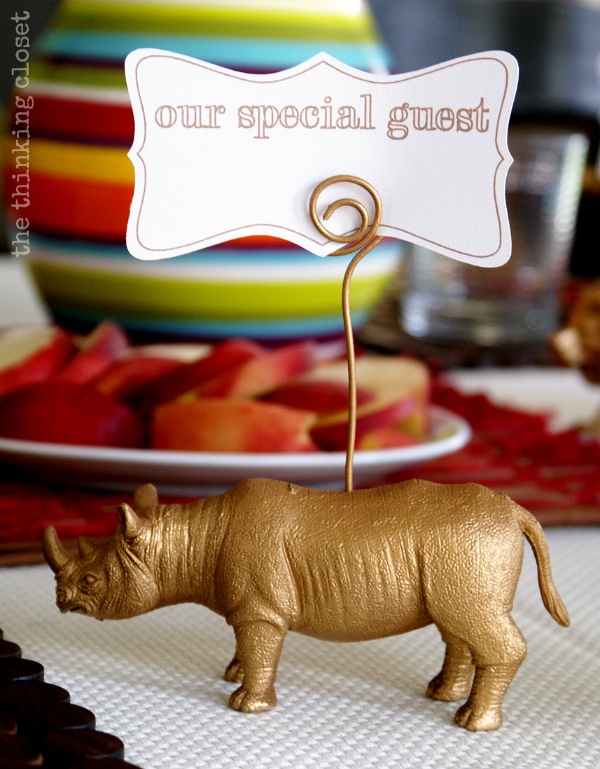
And now, your golidifed animal place card holders are done and ready to report for duty!

Well…almost ready.
Step 6. Create place-cards. You can print and cut your place-cards on cardstock to nestle into the curly-Qs, or if you have a Silhouette, click here to check out my tutorial for creating place-cards using sketch pens. And if you don’t have a Silhouette, you can enter to win my Silhouette Portait Giveaway!

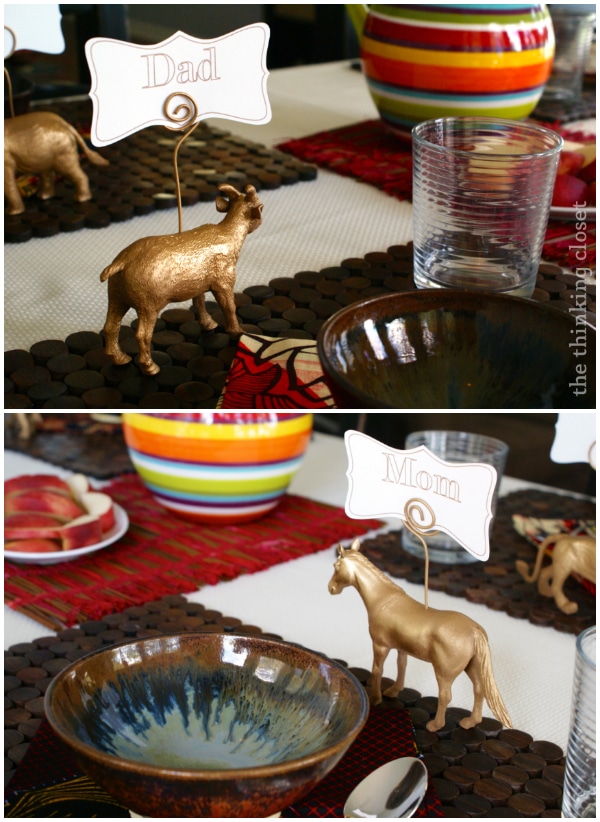
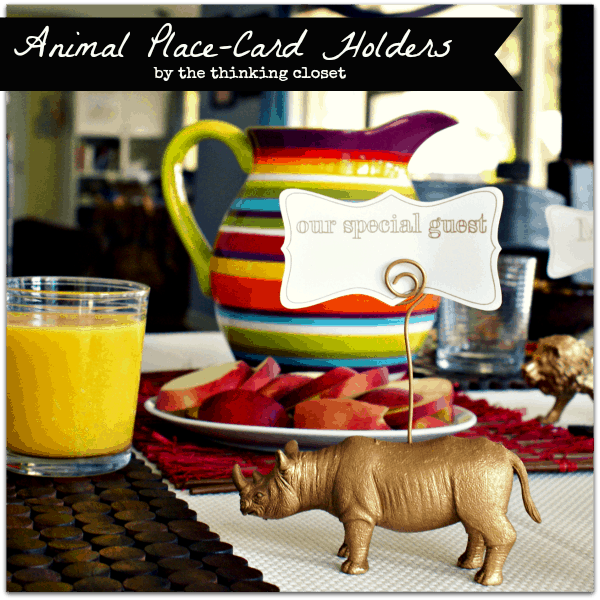
Place-Card Holders in Action:
And here they are in action. Though I “staged” this table for an imaginary brunch, I’ll have you know that it inspired me to host one just like it soon.
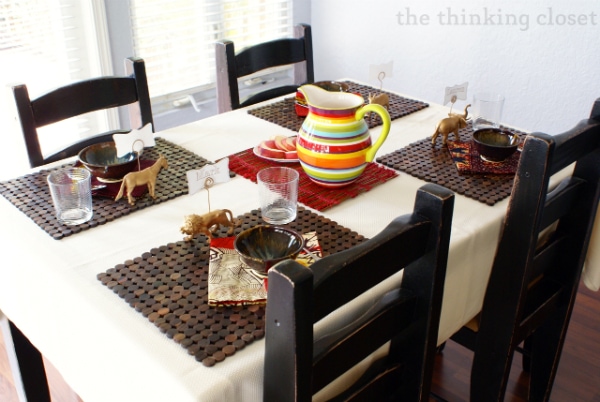
And don’t you worry, you’re invited, too.
To Close:
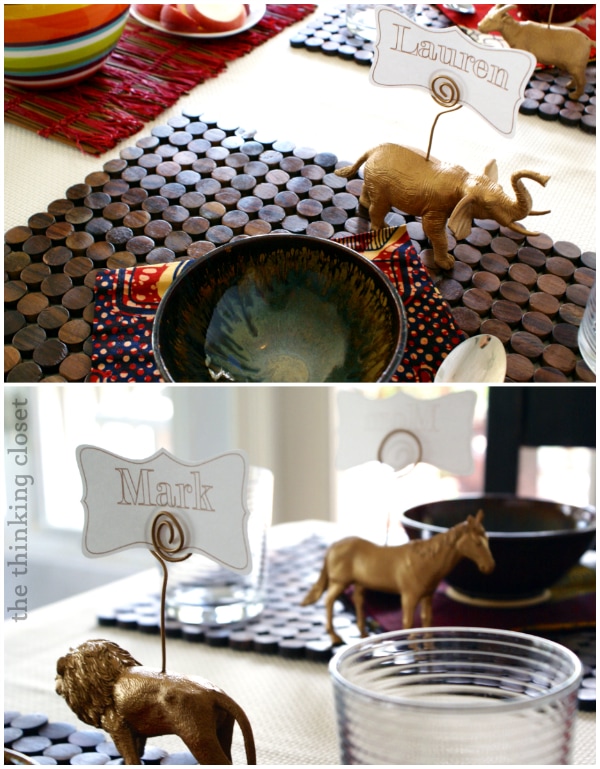
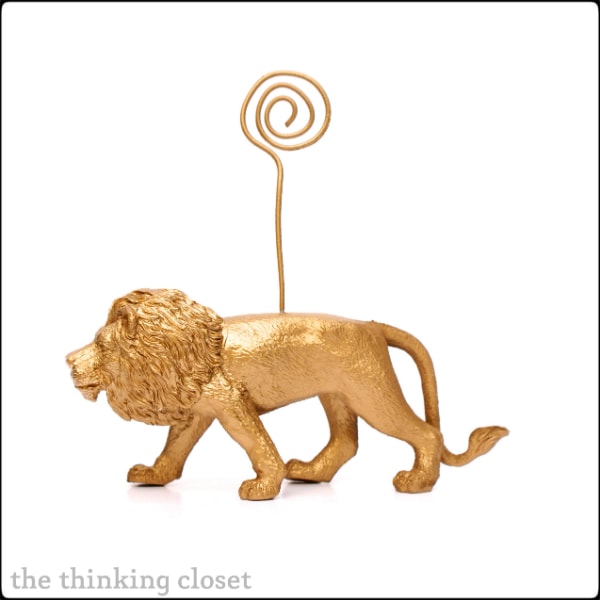
Place cards show intentionality. Seeing your name at a spot at a table says, “This spot was chosen just for you.” Well, when a lion is holding your name with pride, it says, “Grrrr…this spot was chosen just for you. And nobody better dare try to take it.” This guy looks pretty fierce, so I wouldn’t test him on that.
Hope y’all have a wonderful Fourth of July! If you need some ideas for last-minute party fare, you can check out my Pinterest Tested & Approved: Fourth of July post for some quick n’ easy solutions!

Cheers!