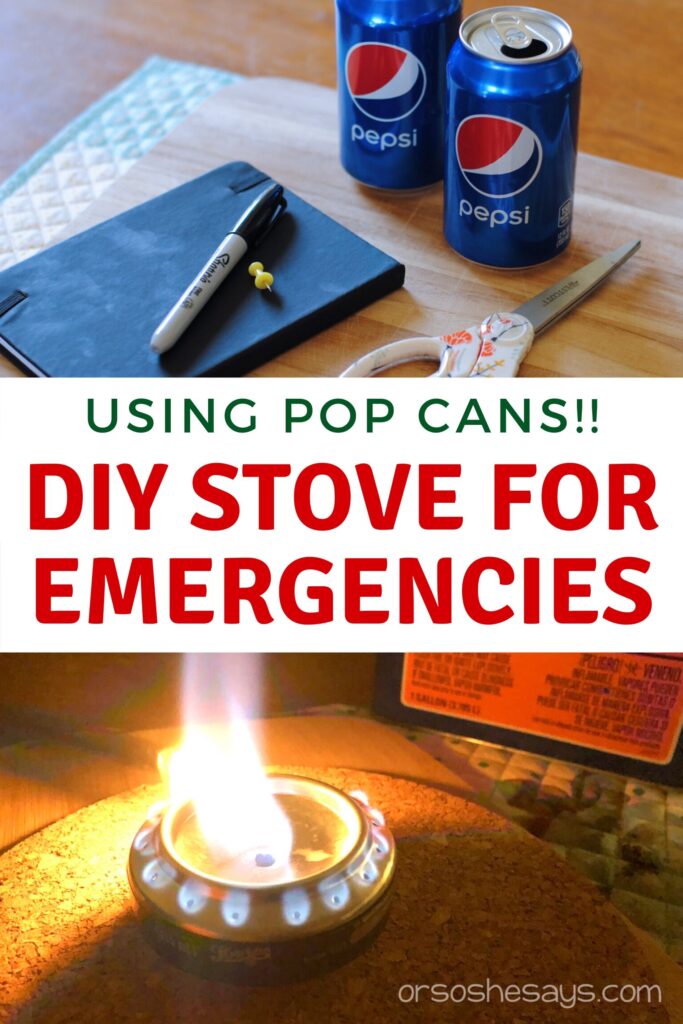
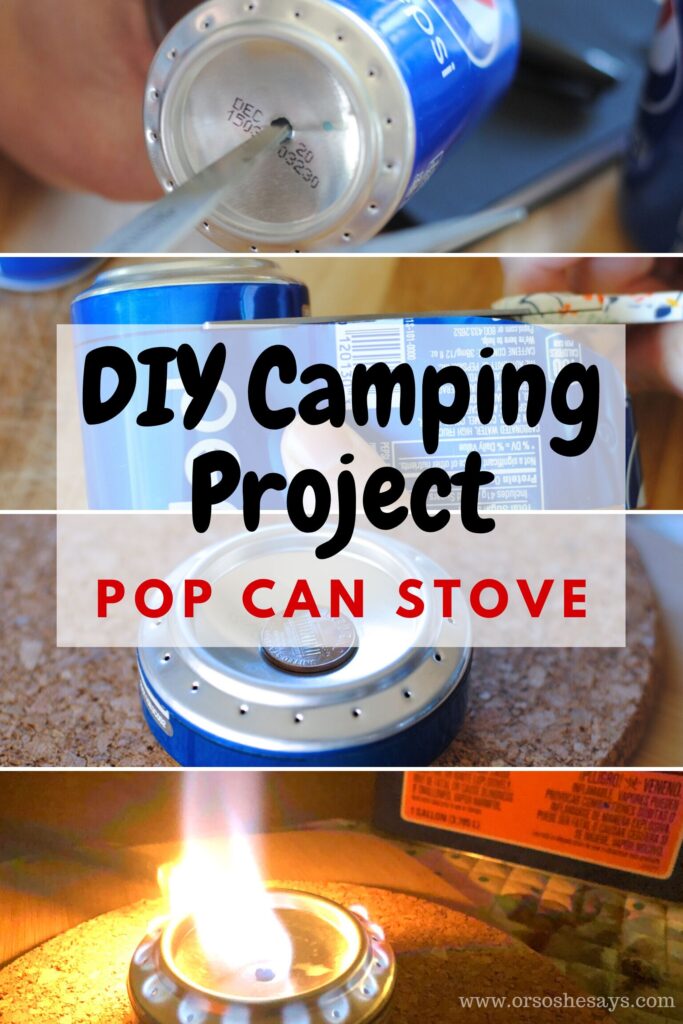
You’re guaranteed to be super cool, if you know this slick trick. Did you know you can make a lightweight alcohol stove in minutes with just two aluminum cans and a few household tools? This DIY Alcohol Stove for Emergency Kit Tutorial, an awesome camping hack, will tell you everything you need to know. This stove is perfect for a 72-hour emergency kit, backpacking adventure, camping activity, or scout project. Ultimate coolness is just minutes away, my friend.
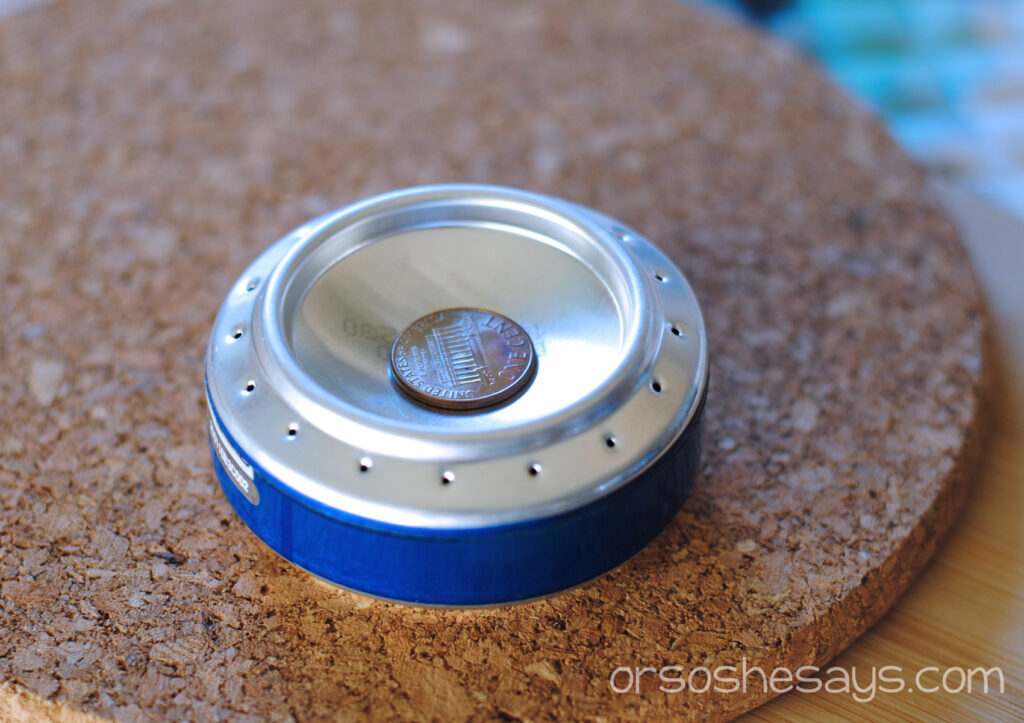
This DIY Alcohol Stove for Emergency Kit can be helpful in many outdoor situations.
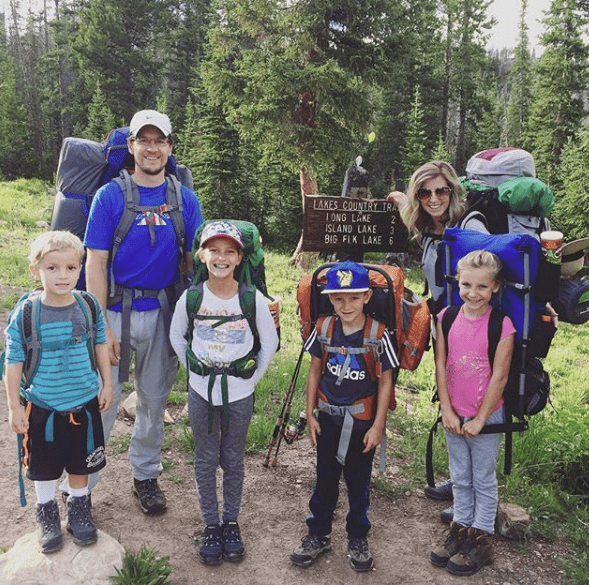
My family loves the outdoors. One of our favorite yearly traditions is to go into the mountains and backpack in the wilderness as a family. My kids started carrying their own backpacking gear at 5 years old. We have had some amazing experiences together. One of my favorite things about backpacking is that it is empowering. It proves to my children that they can do hard things. In today’s world, it is so important for youth to know that they can accomplish whatever they set their minds to do! Kids are resilient and strong.
On one occasion, we picked a trail that was more intense than we had planned. We hit a marshy area of the route around dusk, just when the mosquitos were ramping up into action. The mosquitos were swarming us. We had to cover our faces with our neck buffs and cut out all breaks! If we even stopped for one second, the bugs were just too bad. At the end of the marsh was one final big hill before we made it to our camp. I wanted to quit. My husband had to carry my youngest kid’s packs, because they were too worn out.
My sweet little 9-year old daughter was determined to make it up the hill on her own. She wanted to finish the hike. She was crying. I was almost crying watching her push through. I asked her several times as we made our way to the summit if she would like me to take her pack. She shook her head no and carried on. The joy we both felt at the top was incredible. I was so proud of her! She was even more proud of herself. It is a stand out moment in my life as a parent. What a treasure that memory is for me and for her!
This Lightweight Alcohol Stove is Inexpensive & Lighter Than Any Stove On the Market!
Obviously, when you are backpacking the weight in the pack makes a big difference. The less weight in the pack, the easier the hike! We don’t typcially make our kids carry their own cooking gear, but they can carry their own alcohol stove. Because, they are so lightweight and small. The little alcohol stoves are efficient and easy to use as well. Even if you aren’t crazy enough to take your family into the wilderness with they just gear in your packs, you can use the stove for regular camping outings or scout overnighters! It is a fun DIY project for older kids to make and then use.
I would say this project is safe for children who are 12 and older. Younger kids would need help from an adult to make the DIY Alcohol Stove for Emergency Kit safely.
Use your Denatured Alcohol Stove Kit for Emergency Preparation
In Utah, where I live, we just had an earthquake. It was pretty scary. There wasn’t a lot of damage to people or the property in my area, but it was a great wake up call to have our emergency gear in place! Luckily, we have a lot of great preparedness items because my husband loves the outdoors so much. But, it is so important to have a 72-hour kit or some sort of “easy to grab and go” bag that will help keep you and your family safe after a natural disaster.
This Denatured Alcohol Stove Kit for Emergency Preparation is a great addition to your stash! It is so small it will fit in a backpack. You will need to include a bottle of denatured alcohol to use as fuel. The denatured alcohol is easy to find at any hardware store. It is typically used as a paint thinner to clean paint brushes. The denatured alcohol is a clean fuel. That means that it burns without putting off a yucky smell or toxic gas. Because of this, you can use the stove indoors.
The Emergency Kit Stove is Perfect for Indoor Use
Because the denatured alcohol is a clean burn fuel, you can use the stove indoors. If the power goes out, you can boil water to make hot cocoa or cook some ramen noodles!
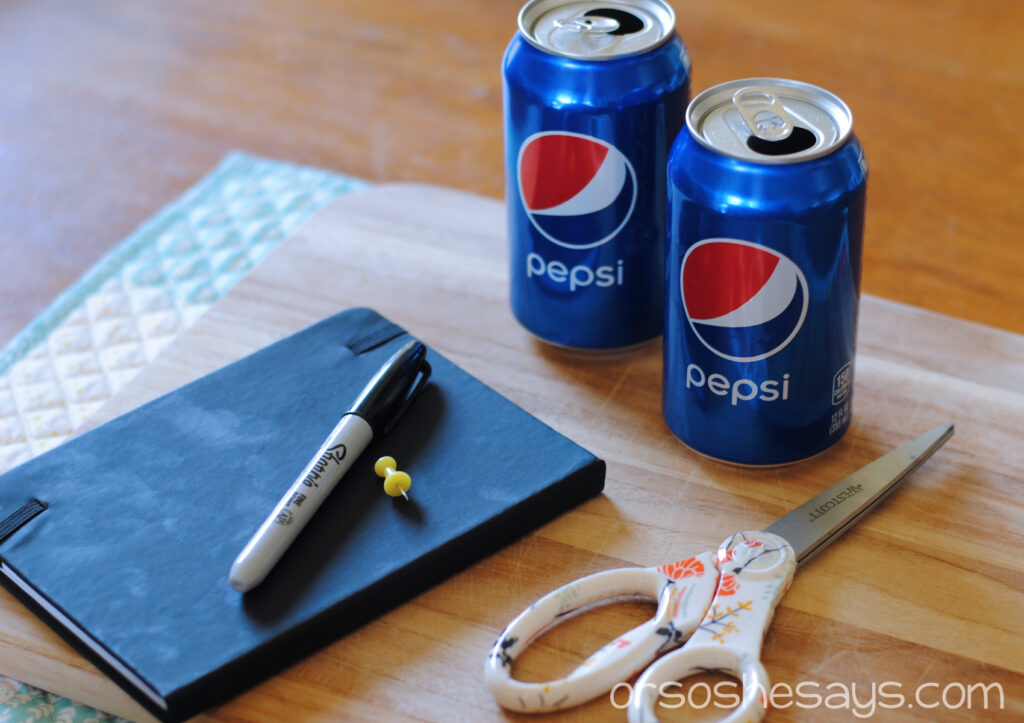
Ok! So, we know that this is a great stove for a wide range of situations. I’m sure you are ready to get going on the tutorial. You will need to gather a few supplies to make your own DIY Stove for Emergency Kit.
- 2 Empty Aluminum Soda Pop Cans
- Push Pin or Small Nail
- Sharp Scissors
- Sharpie Marker
- 3/4 inch Thick Notebook or Book
- Penny
- Denatured Alcohol
- Lighter
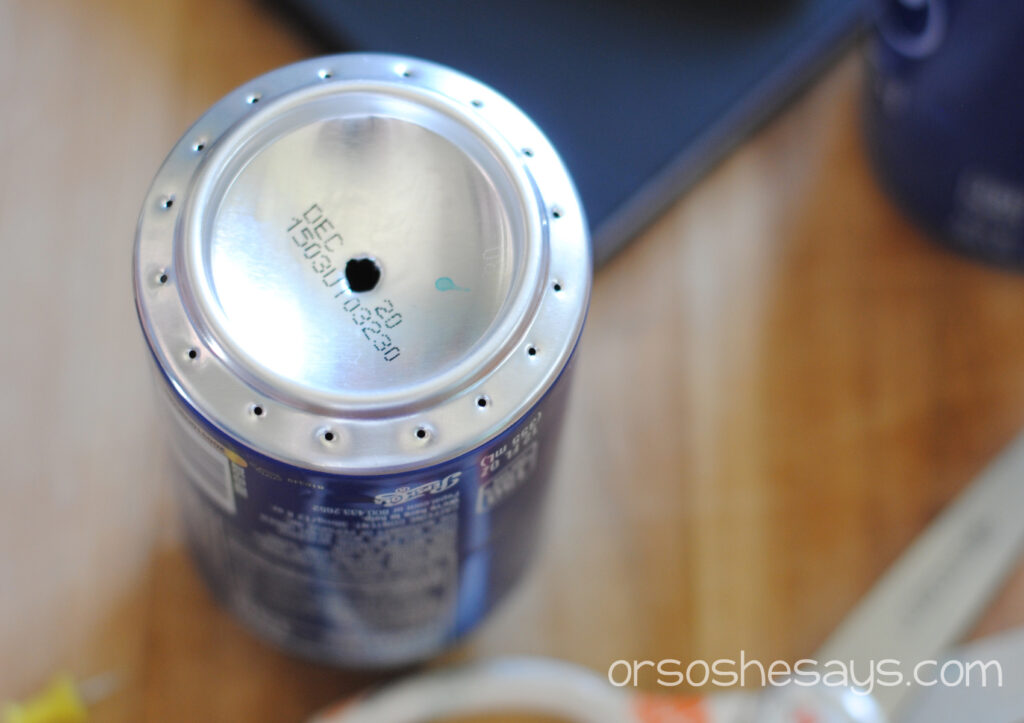
Make sure your soda pop cans are empty and pretty clean inside, so they don’t make a sticky mess when you start cutting. Start with the first can. Poke holes around the bottom of the can along the rim with the push pin. You want the holes to be spaced equally around the rim. I like to start poking holes in a cross pattern, alternating from one side to the opposite side. Keep alternating sides until you have a nice even pattern all the way around the rim.
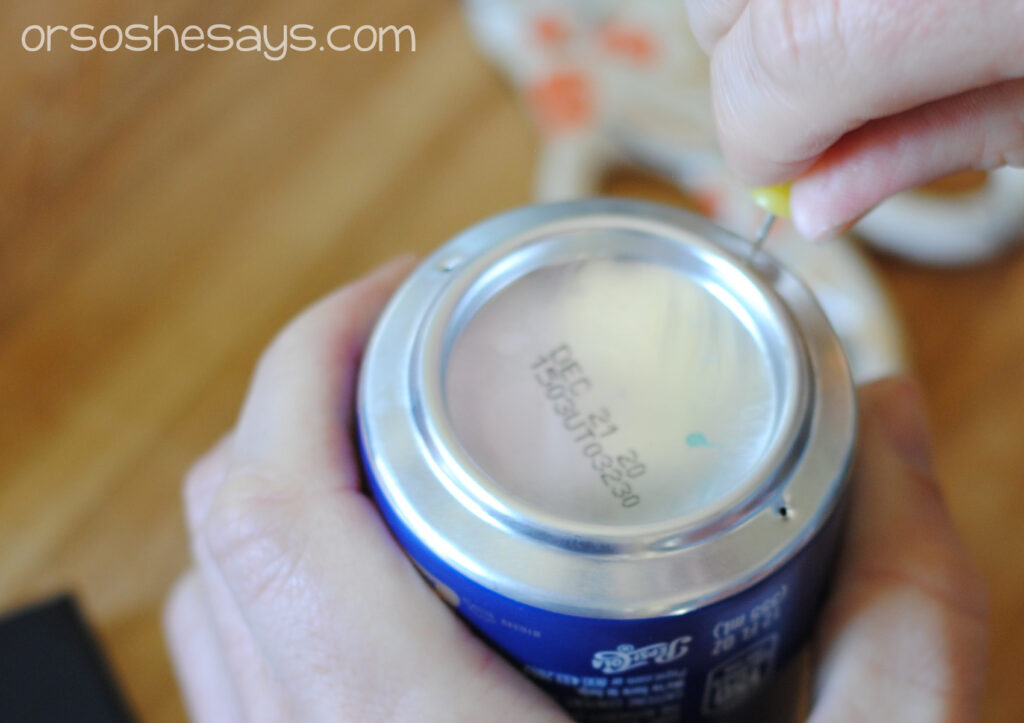
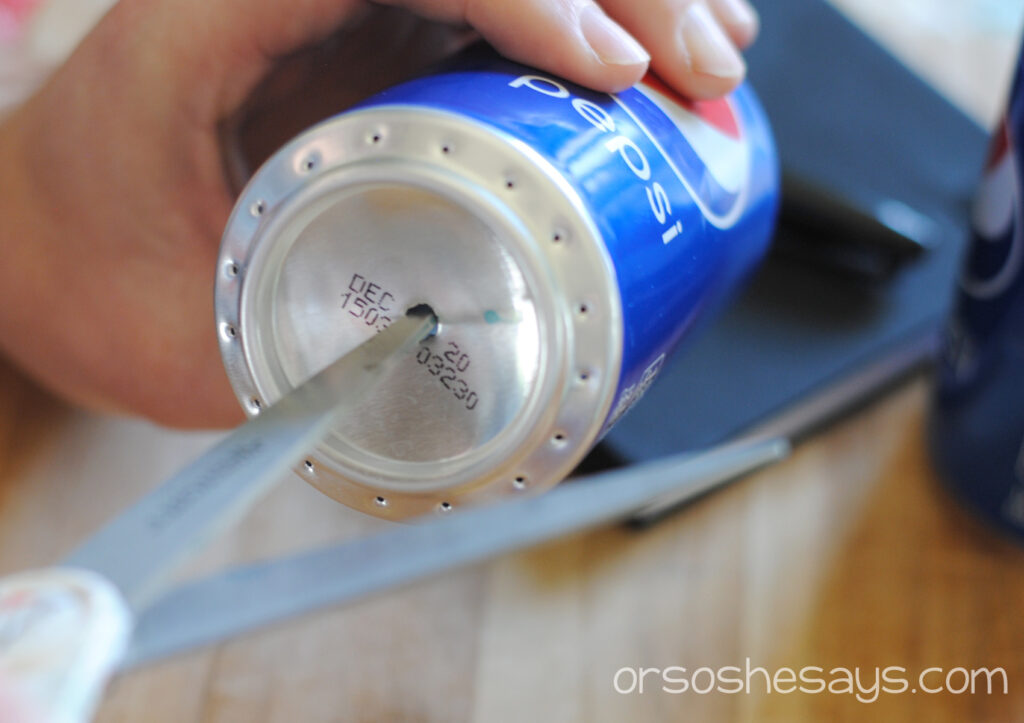
If you don’t have a push pin, you can use a small nail and a little hammer to make the holes. Next, poke a few holes in the bottom center of the can. Then, use the tip of your scissors to route a hole. It should be about 1/4 inch in diameter. I just kind of rocked the scissors around in a circle to make a nice round shape. The aluminum is pretty easy to manipulate.
Lightweight Alcohol Stove Tutorial Continued…
Now, you will need to draw some lines on both cans. To make sure the lines are even, use a notebook or book as a guide. Lay the book so it is flat on the table. Then, place the Sharpie marker sideways on top of the book. Press the marker tip to the side of the can. Hold the marker in place and then rotate the can around in a circle. It will draw a line all the way around the can. You want the line to be at the bottom part of the can.
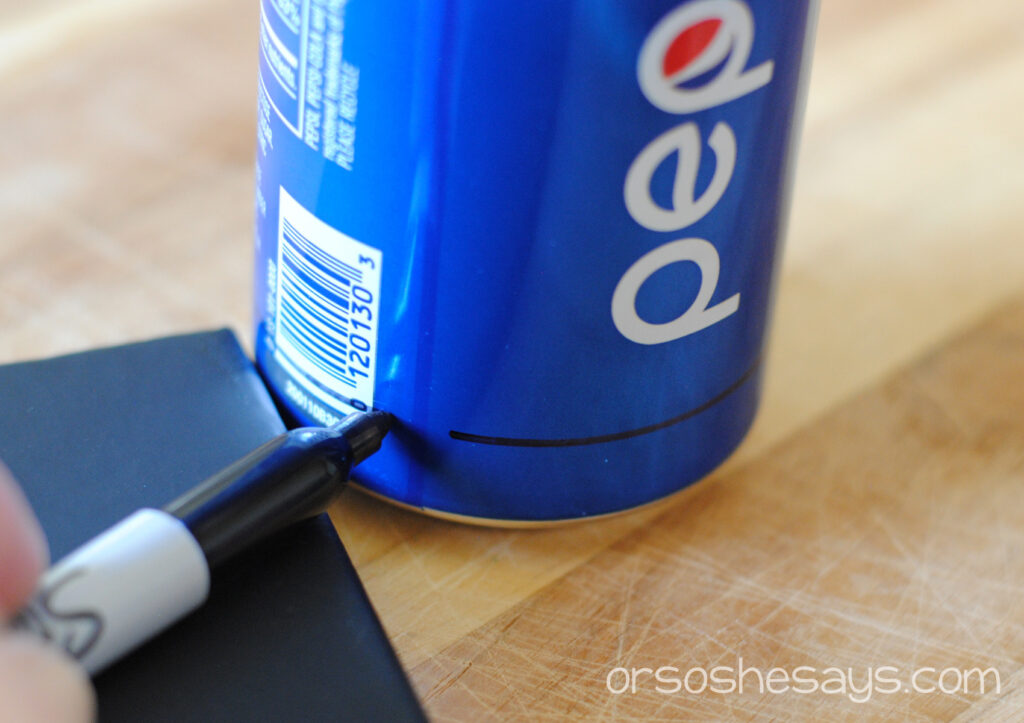
The only part of the can you need for the DIY Alcohol Stove for Emergency Kit is the portion that is under the black line. The rest is scrap! Poke a hole somewhere in the can towards the top. When you poke the hole it might kind of crinkle the can a little bit. That is ok!
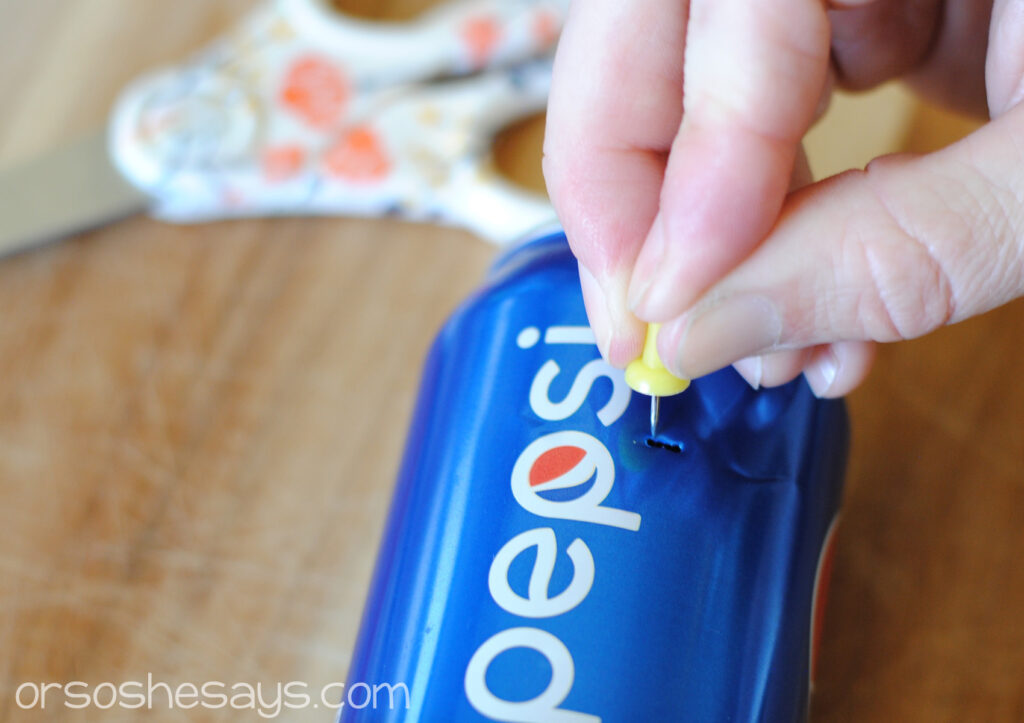
Take your scissors and cut around the can and then down at an angle towards the black Sharpie line. You just don’t want to enter the can right at the Sharpie line because it makes the cut kind of messy. Enter the can from above and then work down towards the line. It is the easiest way!
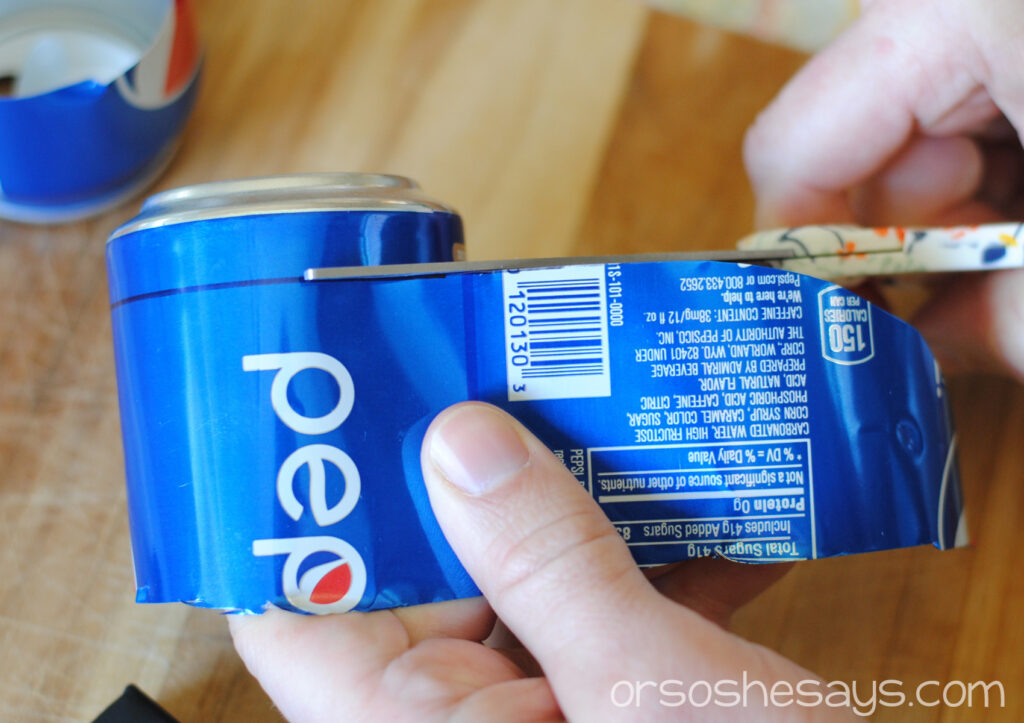
On the can with the holes poked in the bottom, you want to cut just above the marker line. On the other can, cut right along the marker line. The slight height difference will make your lightweight alcohol stove be smooth and safe in the end! You can see the height difference in the picture below. Make sure the can with the holes is the taller one.
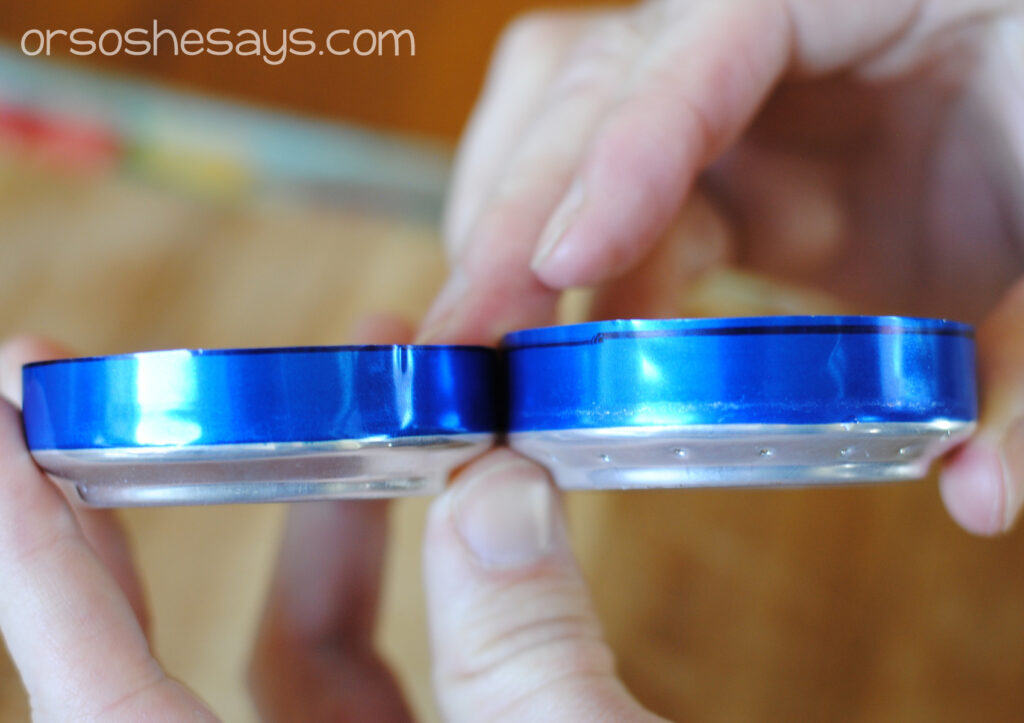
The DIY Alcohol Stove for Emergency Kit is almost complete!
Press the two cans together! Insert the open end of the can with holes into the can without holes. You kind of have to squish the edges together to make it a little bit small to get the holes can to slide into the other can. Just squeeze it and work with it a little bit. They do fit together. I promise!
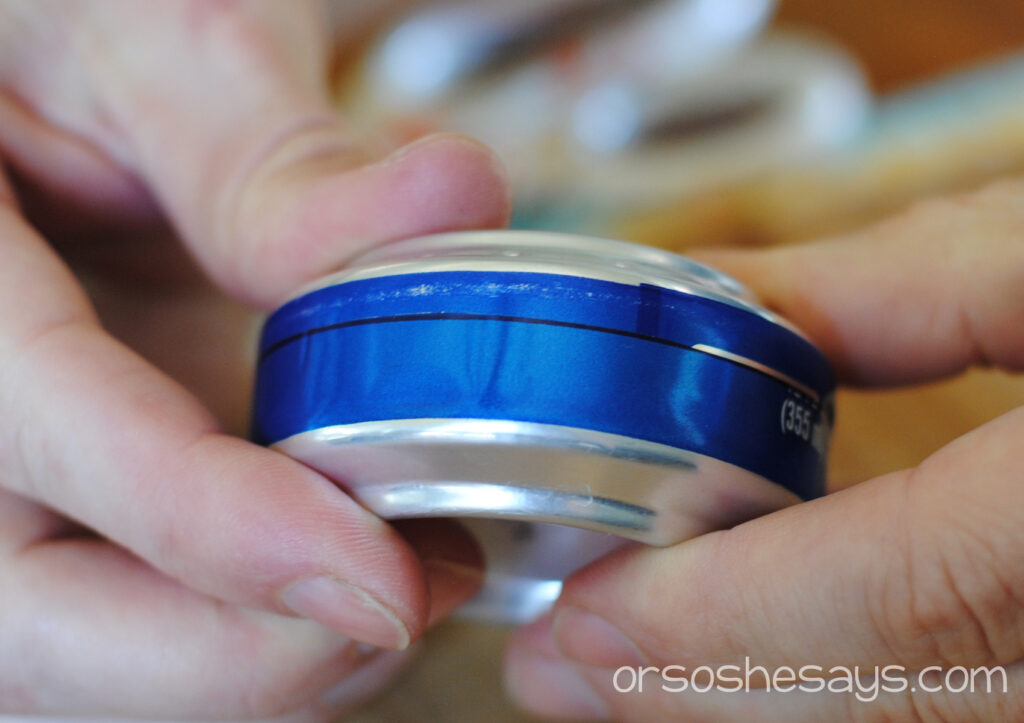
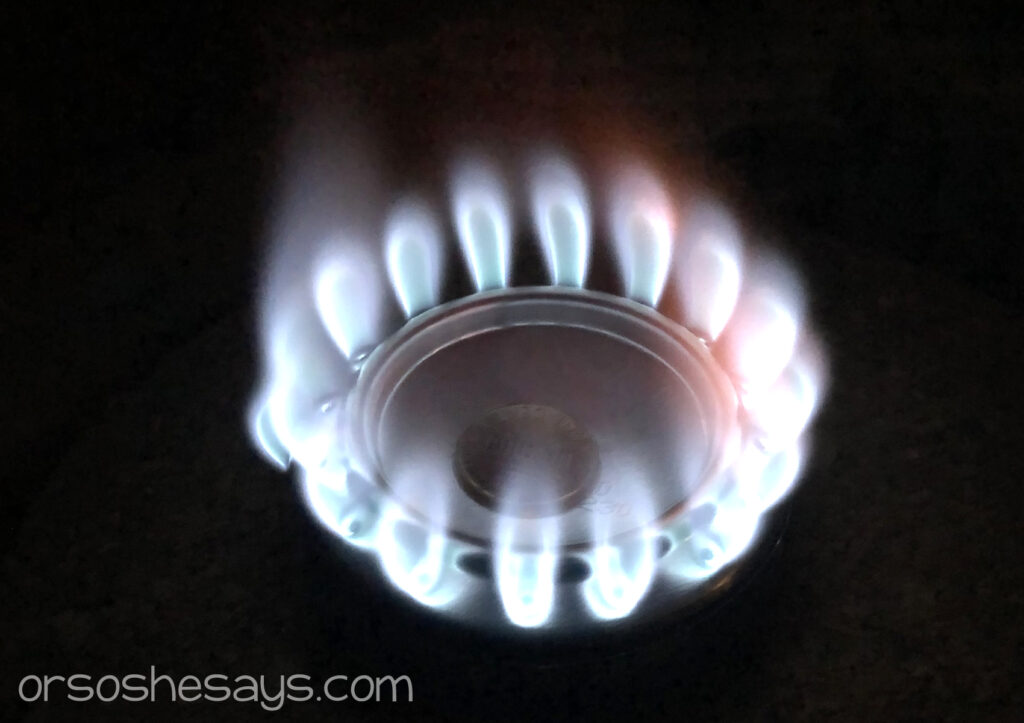
Next, make sure the pieces are pushed together nice and tight. Then, your stove it ready to be tested! Pour about 2 tablespoons of denatured alcohol into the can. It will drain down though the big hole in the center. Use a long lighter stick to light the fuel. The flame will begin through the big center hole. As the can warms up, you will hear the fuel start to boil. After a minute the flame will bloom through the small side holes to make a nice pretty stovetop!
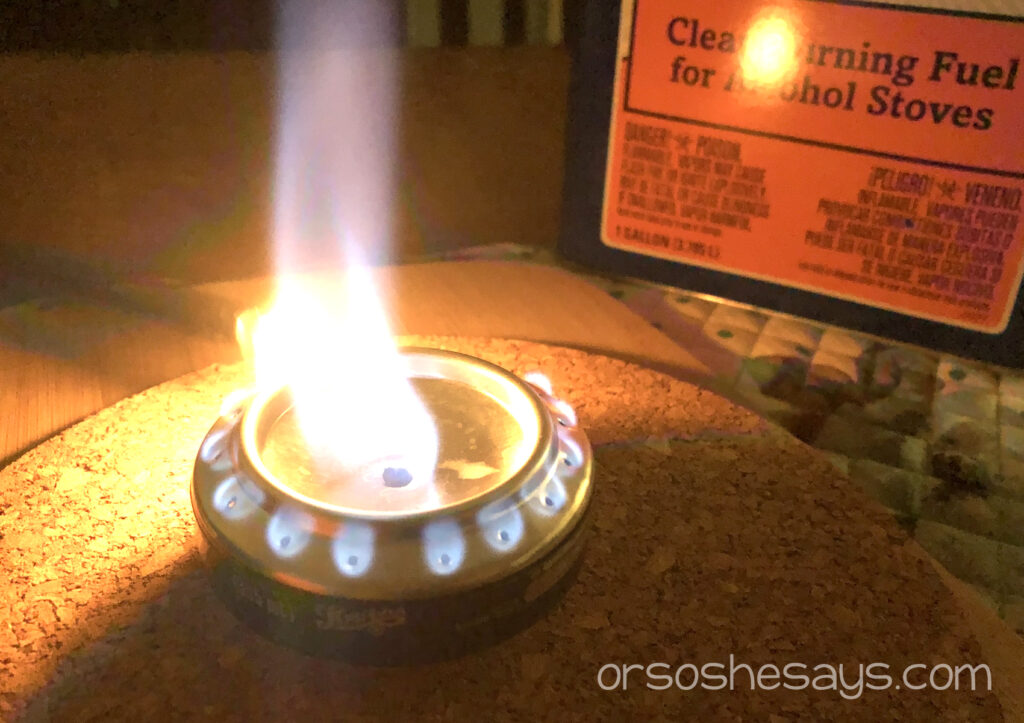
If you have trouble getting your flame to bloom around the edges, use the lighter to warm up the can around the outside. When the can is warm it pulls the flame out. I like to drag the lighter flame around the outside edges a few times around. It helps the process move more quickly!
Once the flame is blooming, carefully drop a penny onto the stove. The penny blocks the center hole and makes all of the heat travel to the outside. This makes for better cooking and also helps the fuel from burning out too quickly.
The stove burns really well. If you start to loose flame power, it means that the fuel is getting low. Do not try to add more fuel when the stove is already lit! That is dangerous. Wait for the fuel to burn out completely, and then start the process over again with new denatured alcohol.
I hope you enjoy making your own awesome DIY Alcohol Stoves For your Emergency Kits! We made a few new ones for this post and my kids have been using them to make food for us in the backyard! Like I mentioned earlier, this project is best for children who are 12 years old and up. The edges of the aluminum can can be sharp and it does take some thumb strength to add the holes with the push pin. But, with help, little kids can join in on the fun.
If You Liked This Camping Project Post, Check Out:
- 26 Camping Hacks to Make Outdoor Life Easier
- Camping Tips for Families
- 26 Outdoor Dutch Oven Recipes ~ Plus, Favorite Dutch Oven Gear
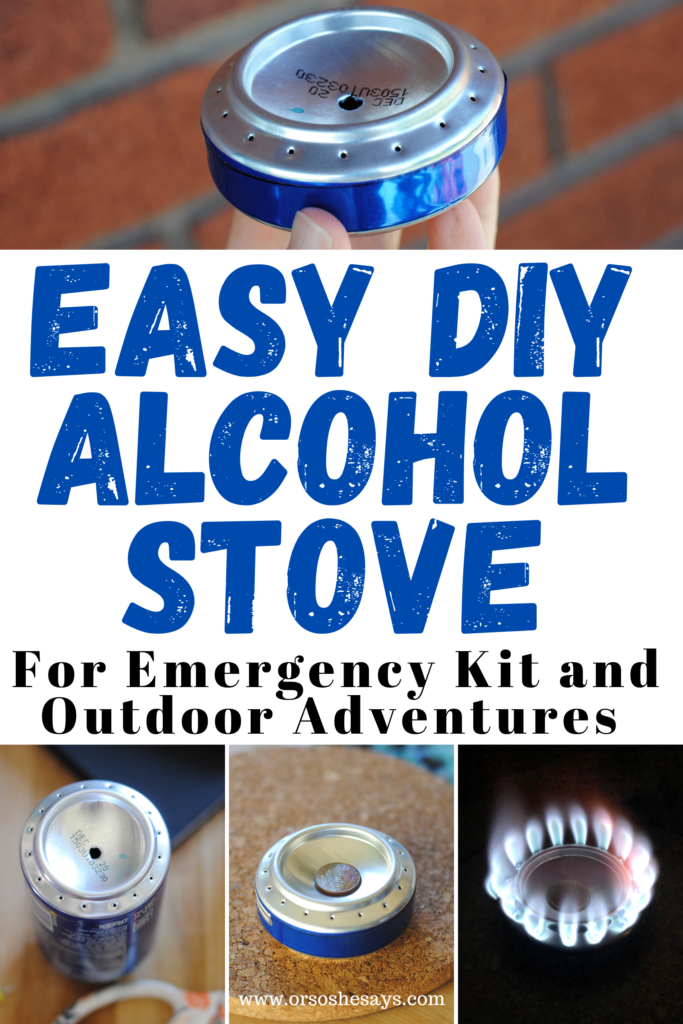
To Save This DIY Camping Hack Post for Later, Pin This Image:
Join 180,000+ others & follow OSSS for lots of family ideas!
- NEWSLETTER (free most-requested family recipes download included!)
- PINTEREST (lots of awesome family related ideas!)
