Or so she says...

Family Fun, Favorites, Food, and Faith

  • Home
  • Categories
    • Gift Ideas
    • Family
    • Recipes
    • Education
    • Faith & Inspiration
    • Holidays
    • Vacation
    • Crafts
    • Health
    • Home & Garden
  • About
    • OSSS Team
    • Media & Partners

January 8, 2015 by Carmella

DIY Canvas Art- Turn Kid Art into a Personalized Canvas (she: Carmella)

This post may contain affiliate links. For more information, see the disclosure policy.
  • Facebook
  • Twitter
  • Email

Hey there, and Happy New Year!! It’s Carmella back again for another year of fun on OSSS. I hope you all had a very Merry Christmas and happy holidays too! My kiddos and I have settled into a nice Christmas break routine of lazy, pajama days that have involved lots of crafty projects too.  And if you know me, those are my favorite kind of days. 🙂

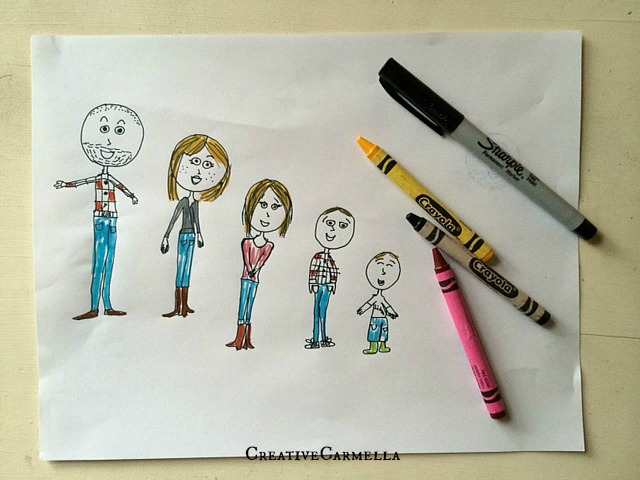
Our ten year old is our resident artist, she’ rarely ever seen not doodling something. Do you have one of those too??

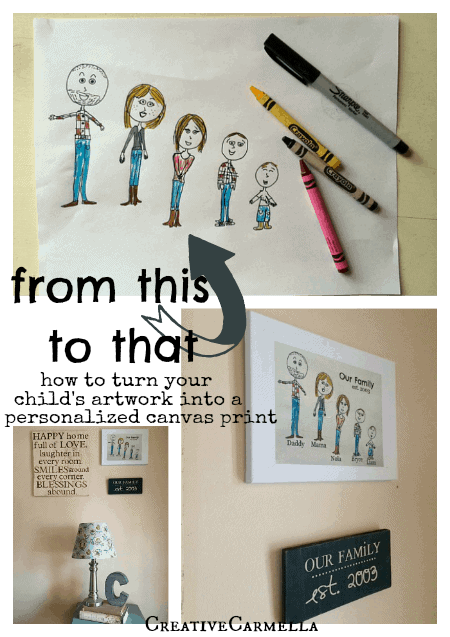
Today I am sharing how to turn some of those precious doodles into personalized artwork you can hang on your walls… It’s a DIY canvas art project that’s a lot easier than you may think.

DIY canvas art To start with, find a drawing or ask your kiddo to draw their own version of your family line up on a white sheet of paper.

familycanvas02

You’ll need to scan the drawing and save it as a .jpg file on your computer. Next, open it in a picture editing software; I always use PicMonkey for things like that. There, you can add lettering to your “family photo” to personalize it!

familycanvas03

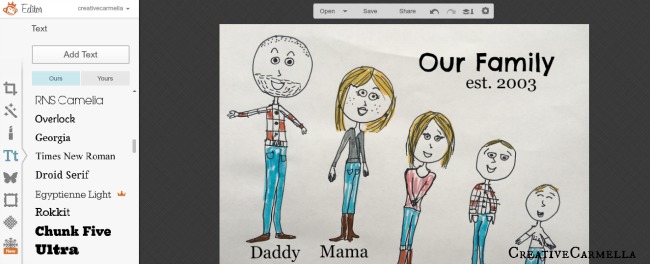
After you have added all that you want to the drawing, save it again to your computer.

Now, you are going to need to print the personalized drawing… on tissue paper! That’s right, just cover a piece of card stock paper with white tissue paper and secure it with tape like this…

familycanvas04

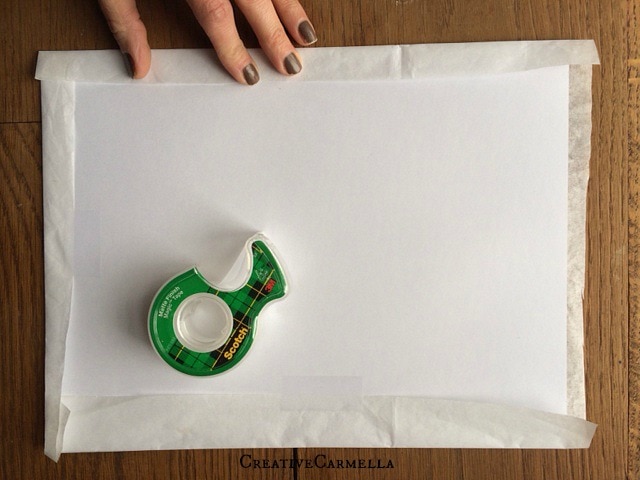
To print, place the tissue paper covered card stock, tissue paper side down and print the picture closest to the size of the canvas that you will be using.

familycanvas05

Using Mod Podge, paint a  thin layer onto the canvas. I’m not sure that it makes a difference, but I use matte finish for almost all of my projects like this…. but I am sure you can use what ever you have on hand.

familycanvas06

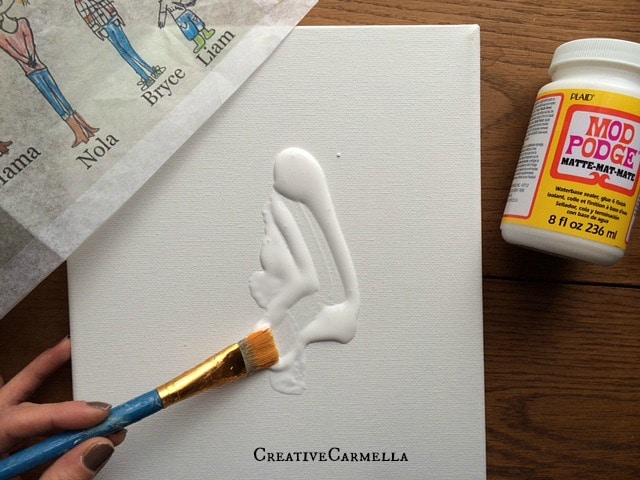
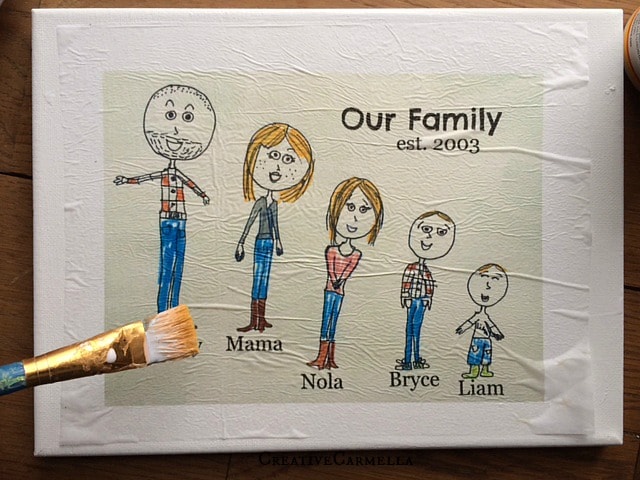
Once you have the entire canvas covered with Mod Podge, place the tissue paper print on top and gently, working from the middle out to the edges, smooth out the print with your paint brush. Once it’s in place, you can gently paint a layer of Mod Podge over the entire canvas again… and that’s it!

familycanvas07

familycanvas09

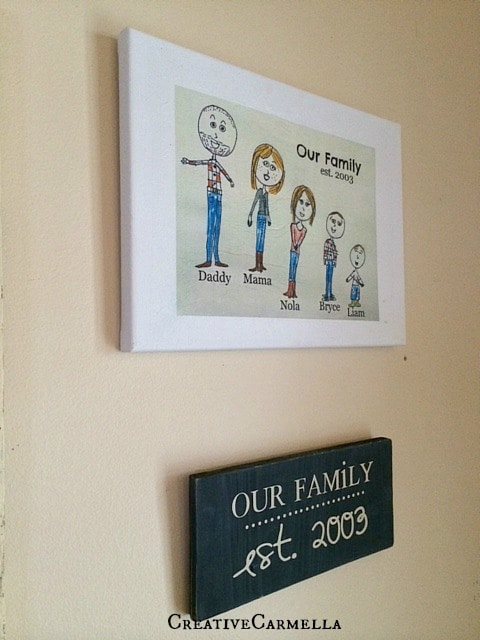
I hung ours in our little entryway, it makes me smile every time I look at it!

familycanvas08

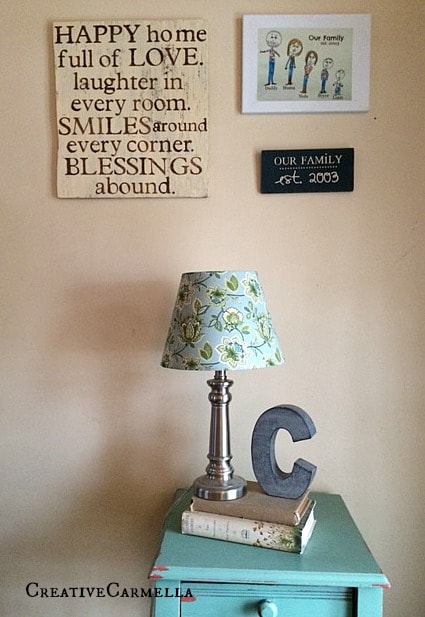
I hope you will give this project a try too! It really is such a fun way to display your little artist’s creations!

I would love to see your artwork if you try this too! Tag me @creativecarmella on Instagram or share it on my Facebook wall!

Thanks so much for reading, I’ll see you again next month!

  • Facebook
  • Twitter
  • Email
❮❮ Previous Post
Next Post ❯ ❯

Comments

  1. Stephanie says

    January 8, 2015 at 8:28 am

    So cute!! I have been trying to think of a nice way to hang up the photos that my kids draw and this is so perfect!

    • carmella says

      January 8, 2015 at 12:06 pm

      Thanks so much for reading, I am so glad you might use this idea too!

  2. Liv says

    January 8, 2015 at 9:09 am

    Thanks Carmella! My daughter creates dozens of drawings every week (self-portraits, family portraits, portraits of her favorite dolls…), and this is a great way to use Christmas tissue paper, too!

    • carmella says

      January 8, 2015 at 12:07 pm

      Yes, what a great idea with the Christmas tissue paper!! I am in love with kid’s drawings, it’s fun to see the world through their eyes!

  3. susan says

    January 8, 2015 at 12:40 pm

    cute idea!

  4. Mariel says

    January 8, 2015 at 12:43 pm

    Whoa, that’s sooooo cool, Carmella! I would have never thought to print a picture on tissue paper. You’re amazing.

  5. Alison says

    January 8, 2015 at 4:33 pm

    I love this idea. I have some art from the kids that I don’t want to throw away but don’t know what to do with. I’ll have to try this. They will love it, so will I!

  6. debi tricerri says

    January 8, 2015 at 5:50 pm

    love this idea!!! going to show my daughter in law! she may want to do it with the grandsons!!!

  7. [email protected] says

    January 14, 2015 at 9:53 pm

    What a FABULOUS idea!!

Categories

Topics

The Rare Newsletter

It doesn't happen very often, but when it does... it's good!! Favorite things, great ideas, and all things "FAMILY."

My Beliefs

Free Book of Mormon Offer

10 Reasons I Love Being a Latter-day Saint

The Church of Jesus Christ of Latter-day Saints

Affiliate Disclosure

‘Or so she says…’ is a participant in a variety of affiliate programs, including the Amazon Services LLC Associates Program, an affiliate advertising program designed to provide a means for sites to earn advertising fees by advertising and linking to amazon.com. Read more in the Disclosure, including info on Adthrive, the publishing network for this blog.

10 Most Popular Posts

  • 16 Teenage Birthday Party Ideas
  • 26 Camping Hacks You Need to Know
  • Best Products for Thinning Hair
  • Swiss cheese Chicken Easy Dinner
  • Would You Rather ~ Scripture Edition Game
  • Cute Bun Hairstyles for Girls
  • Over 100 Family Movie Ideas
  • The Ultimate Collection of Scriptures on Faith
  • Foods to Freeze Dry ~ Ultimate List
  • 30 Books to Read Out Loud to Older Kids


  • Disclosure Policy
  • Privacy Policy

© 2018 Or So She Says... By: Pretty Darn Cute Design