
Hi there! I’m Lisa, twenty something tree hugger, crafter, idea machine and blogger over at Love To Go – happy little things where I share all sorts of happy little things, DIY projects, recipes and keep you updated about my small business and shop. I’m thrilled to be blogging here on “Or so she says…!” it’s such a wonderful place full of inspiration!

I recently moved into this really cool loft apartment and I’m now looking for all kinds of fun ideas on how to make my workspace prettier and organize my slightly chaotic sewing station (yes I have to admit it, there is yarn everywhere, spools of thread just leisurely laying around or crammed into their little boxes and all other essentials are probably in another box somewhere in that box chaos).
I love for my workspace to be a place of inspiration and not just a nice collection of small boxes so I came up with an easy solution for sewing station chaos and created a fun make over. It’s simple and easy, a quick DIY.
What you need:
- All your sewing material (including spools of thread and embroidery yarn)
- Old piece of cardboard or a thin piece of wood
- Hammer and nails
- Old tub (I recycled an old tub from body lotion but you can really just use about any plastic bowl)
- Things you might need to decorate your cardboard or tub if you don’t like the look of it e.g. acrylic paint, scrapbooking paper, newspaper, pretty pictures, pretty tapes, fabric.
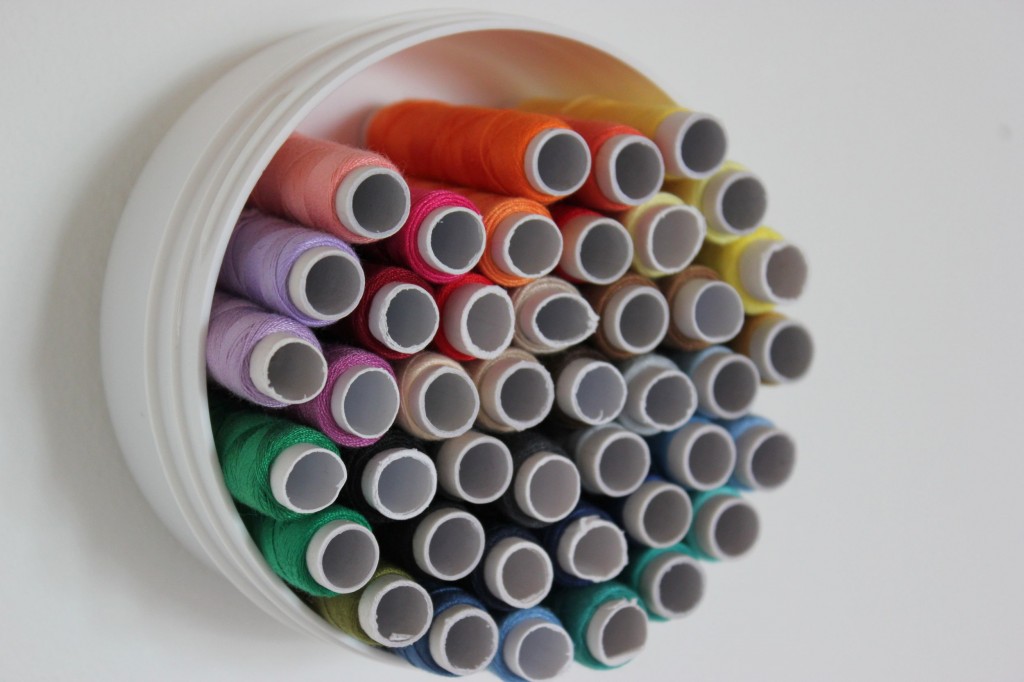
First thing you want to do is to clean out the tub or if it is already clean go to step number two which is choosing between revamping and pimping your tub or leaving it just the way it is. I have a white tub and the walls in my workspace area are white as well so I am loving the white on white effect. If you want to get some color into your workspace you can for example add some chevron patterned fabric onto your tub.

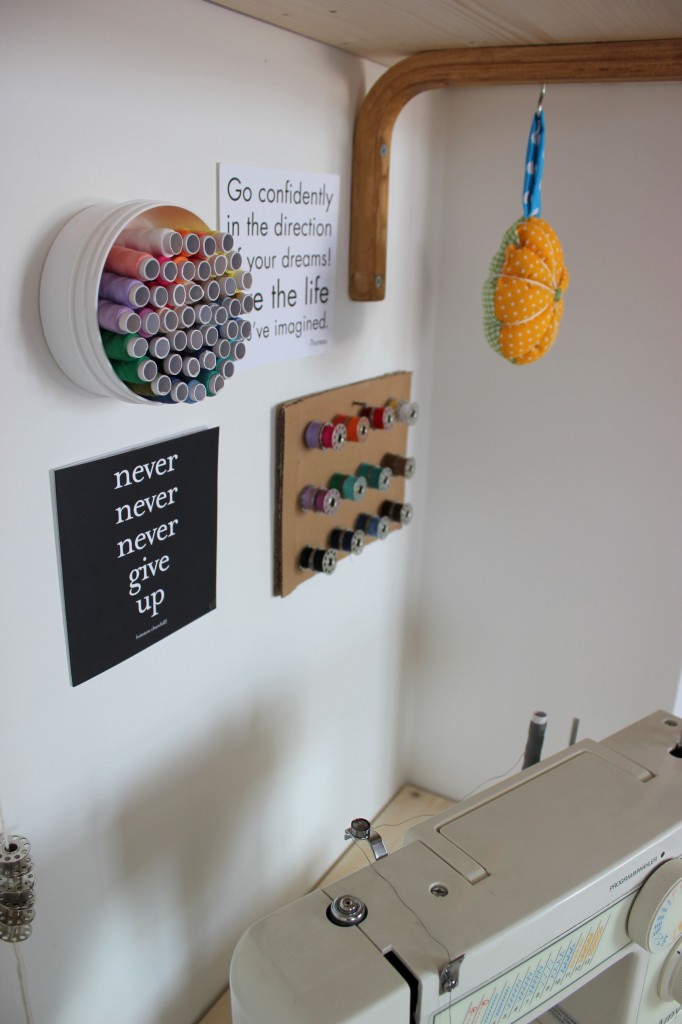
You can either powerstrip it to the wall or use hammer and nail and do it that way. Then just start stocking your spools of thread into their new little home. You can organize them in a specific color scheme or order them in a way that is most practical to you. I hung mine right above my sewing machine so it’s easy access.
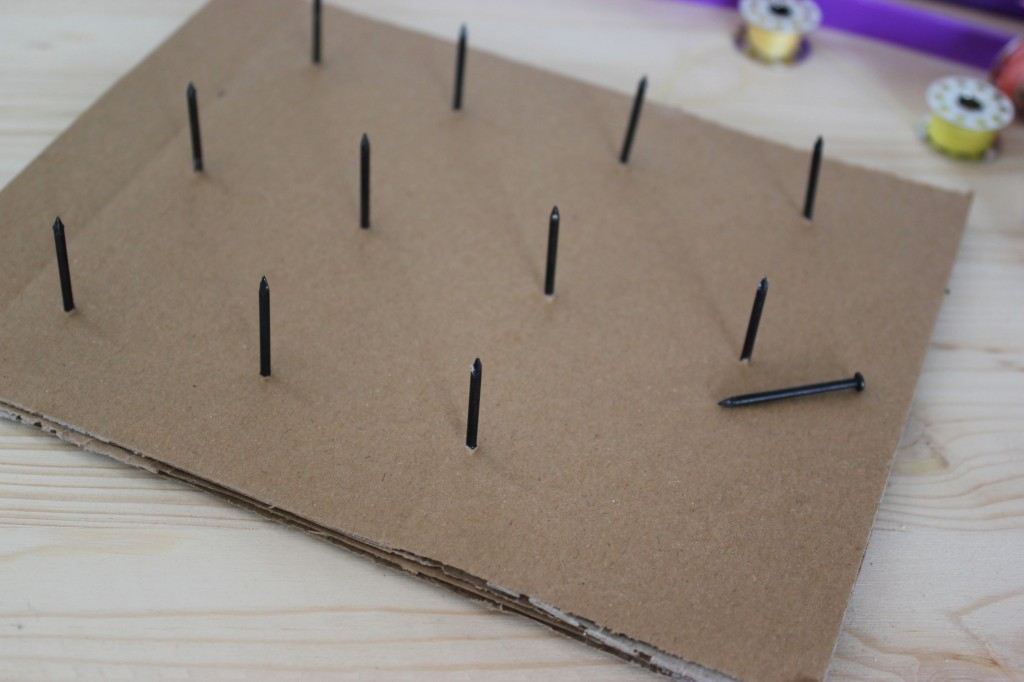
Now for your little spools of thread you want to get an old piece of cardboard or your thin piece of wood and decide how many small spools you want to put onto the board later. I decided to go for 3 rows with each 4 nails which will end up holding 2 spools each. I decided to use simple cardboard and not paint it or do anything with it but leave it rustic looking. I kind of like how it brings this home-y feeling into my workspace.
I decided to order the spools of thread in a rainbow color scheme as well.
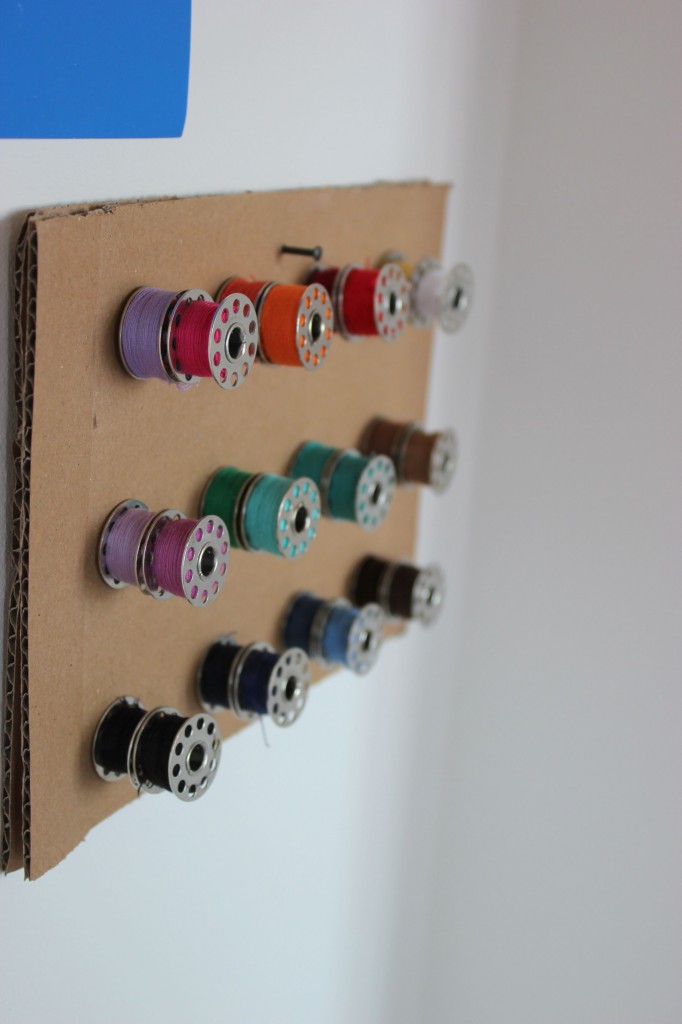
I also added thread on which I clipped my yarn clothespin (Tip: This really is one of the easiest ways to store your embroidery thread without it getting entangled – just wrap it around a clothespin and clip it onto a piece of thread) and empty spools for future use.

I am thrilled about my newly organized sewing station, no more tiny boxes all over the table but space to work on spontaneous sewing projects. I also added some inspirational words to my new wall of sewing magic.
If you enjoyed this little DIY tutorial I’d love for you to come over and have a peak at more DIY projects on Love To Go – happy little things. Happy crafting and organizing!
~ Lisa