Or so she says...

Family Fun, Favorites, Food, and Faith

  • Home
  • Categories
    • Gift Ideas
    • Family
    • Recipes
    • Education
    • Faith & Inspiration
    • Holidays
    • Vacation
    • Crafts
    • Health
    • Home & Garden
  • About
    • OSSS Team
    • Media & Partners

January 6, 2011 by Mariel

Anthropologie DIY Recipe Book (she: Beverly)

This post may contain affiliate links. For more information, see the disclosure policy.
  • Facebook
  • Twitter
  • Email
Hi! My name is Beverly and my little corner of blogland is called Flamingo Toes. I’m so excited to be here at “Or So She Says…“!  (Previously, I shared with you a tutorial on making an Anthropologie Knock-Off Necklace.)
Flamingo Toes is full of Sewing, Crafting, and Cooking ideas, along with some generic rambling by me and of course the occasional awesome giveaway! I’d love to have you stop by sometime and say hi!
I have another fun Anthropologie tutorial to share with you today: Anthropologie DIY Knock-Off Recipe Book
I’ve mentioned on my blog that I love to cook. And eat of course – but that usually takes cooking first. And while I have a great selection of cookbooks – I also have a ton of recipes that I’ve printed out from the web or copied from magazines. Stacks of them. I’ve filled up a binder that my Mom made me – and more. It was time for a new one.
You’ll never guess where I went “shopping” for ideas. What? Anthropologie you say? Well of course. And as usual – they delivered. You’re shocked. I know.
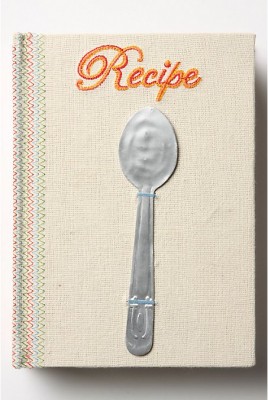
I found the cutest little Recipe book.
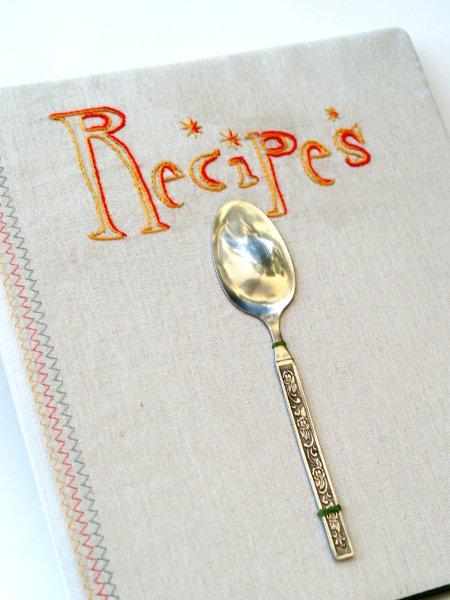
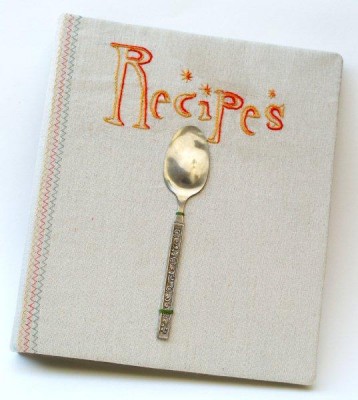
I loved the design of theirs – and that little spoon – but I wanted a Binder version. Here’s mine!
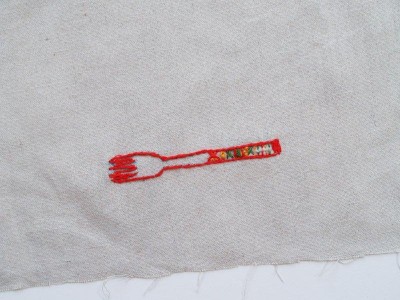
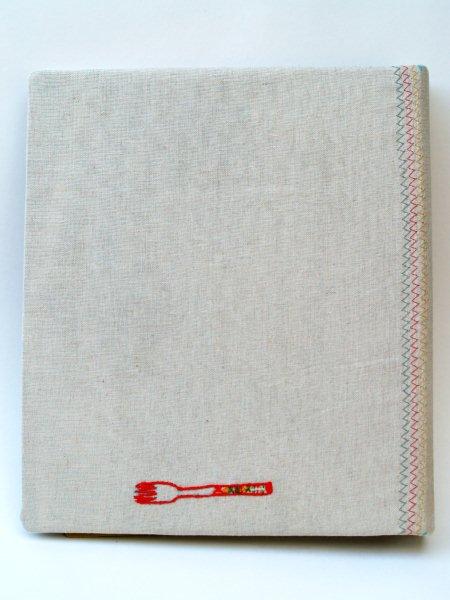
I even did the little fork on the back of the book.
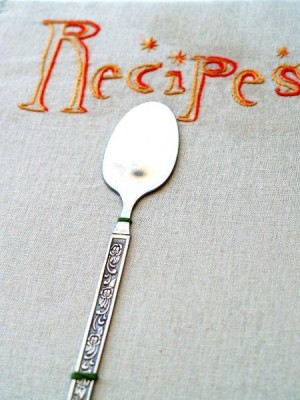
I’m really pleased with how it came out. I used a more retro-diner style font but I kept to the colors and style because those go great with my kitchen. I also changed the text to “Recipes” (plural) rather than just “Recipe”. I plan on keeping more than one in there and not having the plural would have bugged me. That’s how weird I am.
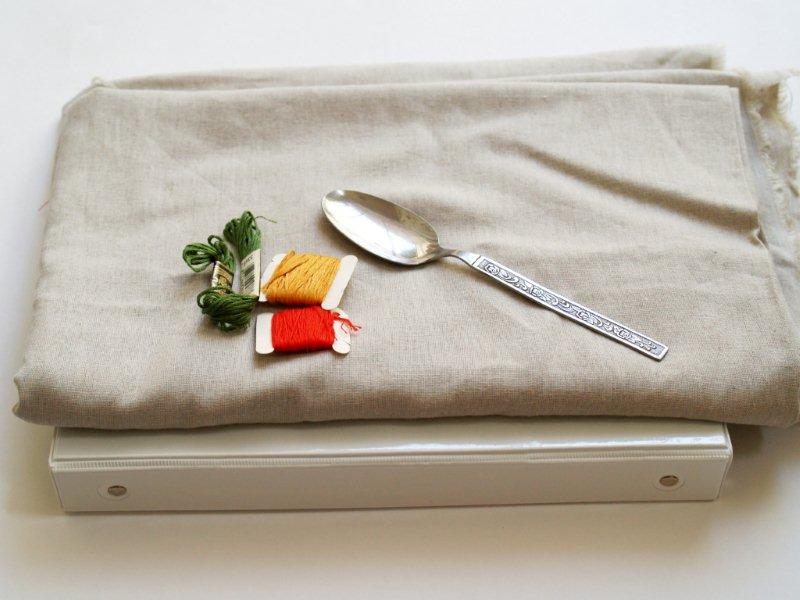
Here’s the supply list if you’d like to make your own:
  • Fabric for covering the binder – a little more than twice the size of the binder
  • A Binder or notebook – mine is a 1″ Binder
  • Embroidery Floss and Coordinating Thread
  • A spoon 🙂
  • Hot Glue Gun and Glue
  • Posterboard or light cardboard
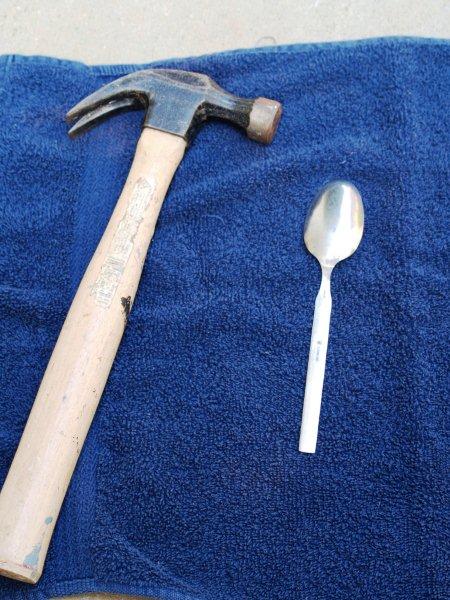
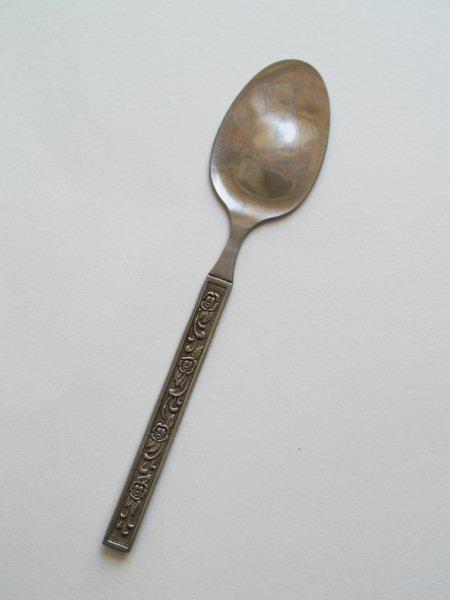
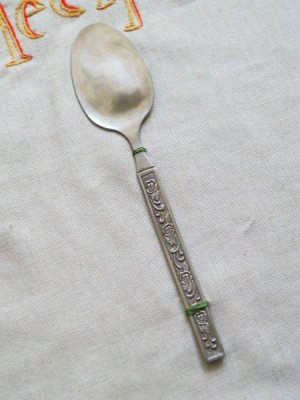
We’ll start with flattening the spoon. You can do that at any point but it’s the most fun so why not start there?
Lay your spoon on an old towel outside.
Cover the spoon with the towel and, using a hammer, beat the spoon until it’s flat. It won’t take too long.
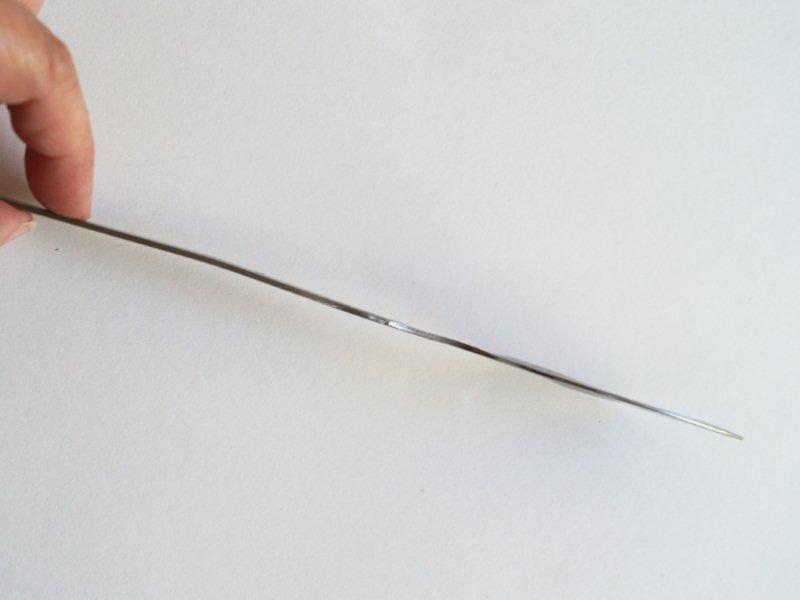
Wasn’t that satisfying?
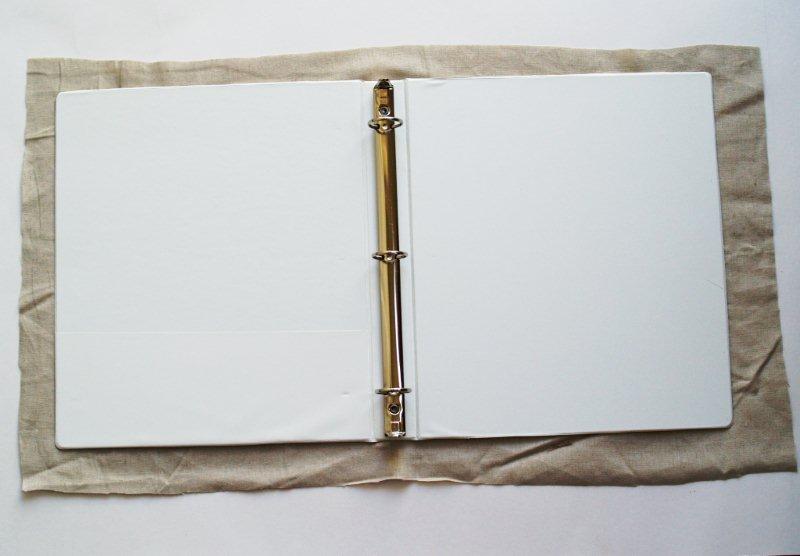
On to the binder! Cut out a rectangle of fabric about 1″ larger than your binder on all sides.
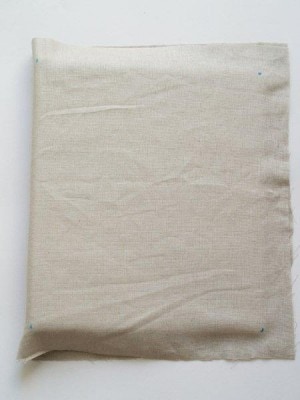
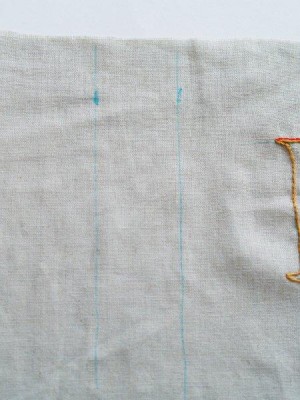
Mark the corners of your binder with a fabric marking pen. This will help you center your design and do the zig zag stitching. I hope you can see those little marks.
Decide on the design that you’d like. You can make your own, or you can print out the one I used at the end of the post.
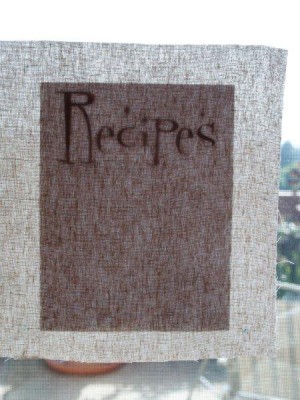
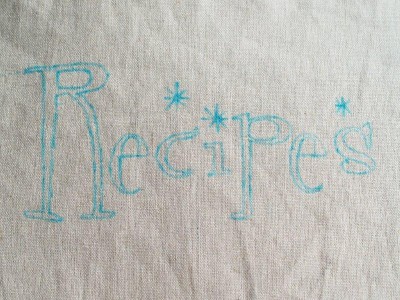
Trace your pattern onto your fabric with a fabric marking pen. An easy way to do this is to tape your pattern to the window, then tape your fabric on top of that. The light will shine through and you will be able to easily trace the design.
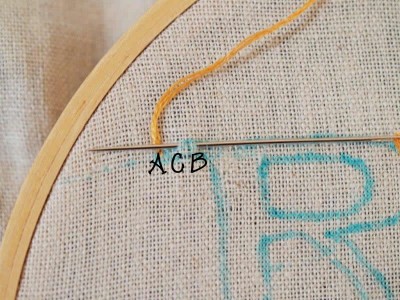
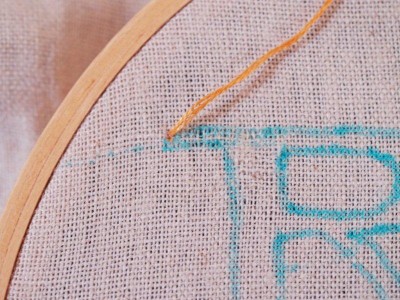
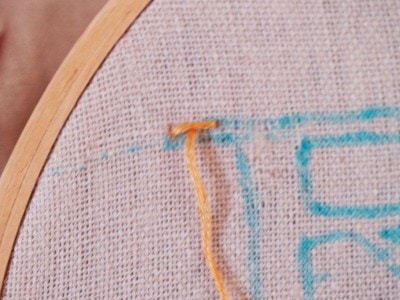
Place your fabric in an embroidery hoop and outline the letters with a stem stitch. To do this, bring your thread up at the corner of the “R”.
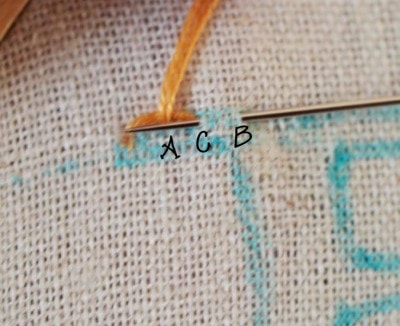
Here is a picture to help you with the stitch. The point you brought your thread up is point “A”. Put your needle in at point “B” and then bring it back out at point “C”. There should be an equal distance between A, B, and C.
Pull the thread through.
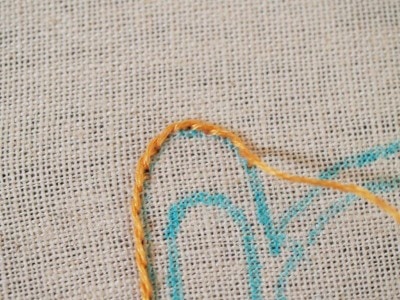
Now repeat the steps, keeping the loose thread above the stitch. In at “B”, out at “C” but your stitch will touch the end of the previous stitch.
Continue this stitch around the outlines you’ve drawn.
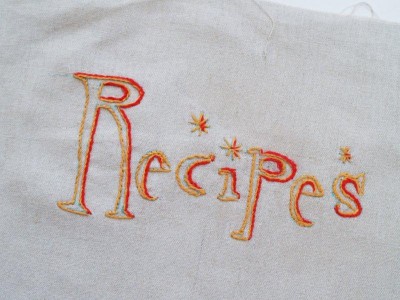
I sewed all the lines in gold embroidery thread, then I accented the right side of the letters with a reddish orange – kind of like a shadow.
For the fork, I traced the pattern so it would be towards the bottom of the back of the binder. I outlined the fork with the same stitch, then just filled in the end section with some random lines and crosses.
For the decorative zig zag stitching, I switched to my machine.
Using the markings at the corners of the spine, draw a line from the top to the bottom of the fabric. Repeat for the back.
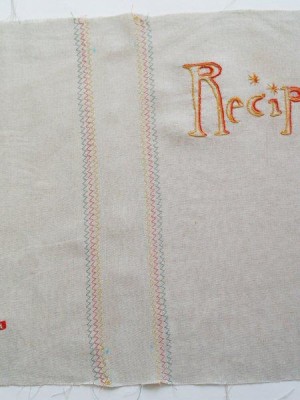
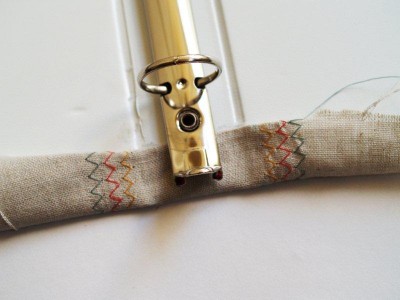
Follow the marked line with a zig zag stitch, using thread that matches the colors you did in the embroidery. I did three rows on each side in three colors.
This is a good time to remove all your marking lines and dots.
Sew on your spoon. I sewed it at the narrow section and towards the bottom.
Lay your fabric out, wrong side up, and center your binder on it. Make sure the spine is between your zig zag stitching.
Fold the bottom center section under, at the spine. Glue down (with hot glue) this section, slipping the fabric under the metal binder piece. You should have no raw edges of fabric showing.
Repeat with the top center section.
Fold over the left side section and glue down. Pull the fabric tight but not so tight that it stretches or distorts. Don’t worry about raw edges here – this will be covered.
Repeat with the right side section. Then glue down your top and bottom sections.
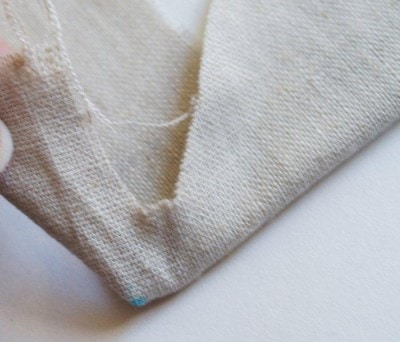
For the corners, trim a “V” of fabric out of the piece that is not glued down. This will help the corner lay down flat.
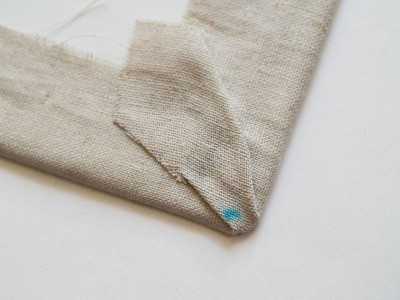
Glue down each corner.
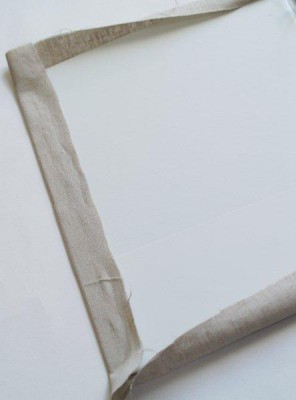
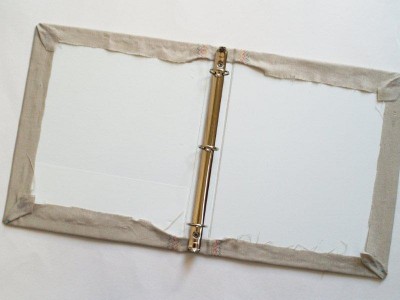
The outer edges of the binder should all be glued down now.
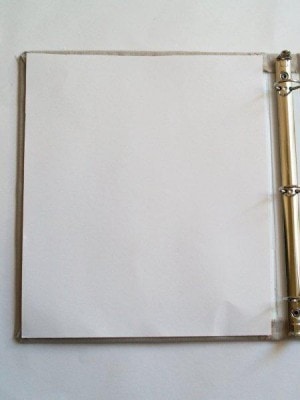
Cut a piece of posterboard or light cardboard slightly smaller than one side of the binder. Make sure it doesn’t cover any of the spine or the binder won’t close properly.
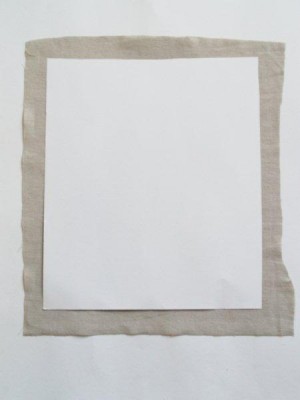
Cut a second piece for the other side using this as a pattern. Cut out 2 fabric rectangles slightly larger than your posterboard.
Obviously it doesn’t have to be perfect. Yes. I failed rectangle cutting in elementary school.
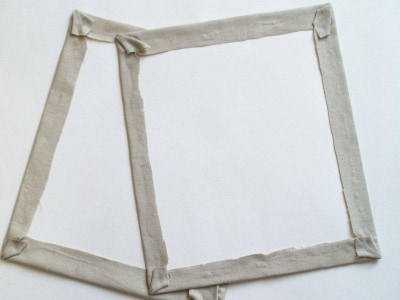
Glue down the edges of your fabric to the posterboard just like you did with the binder. Start with the sides first, then do the top and bottom, then the corners.
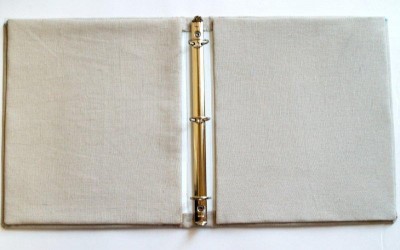
Turn the rectangles over and place them on the inside of the binder. Glue one down on each side, making sure to get the edges and corners really well.
You might also want to add a bit of glue under the top of your spoon to help hold it down.
Wasn’t that fun? Other than those little glue gun burns. We won’t mention those.
As I was making this, I thought of a couple of ways you could do it differently. If you wanted to skip the gluing, your could sew a cover for the binder, making the sides into pockets that you slip the binder into.
Or you could make the whole thing no-sew, and use a transfer or fabric paint for the design. I love options!
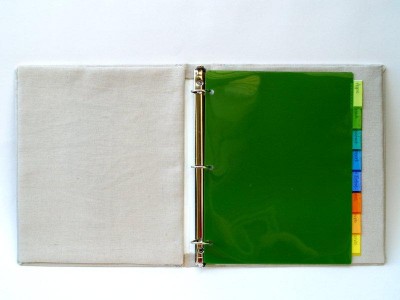
You can put dividers inside to organize your recipes. I also have plastic sleeves for the pages, so I can reuse them without getting stuff all over the page. I’m a messy crafter and a messy cook.
This would be fun to give as a gift, with some of your favorite recipes. You could even take it a step further and embroider their name inside.
I hope you enjoyed the tutorial and will come visit Flamingo Toes sometime!
~ Bev 
~~~~~~~~~~~~~~~~~~~~~~~~~~~~~~~~~~~~~~~~~

Want to be featured on “Or so she says…”??  Email YOUR “great idea” post to [email protected]

For gift ideas for everyone on your list, check out the Gift Ideas tab and be sure to pin Gift Idea Central, to keep the whole collection in one place.

  • Facebook
  • Twitter
  • Email
❮❮ Previous Post
Next Post ❯ ❯

Comments

  1. mub says

    January 6, 2011 at 11:05 am

    This is SO cute! I love the idea of giving it as a wedding shower gift with some of your own recipes inside.

  2. Jocelyn Christensen says

    January 6, 2011 at 1:29 pm

    That’s pretty much totally awesome!

  3. Natalie says

    January 6, 2011 at 3:00 pm

    Very fun!! Thanks for sharing!

  4. Lynette @ My Craft Discovery says

    January 6, 2011 at 3:24 pm

    Loving this idea! I have a binder of recipes…but it’s not cute! What a great way to make it cute! And I could do this for school binders too! Sweet. Thanks! When you said we could do a transfer…I was thinking I could also cut out letters and do an applique (which is what I have on hand).

  5. [email protected] says

    January 6, 2011 at 4:12 pm

    That is SO sweet and so pretty! I love the idea of this as a shower gift- how fun! Thanks so much, I’ll be linking.

  6. Brooke says

    January 6, 2011 at 4:31 pm

    Love this! I will be making one… and maybe one for each of my Sisters, too. 🙂 Thanks!

  7. Jessica says

    January 6, 2011 at 4:34 pm

    Sooo cute! Great gift idea too!

  8. Heidi says

    January 6, 2011 at 10:11 pm

    Love the binder! I have a plain recipe binder that I’ve been meaning to dress up. I know you mentioned sharing the “Recipes” image, but I don’t see it anywhere. Thanks for sharing.

  9. Beverly @ FlamingoToes.com says

    January 7, 2011 at 12:12 am

    Heidi, sorry about that! Here’s the link to the file. 🙂
    http://www.flamingotoes.com/wp-content/plugins/downloads-manager/upload/Recipes.pdf

    Bev

  10. Carrian says

    January 7, 2011 at 1:57 am

    I adore this!!!!!

  11. Steph says

    January 7, 2011 at 3:49 am

    Bev, this is so cool! So well done!

  12. Amanda says

    January 8, 2011 at 4:03 pm

    Oh Bev I like your MUCH better!!

  13. Paty says

    January 13, 2011 at 12:01 pm

    It’s so lovely…
    xoxo

  14. Katie's Nesting Spot says

    January 13, 2011 at 8:56 pm

    So fun to see you here Beverly, and by that I mean really seeing you. I don’t think I’ve ever seen a picture of you before. I love this anthro knock off, although really, it’s a better than version:) I had no idea a spoon would flatten so well, I’d have thought it would be more distorted!

  15. Kate says

    January 14, 2011 at 5:34 am

    Okay. Cutest.Project.Ever.

Categories

Topics

The Rare Newsletter

It doesn't happen very often, but when it does... it's good!! Favorite things, great ideas, and all things "FAMILY."

My Beliefs

Free Book of Mormon Offer

10 Reasons I Love Being a Latter-day Saint

The Church of Jesus Christ of Latter-day Saints

Affiliate Disclosure

‘Or so she says…’ is a participant in a variety of affiliate programs, including the Amazon Services LLC Associates Program, an affiliate advertising program designed to provide a means for sites to earn advertising fees by advertising and linking to amazon.com. Read more in the Disclosure, including info on Adthrive, the publishing network for this blog.

10 Most Popular Posts

  • 16 Teenage Birthday Party Ideas
  • 26 Camping Hacks You Need to Know
  • Best Products for Thinning Hair
  • Swiss cheese Chicken Easy Dinner
  • Would You Rather ~ Scripture Edition Game
  • Cute Bun Hairstyles for Girls
  • Over 100 Family Movie Ideas
  • The Ultimate Collection of Scriptures on Faith
  • Foods to Freeze Dry ~ Ultimate List
  • 30 Books to Read Out Loud to Older Kids


  • Disclosure Policy
  • Privacy Policy

© 2018 Or So She Says... By: Pretty Darn Cute Design