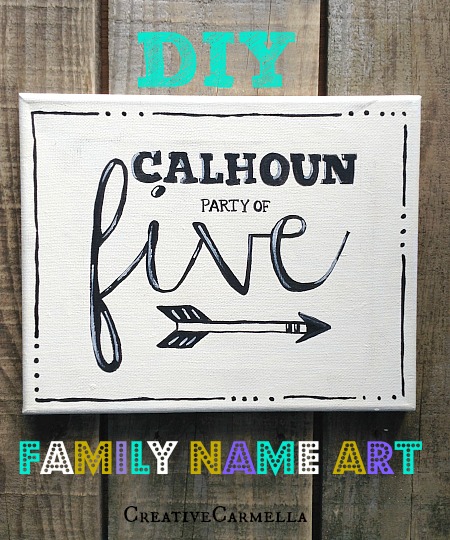
Hey there! It’s Carmella from the Creative Carmella blog and I am happy to be back here at Or So She Says with another easy craft idea for you! It’s DIY painted family name art, which is so nice to have in your home, or to make for someone else as an inexpensive, custom gift.
Today I am going to teach you a transfer trick that will have you painting these like a pro!
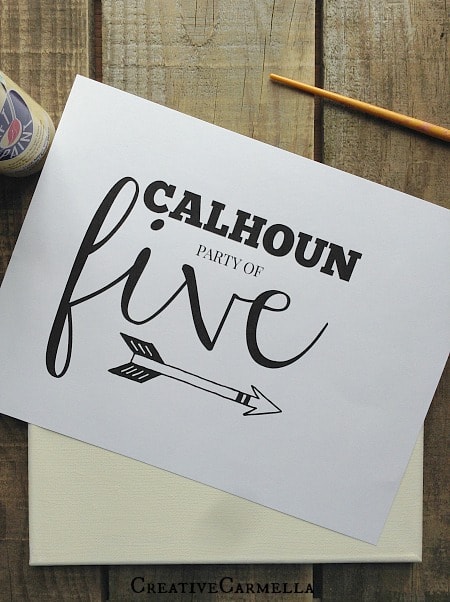
Family Name Art
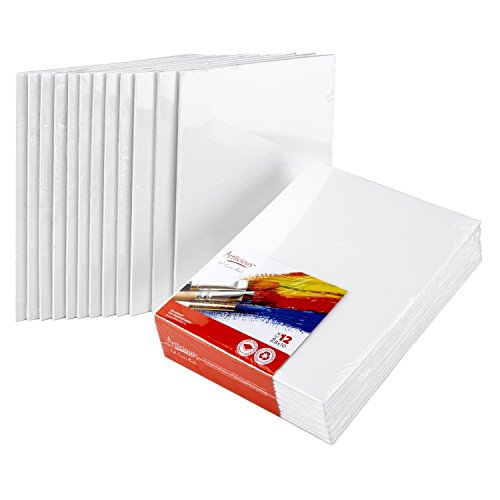
To get started with your family name art, you will need a canvas and some acrylic craft paint. The canvas I used was 8×10 and I chose an antiqued white for the background.
Next, I used picmonkey {a photo editing site} to create this graphic. There are lots of great fonts to choose from; just keep creating until you have something that makes you happy and then print it out on card stock paper.
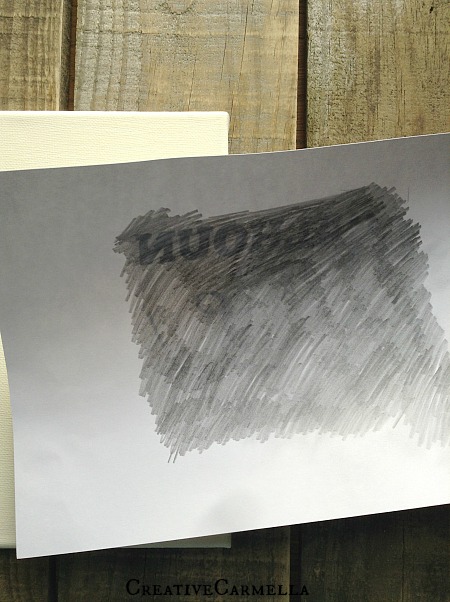
To make the transfer, you just need to turn your print out over and cover the entire area with pencil… let your inner five year old go wild with scribbling 😉
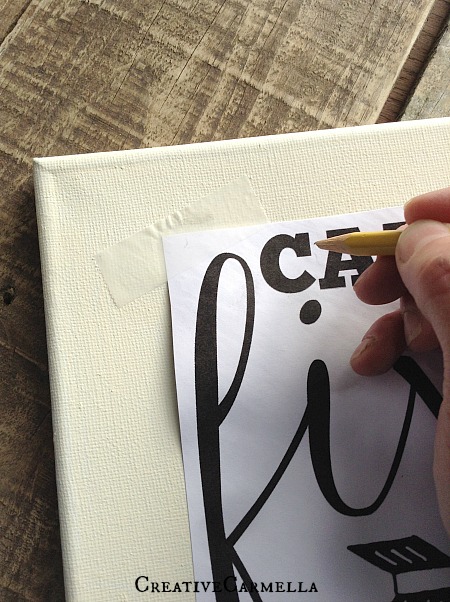
Once the back is covered with pencil, cut out your family name art design and tape it onto your canvas, making sure it is lined up nice and straight. With a sharp pencil, trace around each of the letters in your design. The pressure of your pencil will transfer the lead from the back of the paper onto your canvas.
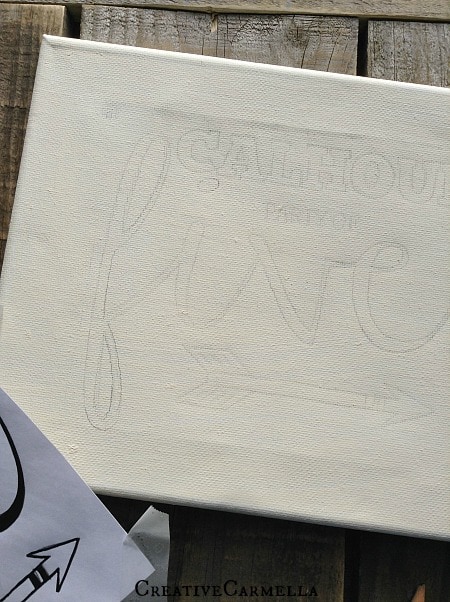
Once you have traced around each letter of your printout, lift it up to reveal your design transferred on your canvas!
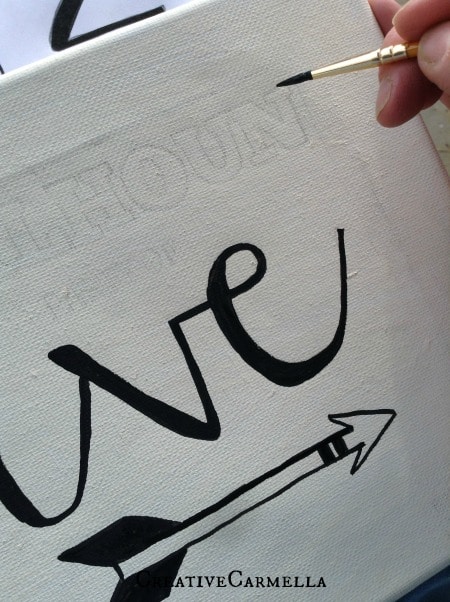
I used more acrylic craft paint to paint in my transferred design. A little trick I use is adding a few drops of water to my paint to thin it out; this helps the paint to flow a little easier and makes painting around the curves a breeze 😉
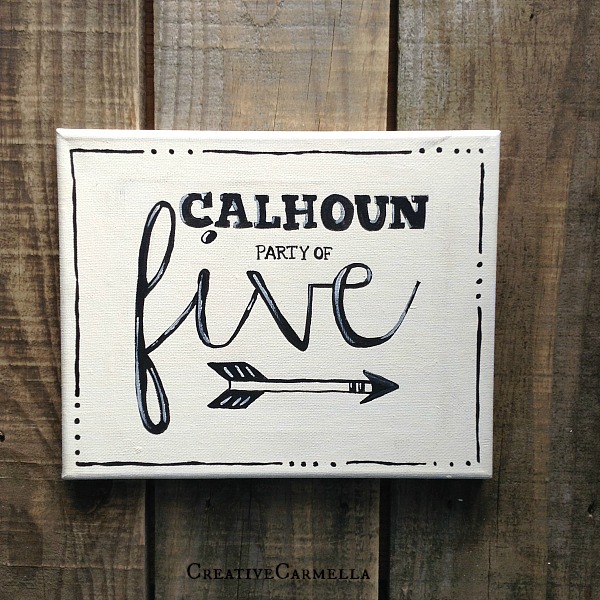
Once I had everything painted in black, I added some details and shadowing with a little white paint and added a little more detail with a border around our family name…
Complete family name art:
And that’s it! I really hope you will give this one a try!
Thanks so much for stopping by, I will see you again next month with another fun and easy craft! In the meantime, I would love for you to stop by instagram or facebook and say hello!