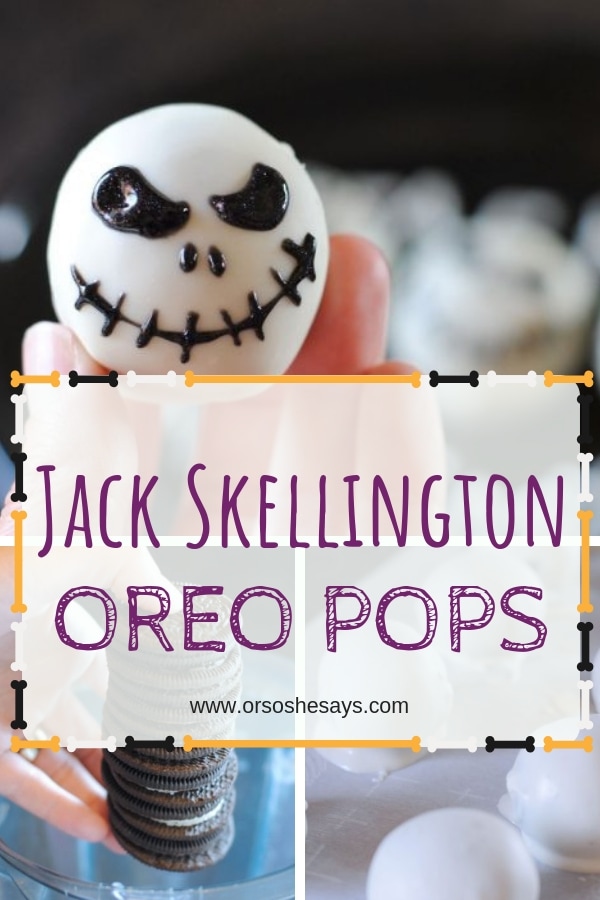
If you’re looking for the perfect Halloween Time treat, it’s hard to beat my easy and delicious recipe for DIY Jack Skellington Oreo Pops. With only four ingredients, this tasty sweet is so good you’ll scream!
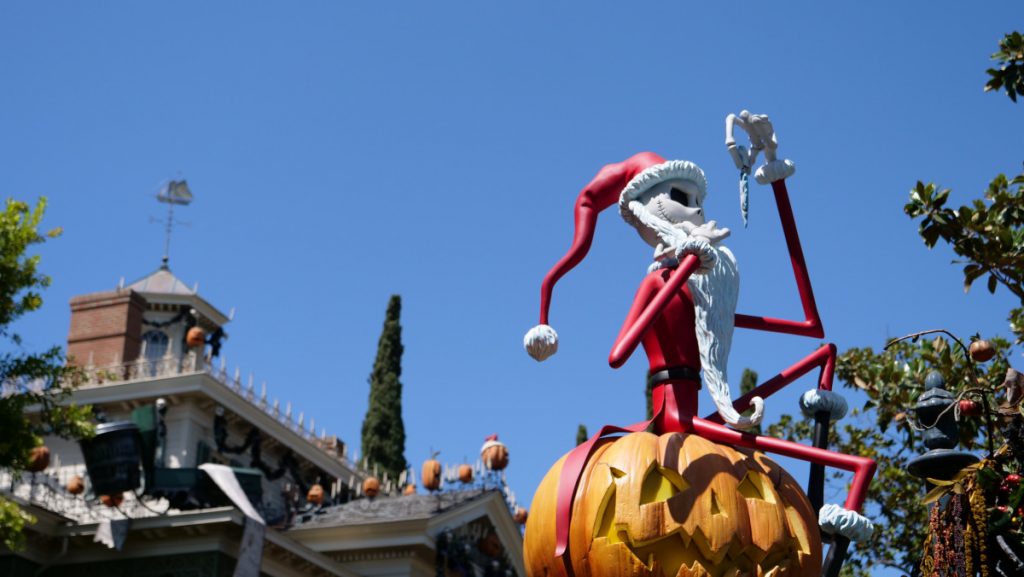
Speaking of Halloween, did you know that Halloween Time at the Disneyland Resort is in full-swing? From now until October 31, 2018, you can experience all of the spooktacular fun at The Happiest Place on Earth. With festive décor, seasonal ride-overlays and delicious limited-time treats, you won’t want to miss out on any of the frightful fun.
During Halloween Time at the Disneyland Resort, you can experience Haunted Mansion in a whole new light. For the occasion, Jack Skellington and his Halloween Town crew take over the Haunted Mansion and transform it into Haunted Mansion Holiday. Throughout this ride overlay, you’ll be able to see new characters, enjoy new music and experience The Nightmare Before Christmas come to life. This ride overlay is one you can’t miss and is fun for the entire family.
You can turn your own kitchen into The Nightmare Before Christmas this Halloween as you make these delectable DIY Jack Skellington Oreo Pops. Did I already mention how easy these are to make? These goodies are sure to have all of your friends and family dying for more!
DIY Jack Skellington Oreo Pops
DIY Jack Skellington Oreo Pops:
- 1 Package of Regular Oreos
- 8 oz Package of Cream Cheese
- 1 Bag of White Chocolate Melting Chips
- Tube of Black Sparkle Decorating Gel
- Pack of Toothpicks
- Package of Parchment Paper
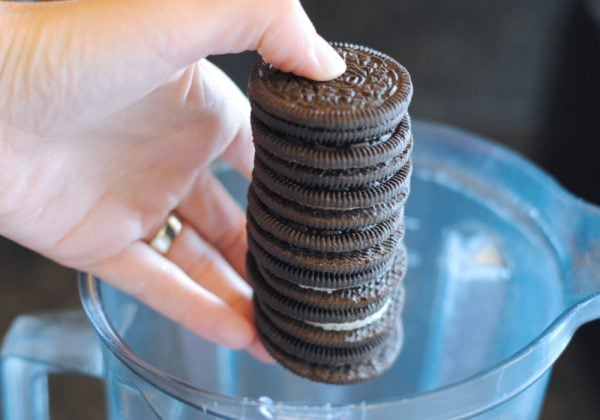
To start making your Oreo pops, you’ll want to put half of the Oreo cookies into a blender. If you don’t have a blender, a food processor would work as well. Next, chop the cookies until they are smooth and fine. Once you’re done, empty the cookie crumbles into a bowl and then chop the second half of cookies the same way.
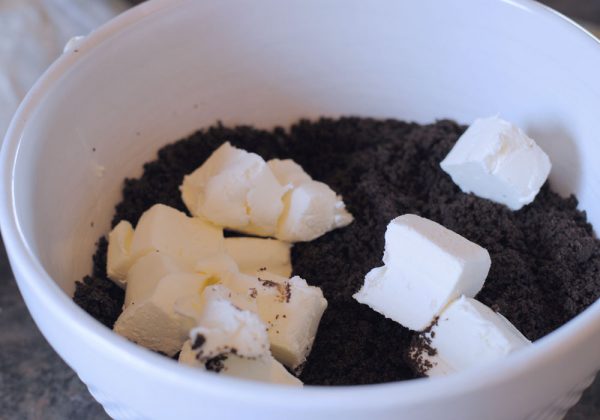
You’ll want to cut the cream cheese into one-inch blocks. Once you’ve done this, you’ll toss them into the cookie crumbs. Next, use your hands to combine the two ingredients until they are smooth and all of the cream cheese is spread out. You’ll want to make sure that you don’t have any clumps.
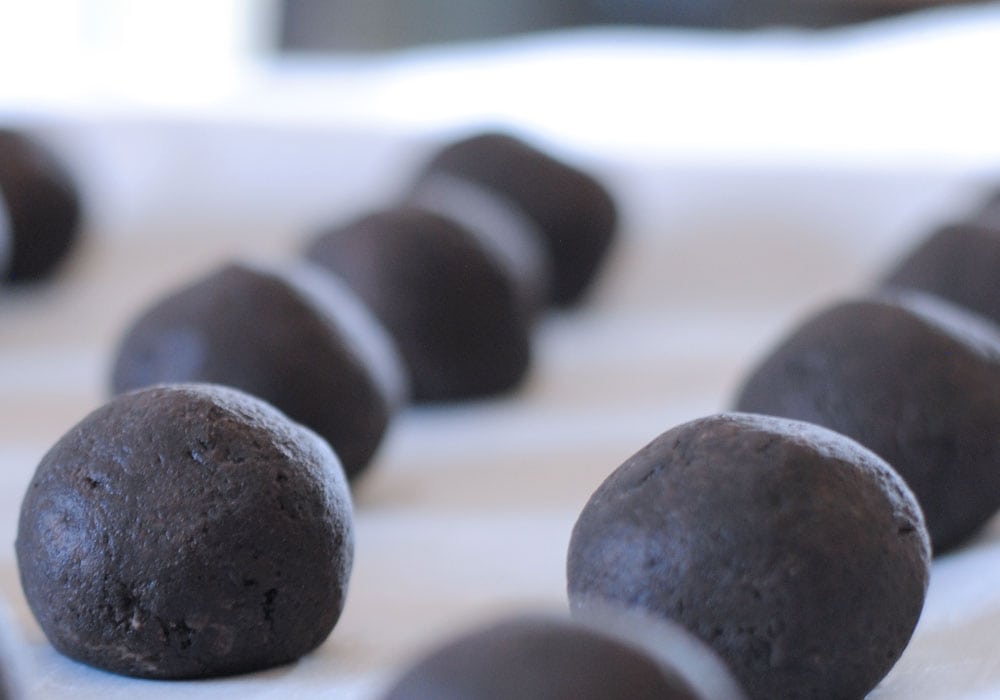
Then, cover a cookie sheet with parchment paper. Roll the DIY Jack Skellington Oreo Pops batter into one-inch balls. Once you’re done shaping them, place them onto the parchment paper. When all of the Oreo balls are formed, place the cookie sheet into the freezer for about one hour.
Decorating the Jack Skellington Oreo Pops with chocolate coating is the best part. To do this, you’ll want to cover a second baking sheet with parchment paper. After this, you’ll then take half of the DIY Jack Skellington Oreo Pops out of the freezer.
Place half of the white chocolate melting chips into a microwave safe bowl. You’ll want to melt them in the microwave on 50% power for 30 seconds. Then, stir. You’ll want to continue to repeat these steps until it’s completely nice and melted. It’s important to not overcook the chocolate, or else it will ruin the consistency.
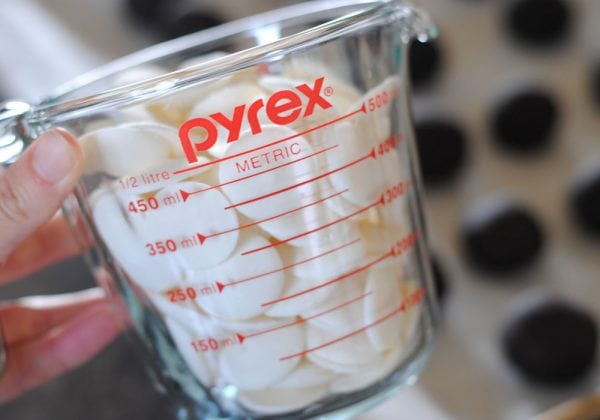
As a side note, I decided to buy “off-brand” white chocolate melting chips when I first tried to make these. They were pretty inexpensive, and I thought they would work just fine. Unfortunately, I was very wrong! Instead, just buy the nicer chocolate from the beginning. It’s much easier to work with and will stay smooth through the entire process. Not to mention that it tasted better too!
When the chocolate is melted, you’ll want to dip the Oreo and cream cheese balls into the melted chocolate one at a time. It’s best to use two forks to handle them. Once you’ve dipped them, you’ll want to shake off the excess chocolate so it drips off. Then, place the coated DIY Jack Skellington Oreo Pops onto the parchment paper to set up. The chocolate starts to harden fast since the Oreo pops were in the freezer, so make sure you do this quickly.
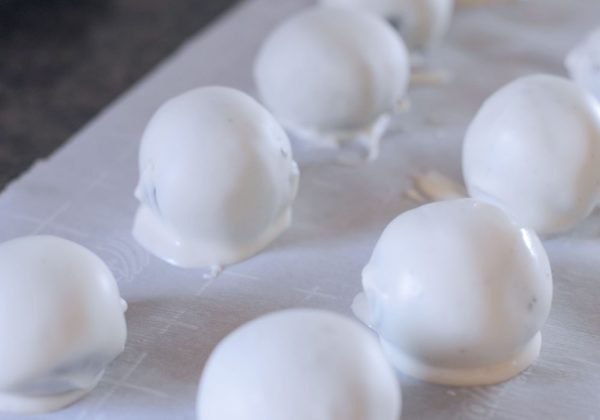
You will also want to melt the second half of chocolate and cover the second half of Oreo pops.
Once the chocolate has hardened, you can add the Jack Skellington face!
To do this, you’ll need black decorating gel. I got mine in the cake section of the grocery store, however, you can find these on Amazon too. To draw the face with the gel, I used a toothpick to add lines onto his creepy smile. Then, just dabbed the gel onto the toothpick to do the rest of the design. It sticks pretty easily which is nice!
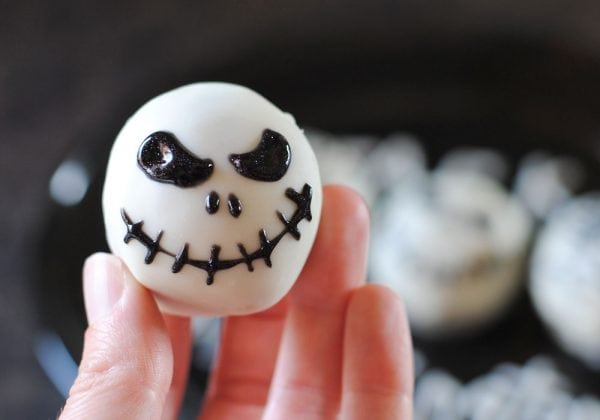
Voila, you’re done! You can either serve your DIY Jack Skellington Oreo Pops immediately or save them in the fridge for a party later that day. Aren’t they spooktacular?
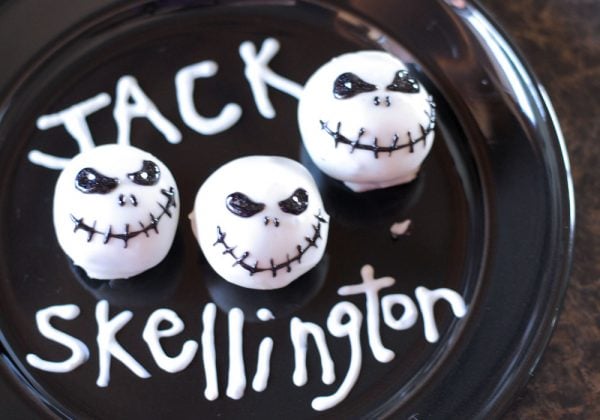
I hope you enjoy making these DIY Jack Skellington Oreo Pops just as much as you love eating them! Make sure to look out for Jack and Sally when you visit the Disneyland Resort this Halloween season. However, if you haven’t booked your next Disneyland vacation, be sure to visit getawaytoday.com or call 855-GET-AWAY to speak to a travel expert directly. With discount tickets, hotel specials and a flexible Layaway Plan, getting to all of the frightful fun is easier than ever before.
Don’t forget to mention promo code OSSS15 for an additional $10 off your vacation package. Let them know that OSSS sent you!

