Hi all! My name is Audrey and I’m relatively new to the blogging world. I am employed full time and launched Sweet Cheeks Tasty Treats in June of 2010, in the spare time I manage to find after working and chasing my two kiddos around. I’ve loved to bake and make goodies since I was a young girl practicing in the kitchen with my Grandma Deanna. At an early age I found joy in gifting treats to friends and family. Even though this part of my life has always been important, it was hard to make time when other, more pressing matters, seemed to be always on my mind. I got a big jolt of inspiration after finding Bakerella’s baking blog this summer! I finally decided to commit some serious time to my treat making because it gives me such a fun, creative outlet…and the rest, as they say, is history! Today I want to share my rose cake pops tutorial with you.
It’s hard to believe that I made my first Cake Pop a mere 7 months ago…and now they’re one of my favorite and most rewarding treats to make. I find so much inspiration from the work of others, I can only hope and aspire to be that source for someone else.
Every day I meet new people through my blog and it is so rewarding to be constantly surrounded by such positive and encouraging energy!
If you’ve never made Cake Balls or Cake Pops, you can see how to make Oreo cookie pops HERE and HERE on the blog. Or check out Pinterest for other tutorials using cake mix, etc…
Rose Cake Pops
What you’ll need for Rose Cake Pops:
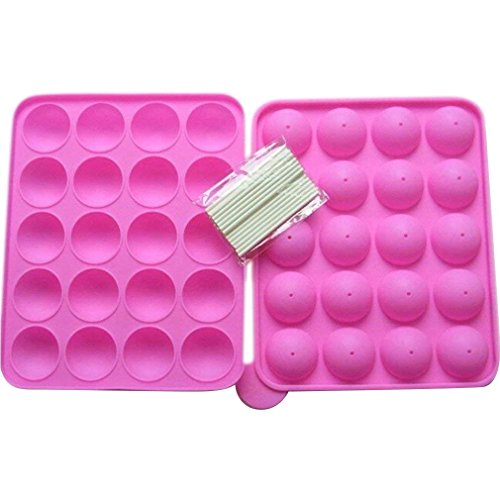
Prepared Cake Balls
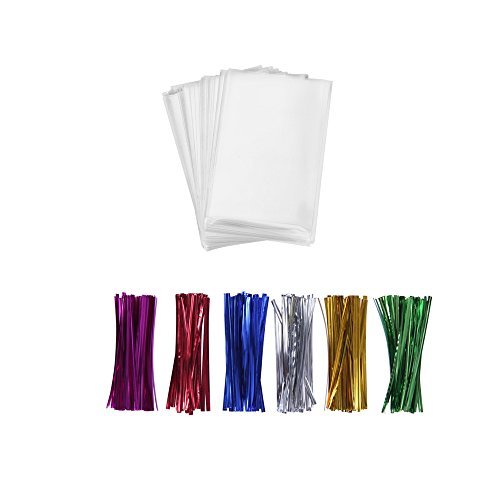
Lollipop Sticks
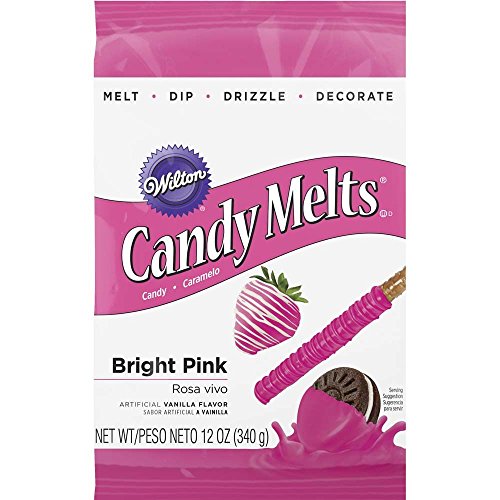
Melted Almond Bark or Candy Melts
Prepared Modeling Chocolate
Quick Modeling Chocolate Recipe: Melt 8 oz of Chocolate or Almond Bark. Once melted, combine with 1/3 Cup Corn Syrup until well mixed. Spread mixture on clear plastic wrap and cover.
Refrigerate until hardened and ready to use.
For the roses, I used a combination of Red Candy Melts and White Almond Bark.
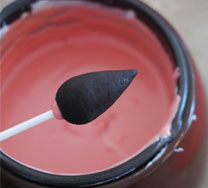
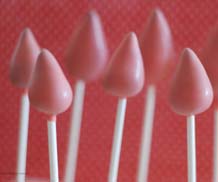
To start, you’ll need to form your cake balls into tear drop shapes.
I like to roll them in varying sizes so I can have large and small roses.
Dip the lollipop stick into melted almond bark, then insert the dipped stick into the formed Cake Ball….you now officially have a Cake Pop…ready to be dipped!
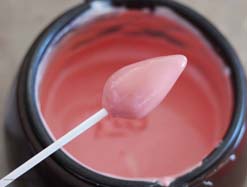
Dip the Cake Pop, be sure to completely coat the tear drop shaped ball and gently tap off the excess almond bark.
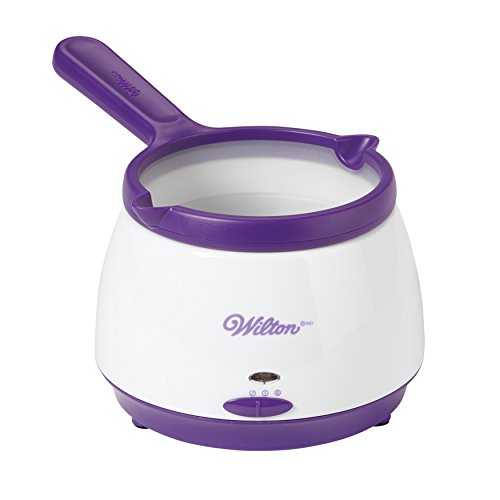
I use a chocolate melter for super easy melting and dipping!
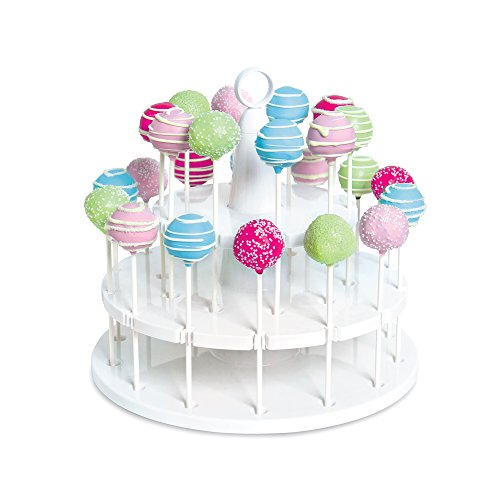
Put the Cake Pops in a Styrofoam block to set.
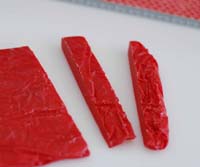
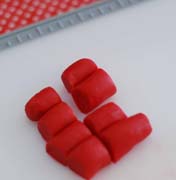
Cut a 3-4 inch piece off of your Modeling Chocolate.
Roll until the piece is smooth and workable.
Be careful not to over-handle the Modeling Chocolate.
If it gets too soft and sticky, put it back in the refrigerator for a bit.
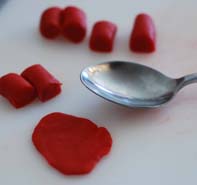
Cut the rolled Modeling Chocolate into 8 equal pieces.
Using a spoon, or whatever method/utensil you prefer, flatten each of the pieces to form the individual petals for your rose.
I also used a small amount of Modeling Chocolate to cover the tips of the Cake Pops after they were dipped.
If you are working with a dark colored cake this may be necessary so the color of the cake doesn’t show through.
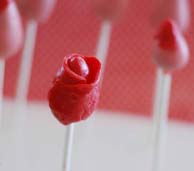
Start wrapping the petals, around the Cake Pop.
The Modeling Chocolate is workable, so after you place each petal you can smooth the edges.
Repeat until all of the petals have been used. I like to vary the amount of petals I use so some of the cake pop roses appear to be in full bloom, and others look like rose buds…do what makes you happy 😉
After all of the petals have been placed you can carefully roll them back for a more “in-bloom” look.
That’s it…I know it seems like a lot to make these rose cake pops, but really (I SWEAR) it’s not!