Hi I’m Kalleen of At Second Street, I’m excited to be here again sharing my tutorial for a Valentines pouch. I’ve been dying to make my kids some Valentine mail pouches ever since I first saw them.
The original Valentines pouch I saw was from Pottery Barn kids. So, you can imagine that making your own is a LOT less expensive than what you’d find at Pottery Barn.
Making a Valentines Pouch
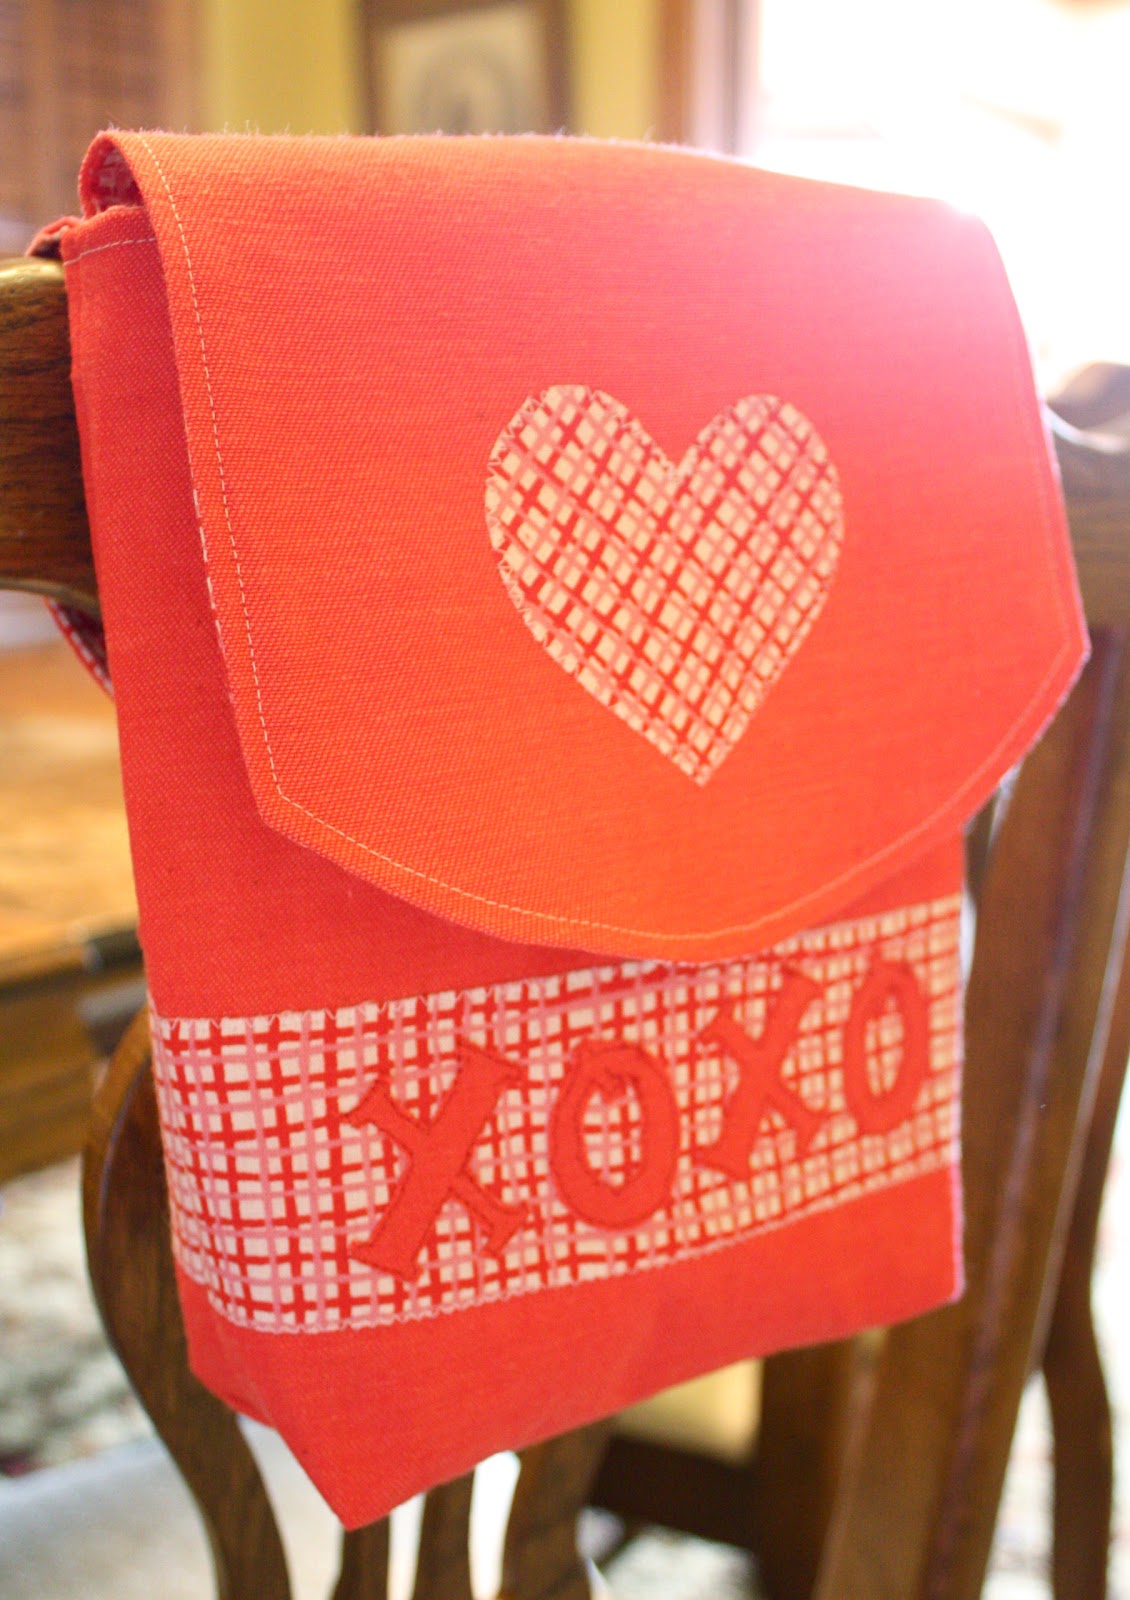
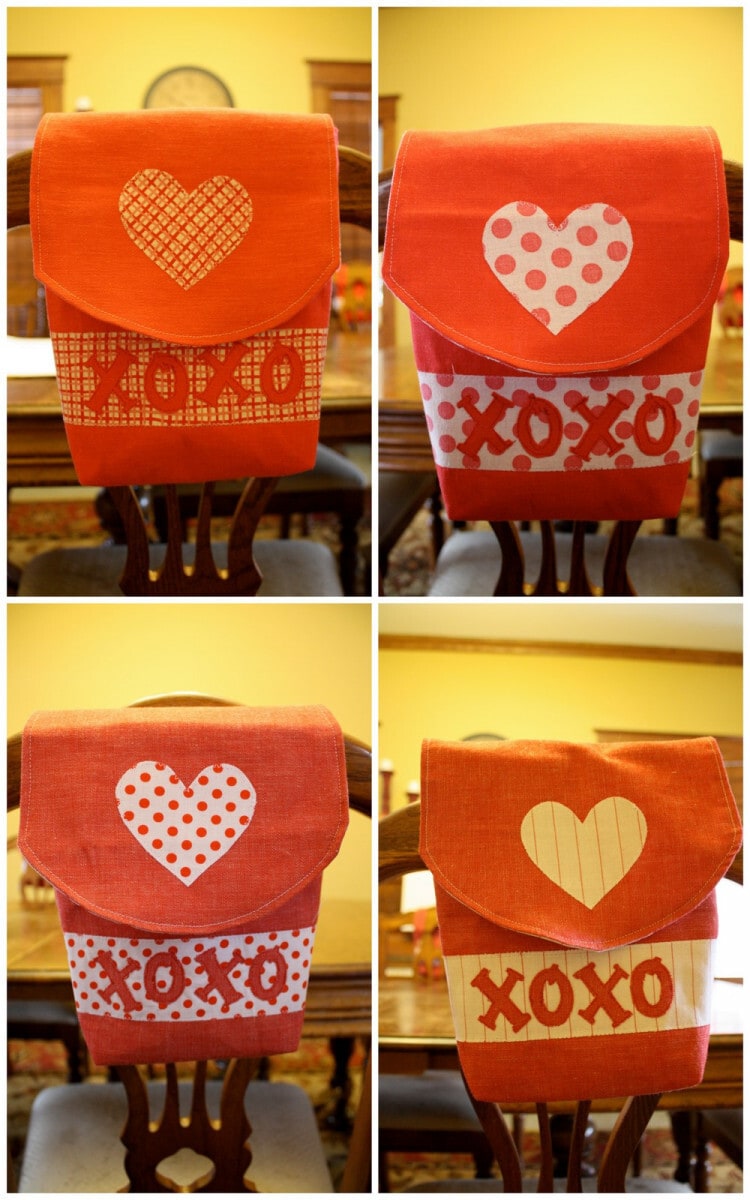
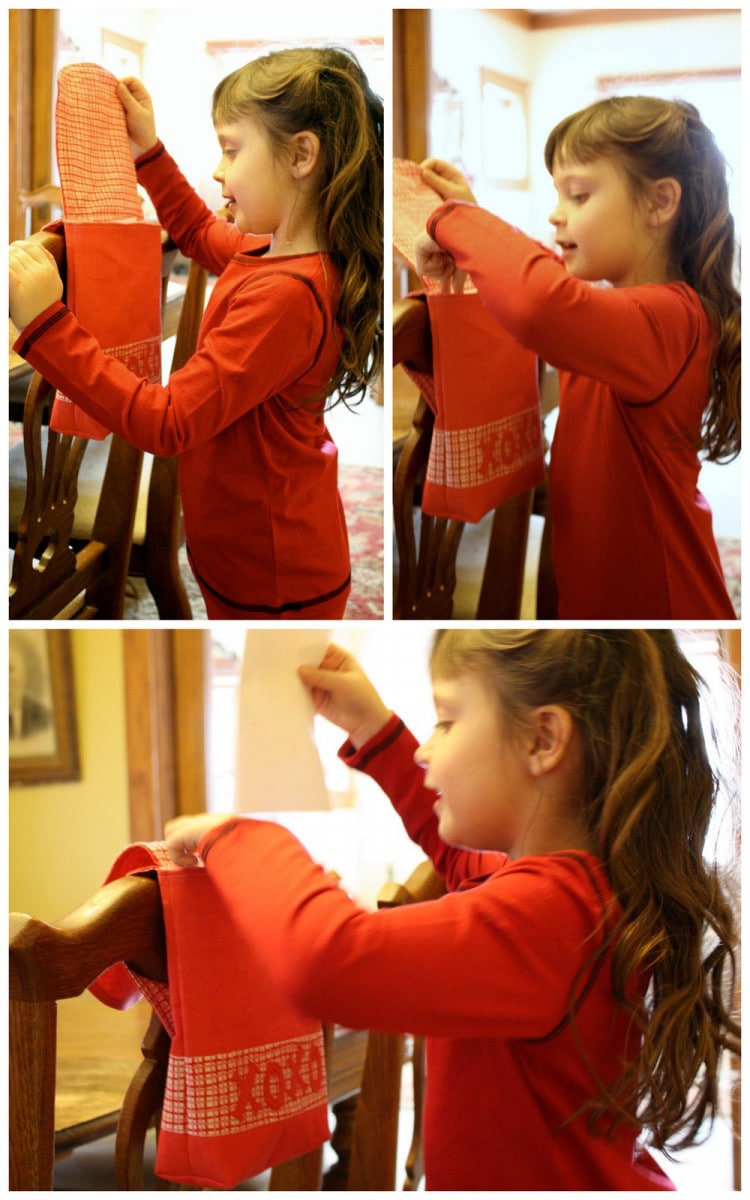
Using scraps of fabric I had on hand, I put together four different Valentines pouches for the kids. Each is lined with the accent fabric.
To make your own Valentines pouch, here is what you’ll need:
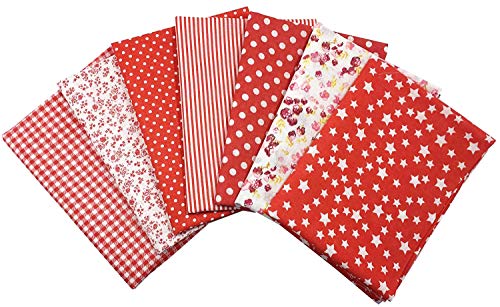
fabric
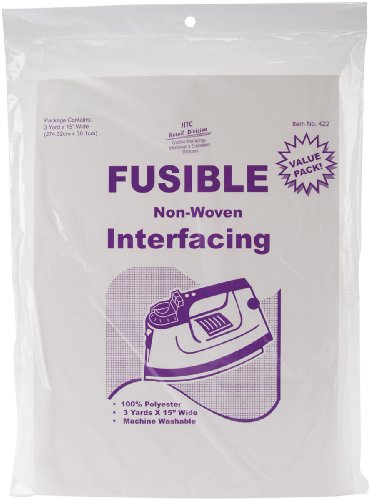
craft interfacing
heat and bond
matching thread
2 buttons
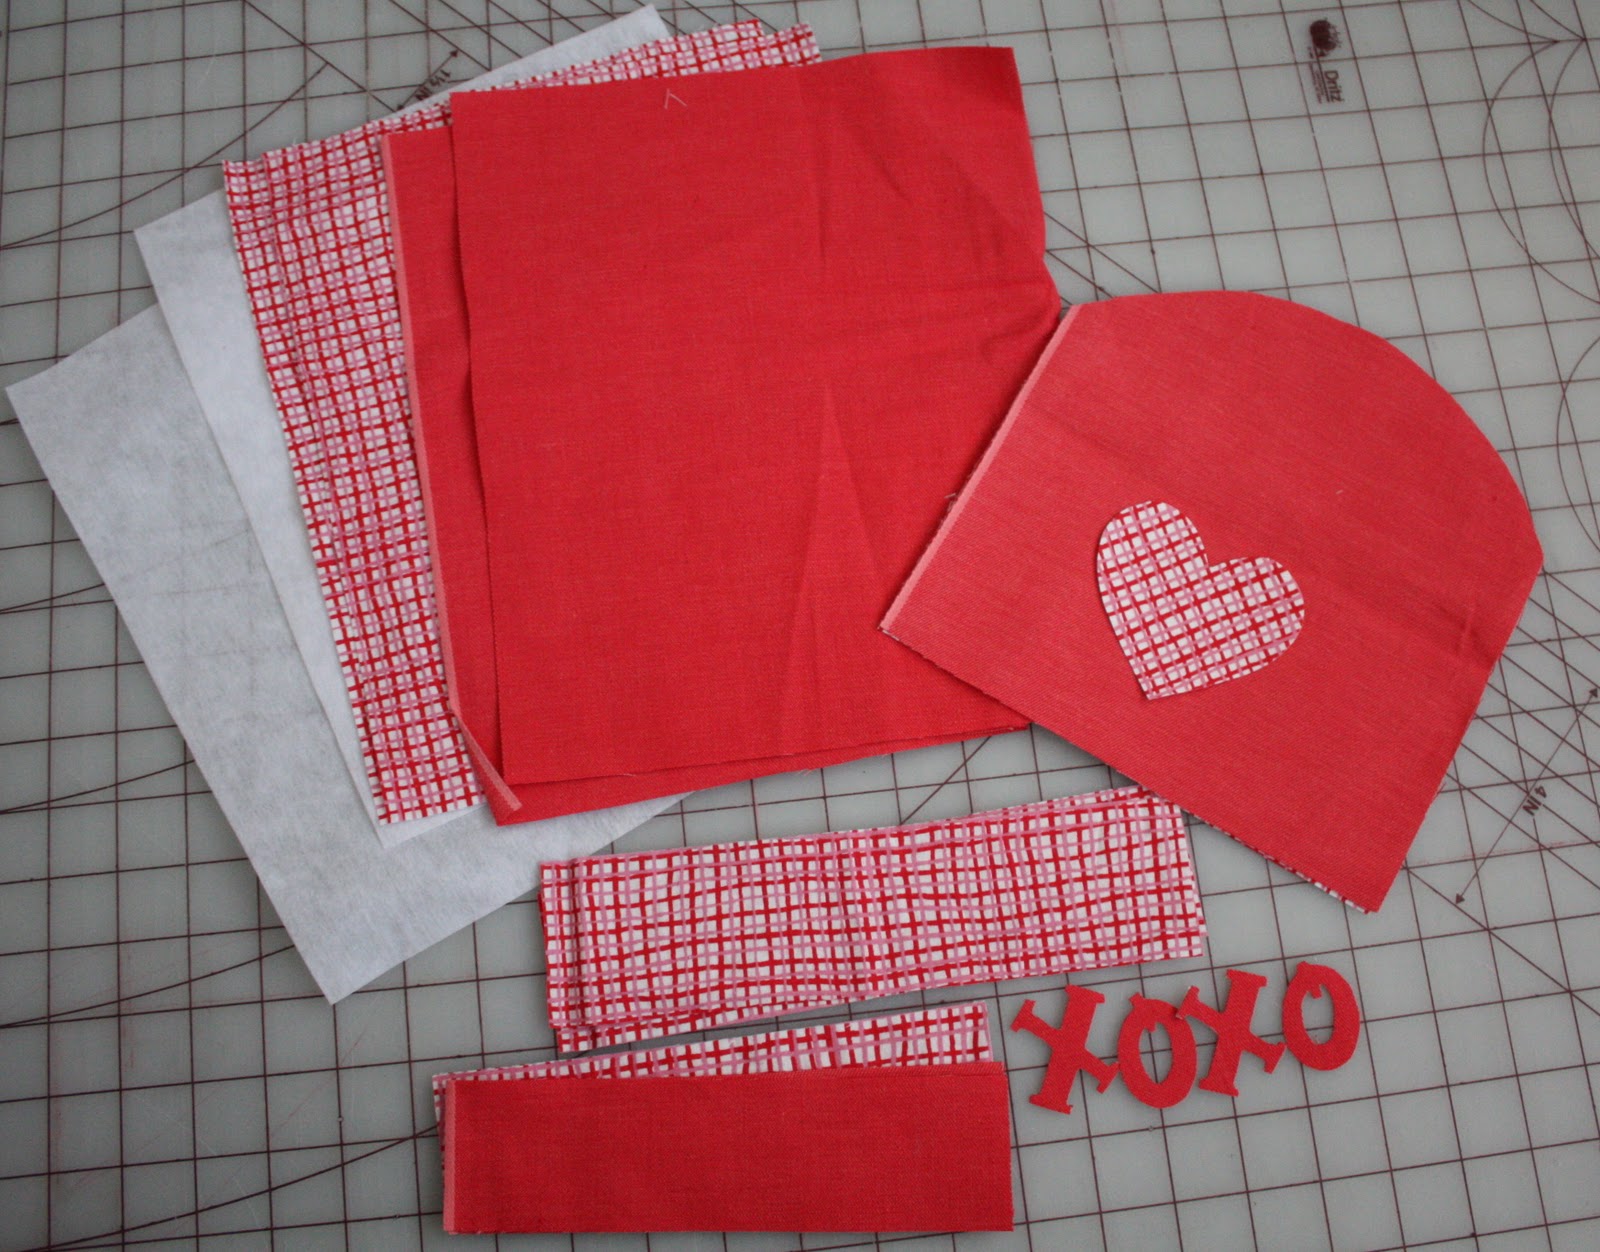
First cut out all your pieces and end up with the following:
For the body of the Valentines pouch:
2- 9×11′” of outer fabric
2- 9×11″ of lining fabric
2- 9×11″ if fusible craft interfacing
For the flap of the Valentines pouch:
1- 8×8 of outer fabric
1- 8x8of lining fabric
You can round the end like I did by tracing a bowl.
For the straps of the Valentines pouch:
2- 2X8″ of outer fabric
2- 2X8″ of lining fabric
For the embellishments on the Valentines pouch:
2- 2×9″ strips
a heart
2-x’s and 2-o’s
Side note: You don’t have to embellish like I did; do it how ever you want. To make attaching and sewing on the pieces easier, I used heat and bond on the back side of the fabric. Then, I drew what I wanted and cut it out.
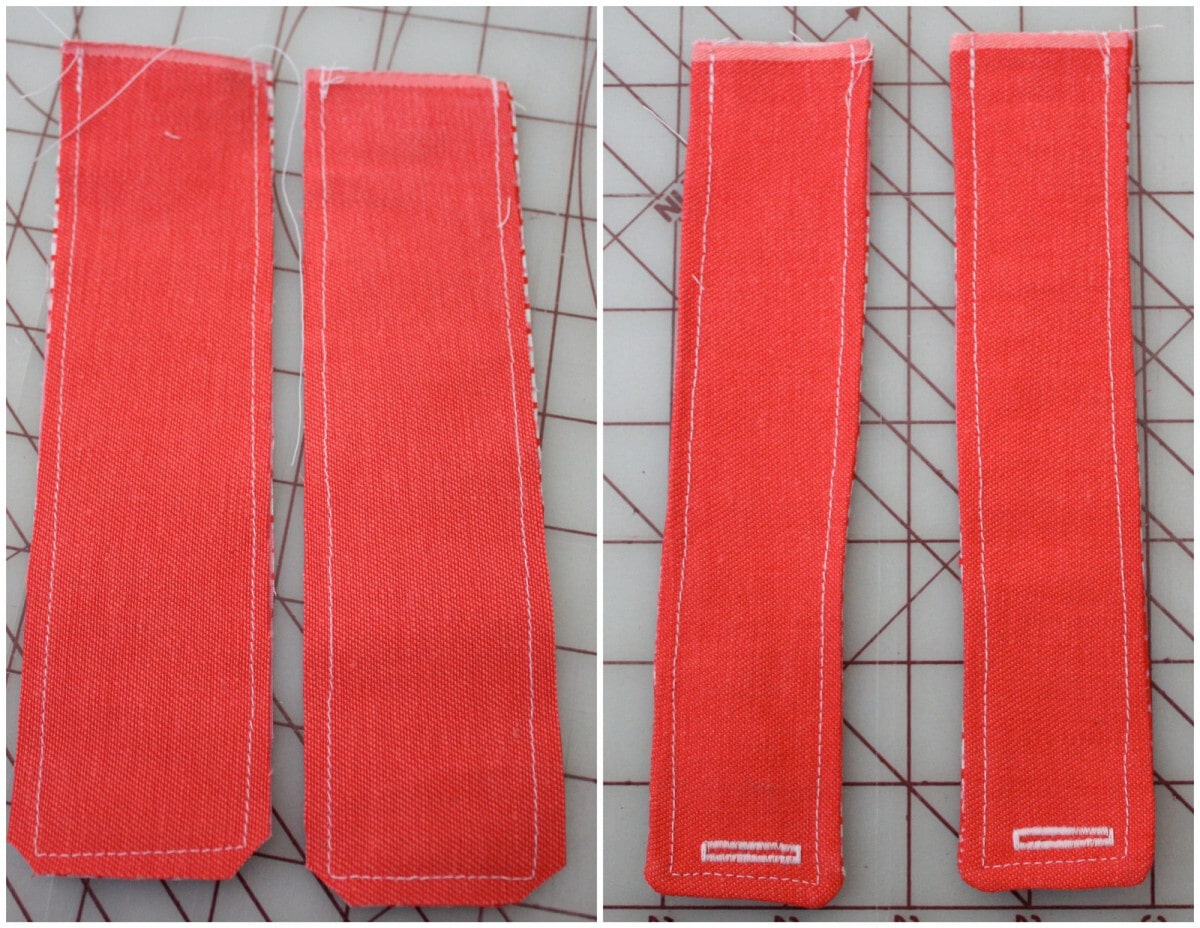
Next, sew the straps right sides together with a 1/4″ seam leaving the top open. Trim the corners. Flip right side out, iron and top-stitch the edges. Add a button hole at the bottom.
Apply embellishment to the front of the flap and stitch it down. Then sew right sides of flap together with a 1/4″ seam, leaving the top open. Clip the curved edge of flap. Flip it right side out, iron and topstitch.
Before assembling the body of the Valentines pouch, apply interfacing to the back side of outer fabric. Next, apply all the embellishments to the front and back of the outer body pieces. I placed my strips 3″ above the bottom of the bag. Sew everything down and attach buttons just above the strip or about 3-1/4″ above the bottom of the bag.
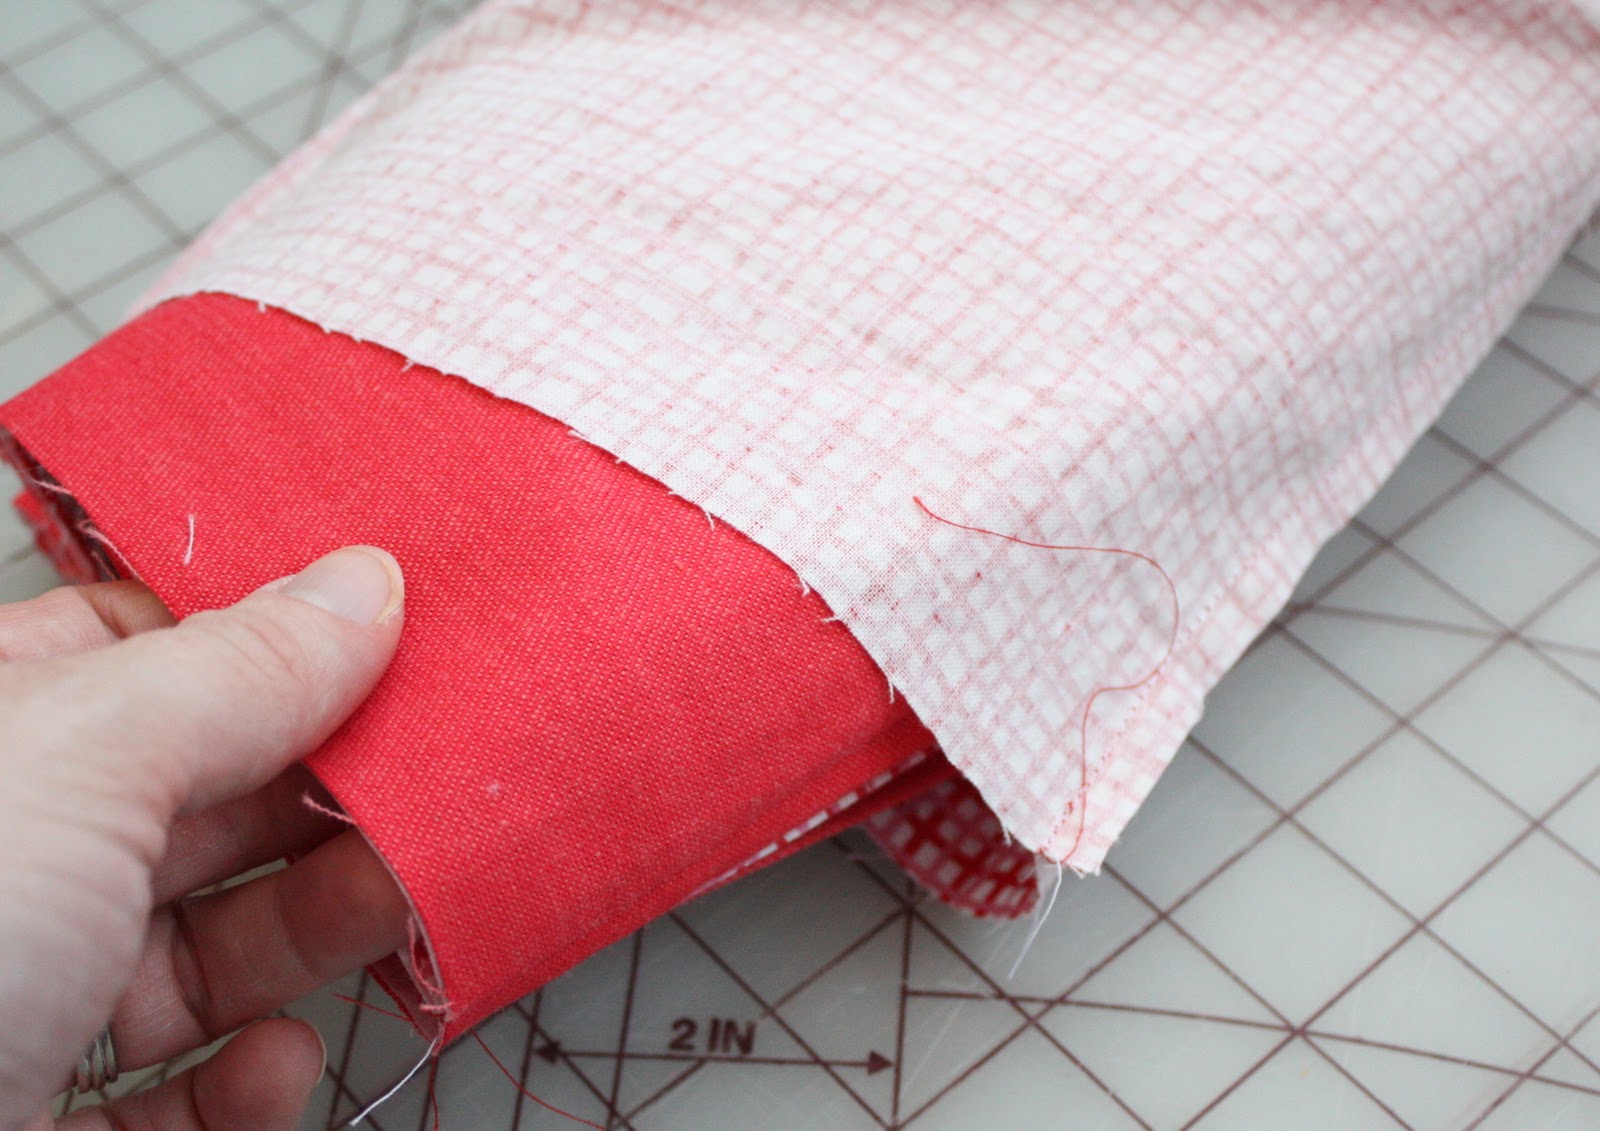
Sew the rights sides of the outer pieces together. Then sew the right sides of the lining fabric together leaving a 4″ opening in the bottom.
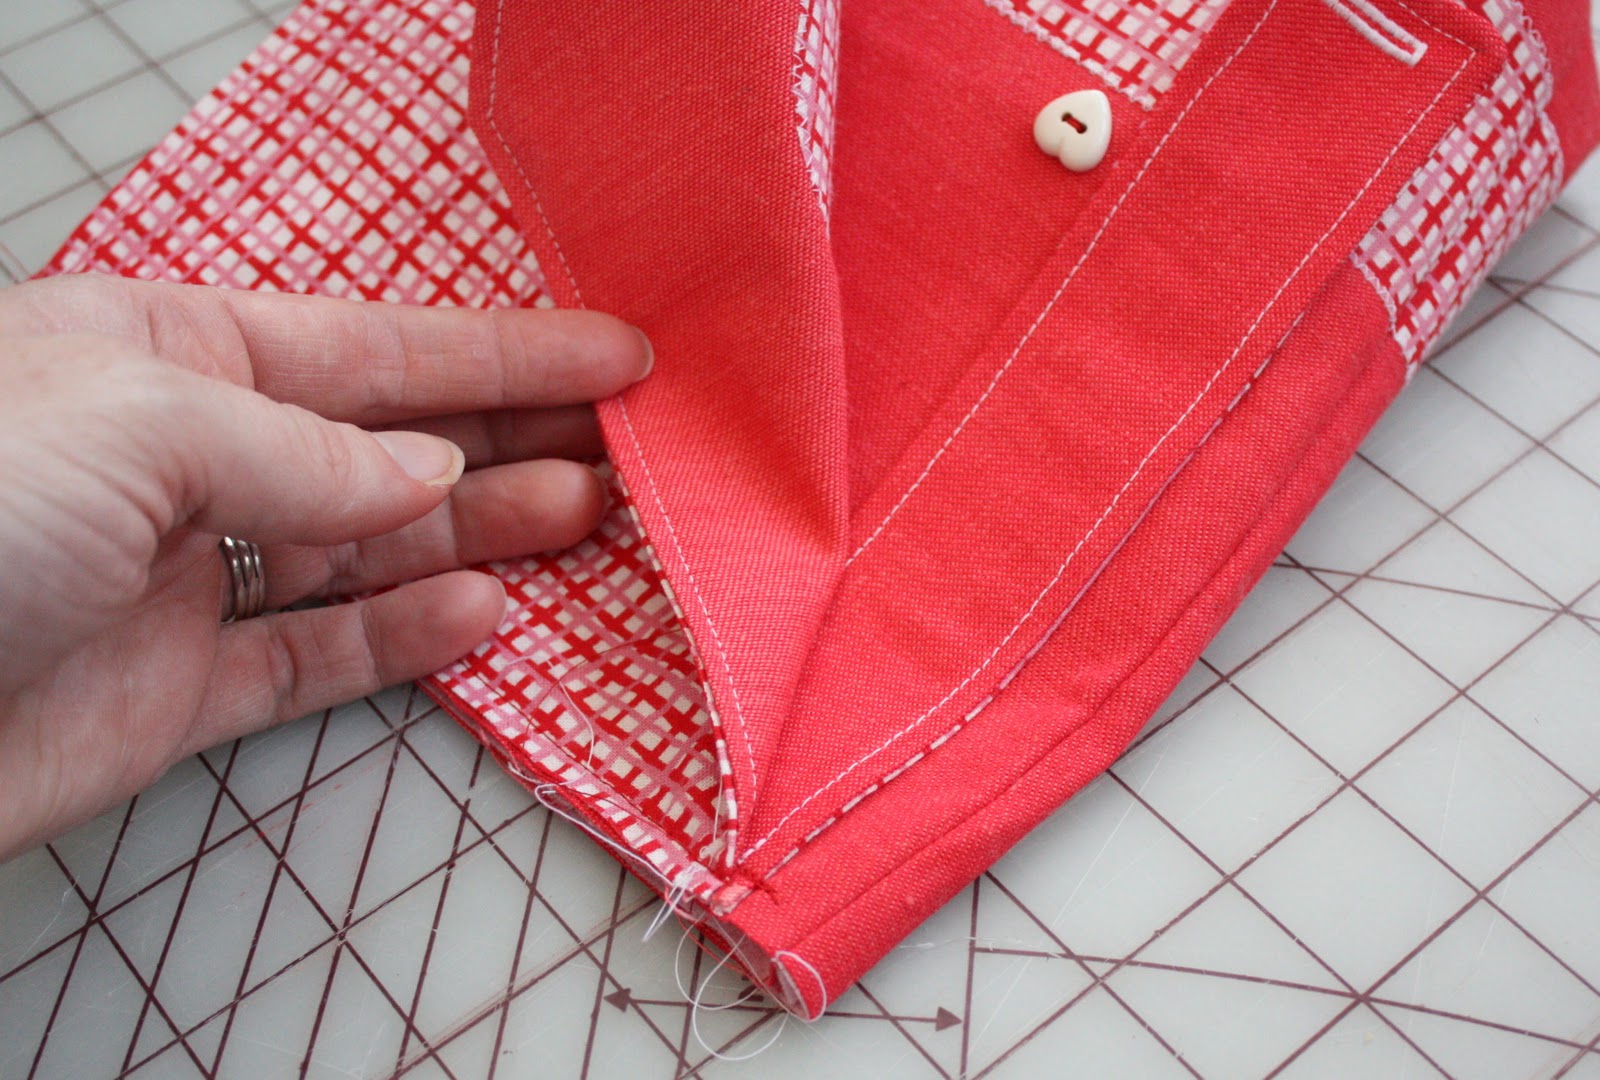
Now, box the corners of both bags by pinching out the corners to create a triangle (see picture below). Using a clear ruler mark a line 1-1/4″ down from the point. Make sure your seam is in the center when you draw your line. Then sew over the line. Trim the excess fabric.
When you’re done with that you should be able to turn them right side out and stand them up.
To assemble the bag, pin the straps 1/2″ from the side seams and the flap centered in the back. Stitch across the top of the back with a 1/8″seam to hold everything in place.
Next, stuff the outer bag into the lining bag with right sides together.
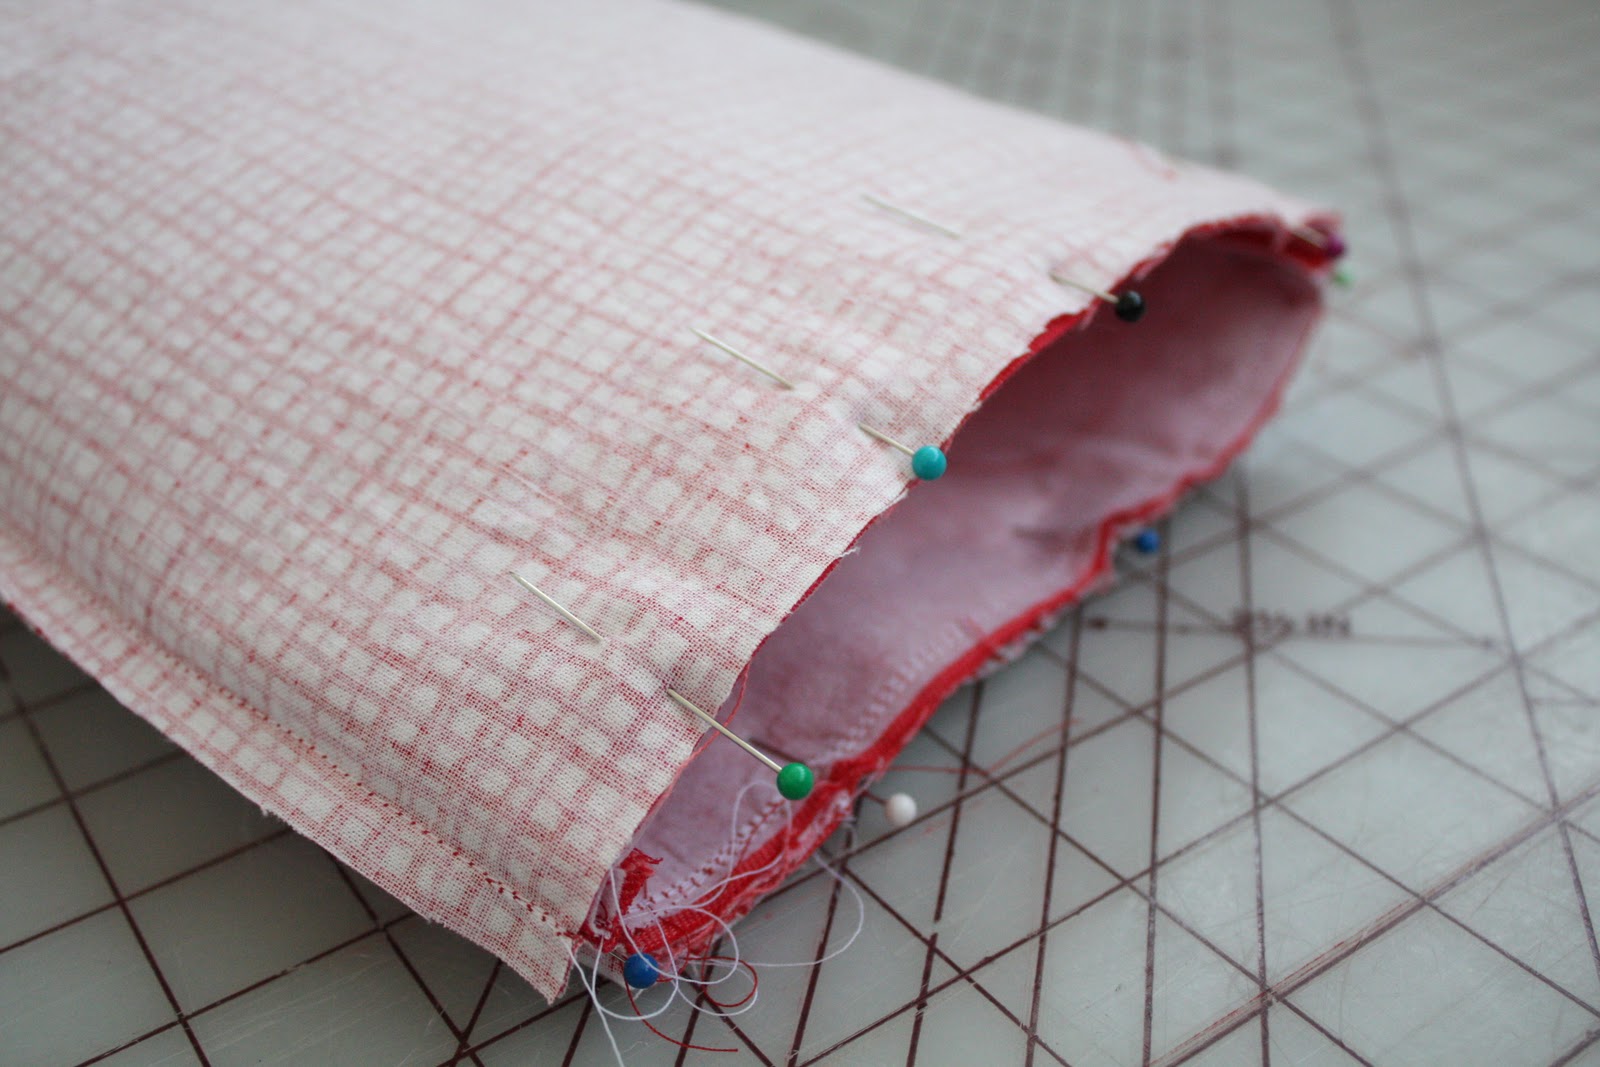
Pin and sew the top together with a 3/8″seam.
Now pull the outer bag through the hole in the bottom of the lining.
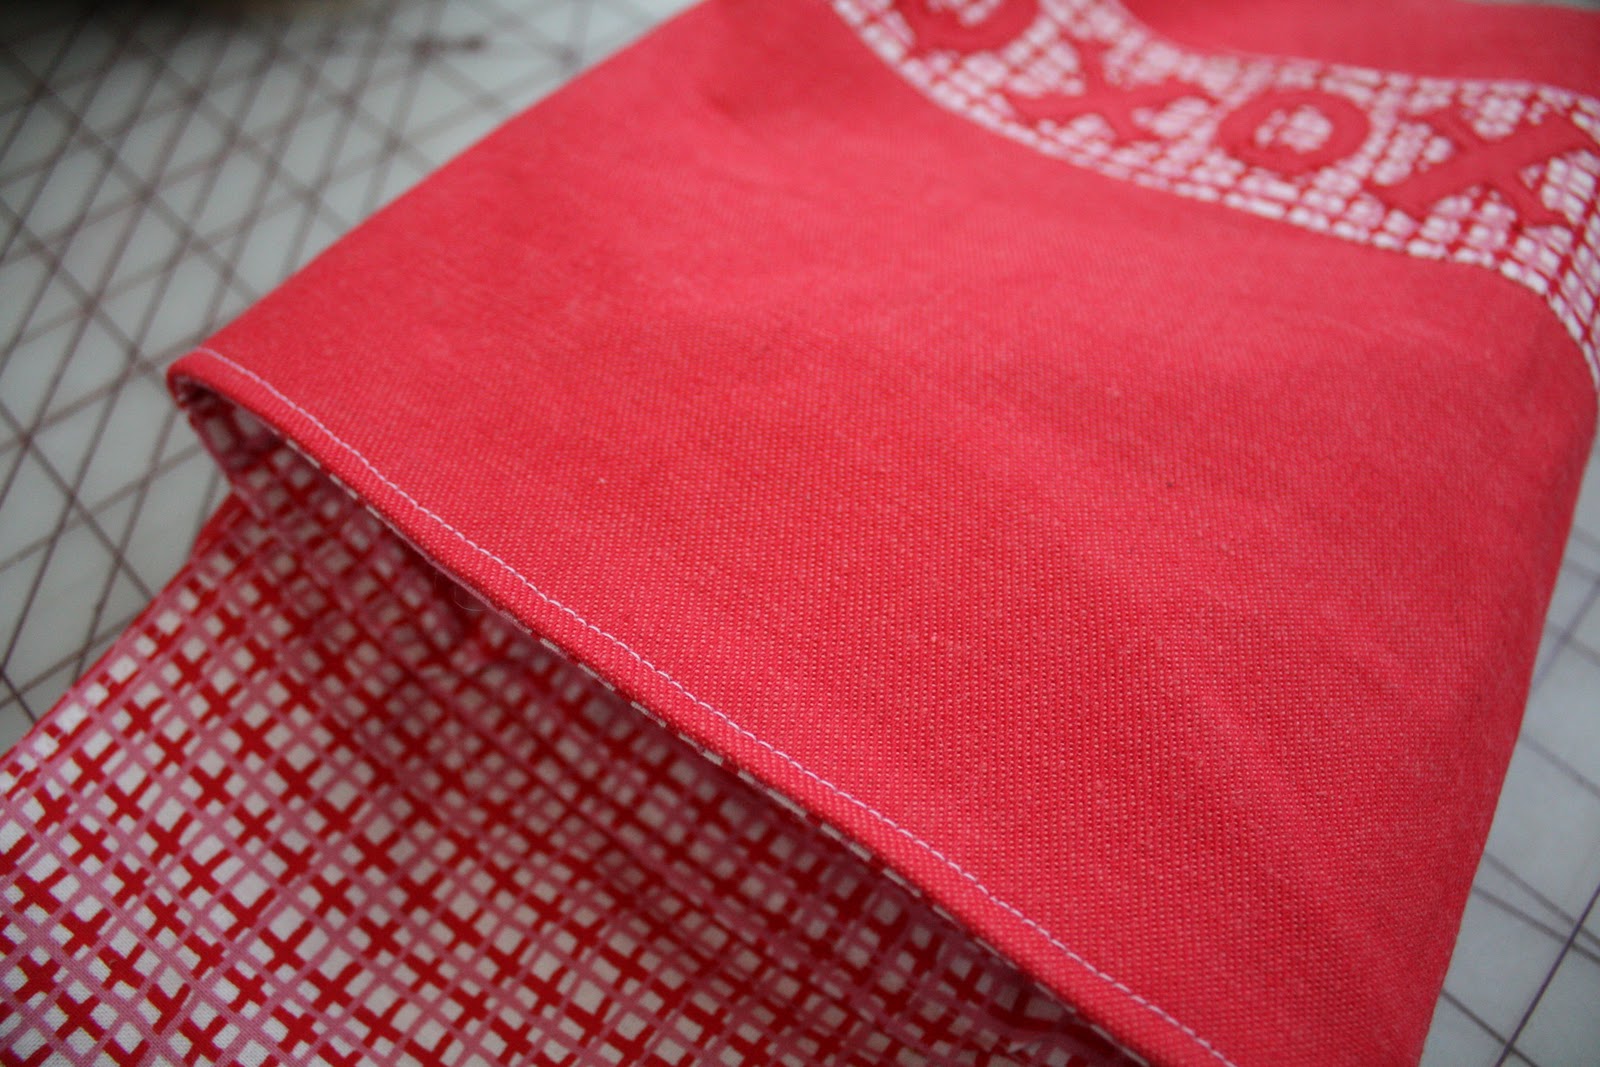
Topstitch around the top of the bag.
And now you’re done!
We’ve had our Valentines pouches out for a couple days; the kids are already enjoying giving each other love notes.