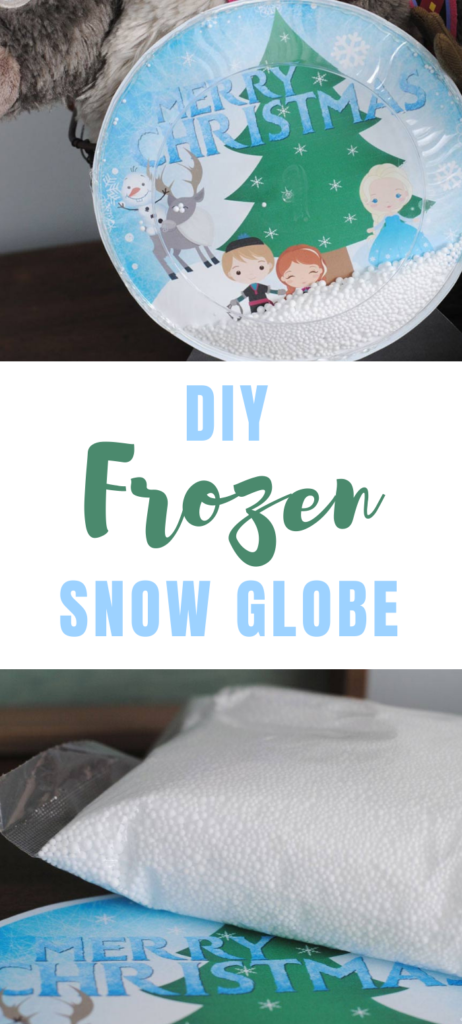
Hi everyone, it’s Adelle on behalf of Get Away Today. Do you have Frozen fever?! Have you seen Frozen 2 yet? In my house, we have the soundtrack on repeat. It’s so fun to experience more of Elsa and Anna’s story. Plus, Olaf is just so darling as a 3 year-old snowman. If you’re Frozen fans you’ll love this easy, DIY Frozen Snow Globe. It’s the most perfect Frozen craft for preschoolers!
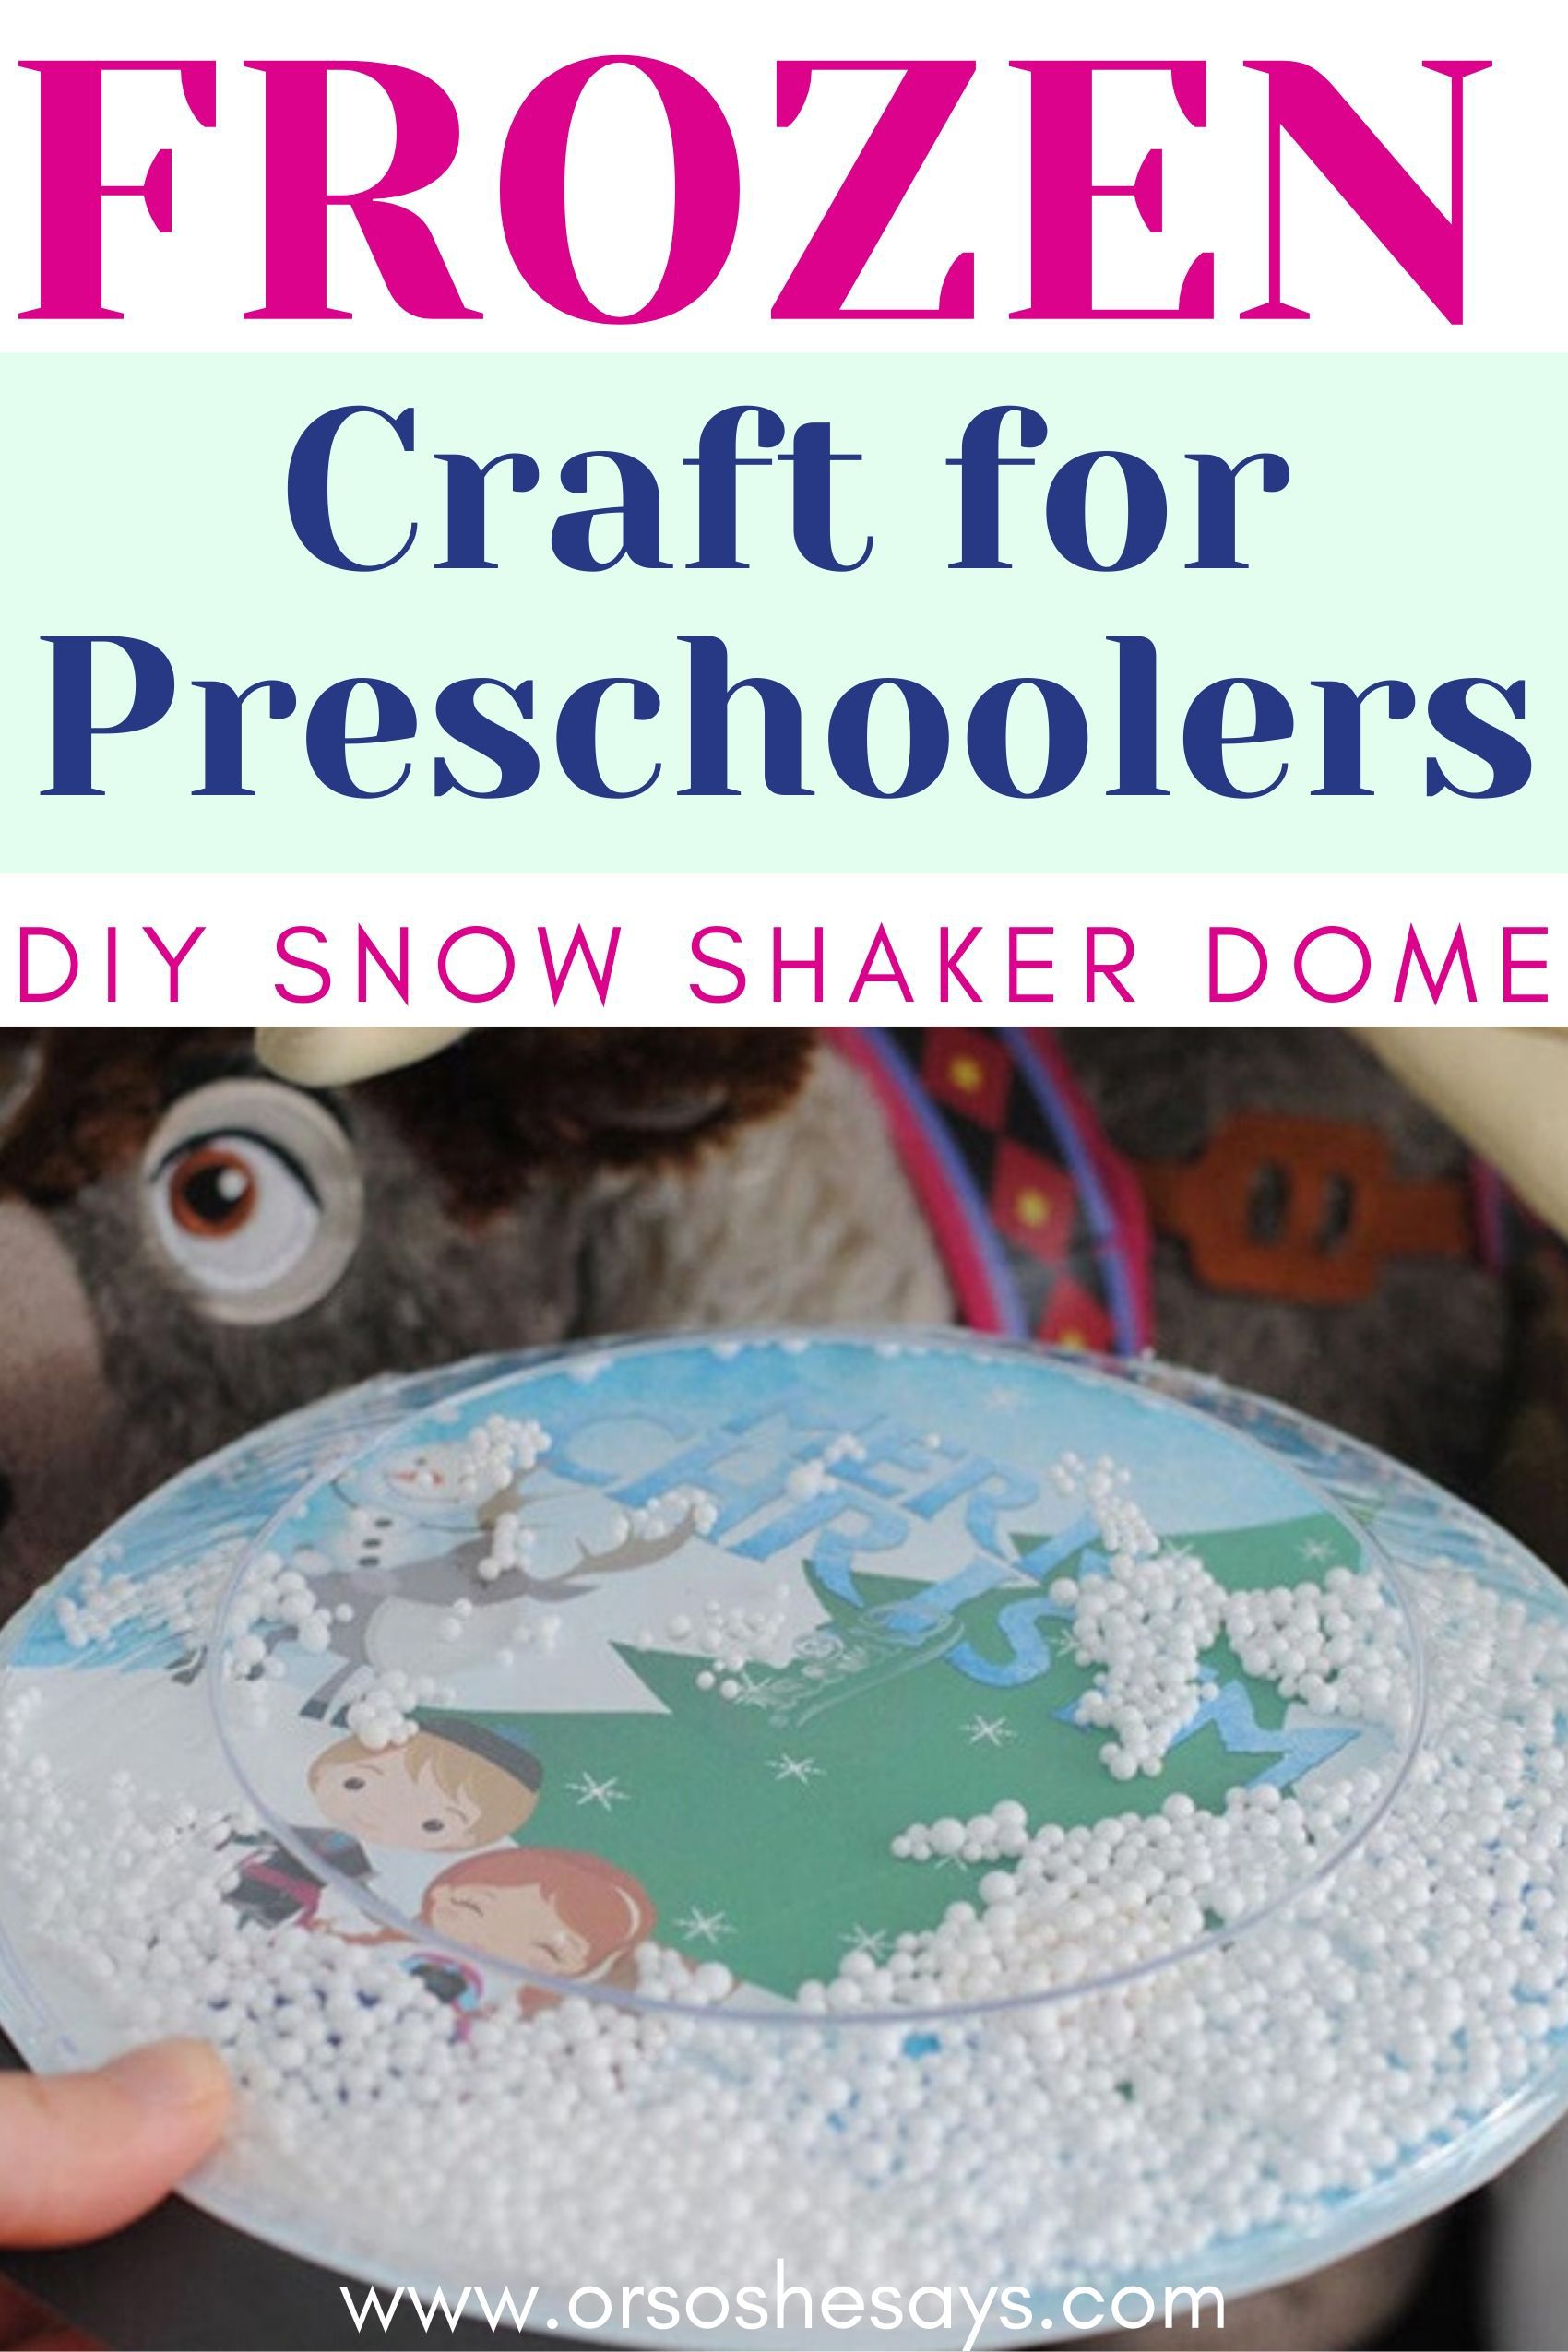
Frozen Craft for Preschoolers
If you have some Frozen fans in your life than this project is a perfect addition to your Holiday celebrations, besides just being a great Frozen craft for preschoolers. Christmas is such a fun time of the year. The Frozen theme fits right in with the winter holiday. Olaf is for sure my favorite snowman. Sorry Frosty!

If you are like me, you’re probably always on the lookout for fun family party activities! It’s helpful to have a little game or craft for kids to do while grownups are preparing food or enjoying some time to chat together. Or, if you’re helping out with your toddler’s preschool Christmas party, this is such a great idea that is super simple for kids to do with a little help. I hope this Frozen Snow Globe craft can bring the magic of Disney and the spirit of Christmas into your homes this Holiday Season!
DIY Frozen Snow Globe Craft Supplies:
- 7-Inch Clear Plastic Plates
- Foam Beads
- Hot Glue
- Scissors
- Frozen Snow Globe Template
- Cardstock Paper
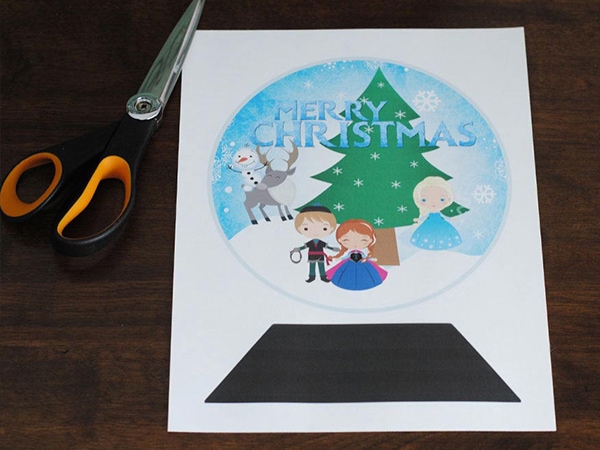
Start by downloading the Frozen Snow Globe Template here. Print as many pages as you need for each child to make their own Frozen-themed snow globe. The template is designed in color, and works best when printed on a heavy cardstock for stability.
Make sure NOT to scale the print size when you print. You may get a warning that you will have some clipping that will occur. Don’t worry about that. Print it at 100 percent.
DIY Frozen Snow Globe – Putting it Together
Cut around the thin grey boarder around the edge of the cute snow scene circle. Be sure to keep the border attached! Take your time and cut a smooth edge that will fit with your 7-inch plate. Then, cut out the black Frozen Snow Globe stand that is also part of the template.
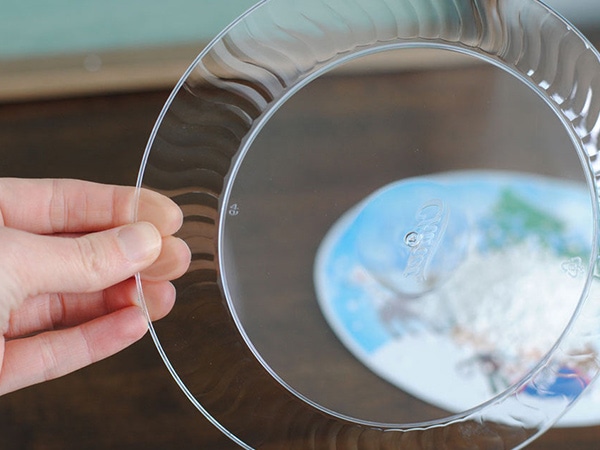
Now, you get to add the snow! Elsa is perfect for this step in the project. Place a small pile of foam beads in the center of the cut circle. They are kinda crazy to work with. So, place them gently in their spot. Don’t bump or wiggle the table of the template or the balls go rolling. It could be kind of fun to include colored foam balls with the white ones, so let your kids get creative!
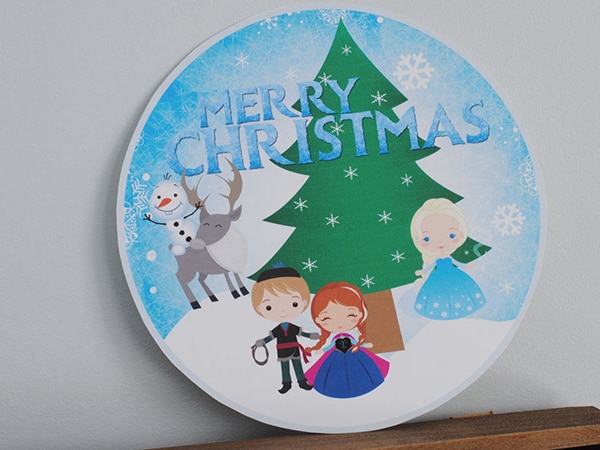
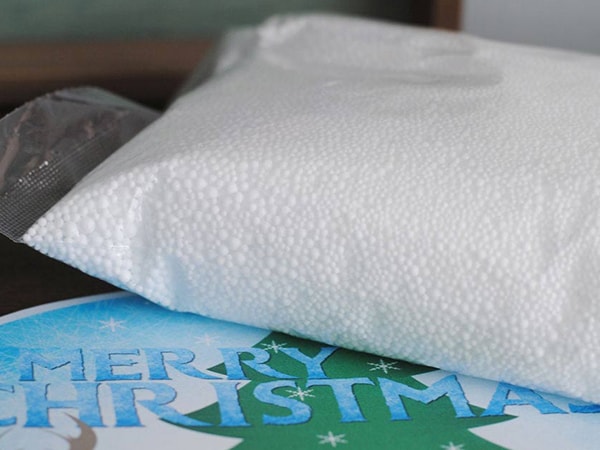
I ordered the foam beads on Amazon. You can also find them at the craft store. Kids use them to make slime, so check by the slime supplies. If you have sequins or other slime mix-ins, they could make a great addition to your DIY Frozen snow globe.
Plug in your glue gun and get it heated. If you have a setting on your glue gun, change it to the lowest setting. Then, pipe a ring of hot glue around the outside edge of the entire circle. The glue should be placed on the inside line of the grey border right on the edge of the Frozen scene. The grey border will be on the OUTSIDE of the plate.
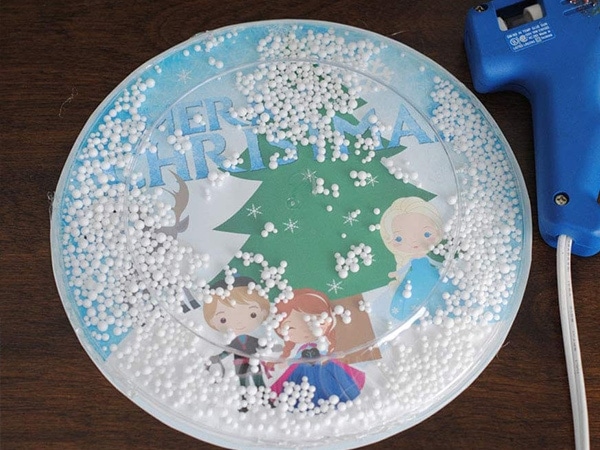
If you want to test placing the clear 7-inch plastic plate on top of the paper to see where the edge lines up with the paper, you can! That is where the glue needs to be.
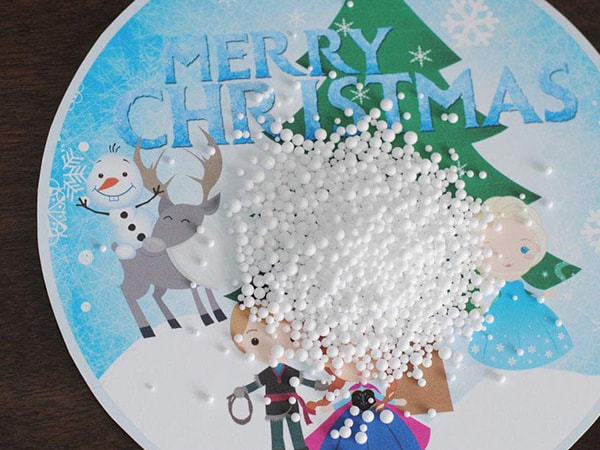
Push the plate onto the hot glue and hold it in place for a minute while the glue sets up. I had to do a little ring of glue along the outside of the plate as well. I had missed a few little spots and wanted to make sure that my plate stayed in place. You can add a ring of glue around the plate as well to ensure the foam beads don’t escape. You don’t want any flurries!
The last little part of the DIY Frozen Snow Globe is to attach the black paper base. Use the hot glue to attach the base at the bottom center of the snow globe. The circle of the snow globe should overlap onto the front of the base about 1 inch. Make sure to center the image with the base so it looks straight.
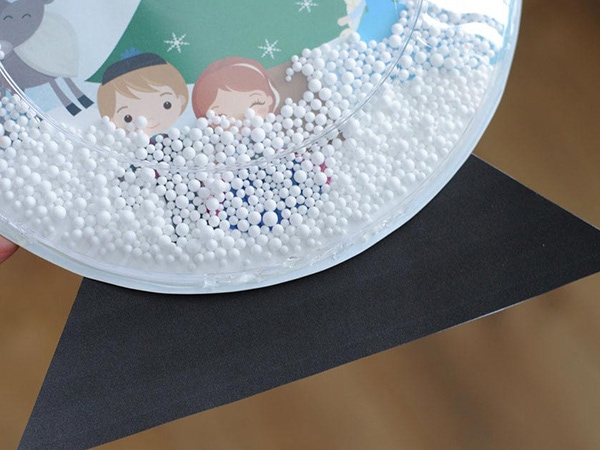
The snow beads inside shake and scatter all around when you move the DIY Frozen Snow Globe around! It is a little flurry of snow for Elsa, Anna, and friends. I had fun creating a blizzard.
I think it is kind of funny to watch Anna and Kristoff get buried under a pile of snow when all of the snow settles to the base of the plate.
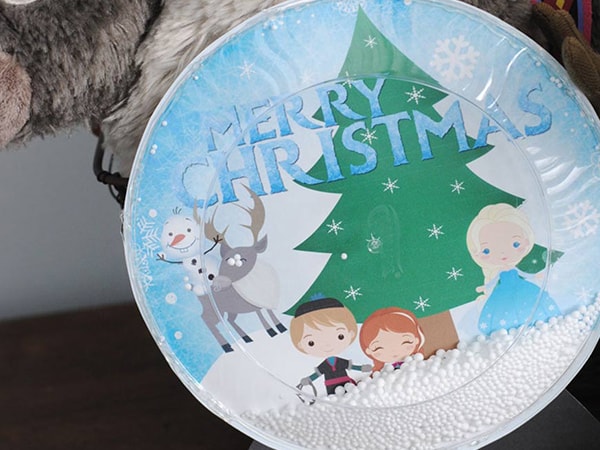
This is such a fun little Christmas craft for the Disney Frozen fans in your life. It only takes about five to ten minutes to complete. Let it snow this Christmas holiday with a fun paper Frozen Snow Globe! And if you’d like to meet the real Anna and Elsa in Disneyland, definitely get in touch with my friends at Get Away Today. They offer discount Disneyland vacations all year long, and you can browse packages at www.getawaytoday.com or call 855-GET-AWAY for personalized assistance. Be sure to let them know ‘Or so she says…’ sent you, use code OSSS10 for $10 in savings on any Southern California vacation package!
If you loved this Frozen craft for preschoolers, check out:
- 19 Frozen Party Ideas for 4 Year Olds – If your planning a Frozen birthday party or any sort of party for a 4 year old or really, any age from 3 to 6, these are some great Frozen crafts, Frozen food ideas, and Frozen games to play.
- 26 Disneyland Secrets for 2020 – Great insider tips and tricks for navigating the park and making the most of your Disneyland family vacation. Updated for 2020 and written by a Disneyland expert!
- Harry Potter Would You Rather Game – Kids love Frozen… but, they also love Harry Potter! ‘Or so she says…’ blog has so many fun Harry Potter ideas, including crafts, recipes, and this super fun, printable game. One of the blog’s most popular posts!
