DIY Mickey Ears for the whole family at a fraction of the cost to purchase them!
Grab your ears, it’s time for cheers! Or, should I say, MAKE your ears, it’s time for cheers? It’s Adelle with Packed with Fun, the official blog for Get Away Today. As your Disneyland experts, we love all things inspired by Mickey. And of course, your Disneyland wardrobe is never complete without a set of Mickey Ears. You could of course get yours when you get to the park, but at $15 – $25 a pop, that can add up quickly for a family. You can easily make your own DIY Mickey ears for your whole crew for as much as you would pay for one pair of ears in the park. Plus, since you’re making them yourself, you can customize them however you want to each member of your family! You could even do it together as an activity before you go.

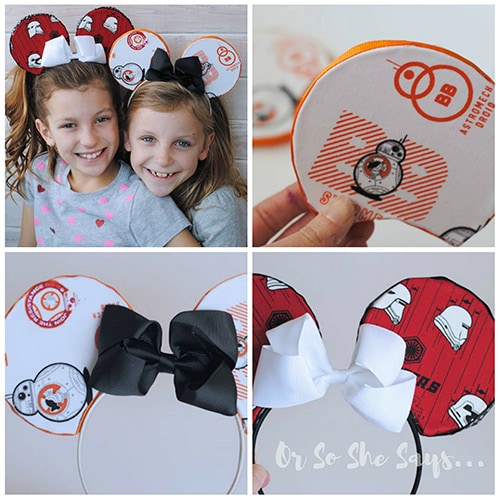
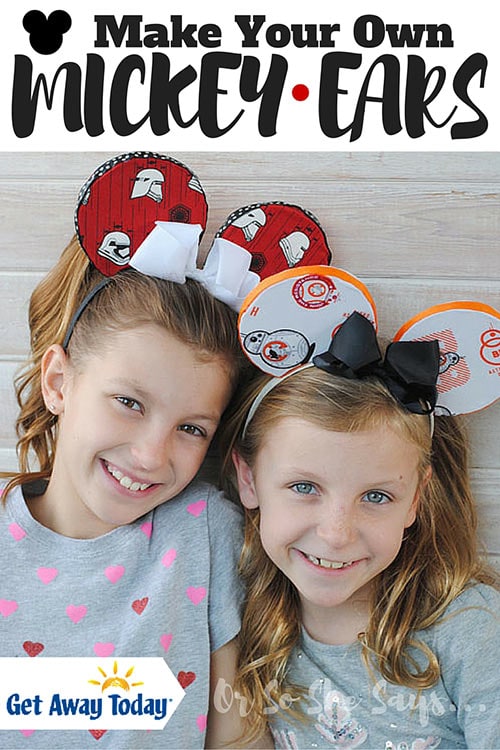
Since Star Wars Season of the Force is going on in Disneyland right now, we though it would be fun to make our own Star Wars Mickey (or Minnie) ears. You could just as easily make your ears inspired by any of the princesses, classic or Pixar characters.
‘Ears what you will need to make your own Mickey Ears:
1 Fat Quarter of Disney or Mickey Inspired Fabric
Foam Board
Hot Glue
Spray Glue
Headband
Bow (for Minnie, of course)
Ribbon
Exacto Knife
Mickey Ears Pattern (Download here)
To start, print the Mickey Ears pattern and cut out the two ear pieces. Next, trace two of each of the ear pieces onto your foam board. You should have four foam pieces for each set of Mickey Ears.
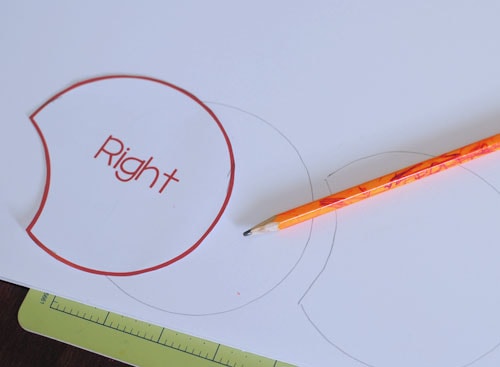
Carefully cut around the lines with an Exacto Knife to make sure it is straight. Your ears will look jagged when they’re done if they look jagged during this step.
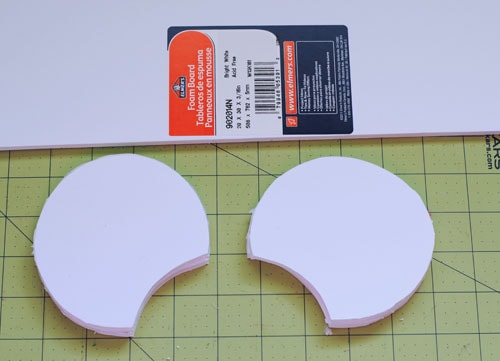
Use adhesive spray or hot glue to glue the two foam pieces for each ear together and let it set. Trace around each foam ear onto your fabric leaving about 1/4 inch gap between the foam and the line. Pay careful attention to your fabric and make sure that you’re tracing a part of the pattern that you like. You’ll need four pieces total and you can coordinate which will be your front pieces and which will be your back pieces. If you want to get really crazy, you could even mix and match your patterns. When you have cut your favorite fabric pieces, use a spray adhesive to attach the fabric to the foam board for a smooth finished product. Fold the edges of the fabric around the end of the foam board and hot glue it.

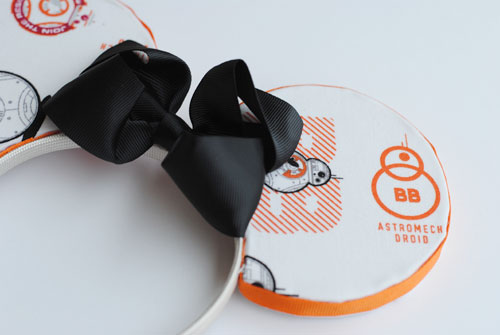
Add a layer of coordinating ribbon around the edges to hide the scrappy edges of the fabric and to give your Mickey Ears a cute finished look!

Finally, situate your ears about two inches from each other atop the headband then secure them with hot glue. It’s as easy as that!
If you want Minne Ears instead of Mickey Ears, like I made for my girls, you can glue a bow onto the center of the headband to make it extra cute.
When you’re ready to show off your Mickey Ears, give our agents at Get Away Today a call and they’d love to help you book your Disneyland vacation. Or, check out our Disneyland packages online at www.getawaytoday.com. We’ll always make sure you get the best deal. Plus, you’ll save an extra $10 when you use promo code: OSSS10 on any 2-night or longer vacation. We hope to M – I – C- ya real soon!
For more Disney posts, check these out:
How to Have the Ultimate Disney Princess Experience at Disneyland
20 Things to Do at Disneyland When It’s Packed – Updated for 2016
Star Wars Disneyland Vacation Reveal
