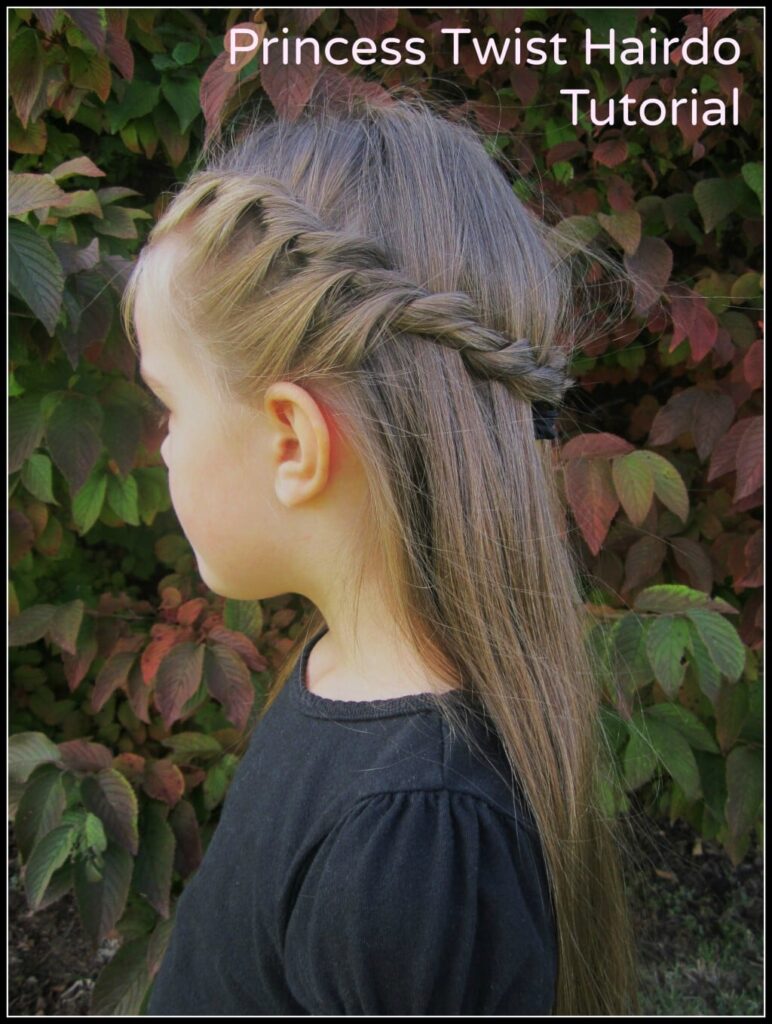
Anyone with a little girl NEEDS to know how to do this Princess Twist Hairdo! It’s super simple, fast and everyone will be asking you how you did it. It’s also one of those rare hairdos that works on every length, thickness and texture of hair. It’s especially great for little girls with short pieces of hair at the hair line because the pieces only have to reach a short distance to get twisted into the ‘do! It’s the first hairdo that I was able to do on my girls when they were babies, and it’s still a favorite now that they’re school age. I get asked constantly how I did it on their hair, so I thought I’d just show you all today!
Princess Twist Hairdo Tutorial
Step 1 – Part hair down the middle.
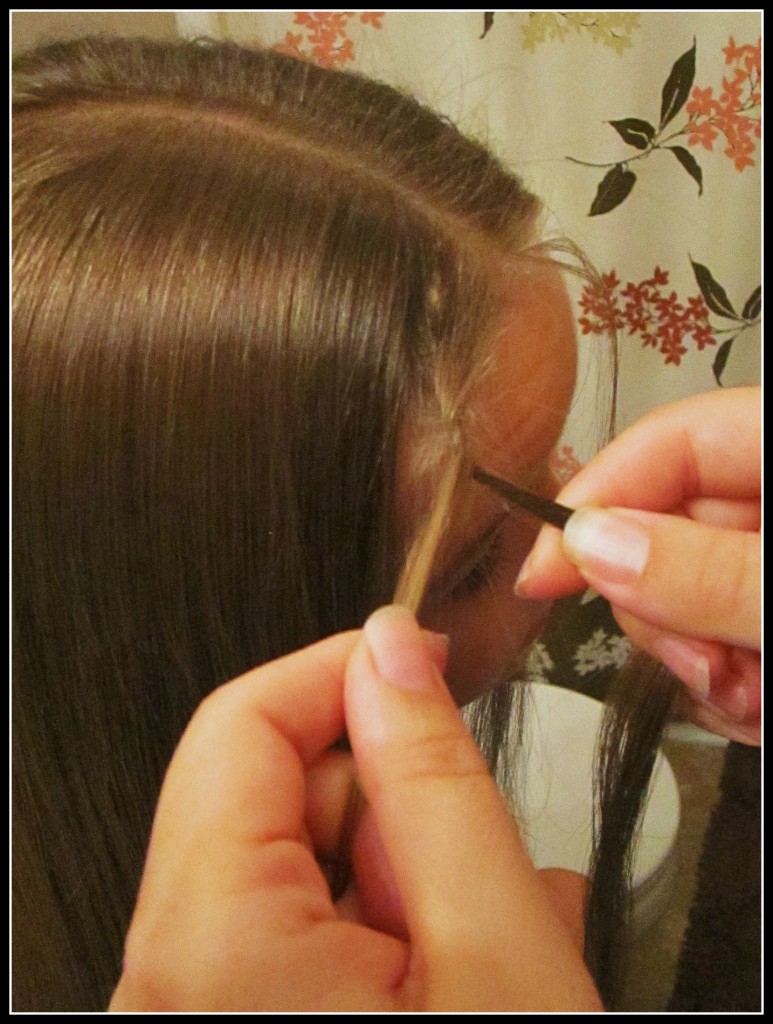
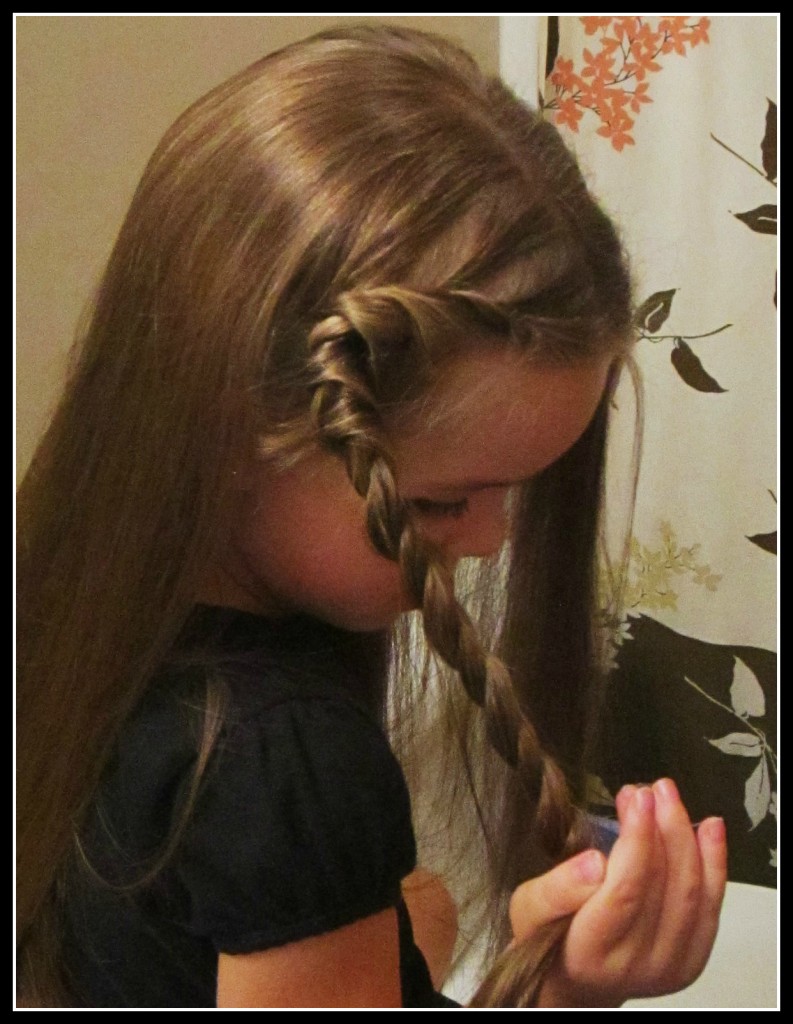
Step 2 – Separate small section on one side into two pieces.
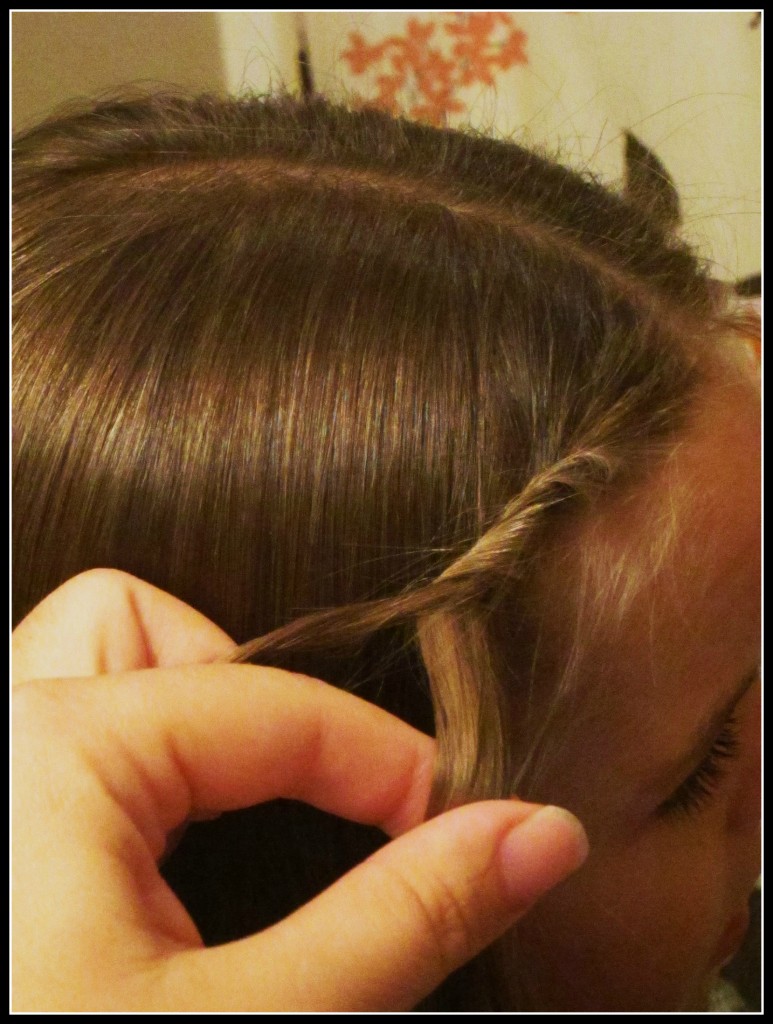
Step 3 – Twist two pieces together several times.
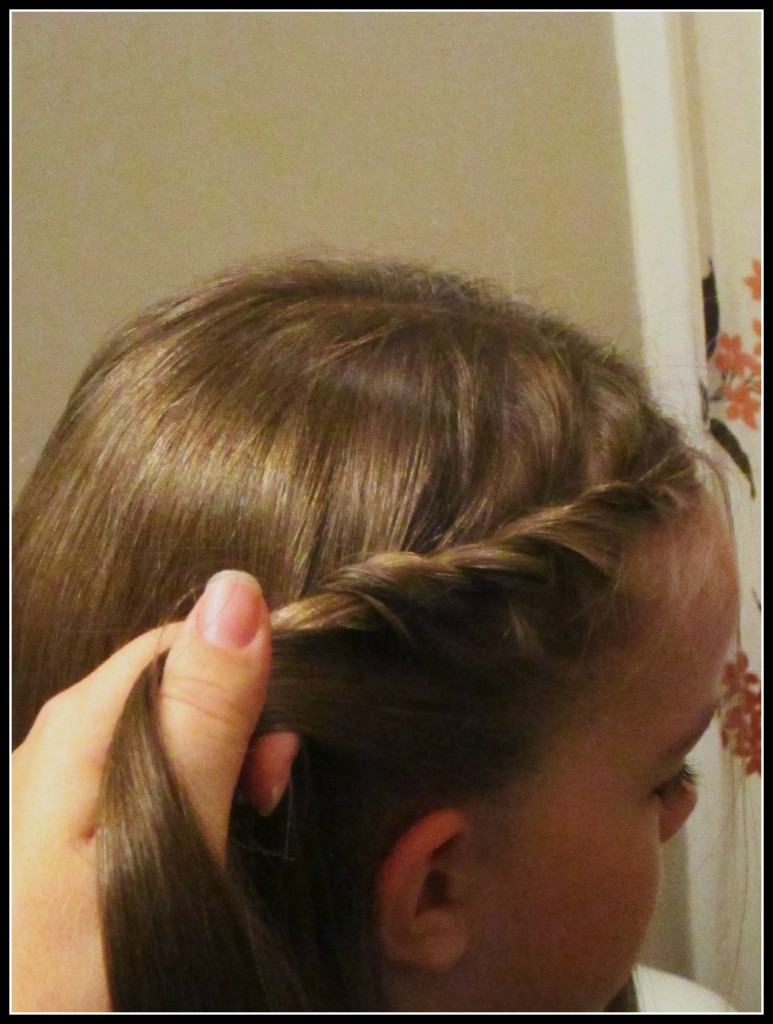
Step 4 – Pick up small section from down below and add it to one of the pieces, then twist up and over once. Continue picking up hair sections (just like french braiding) and alternate twisting them into each of the two pieces.
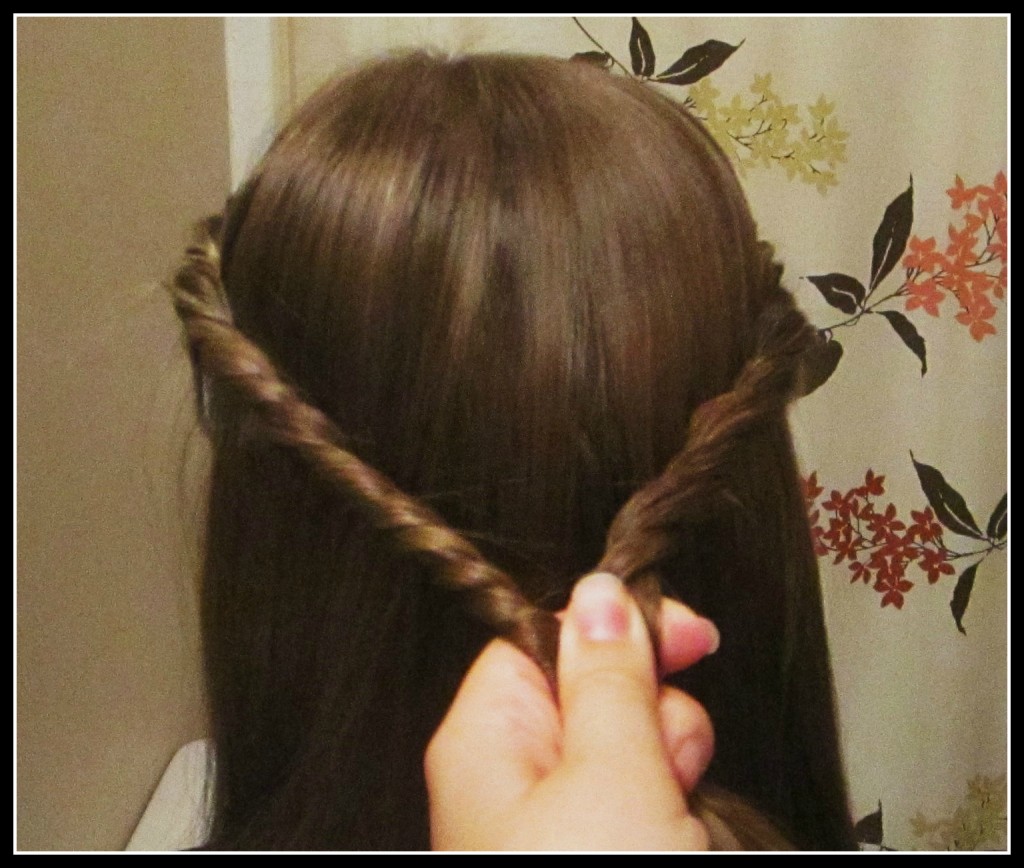
Step 6 – Continue twisting as far down as you can. You’ll need someone to hold the twisted section while you do the same thing on the other side.
Step 7 – Repeat steps 2 through 6 on opposite side.
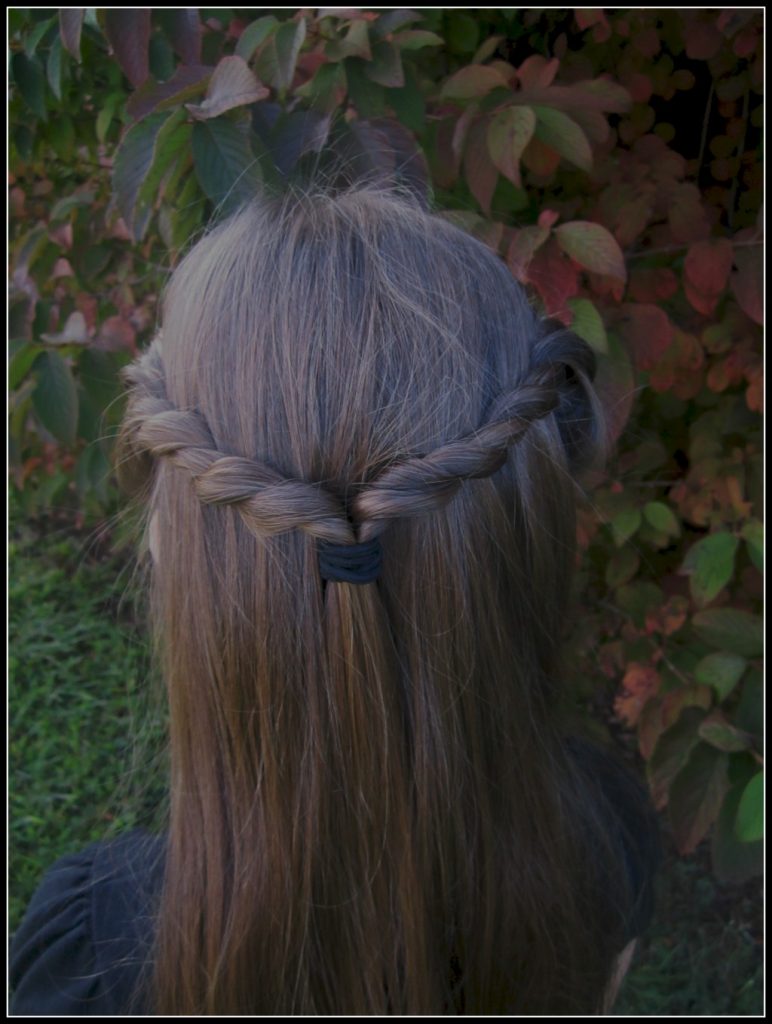
Step 8 – Pull the two sides together in the back and secure with a twist tie.
FINISHED! So cute!!!
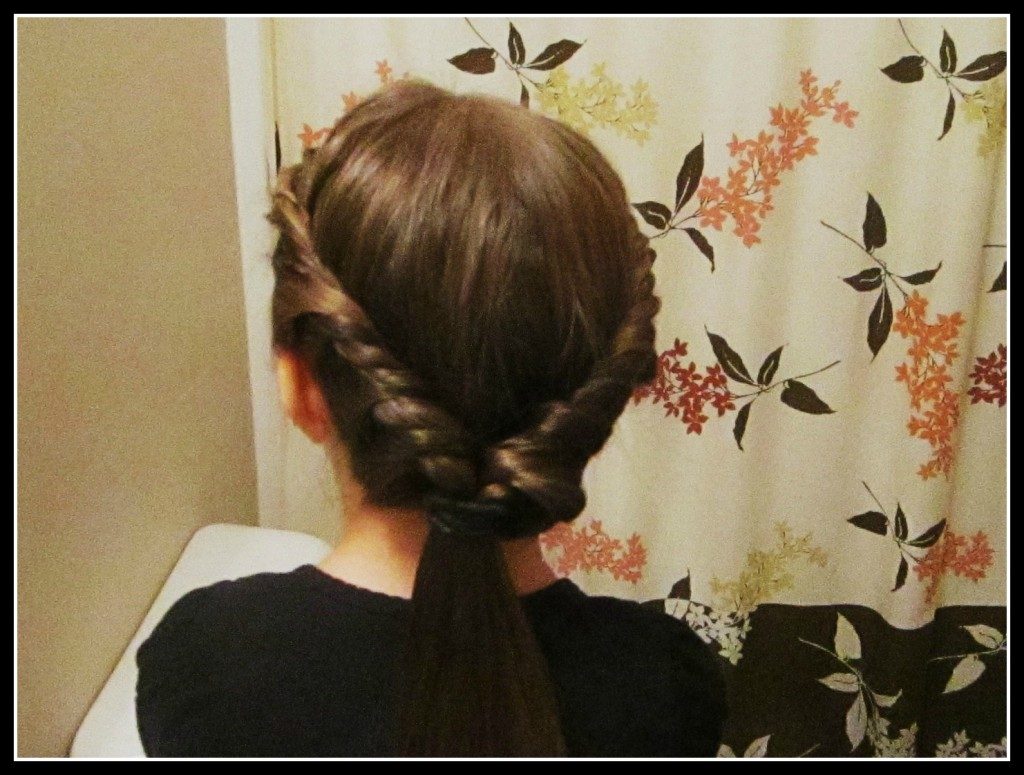
NOTES: You can also pull all the hair up into a Princess Twist Ponytail by continuing to pull up sections of hair and then twisting them into the two main pieces all the way to the nape of the neck. Once you’ve twisted both sides of the hair, just secure them together with a twist tie into a big ponytail.

YAY!! I’m so happy to have a picture-by-picture tutorial!! Maybe I can finally figure this out. 🙂