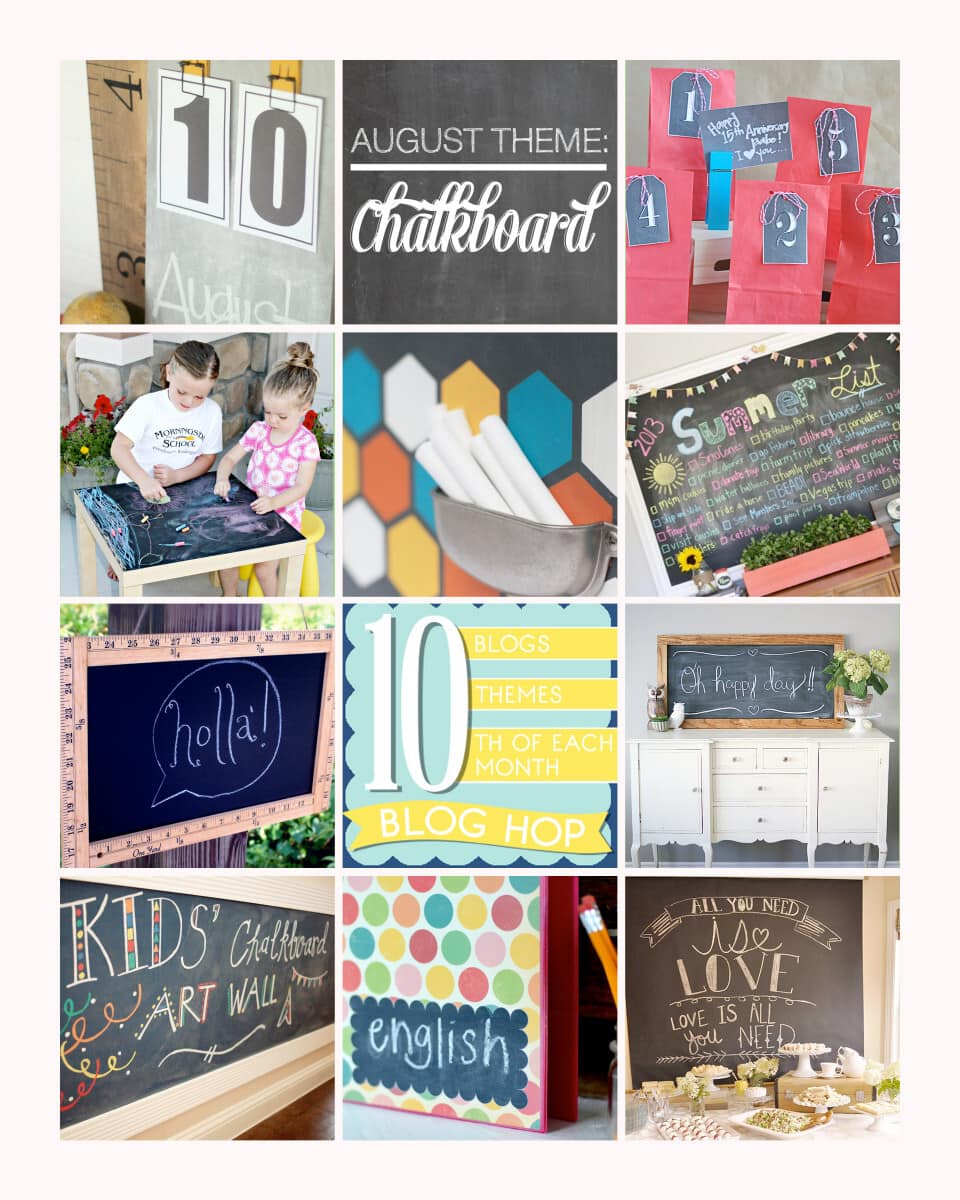
It’s time for another fun, monthly blog hop–featuring 10 of our favorite creative bloggers! This month’s theme is all things CHALKBOARD, and we just know you’ll have a blast with these projects. We’d love for you to pin our collage below, check out our Ruler Frame Chalkboard Sign Tutorial and then go see all the other fabulous projects created by some of our friends!
To see each fantastic Chalkboard Project up close, join the Blog Hop!
1 • Lolly Jane sharing a Chalkboard Calender
2 • Thirty Handmade Days with an Anniversary Idea + Collection of Printable Chalkboard Tags
3 • Six Sisters Stuff sharing a Cheap and Easy Kids Chalkboard Table
4 • Landee See Landee Do sharing a Hexagon Chalkboard
5 • Little Miss Momma sharing a Jumbo Chalkboard Tutorial
6 • Or So She Says sharing a Vintage Ruler-Framed Chalkboard Sign
7 • Eighteen25 sharing a Super Simple XL Chalkboard
8 • Capturing Joy sharing a Kids Chalkboard Wall Art
9 • Simply Kierste sharing her Chalkboard Binder Labels
10 • Your Homebased Mom sharing a Chalkboard Party Backdrop
On to the chalkboard contribution from ‘Or so she says…’! (written by fabulous contributor, Lauren of The Thinking Closet.)
So, when Mariel told me that the blog hop theme for this month was chalkboard and asked if I wanted to tackle it, I jumped at the chance! I mean, chalkboard and I go together like Jackson Pollock and splatter paint, like Martha Stewart and apple pie, like Marilyn Monroe and subway grates. I’m sort of a chalkboard fanatic. And I had just the idea of what to create!
This July, my husband Mark and I got to spend our fourth wedding anniversary with my family in Ocean Grove, NJ. We’ve done this every summer since we got married on the shore there and always enjoy getting our surf on, devouring ice cream at Day’s, and bike riding on the boardwalk.
During one bike ride through Asbury Park, we stopped at a little shop in The Grand Arcade called Carla Gizzi. There, we picked up two ruler-framed chalkboards, and within a matter of a few weeks, we found opportunities to give them both away! (They made great thank you gifts.)
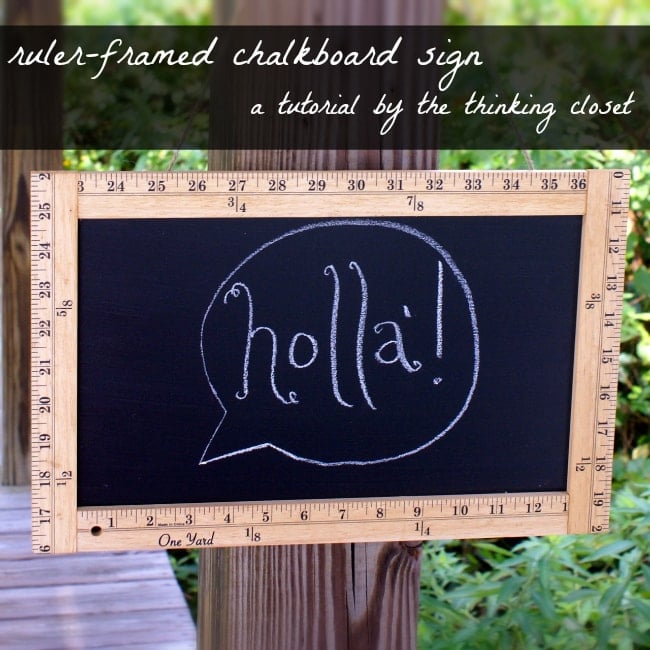
Here’s the tutorial, so you can play along at home! And I’m going to be sure to tell you what not to do…because this project definitely almost became a craft fail! #crisisaverted
Tutorial
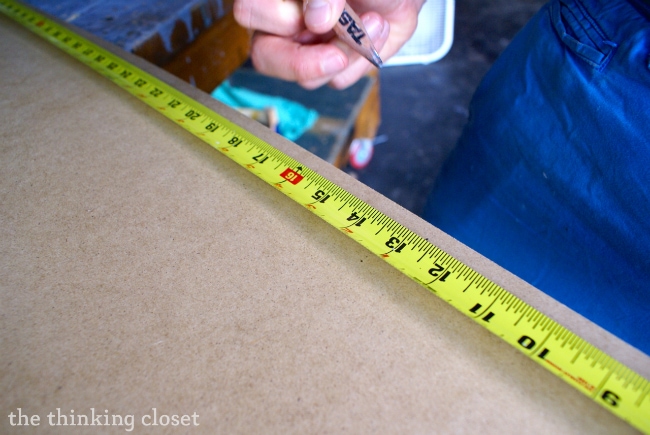
Step 1. Prep your supplies. I decided to use leftover fiber-board from our recent IKEA wardrobe hack as the surface of our chalkboard. A piece of wood would also suffice. First, we measured out 14.5″ x 9.5″ boards.
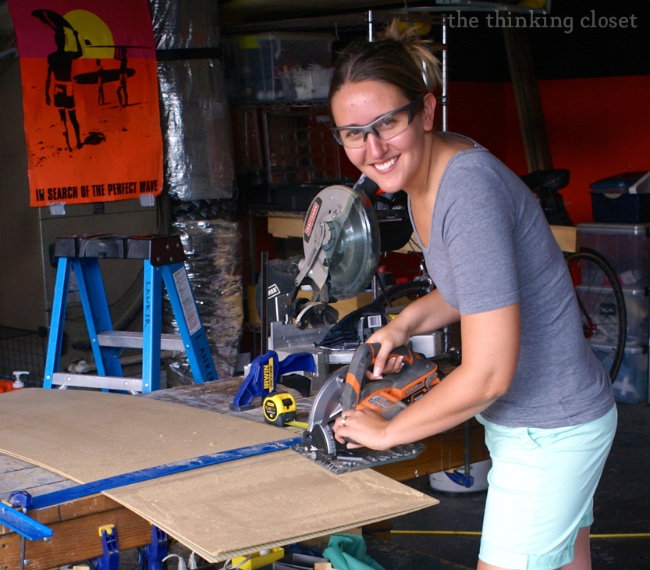
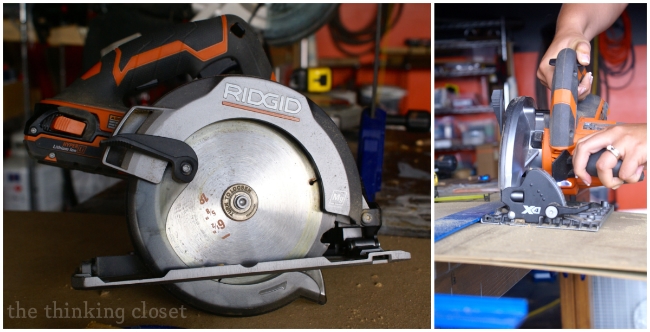
Then, using our Rigid circular saw, we cut the boards. I even got in on the cutting action with my new 3M protective eyewear from my SWAG bag at Haven blog conference! Watch out, now!
Next, we used our Craftsman miter saw (a.k.a. chop saw) to slice some yardsticks into pieces. With 4 yardsticks, we had enough wood to frame 3 different signs. Just do the math so you have 6 pieces at 13″ and 6 pieces at 10″.
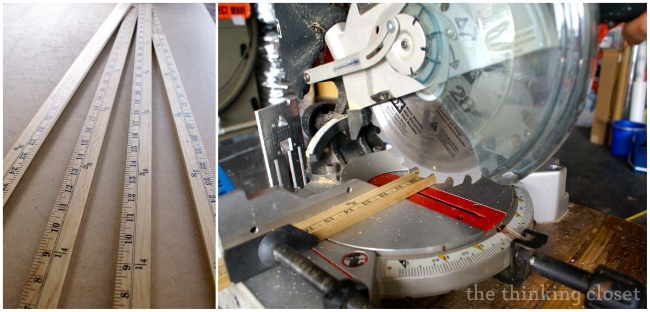
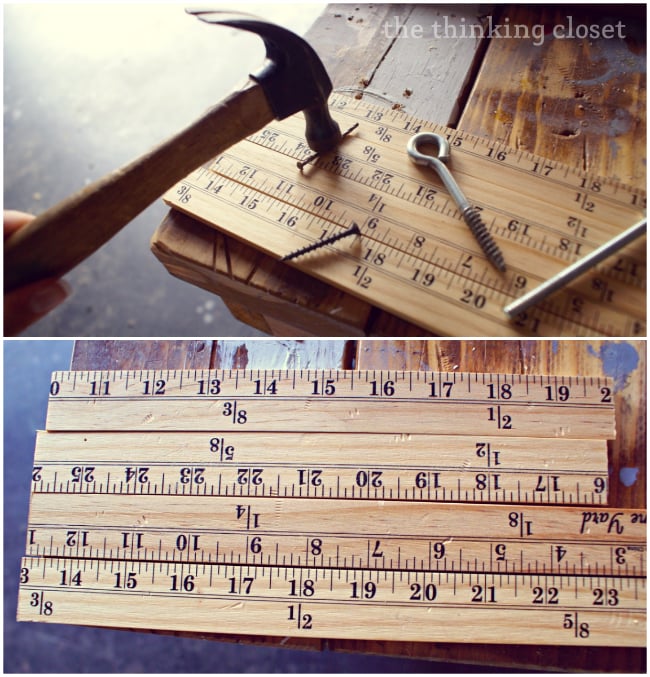
I even took a hammer and some nails and screws to one surface of each yardstick piece to bang ’em up a bit…make them seem a bit more rustic and weathered as opposed to fresh off the shelf from Hobby Lobby. If I could do it again, I would go even rougher on them! Give ’em more “oomph!”
Step 2. Stain your yardstick pieces. I could have used regular wood stain on these pieces to give them that vintage appearance; however, I was chatting with my new bloggy buddy Candace from Vintage News Junkie at Haven about using tea (yes, tea as in a “spot of tea”) to stain wood…she had great success tea-staining clothespins, so I gave it a try!
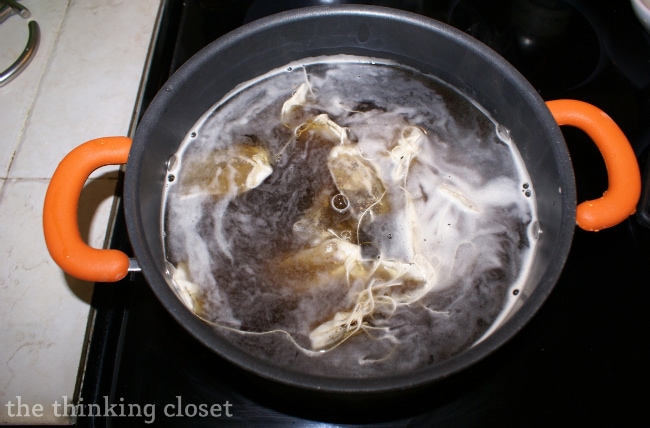
I loaded up a pot of water with 15 tea bags and let it come to a rolling boil. (In fact, so rolling that it overflowed a bit when I wasn’t looking. Whoopsie-daisy!)
Then, I split the tea-saturated water between two 9″ x 13″ casserole dishes and placed my yardstick pieces beneath the surface. They needed some weight to keep them from all floating to the top.
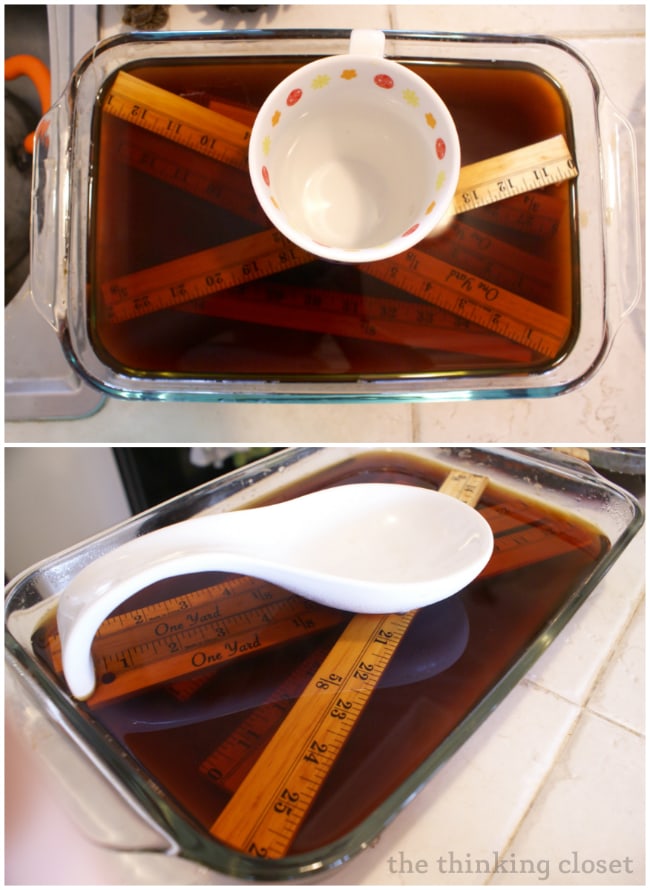
There they soaked for 11 hours! After they had soaked up the tea and darkened to the point where I was satisfied, I removed them from the liquid and placed them on a dish-towel to dry overnight. Meanwhile….
Step 3. Create your chalkboard surface. Okay, here’s where I’m going to jump in and tell you what not to do. If your fiber-board has a rough surface and a shiny smooth surface, don’t think you’re clever and opt for the smooth surface that you think it will be easier to write on. Even with some spray paint primer, I found that the paint chipped right off when writing with a piece of chalk! In fact, it gets worse. I tried to muscle through and have a Tim Gunn “make it work” moment, but the hot glue would not adhere to that smooth surface either, so the frame literally fell apart on me when I was taking photos. One ruler piece even ended up in the lake! I gasped, then I laughed, and then I ran back inside to start again. I certainly couldn’t have these cute signs falling apart on us!
The key for success in round two was using the rougher side of the board. From there on out, I had no problem with adhesion whatsoever. Lesson learned.
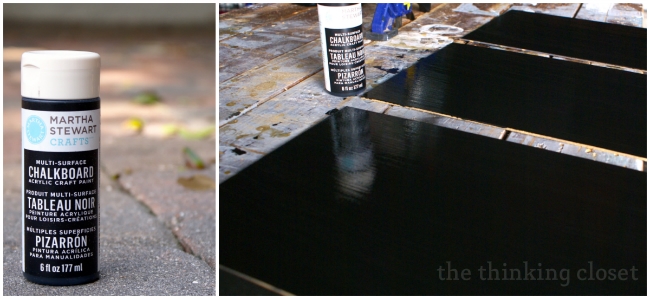
In terms of paint, I decided to try out Martha Stewart’s brand of chalkboard acrylic paint and used a foam brush to apply it to the boards. The bottle calls for 2 coats with an hour of dry time in between. I gave it three to be on the safe side! Then, I let them dry overnight.
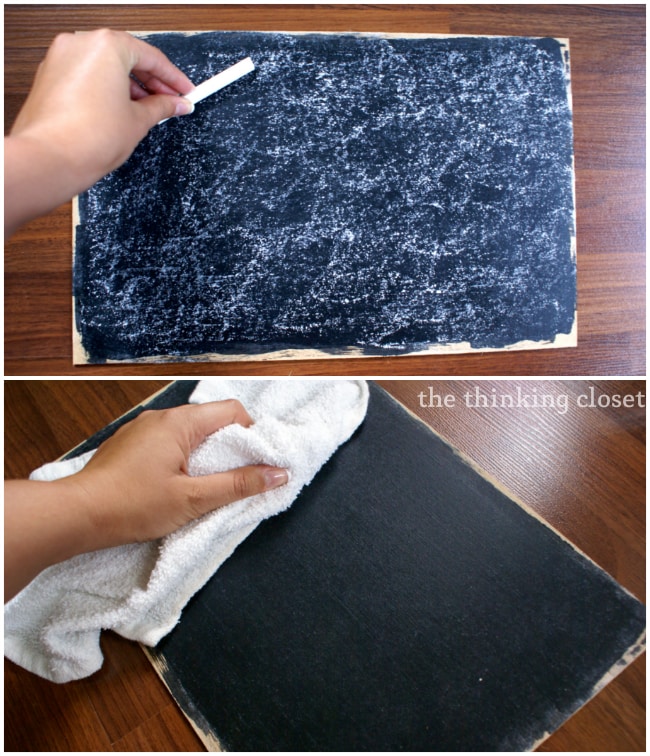
Step 4. Pre-treat the chalkboard with…chalk! In the morning, I conditioned the chalkboard by running some white chalk lengthwise all over the board in a circular motion. Then, I used a soft towel to gently rub the chalk away. (Rumor has it that this step of pre-treatment makes it easier to erase messages on the board in the future! Whad’ya know?)
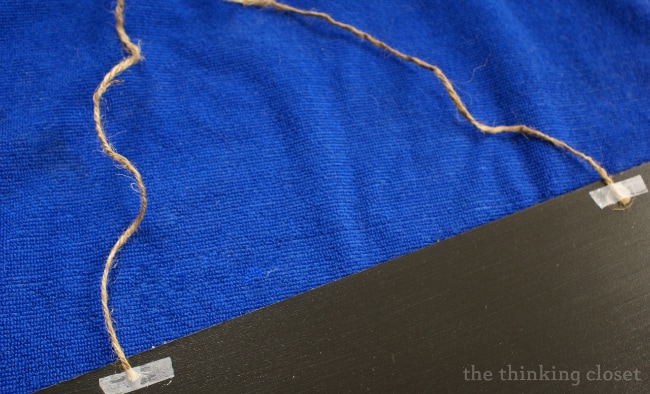
Step 5. Tack your twine to the chalkboard surface. If you want your chalkboard sign to have a twine string to allow it to be hung from a hook, then be sure to tack your twine within 1″ of the top of the chalkboard surface using tape or glue. This is only a temporary bond. The twine will be permanently secured in the next step.
Step 6. Glue down the yardstick pieces to create a frame. Next, I pulled out the big guns: my hot glue gun! Although you could use a nail gun or craft glue and clamps for this step, I opted for my adhesive of choice: hot glue. I pre-set my pieces first, then glued down the top piece, sure to really douse the twine in hot glue to ensure its adhesion. Then, I built the rest of the frame around it.
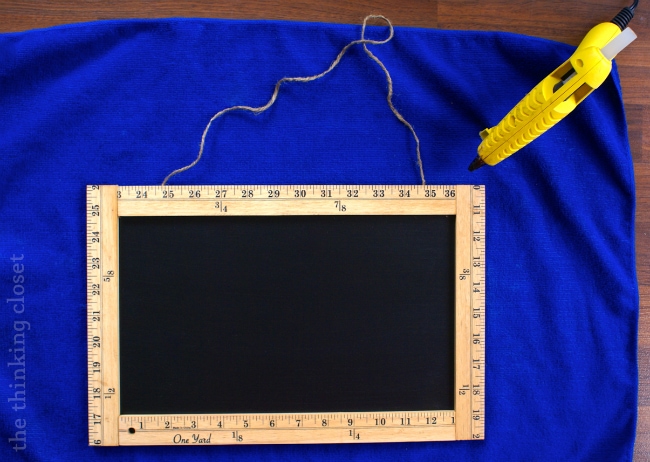
And just like that, my vintage ruler-framed chalkboard sign was complete! And then I made two more! And had way too much fun writing messages all over them.
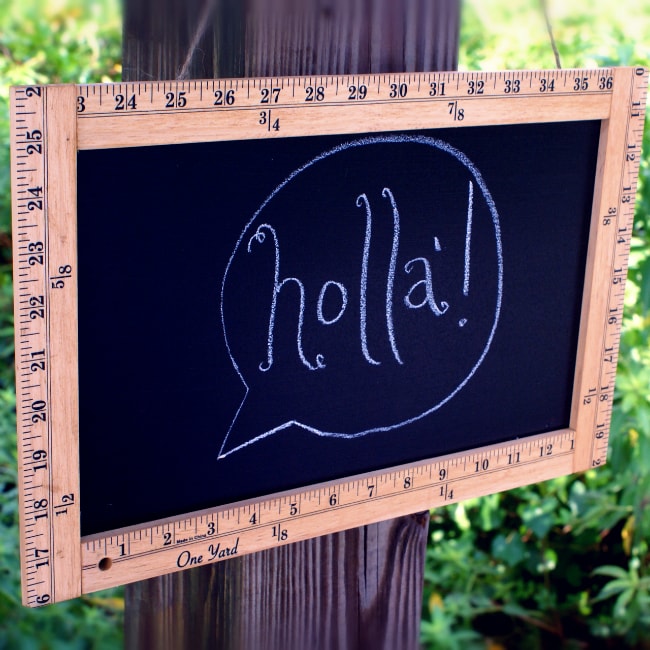
I think these signs would make a fun message board…
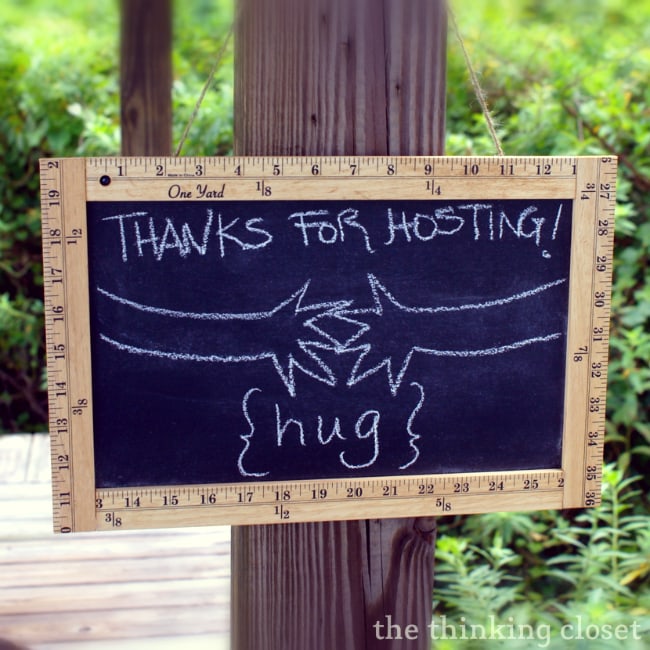
…or the perfect hospitality gift…
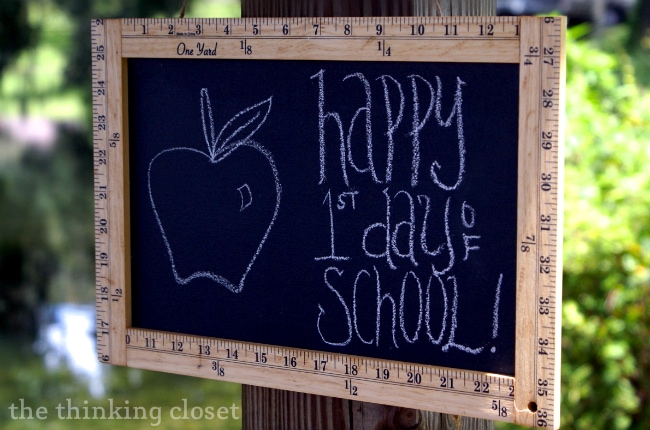
…or how about a back-to-school teacher gift!
I have a hunch these three are going to find new homes pretty soon, but now that I’ve perfected my d.i.y. method, it’ll be no trouble whipping out some more. I hope you have fun creating yours, too!
Want more chalkboard inspiration?
Feel free to explore my round-up of 20 D.I.Y. Chalkboard Projects! Some are other chalkboard projects I done and most are gems I’ve found around blogland. So, if you want even more inspiration than you’re getting in today’s hop, you’re welcome to visit me at The Thinking Closet, and check it out!
-Lauren
And, now it’s time to share YOUR great ideas! But, first …how about a few of Mariel’s favorites from last week’s link party:
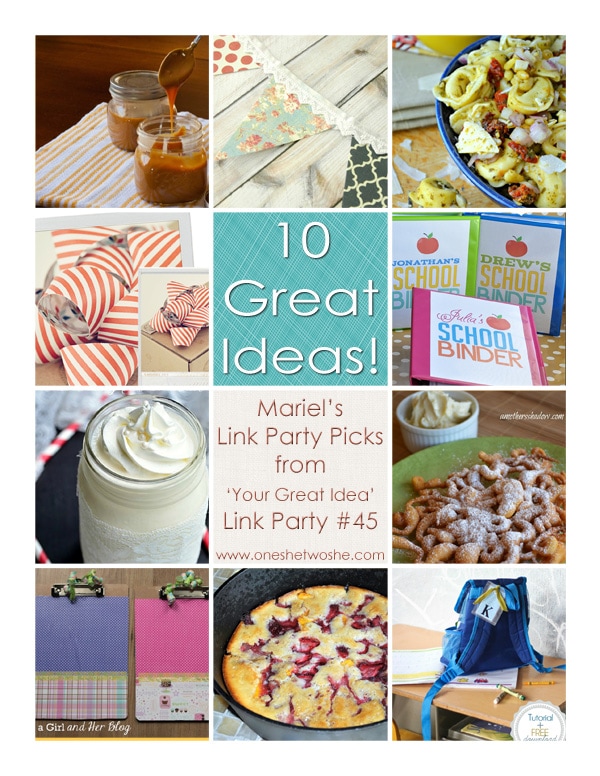
1. Slow Cooker Caramel from Who Needs a Cape?
2. Summer Bunting from Simply Suzanne’s At Home
3. Pesto Tortellini Salad from Lemon Tree Dwelling
4. DIY Paper Bow from Life-n-Reflection
5. School Binder with Printables from Thirty Handmade Days
6. White Wedding Cake Milkshake from Will Cook for Smiles
7. Funnel Cake & Honey Butter from A Mother’s Shadow
8. Personalized Clipboards from Just a Girl and Her Blog
9. Peach and Strawberry Cobbler from Sweet Caroline’s Corner
10. Backpack Tag Printables from Lolly Jane
Remember everything linked up will also be shared on Your Homebased Mom and What’s Cooking with Ruthie, so please link back to all three blogs (mine and theirs.) Only posts that are linked back are eligible to become a ‘favorite pick’ or pinned. Check out others ideas, and enjoy the creativity. Come back next Saturday and do it again! *No linking to giveaways, post collages, posts that aren’t yours, etsy shops, or filthy-poo.

Lauren ~ I LOVE this idea! What an adorable gift idea for my fellow teachers!! “pinned”
Now I need to check out all the other great ideas!
xoxo
Back to school can be a tough transition, so hopefully a gift like this will help make it a little more smooth for your teacher buddies. Thanks for the pin love, too, Sharon! {Hugs.}
So fun Lauren! Kinda fun that you wrote a little about your anniversary (happy 4th 😉 and I wrote about mine.
Thanks for the school binder feature Mariel!
Happy anniversary to you, too! I’m off to check out the other posts in the round-up, finally…can’t wait to check out your super cute chalkboard tags, Mique!
Lauren, I love your chalkboard!
Thanks so much, Bethany! I appreciate you checking it out.
Thank you so much for the feature, Lauren!!
Love that ruler frame, so clever!
Thanks, Kristen! Once I got my system down, it was really a quick n’ easy project. Hope you’re having a great weekend!
Love the tea staining technique! How cool is that? Super cute too!
Thanks, Landee! I know, tea staining was really fun…any time I can avoid using chemicals is always a plus!
Yay, Lauren!! LOVE this… the tea-stained rulers turned out awesome!! Quick tip to prevent boil-over… (saw it on Pinterest)… you can put a wooden spoon on the top of the pot and it will keep it from boiling over! I promise it works!! 🙂 Thanks for the shout out, by the way!!
Thanks for the wooden spoon, tip! Just the other day, I passed that tip onto Mark when we were making pasta in a tiny pot, and it TOTALLY worked! Like magic. Way to save the day, Candace.
Love the tea staining, clever! Great gift indeed!
Thanks, Lolly Jane! The tea staining part was really fun…I’m definitely going to try more tea staining in the future. Hooray for less fumes!
I actually have some vintage yard sticks hanging around – now I know what to do with them. Love the idea
How perfect! Leigh Anne, you’ve gotta share a pic with me if you end up creating some. 😉
The Wills still have the blackboard frame hanging up, that was your inspiration, with your original message saying thank you!! I love how you always choose that personal touch with gift-giving!
Great job with this tutorial and thanks for the tip about using the rough surface rather than the smooth one. Very counterintuitive but good to know! I am going to keep my eyes open for old yardsticks so I can skip the tea-staining step (but that is a great solution).
Aw, that’s so sweet that the Wills still have our message on the board; I hope they end up using it for their own messages, too!
I know, it is a bit counter-intuitive to think that the rough side would work better on a chalkboard than a smooth side…but after trying it out ourselves, we can’t argue with the truth! 😉 Yes, old yardsticks would be ideal – – they’d already have that vintage look we all love so much. Perhaps the Ladies Bazaar next year?
Yes, perhaps the Ladies Bazaar…or the OG Flea Market.