
I’d never heard of sea glass until I was an adult (perhaps that is due to living in landlocked Oklahoma?) We went to beaches very rarely when I was a kid, and even now I’ve never found sea glass when scanning the beaches in the Gulf of Mexico. But I did buy some at a craft store once and it was so much prettier in real life than it was in the pictures I’d seen online. Once I’d actually handled the stuff I kind of became obsessed. It’s so pretty and such an amazing little thing that the sea kicks out.
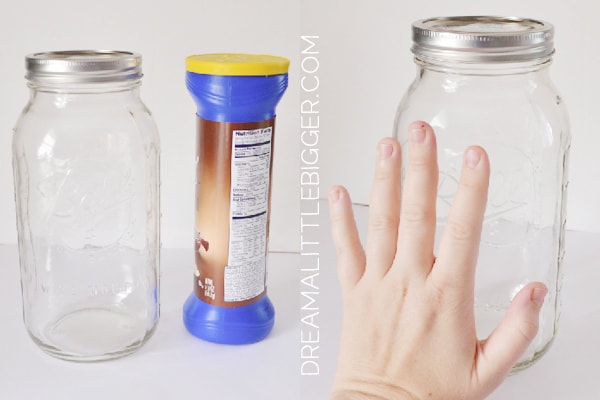
I decided that I wanted to make a faux sea glass vase to hold daisies and other pretty things. At the craft store I spied these gigantic mason jars.
I decided to try and make the mason jar my faux sea glass vase. And it turned out fairly well, but the raised bits on the jar caused me some huge issues when faux-ing this guy up. So if you don’t mind a fairly imperfect finish, grab yourself a gigantic mason jar (I got mine at Hobby Lobby for $3 when glass was half off!) OR use a smooth glass vase for a more authentic sea glass look.
Now we’re going to be using glass paint for the interior of the vase so that it is waterproof. Last thing we want is the paint washing off the first time we add water for our flowers… The paint on the outside states that you need to use paint thinner to remove, so I’ve got my fingers crossed that it will do well up against water that is accidentally going to come into contact as well as when we need to wash the vase.
For this project you will need:
- Clear glass vase or mason jar
- Americana Crystal Gloss Enamels in Turquoise -OR- any turquoise/blue glass paint
- Frosted spray paint
- Oven to heat set

Pour all of your bottle of Crystal Gloss Enamel paint into the bottom of your jar. FYI – we’re using this kind of a paint instead of a Mod Podge and food coloring solution or something similar so that the finish is water safe when we add flowers!
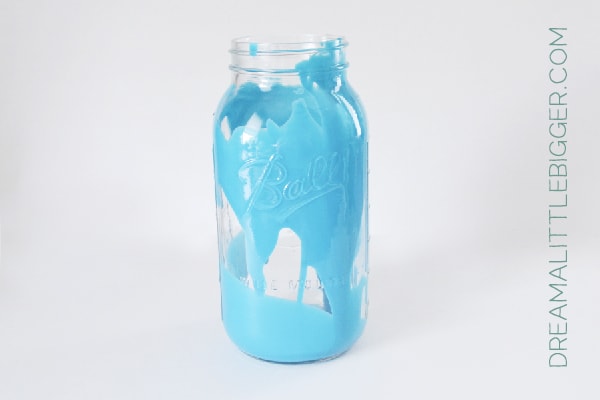
Twist and turn it around to fully coat the inside.
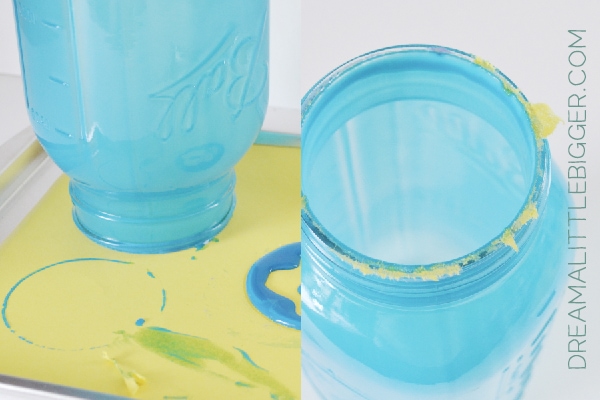
Turn the jar upside down and allow the excess paint to run off. You can capture the excess the first time or two and put it back into the bottle!
I placed my jar down on construction paper and when it came off close to the last time it ripped off the paper that I had to scrape away – after that I used wax paper after that with no problems.
Let your jar dry for four days and then bake in the oven according to the bottle’s directions.
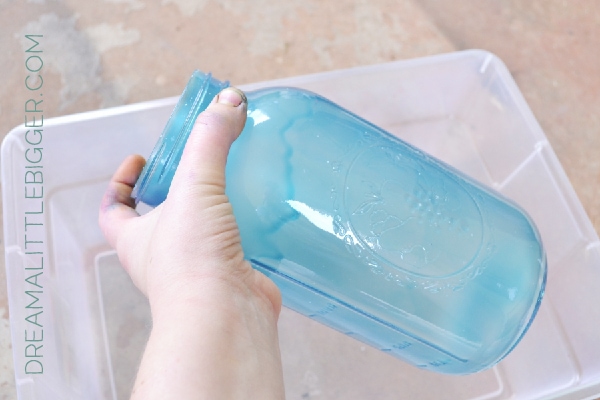
Spray paint your jar with a very liberal coat of glass frosting spray paint. I ran into an issue where a bug got stuck to mine right in the front and I had to wipe the paint away and reapply. It messed up my nice, smooth finish and I couldn’t get the coating to match for anything. In the future, rather than spraying on my back porch, I’ll likely go into my garage where things flying or blowing onto the glass will be less likely.

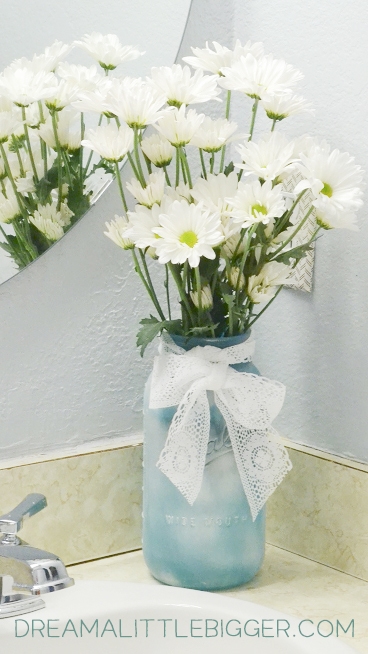
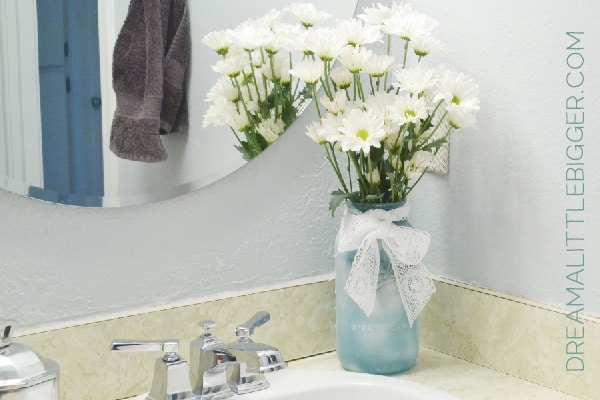
I have company on their way into town, so I am brightening up the room with some lovely daisies in my vase!
Your vase should be very sturdy but I’m not 100% sure that with the frosted paint on the front that it would be dishwasher safe… I’d recommend allowing the paint to cure for a good week or two before trying to wash the exterior with soap and water, but after that you should be good to give it a good, hearty hand wash when needed.
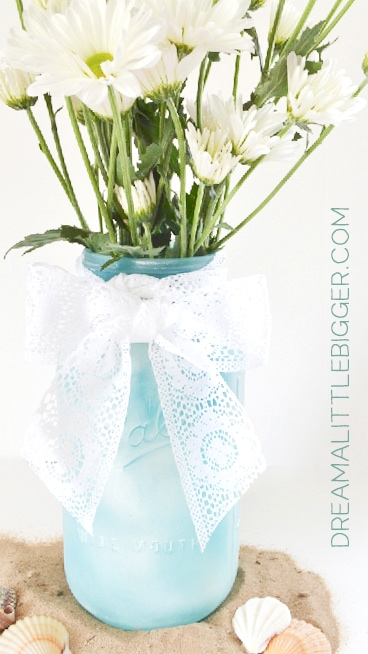
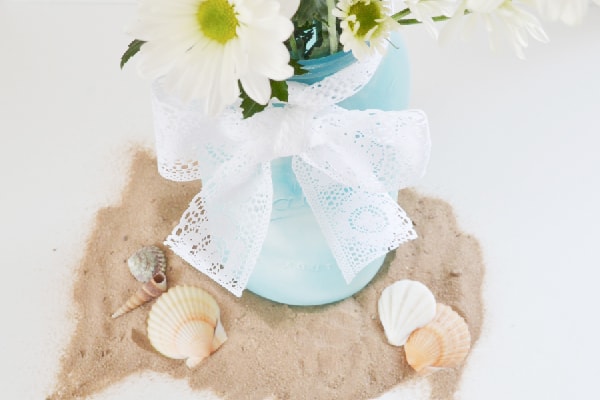
I hope that you loved my most recent DIY and that you’ll have faux sea glass all over your home!
If you loved this post you should take a peek at some similar projects from my blog:

