
My name is Allison and I started my blog little lovelies in February of this year. As a full time employee and full time mom, I needed something for myself. Having a blog has given me the motivation to make time for me while doing something that I love. I share all sorts of things on my blog: crafts, shopping finds, and bits of our family life – all the little lovelies that make my life so wonderful.

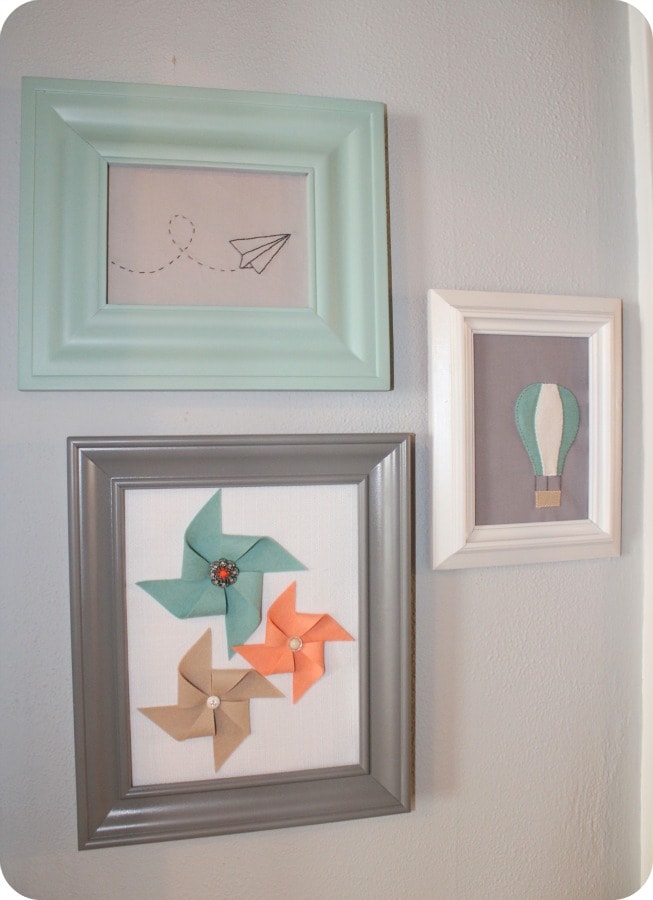
So, this is part two of my light & airy wall art. (You can see part 1 here)
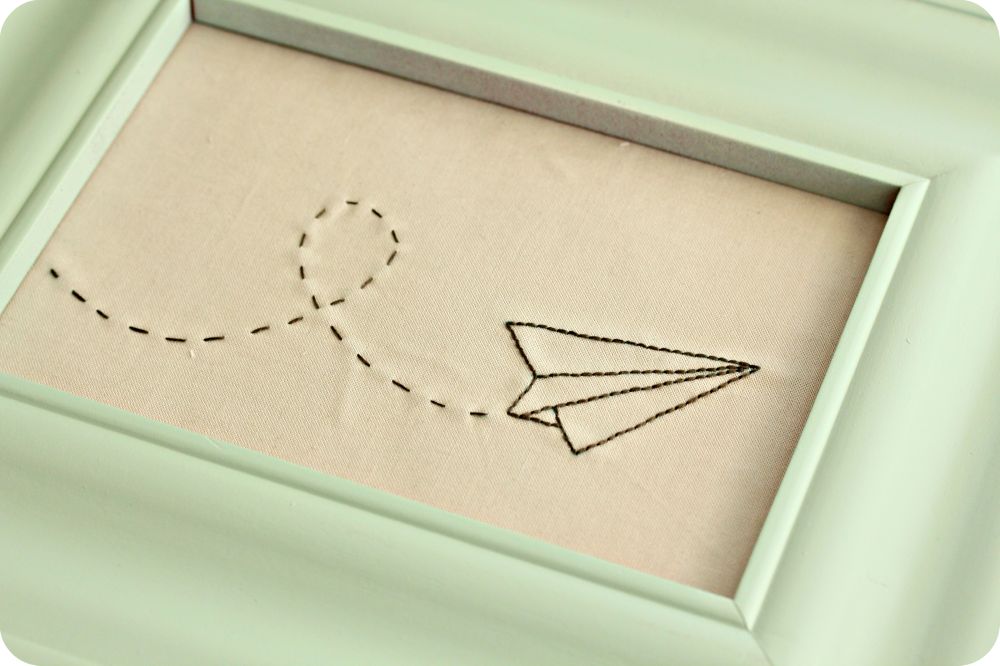
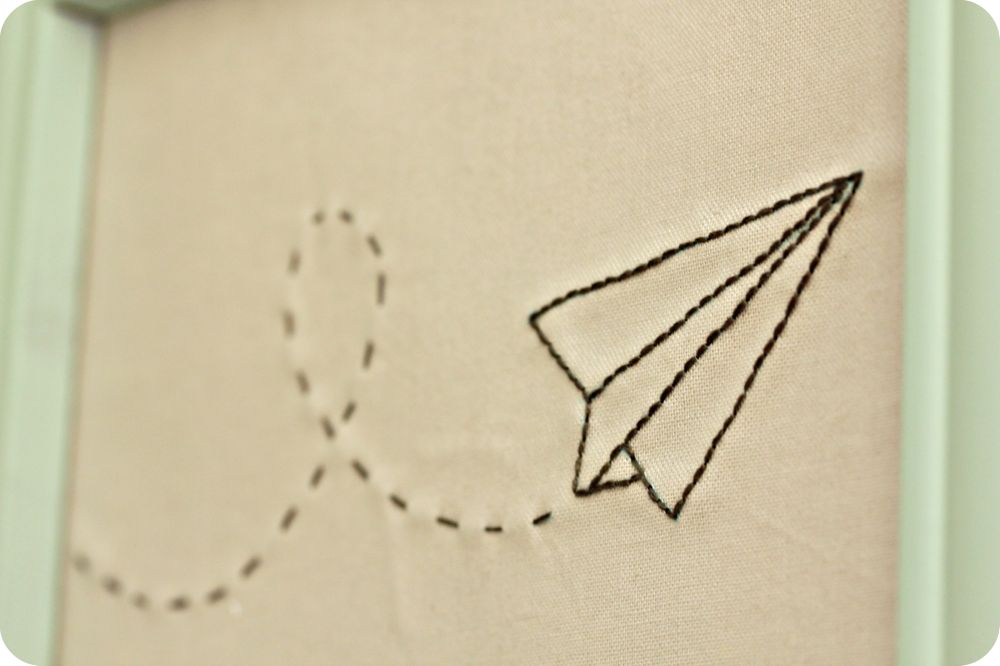
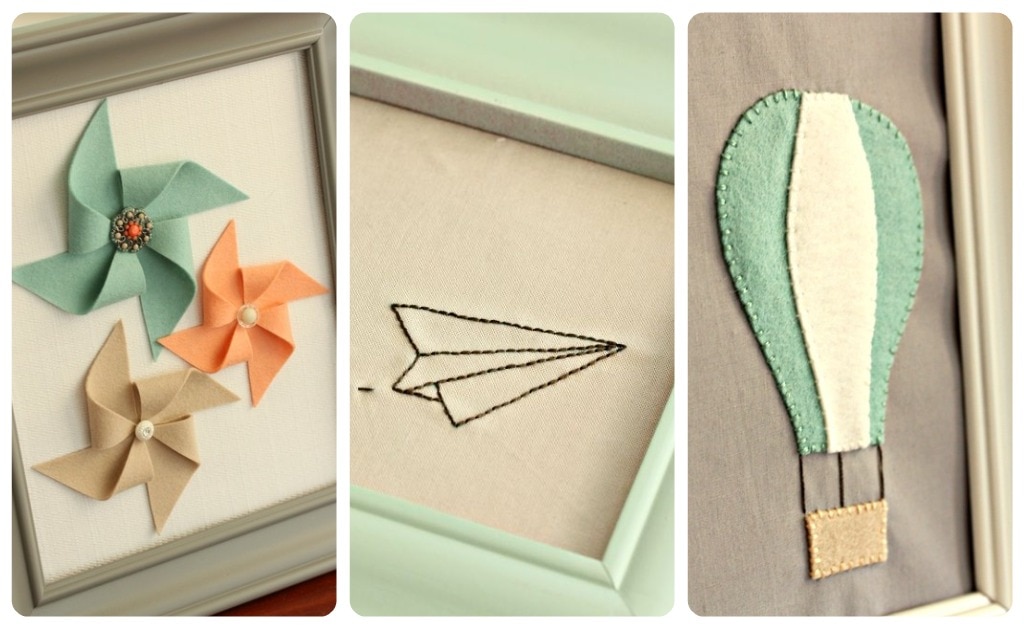
I really love how the embroidered paper airplane came out – I think it fits perfectly with the pinwheels.
I traced (with a water soluble pen) a paper airplane onto some scrap cloth and embroidered with a simple back stitch.

Easy! Really! It took me about 30 minutes. Satisfaction for my instant gratification loving soul.
After I embroidered the piece, I backed the cloth with fabric stabilizer. I know this seems backwards. Usually you use fabric stabilizer during embroidery, but I don’t like to. But because I wanted to frame the piece without glass, I knew the cloth would need to be a little more rigid to hold up in the frame without sagging. Enter fabric stabilizer. After backing the fabric, I cut it down to size and popped it in the frame.
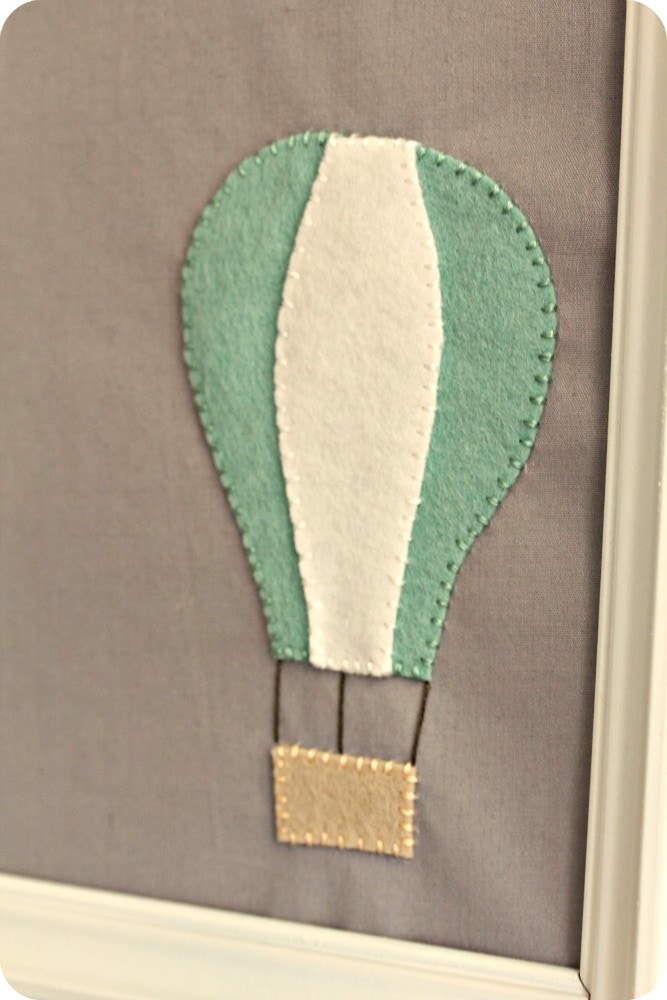
Onto the hot air balloon. I started by sketching out a hot air balloon, then cutting it out to use as a template to trace with.
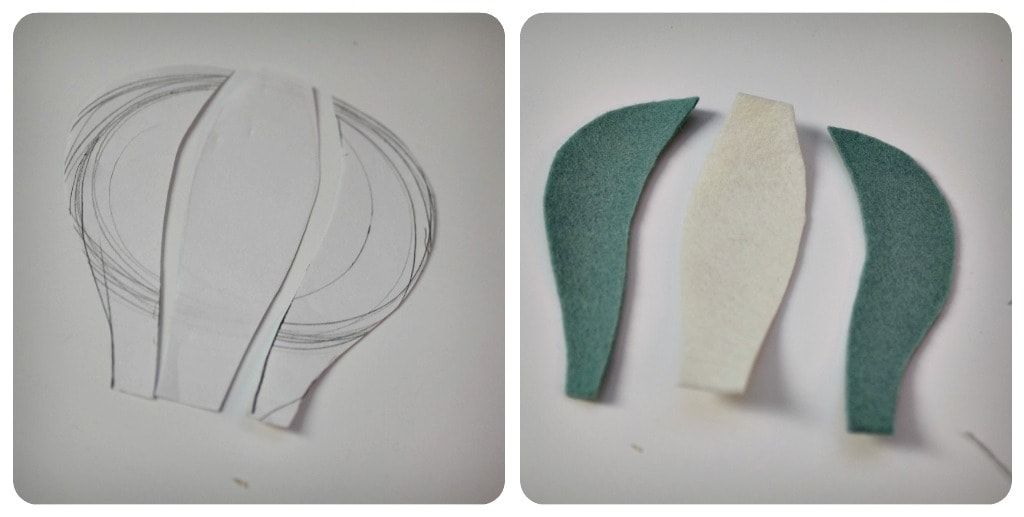
You can see my awesome sketching skills. Ha!
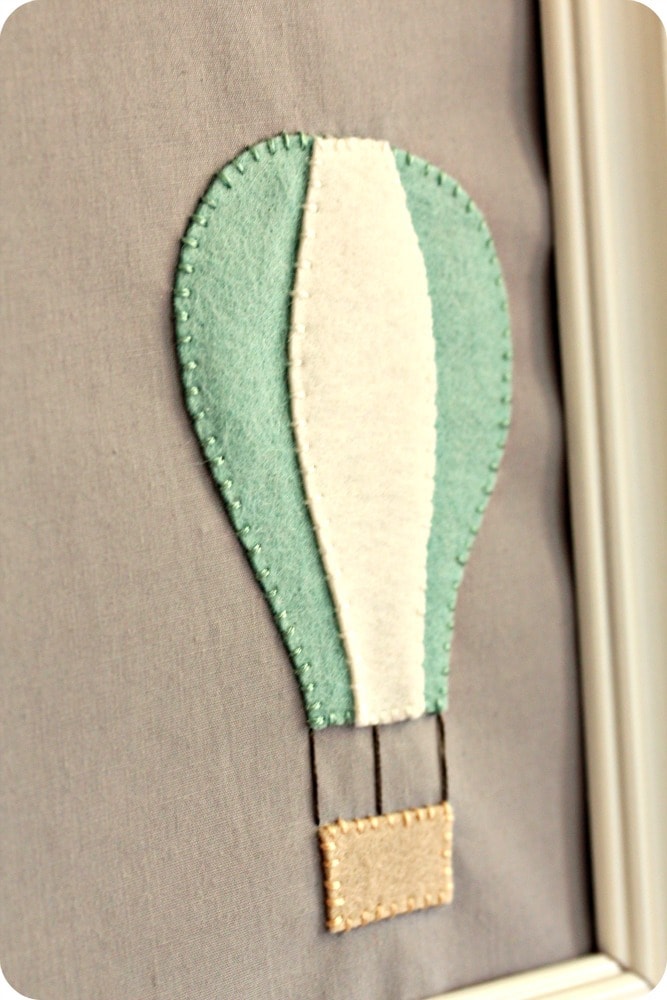
I stitched the pieces down with embroidery thread and added a little basket. Very simple but lovely results.
I really hope you have enjoyed this project!
~ Allison
~ Allison